Introduction & Inspiration
I’m always on the quest for quick, easy, and utterly satisfying meals, especially those involving melted cheese and savory chicken! These Cheesy Garlic Chicken Wraps immediately jumped out at me. The combination of tender chicken, a creamy three-cheese blend (mozzarella/cheddar, cream cheese, and sour cream!), garlic, Italian herbs, all wrapped in a tortilla and cooked until golden brown and melty, sounded like pure comfort food perfection.
My inspiration came from wanting a handheld meal that was more exciting than a standard sandwich but just as easy to make. Think of it like a cross between a cheesy chicken quesadilla and a creamy chicken melt, all rolled up into a convenient wrap. It seemed perfect for a quick lunch, a satisfying weeknight dinner, or even a fun appetizer cut into pieces.
My goal was to explore this straightforward recipe, highlighting its ease of preparation (especially using pre-cooked chicken) and its incredibly cheesy, garlicky, and comforting flavor profile. It looked like a guaranteed hit for kids and adults alike.
Let’s get ready to wrap up some cheesy, garlicky goodness!
Nostalgic Appeal / Comfort Food Connection
These Cheesy Garlic Chicken Wraps tap into deep wells of comfort food nostalgia. The core combination of melted cheese, savory chicken, and a warm tortilla is reminiscent of beloved dishes like quesadillas, grilled cheese sandwiches, and cheesy chicken melts. It’s a universally appealing flavor profile.
The creaminess provided by the cream cheese and sour cream adds a luxurious, comforting texture often found in classic casseroles or dips. The familiar flavors of garlic powder and Italian seasoning further enhance the comforting, home-style feel.
Wraps themselves have become a modern comfort food staple – easy to eat, customizable, and perfect for casual meals. This recipe takes that familiar format and packs it with irresistible cheesy, savory goodness.
Making and eating these wraps feels like indulging in ultimate comfort food – warm, cheesy, satisfying, and incredibly easy to love.
Homemade Focus (Simple Assembly, Big Flavor)
This recipe is a fantastic example of how simple homemade assembly can create a meal bursting with flavor. While it cleverly utilizes pre-cooked chicken (making it super fast!), the process of creating the unique creamy cheese filling and cooking the wraps gives it a distinct homemade quality.
I truly appreciate recipes that deliver impressive results with minimal fuss. You’re essentially sautéing garlic, mixing a creamy cheese blend, combining it with seasoned chicken, wrapping it all up, and then pan-frying the wraps until golden and crispy. It’s straightforward yet yields a fantastic result.
Making the cheesy filling yourself allows you to control the creaminess and flavor. Combining cream cheese, sour cream, and shredded cheese creates a richer, tangier, and more complex flavor than simply using shredded cheese alone.
The final step of cooking the assembled wraps in a skillet elevates them beyond a simple cold wrap. It melts the cheese beautifully, warms the filling through, and creates a delightfully crispy tortilla exterior – a finishing touch that screams delicious homemade comfort.
Flavor Goal
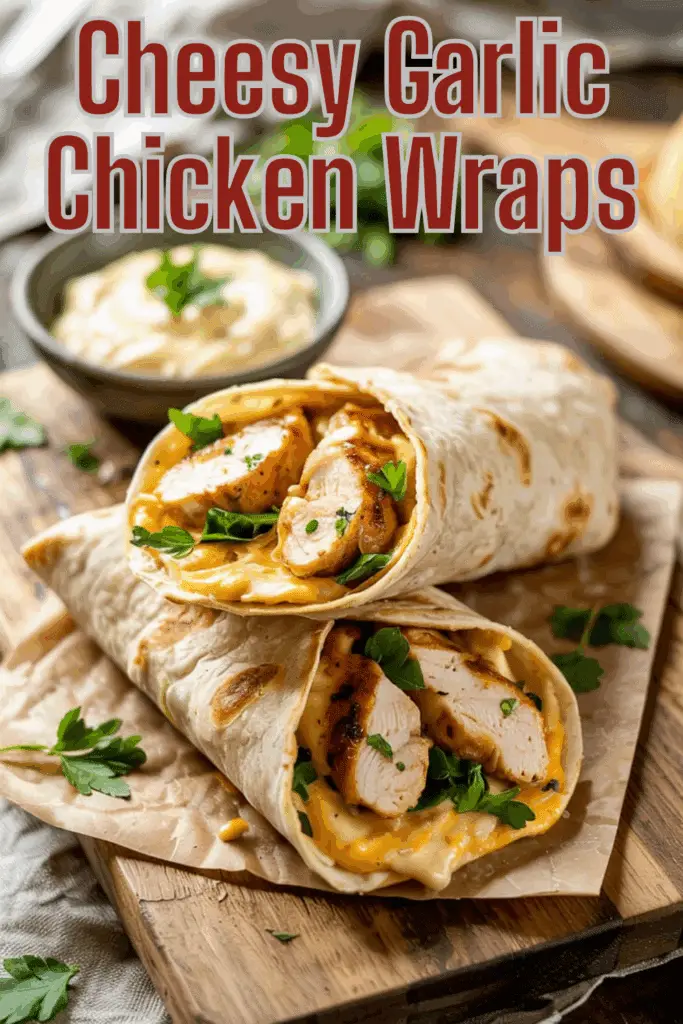
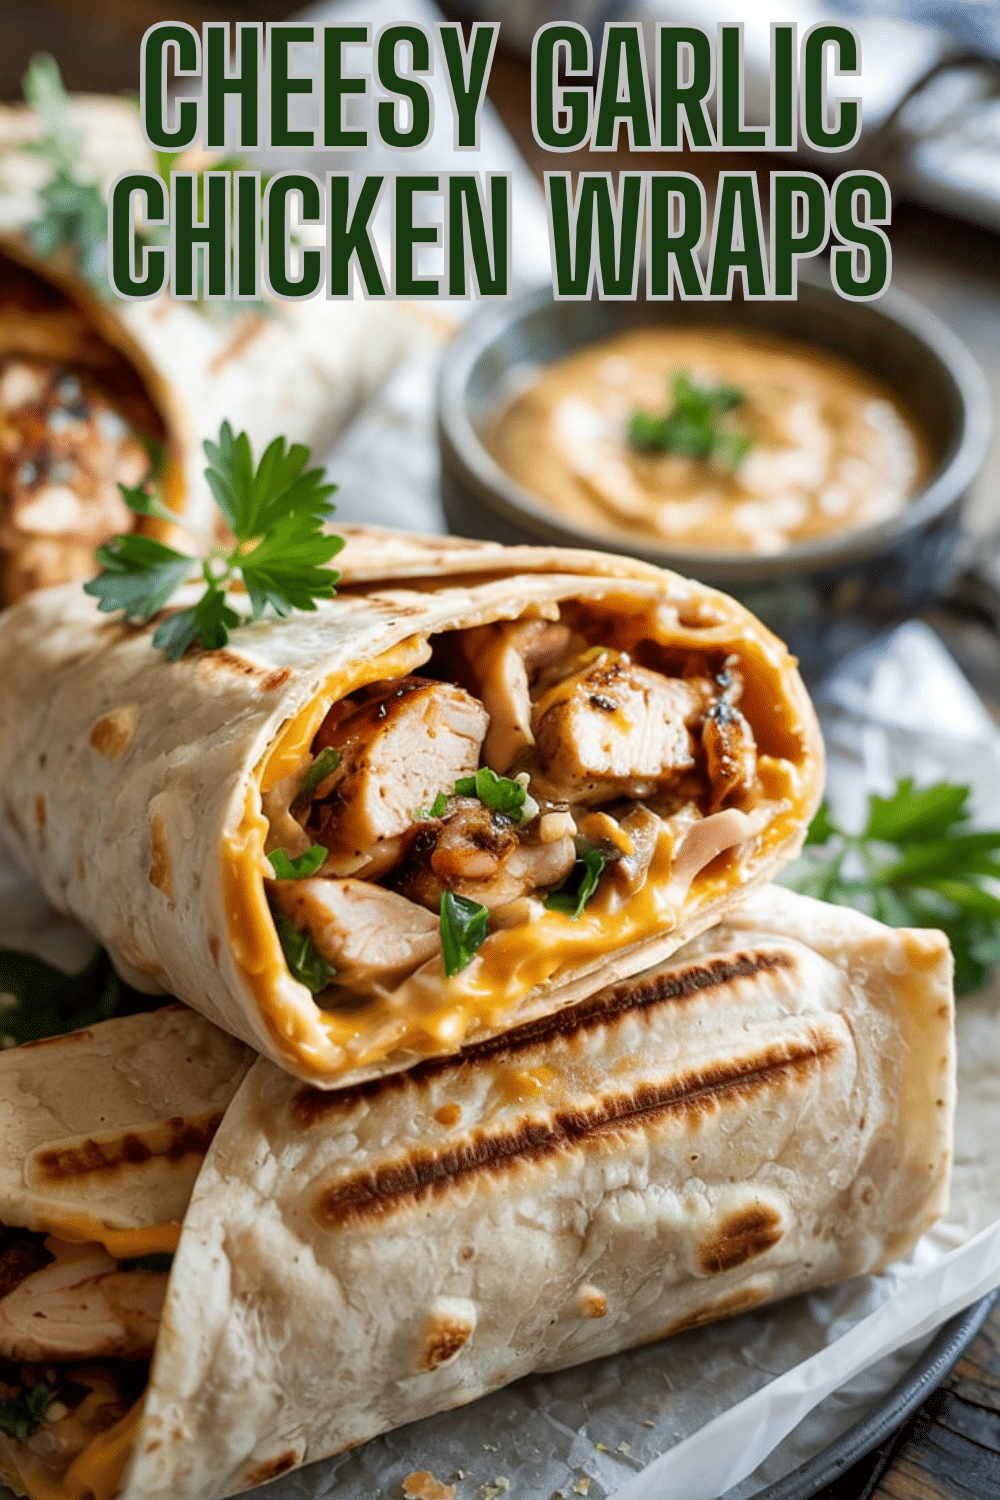
The primary flavor goal of these Cheesy Garlic Chicken Wraps is a rich, creamy, cheesy, and garlicky filling featuring tender chicken, all encased in a warm, slightly crispy tortilla. It aims for maximum comfort food satisfaction with savory, cheesy, and aromatic notes.
The cooked chicken provides the savory protein base, enhanced by garlic powder, Italian seasoning, salt, and pepper.
The filling’s creaminess comes from the combination of softened cream cheese and sour cream, which also adds a pleasant tanginess.
The shredded mozzarella or cheddar cheese melts into the filling and creates gooey strings, adding classic cheesy flavor. More shredded cheese is added before rolling for extra meltiness.
Sautéed fresh garlic infused into melted butter adds a foundational aromatic punch.
The tortilla, when pan-fried or grilled, becomes golden brown and slightly crisp, providing a satisfying textural contrast to the soft, creamy filling. The final garnish of fresh parsley adds a touch of color and freshness.
Ingredient Insights
Let’s explore the key components of these cheesy wraps:
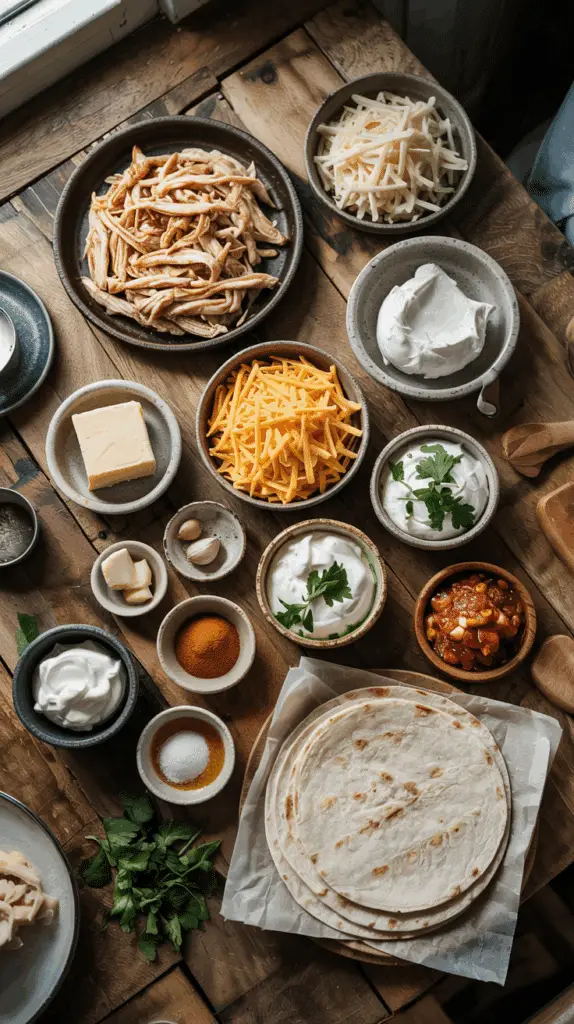
- Cooked chicken, shredded or diced: The protein star. Leftover rotisserie chicken, baked chicken, or poached chicken works perfectly here, making prep very fast.
- Shredded mozzarella or cheddar cheese: Provides meltiness and classic cheese flavor. A blend of both would be delicious! Freshly shredded melts best.
- Cream cheese, softened: Creates the ultra-creamy, tangy base for the filling. Ensure it’s well softened for smooth mixing.
- Butter: Used to sauté the garlic and adds richness.
- Garlic, minced: Provides essential aromatic flavor.
- Sour cream: Adds moisture and extra tang to the cream cheese mixture. Greek yogurt could substitute.
- Garlic powder & Italian seasoning: Easy way to add savory depth and herbaceous notes to the chicken.
- Salt and pepper: Essential seasonings.
- Large tortillas: The vessel for the wrap. Flour tortillas (whole wheat or white) work best as they are pliable.
- Fresh parsley (optional garnish): Adds color and freshness.
Simple ingredients creating a rich, flavorful filling!
Essential Equipment
This recipe requires basic kitchen tools:
- A skillet (non-stick or regular): Used for sautéing garlic/chicken initially, and then for cooking the assembled wraps. A grill pan also works well for the final cooking step.
- Mixing bowls (one medium, one small/medium): One for the cream cheese mixture, one potentially for seasoning chicken if not done in the pan.
- A spatula or wooden spoon: For sautéing and mixing. Also useful for pressing wraps while cooking.
- A knife and cutting board: For mincing garlic and chopping parsley/chicken if needed.
- Measuring cups and spoons.
- A grater (if shredding cheese from a block).
Minimal equipment for a satisfying meal!
List of Ingredients with Measurements
Here’s the complete list of ingredients, with precise measurements:
- 2 cups cooked chicken, shredded or diced
- 1 ½ cups shredded mozzarella or cheddar cheese, divided
- ¼ cup cream cheese, softened
- 2 tbsp butter, melted (Recipe calls for melting, likely meant 2 tbsp butter, melted in the pan)
- 3 cloves garlic, minced
- ¼ cup sour cream
- 1 tsp garlic powder
- 1 tsp Italian seasoning
- 4 large tortillas
- Salt and pepper to taste
- Fresh parsley for garnish, optional
(Note: I’ll interpret the butter instruction as melting 2 tbsp total in the pan as needed, not starting with already melted butter.)
These quantities make 4 large wraps.
Have chicken cooked and shredded/diced before starting assembly.

Step-by-Step Instructions (Elaborated)
Let’s assemble and cook these cheesy wraps:
1. Sauté Garlic:
- In a large skillet, melt the butter over medium heat.
- Add the minced garlic and sauté for 1-2 minutes until it becomes fragrant. Watch carefully to prevent burning.
2. Heat and Season Chicken:
- Add the cooked, shredded or diced chicken to the skillet with the garlic butter.
- Season the chicken with garlic powder, Italian seasoning, salt, and pepper. Stir well to coat the chicken evenly and heat it through for a minute or two.
3. Prepare Cheese Mixture:
- While the chicken heats (or in a separate step), combine the softened cream cheese, sour cream, and half (about 3/4 cup) of the shredded mozzarella/cheddar cheese in a medium bowl. Mix until smooth and well combined.
4. Combine Chicken and Cheese:
- Remove the skillet containing the chicken from the heat.
- Add the seasoned chicken (along with the garlic/butter from the pan) to the cream cheese mixture in the bowl. Stir until the chicken is fully coated and combined with the cheese mixture.
5. Assemble Wraps:
- Lay out the large tortillas flat.
- Divide the cheesy chicken mixture evenly among the tortillas, placing it slightly off-center on each one.
- Sprinkle the remaining shredded cheese (the other 3/4 cup) over the chicken mixture on each tortilla.
- Fold the short sides of each tortilla inwards over the filling, then tightly roll the tortilla up from the bottom to form a secure wrap (like a burrito).
6. Cook the Wraps:
- Heat a clean skillet or grill pan over medium heat (no extra oil is usually needed, but a light spray can help prevent sticking if desired).
- Place the wraps seam-side down in the hot pan. Cook for 2-3 minutes per side, until the tortilla is golden brown and crispy, and the cheese inside is fully melted and gooey. You might need to cook in batches depending on pan size.
- Press down gently with a spatula while cooking to help seal the wraps and ensure even browning.
7. Garnish and Serve:
- Garnish the cooked wraps with chopped fresh parsley, if desired.
- Cut the wraps in half diagonally (optional) and serve immediately while warm and cheesy.
A quick path to cheesy, garlicky goodness!

Troubleshooting
Wraps are usually simple, but here are potential fixes:
- Problem: Wraps are falling apart or leaking during cooking.
- Solution: Don’t overfill the tortillas. Leave enough border space. Roll them up tightly, ensuring the sides are tucked in securely before rolling. Place them seam-side down first in the hot pan to help seal the edge.
- Problem: Tortilla is burning before the cheese melts.
- Solution: Reduce the heat under the skillet to medium-low. Cook slightly longer per side, allowing the heat to penetrate and melt the cheese without scorching the outside.
- Problem: Filling seems dry.
- Solution: Ensure the cream cheese was properly softened. You could add an extra tablespoon of sour cream if the mixture seems very stiff. Using freshly shredded cheese (melts better) also helps create a gooier filling.
- Problem: Chicken seems bland.
- Solution: Be generous with the seasonings (garlic powder, Italian seasoning, salt, pepper) when heating the chicken. The flavor also depends on how seasoned the initial cooked chicken was.
Gentle heat and tight rolling are key for cooking the wraps.
Tips and Variations
Let’s customize these cheesy delights:
- Tip: Use leftover rotisserie chicken for fantastic flavor and speed.
- Variation: Add some chopped, cooked bacon to the chicken filling for a “Chicken Bacon Ranch” vibe (add ranch seasoning too!).
- Tip: Warm the tortillas slightly (10-15 seconds microwave) before filling and rolling to make them more pliable and less likely to tear.
- Variation: Include sautéed vegetables like onions, bell peppers, or mushrooms in the chicken filling.
- Tip: Use a blend of cheeses like Monterey Jack and cheddar for different flavor notes.
- Variation: Make it spicy by adding diced jalapeños (fresh or pickled) or a pinch of cayenne pepper to the cheese mixture.
- Variation: Serve with dipping sauces like salsa, sour cream, guacamole, or ranch dressing.
Endless ways to adapt these versatile wraps!
Serving and Pairing Suggestions
These Cheesy Garlic Chicken Wraps are perfect for a quick and satisfying meal.
Serving: Serve hot and fresh from the skillet, either whole or cut in half diagonally.
Pairing:
- Lunch/Dinner: Enjoy on their own or with a simple side like tortilla chips and salsa, a cup of soup (like tomato or black bean), or a fresh green salad with vinaigrette.
- Appetizer: Cut the cooked wraps into smaller pinwheels or slices for a party appetizer.
- Dips: Offer salsa, sour cream, guacamole, or ranch on the side for dipping.
They are great for a casual meal or easy entertaining.
Nutritional Information
This is a cheesy, comforting wrap. Nutritional information is approximate and depends on tortilla size/type, cheese fat content, and chicken used (assuming 4 wraps):
- Calories: 450-600+ per wrap
- Fat: 25-40+ grams
- Saturated Fat: 12-20+ grams (High due to cheeses, butter, sour cream)
- Cholesterol: 80-120+ mg
- Sodium: 800-1200+ mg (Cheese, tortillas, seasonings, chicken can contribute significantly)
- Total Carbs.: 30-45 grams (Primarily from tortilla)
- Dietary Fiber: 2-5 grams
- Sugars: 3-6 grams
- Protein: 30-40+ grams
This is a high-protein wrap, but also high in fat (especially saturated) and sodium. Using lower-fat cheeses/sour cream and whole-wheat tortillas can adjust the profile.
PrintCheesy Garlic Chicken Wraps
Make these quick and easy Cheesy Garlic Chicken Wraps! Filled with chicken, cream cheese, cheddar, and garlic, then grilled until golden and melty.
Ingredients
Here’s the complete list of ingredients, with precise measurements:
- 2 cups cooked chicken, shredded or diced
- 1 ½ cups shredded mozzarella or cheddar cheese, divided
- ¼ cup cream cheese, softened
- 2 tbsp butter, melted (Recipe calls for melting, likely meant 2 tbsp butter, melted in the pan)
- 3 cloves garlic, minced
- ¼ cup sour cream
- 1 tsp garlic powder
- 1 tsp Italian seasoning
- 4 large tortillas
- Salt and pepper to taste
- Fresh parsley for garnish, optional
(Note: I’ll interpret the butter instruction as melting 2 tbsp total in the pan as needed, not starting with already melted butter.)
These quantities make 4 large wraps.
Have chicken cooked and shredded/diced before starting assembly.
Instructions
Let’s assemble and cook these cheesy wraps:
1. Sauté Garlic:
- In a large skillet, melt the butter over medium heat.
- Add the minced garlic and sauté for 1-2 minutes until it becomes fragrant. Watch carefully to prevent burning.
2. Heat and Season Chicken:
- Add the cooked, shredded or diced chicken to the skillet with the garlic butter.
- Season the chicken with garlic powder, Italian seasoning, salt, and pepper. Stir well to coat the chicken evenly and heat it through for a minute or two.
3. Prepare Cheese Mixture:
- While the chicken heats (or in a separate step), combine the softened cream cheese, sour cream, and half (about 3/4 cup) of the shredded mozzarella/cheddar cheese in a medium bowl. Mix until smooth and well combined.
4. Combine Chicken and Cheese:
- Remove the skillet containing the chicken from the heat.
- Add the seasoned chicken (along with the garlic/butter from the pan) to the cream cheese mixture in the bowl. Stir until the chicken is fully coated and combined with the cheese mixture.
5. Assemble Wraps:
- Lay out the large tortillas flat.
- Divide the cheesy chicken mixture evenly among the tortillas, placing it slightly off-center on each one.
- Sprinkle the remaining shredded cheese (the other 3/4 cup) over the chicken mixture on each tortilla.
- Fold the short sides of each tortilla inwards over the filling, then tightly roll the tortilla up from the bottom to form a secure wrap (like a burrito).
6. Cook the Wraps:
- Heat a clean skillet or grill pan over medium heat (no extra oil is usually needed, but a light spray can help prevent sticking if desired).
- Place the wraps seam-side down in the hot pan. Cook for 2-3 minutes per side, until the tortilla is golden brown and crispy, and the cheese inside is fully melted and gooey. You might need to cook in batches depending on pan size.
- Press down gently with a spatula while cooking to help seal the wraps and ensure even browning.
7. Garnish and Serve:
- Garnish the cooked wraps with chopped fresh parsley, if desired.
- Cut the wraps in half diagonally (optional) and serve immediately while warm and cheesy.
A quick path to cheesy, garlicky goodness!
Recipe Summary and Q&A
Let’s conclude with a summary and common questions:
Recipe Summary:
Cheesy Garlic Chicken Wraps feature cooked chicken mixed with a creamy blend of cream cheese, sour cream, shredded mozzarella/cheddar, garlic, and seasonings. This mixture is rolled tightly in large tortillas, which are then pan-fried or grilled until golden brown, crispy, and the cheesy filling is melted and gooey.
Q&A:
Q: Can I make these ahead of time?A: The chicken/cheese filling can be made a day ahead and stored refrigerated. Assemble and cook the wraps just before serving for the best crispy texture. Cooked wraps can be refrigerated but will lose their crispness.
Q: How do I store leftovers?A: Store leftover cooked wraps in an airtight container in the refrigerator for up to 2-3 days.
Q: How do I reheat leftovers?A: Reheating in a skillet over medium-low heat or in an air fryer or toaster oven is best to try and regain some crispness. Microwaving will make the tortilla soft.
Q: Can I bake these instead of pan-frying?A: Yes, you could bake them seam-side down on a baking sheet at around 400°F (200°C) for 10-15 minutes, or until golden and heated through. They won’t be quite as crispy as the pan-fried version.
Q: Can I use leftover turkey?A: Yes.
Did Our Recipe Hit The Spot?
There are no reviews yet. Be the first one to write one.


