What if you could assemble a stunning, multi-layered, crowd-pleasing party cake in just 15 minutes, with absolutely no baking required? Get ready to meet your new secret weapon for birthdays, summer BBQs, and last-minute celebrations.
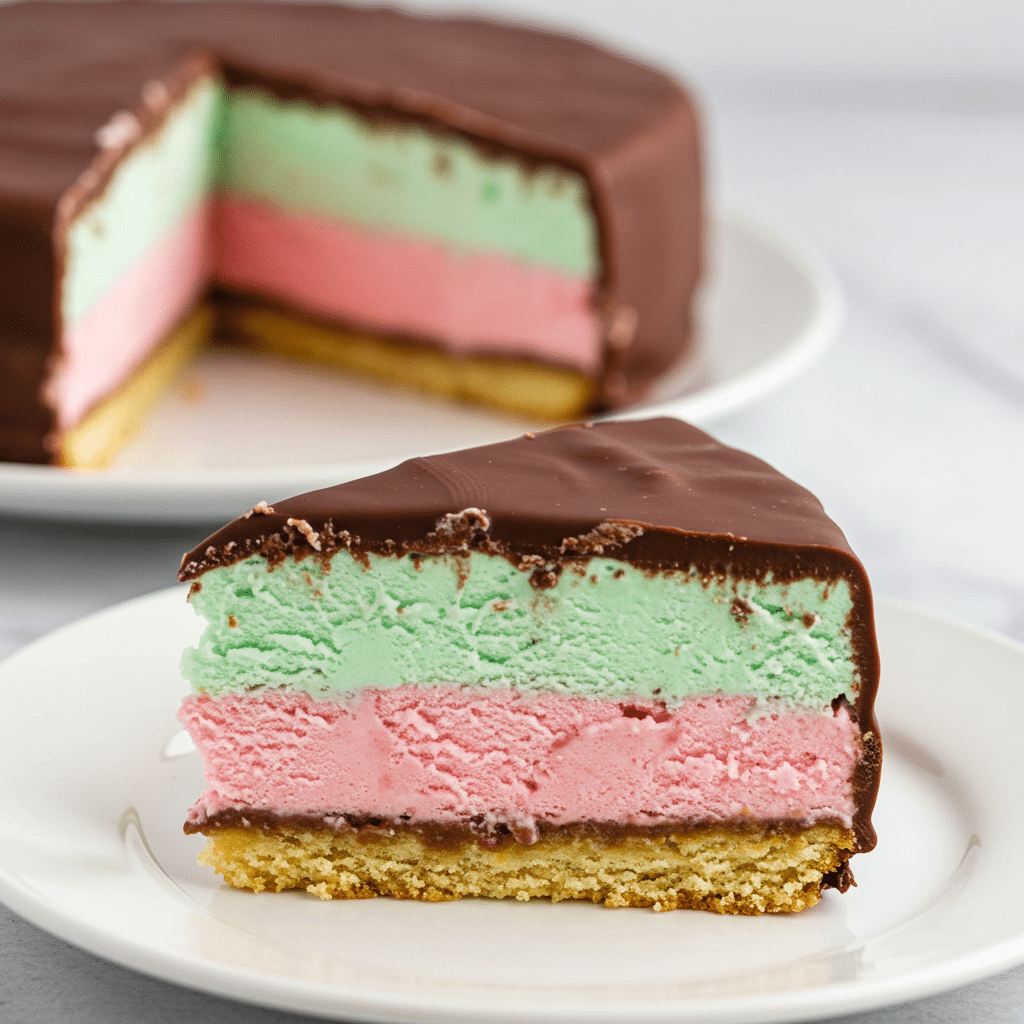
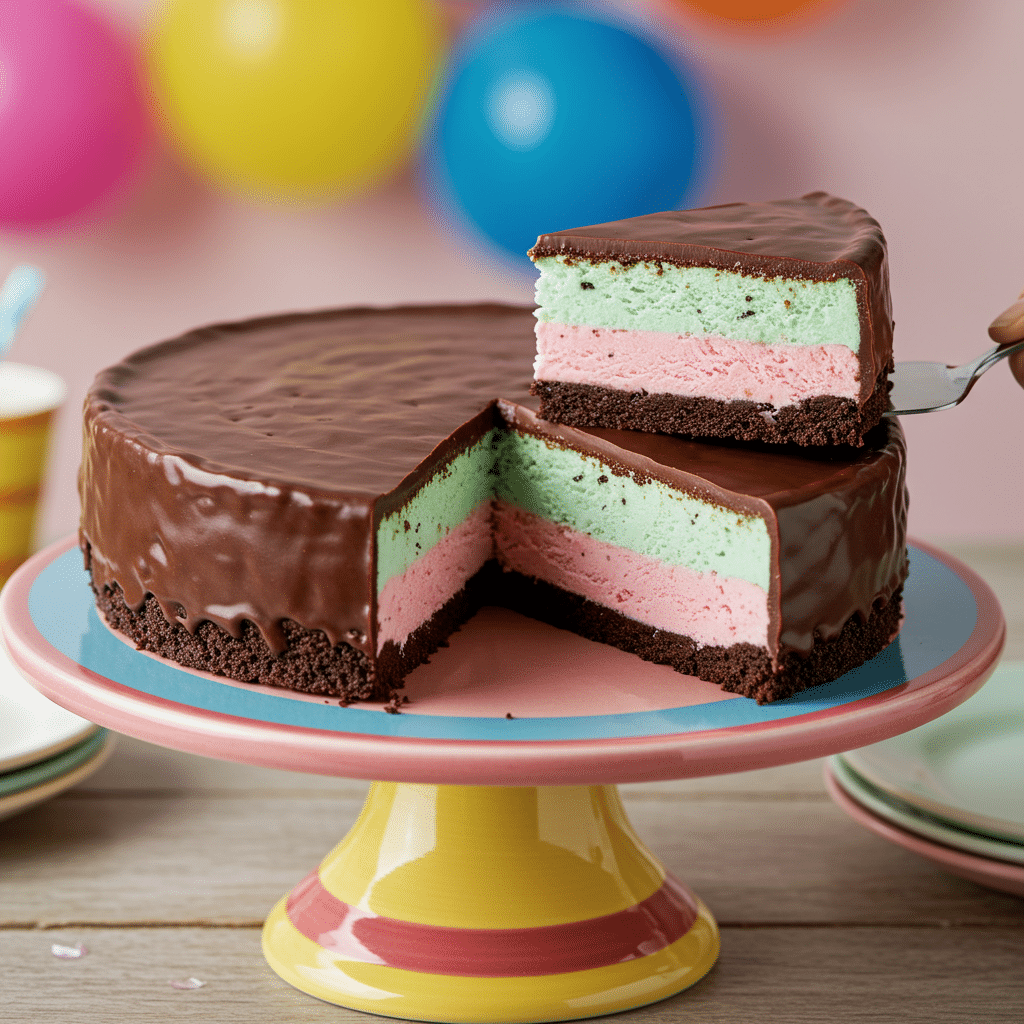
This Neapolitan Ice Cream Sandwich Cake is one of the most brilliant dessert hacks you’ll ever find. It uses store-bought rectangular ice cream sandwiches as the “cake” layers, building a delicious, frozen loaf that’s packed with flavor and texture. It’s a simple yet spectacular creation that looks like you spent hours in the kitchen. This easy guide will show you how to build the perfect Neapolitan Ice Cream Sandwich Cake that will have everyone asking for your secret.
What makes this recipe so incredible is its sheer simplicity and nostalgic charm. You are just five simple ingredients away from a dessert masterpiece. While the freezer does most of the work, your active prep time is minimal, freeing you up to enjoy the party. This Neapolitan Ice Cream Sandwich Cake is guaranteed to be a hit with kids and adults alike.
Table of Contents
Table of Contents
A Fun Twist on a Classic Flavor
Traditionally, “Neapolitan” refers to the iconic trio of vanilla, chocolate, and strawberry ice cream layered side-by-side. This recipe offers a fun, modern interpretation! The vanilla ice cream sandwiches provide the vanilla component, and we layer them with strawberry ice cream.
This version swaps the traditional chocolate ice cream layer for mint chip or pistachio, creating a unique and refreshing flavor profile. However, if you’re a purist, fear not! In our “Variations” section, we’ll show you exactly how to make a classic Neapolitan Ice Cream Sandwich Cake with a chocolate layer.
The 5 Simple Ingredients for Your No-Bake Cake
The genius of this Neapolitan Ice Cream Sandwich Cake is its reliance on simple, store-bought ingredients that come together to create something truly special.
- Rectangular Vanilla Ice Cream Sandwiches: These are the magic ingredient! They act as both the vanilla flavor and the structural “cake” layers, complete with a soft, chocolatey wafer. You’ll need 10 of them.
- Strawberry Ice Cream: The first creamy layer, providing a sweet and fruity contrast. Let it soften slightly at room temperature so it’s easy to spread.
- Mint Chip or Pistachio Ice Cream: The second creamy layer. Mint chip provides a cool, refreshing flavor, while pistachio offers a nutty, savory note. The green color also looks beautiful in the final Neapolitan Ice Cream Sandwich Cake.
- Chocolate Wafer Cookies: These are crushed to become the crunchy base of the cake after it’s inverted.
- Chocolate Shell Topping: This is the glossy, magical finish. It pours on as a liquid and hardens into a crisp, chocolatey shell upon contact with the frozen cake.

Step-by-Step Guide to Your Ice Cream Sandwich Cake
Follow these simple assembly instructions for a perfect, neatly layered Neapolitan Ice Cream Sandwich Cake.
- Prepare Your Pan: Line a 9-by-5-inch loaf pan with a large piece of heavy-duty foil. Be sure to leave a generous overhang on all sides of the pan. These foil “handles” are the secret to easily removing the cake later.
- Lay the First Sandwich Layer: Arrange 5 of the rectangular ice cream sandwiches snugly in the bottom of the prepared pan. They should fit perfectly side-by-side. This forms the middle layer of your finished cake.
- Add the Strawberry Ice Cream Layer: Spoon the slightly softened strawberry ice cream on top of the sandwich layer. Use a small offset spatula or the back of a spoon to spread it into a smooth, even layer.
- Add the Second Sandwich Layer: Press the remaining 5 ice cream sandwiches gently on top of the strawberry ice cream layer. This will form the top of your cake (which will become the bottom after flipping).
- Add the Mint Chip Ice Cream Layer: Spread the softened mint chip or pistachio ice cream evenly over the top sandwich layer, creating another smooth, flat surface for your Neapolitan Ice Cream Sandwich Cake.
- Create the Cookie “Crust”: Sprinkle the finely crushed chocolate wafer cookies over the top of the mint chip ice cream in an even layer. Press down gently to adhere the crumbs to the ice cream. This will become the crunchy base of your finished cake.
- Freeze Until Solid: Cover the loaf pan with plastic wrap and place it on a level surface in your freezer. Freeze the cake until it is completely set and firm, which will take about 4 hours.
- Unmold and Invert: When the cake is solid, uncover it. Use the foil overhangs as handles to lift the entire frozen block out of the loaf pan. Place a serving platter or plate upside down on top of the cake (on the cookie crumb side). Confidently flip the platter and the cake over together.
- Decorate and Serve: Carefully peel away the foil. Now, pour the chocolate shell topping over the top and sides of your Neapolitan Ice Cream Sandwich Cake, spreading it quickly with a spatula before it hardens. You can serve it immediately for a softer texture, or return it to the freezer for 30 minutes to let the shell harden completely.

The Ultimate Neapolitan Ice Cream Sandwich Cake: Easiest Party Dessert Ever
A simple, no-bake layered ice cream cake assembled in a loaf pan. This dessert uses vanilla ice cream sandwiches as the top and bottom layers, filled with a layer of strawberry ice cream and a layer of mint chip or pistachio ice cream. The cake is topped with crushed chocolate wafer cookies and finished with a chocolate shell topping.
- Prep Time: 15 minutes
- Cook Time: 0 minutes
- Total Time: 4 hours 15 minutes (includes freezing time)
- Yield: 8-10 servings
- Category: Dessert
- Method: No-Bake, Layering, Freezing
- Cuisine: American
Ingredients
- 10 3.5-ounce rectangular vanilla ice cream sandwiches
- 1 pint strawberry ice cream, slightly softened
- 1 pint mint chip or pistachio ice cream, slightly softened
- 1/2 cup finely crushed chocolate wafer cookies (about 12 cookies)
- Chocolate shell topping, for spreading
Instructions
- Line a 9-by-5-inch loaf pan with heavy-duty foil, leaving an overhang on all sides to use as handles.
- Arrange 5 ice cream sandwiches snugly in the bottom of the pan to form the first layer.
- Spread the softened strawberry ice cream on top in an even layer.
- Press the remaining 5 ice cream sandwiches on top of the strawberry layer.
- Spread the softened mint chip or pistachio ice cream evenly over the second layer of sandwiches.
- Top with an even layer of the crushed chocolate wafer cookies, pressing down gently.
- Cover the cake with plastic wrap and freeze until set, about 4 hours.
- When ready to serve, uncover the cake and use the foil overhang to lift it from the pan.
- Invert the cake onto a serving platter and remove the foil.
- Spread the chocolate shell topping over the top and sides of the cake.
- Serve immediately, or cover and return to the freezer for up to 2 days.
Notes
- This cake can be made ahead and stored, covered, in the freezer for up to 2 days.
- A 9-by-5-inch loaf pan is required for this recipe.
Storage Information
Your finished Neapolitan Ice Cream Sandwich Cake can be stored, tightly covered, in the freezer for up to 2 days. After that, the ice cream sandwiches may start to become less soft.
Creative Recipe Variations
This layering technique is a template for endless creativity!
| Flavor Variation | How to Adapt the Recipe | The Delicious Result |
|---|---|---|
| The Classic Neapolitan | Use a pint of chocolate ice cream instead of mint chip. This creates the traditional vanilla, strawberry, and chocolate flavor profile of a true Neapolitan Ice Cream Sandwich Cake. | The timeless, beloved flavor combination that everyone knows and loves. |
| Cookies & Cream Tower | Use cookies and cream ice cream for both the strawberry and mint chip layers. Use whole crushed Oreos for the cookie crust. Drizzle with extra fudge. | An Oreo lover’s absolute dream dessert, packed with cookies and cream flavor. |
| Peanut Butter Cup Supreme | Use chocolate ice cream for the first layer and vanilla ice cream swirled with peanut butter for the second layer. Use crushed Nutter Butter cookies for the crust. Top with chopped peanut butter cups. | An incredibly rich and decadent cake for the ultimate peanut butter and chocolate fan. |
For more recipe follow my Pinterest account
Conclusion: The Easiest Impressive Dessert
This Neapolitan Ice Cream Sandwich Cake is the perfect example of working smarter, not harder, in the kitchen. It’s a fun, festive, and incredibly easy way to create a memorable dessert that brings a smile to everyone’s face. Whether you stick with the modern version or try the classic Neapolitan twist, you’re guaranteed a delicious, crowd-pleasing hit. Enjoy the compliments on your amazing, no-bake Neapolitan Ice Cream Sandwich Cake!
Frequently Asked Questions (FAQs)
Do I have to use a loaf pan for this Neapolitan Ice Cream Sandwich Cake?
A 9-by-5-inch loaf pan is the perfect size for standard rectangular ice cream sandwiches to fit snugly. You could also use an 8×8 or 9×9 inch square pan; you would just need to arrange (and possibly cut) the sandwiches to fit the bottom.
My layers look messy. What did I do wrong?
This usually happens if the ice cream is too soft and melty when you’re spreading it. You want it just softened enough to be spreadable, but still mostly frozen. It also helps to work quickly!
Can I make this cake further in advance?
You can assemble and freeze the cake for up to 2 days ahead of time. For the best result, add the chocolate shell topping just before serving, as it has the best texture and shine when it’s freshly hardened.


