If you’re looking to cool down with a treat that’s bursting with authentic tropical flavor, it’s time to discover one of Puerto Rico’s most beloved treasures: the limber. Specifically, the iconic Limber de Coco y Piña, a creamy, refreshing frozen dessert that tastes like a piña colada in its purest form.
This is not a popsicle or an ice cream; a limber is a uniquely Puerto Rican creation that is as simple to make as it is delicious. This recipe for Limber de Coco y Piña involves blending coconut milk, pineapple juice, and sweet coconut cream, freezing it in a cup, and enjoying it on a hot day. It’s a nostalgic taste of the island, a staple at family gatherings, and a dessert that’s all about simple ingredients and maximum refreshment.
What makes this recipe so special is its incredible ease and its authentic tropical taste. There are no special machines required, just a blender, some plastic cups, and a freezer. This guide will walk you through everything you need to know to create a perfect, creamy Limber de Coco y Piña.
Table of Contents
Table of Contents
What Exactly is a Puerto Rican Limber?
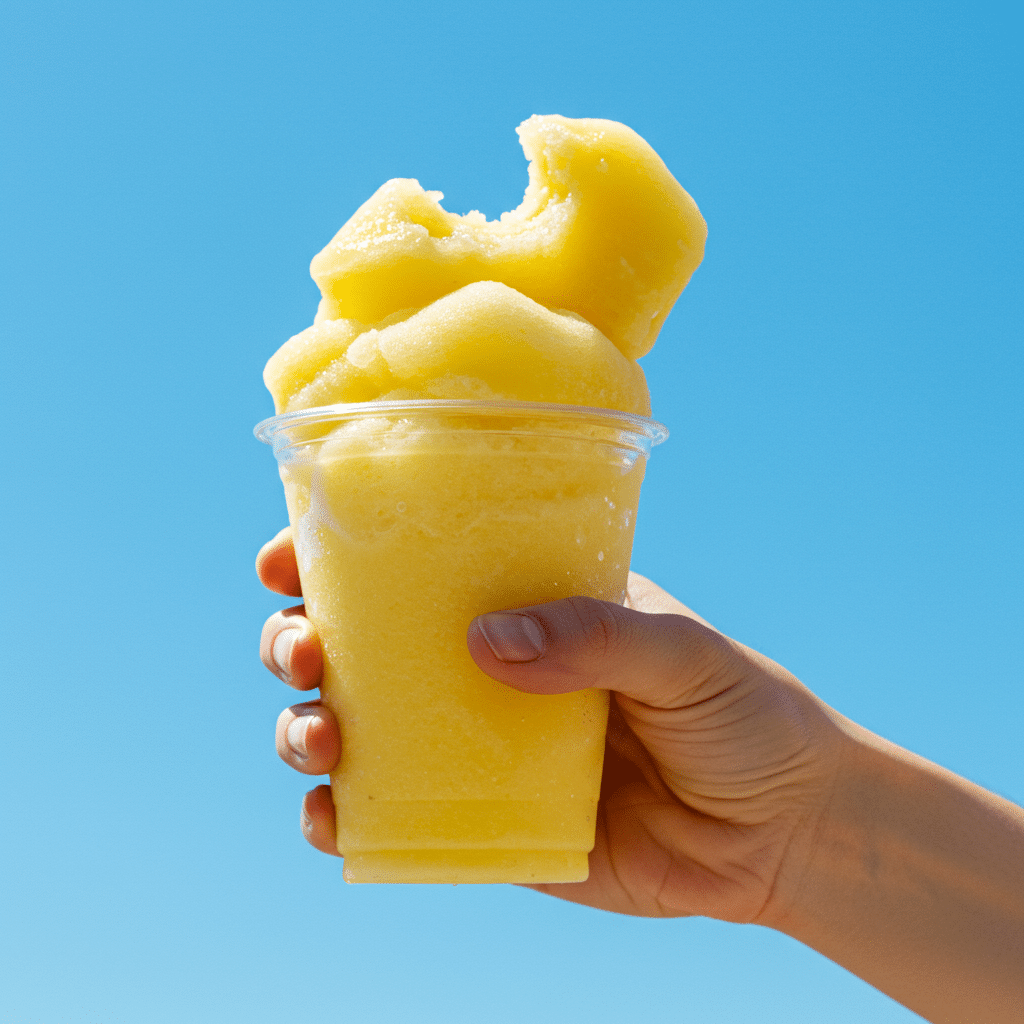
A limber is a traditional frozen dessert from Puerto Rico with a fascinating history. It’s essentially a juice or cream-based mixture that’s frozen in ice cube trays or, more commonly, small plastic cups. Unlike a popsicle, a limber has no stick. It’s eaten by squeezing the bottom of the cup to push the frozen treat up, or by flipping it out of the cup and eating it from your hand.
The name “limber” is said to have originated in the 1920s after the famous aviator Charles Lindbergh landed in Puerto Rico. As the story goes, he was offered a frozen juice treat, and he enjoyed it so much that the locals began calling it a “limber” in his honor. Today, making and selling limber is a cherished tradition, with countless flavors ranging from fruity to creamy. This Limber de Coco y Piña is one of the most classic and beloved flavors.
The Key Ingredients for Your Tropical Treat
The magic of a Limber de Coco y Piña comes from a few simple, powerful ingredients that scream “tropics.”
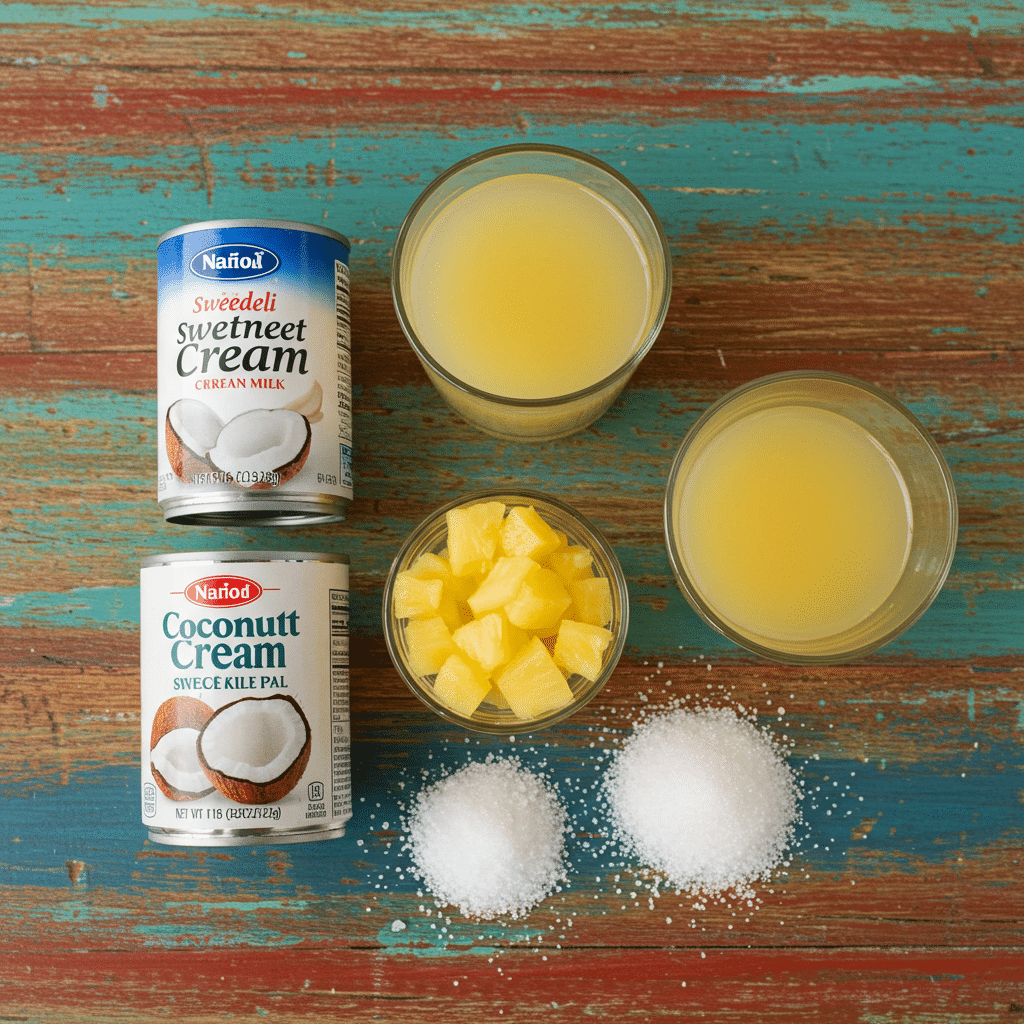
- Unsweetened Coconut Milk: This provides the creamy, milky base for our limber. Using a good quality, full-fat canned coconut milk will give you the best, creamiest texture.
- Pineapple Juice: This brings the sweet, tangy, and distinctly tropical pineapple flavor.
- Sweetened Coconut Cream: This is a crucial ingredient for that authentic “piña colada” taste. Look for a brand like Coco Lopez, which is a very thick, sweet “cream of coconut.” It’s different from regular coconut cream and adds both sweetness and intense coconut flavor.
- Canned Pineapple Chunks: Adding small pieces of pineapple to the blend provides a lovely, chewy texture and an extra burst of pineapple flavor in your finished Limber de Coco y Piña.
- Sugar: A little extra sugar is needed to balance the flavors and to ensure a softer, less icy final texture.

Step-by-Step Guide to Your Limber de Coco y Piña
This recipe is incredibly simple. The most important step is the stir after the first hour of freezing to ensure a smooth, consistent texture.
- Prepare Your Cups: Place six 8-ounce plastic cups on a small tray or baking sheet that will fit easily into your freezer.
- Blend All Ingredients: In a blender, combine the coconut milk, pineapple juice, sweetened coconut cream, drained pineapple chunks, and sugar.
- Blend Until Smooth: Secure the lid and blend on high speed until the mixture is completely homogeneous and smooth. This may take a full minute to ensure the sugar is fully dissolved and the pineapple chunks are broken down.
- Taste and Adjust: At this point, taste the liquid mixture. If you prefer it sweeter, now is the time to add a bit more sugar, a tablespoon at a time, and blend again.
- Fill the Cups: Carefully pour the mixture into your prepared plastic cups. Fill them to about 1/4 inch from the brim to allow for expansion as they freeze.
- The First Freeze & Crucial Stir: Place the tray of cups in the freezer for 1 hour. After an hour, the mixture will have started to separate slightly and will be thick and slushy. Remove the tray and use a small spoon to stir each cup thoroughly, re-incorporating all the ingredients. This essential step ensures your finished Limber de Coco y Piña is creamy and consistent, not separated into layers.
- The Final Freeze: Return the tray to the freezer and continue to freeze until the limbers are completely solid. This will take at least another 7 hours, but overnight is best.

Limber de Coco y Piña: The Ultimate Puerto Rican Frozen Treat
A traditional Puerto Rican frozen treat, this Limber de Coco y Piña is a creamy, tropical delight. The recipe involves blending unsweetened coconut milk, pineapple juice, sweetened coconut cream, pineapple chunks, and sugar until smooth. The mixture is then poured into plastic cups and frozen solid, creating a simple, refreshing, and dairy-free dessert perfect for a hot day.
- Prep Time: 10 minutes
- Cook Time: 0 minutes
- Total Time: 8 hours 10 minutes (includes freezing time)
- Yield: 6 servings
- Category: Dessert
- Method: Blending, Freezing
- Cuisine: Puerto Rican
- Diet: Vegan
Ingredients
- One 13-ounce can unsweetened coconut milk
- 2 cups pineapple juice
- 1/2 cup sweetened coconut cream
- 1/2 cup drained canned pineapple chunks
- 1/2 cup sugar, plus more if needed
Instructions
- Place six 8-ounce plastic cups on a tray that can fit into your freezer.
- Combine the coconut milk, pineapple juice, coconut cream, pineapple chunks, and sugar in a blender.
- Blend until the mixture is homogeneous and smooth.
- Taste the mixture for sweetness and add more sugar if desired.
- Pour the blended mixture into the prepared plastic cups, filling them to about 1/4 inch from the brim.
- Place the cups in the freezer for 1 hour.
- After 1 hour, stir each limber with a small spoon to reincorporate any ingredients that may have separated. The mixture should be at a slushy stage.
- Continue to freeze until the limbers are fully frozen, for at least another 7 hours.
Notes
- Stirring the limbers after the first hour of freezing is a crucial step to prevent separation and ensure a uniform texture.
- The finished limbers can be stored in the freezer for up to a month.
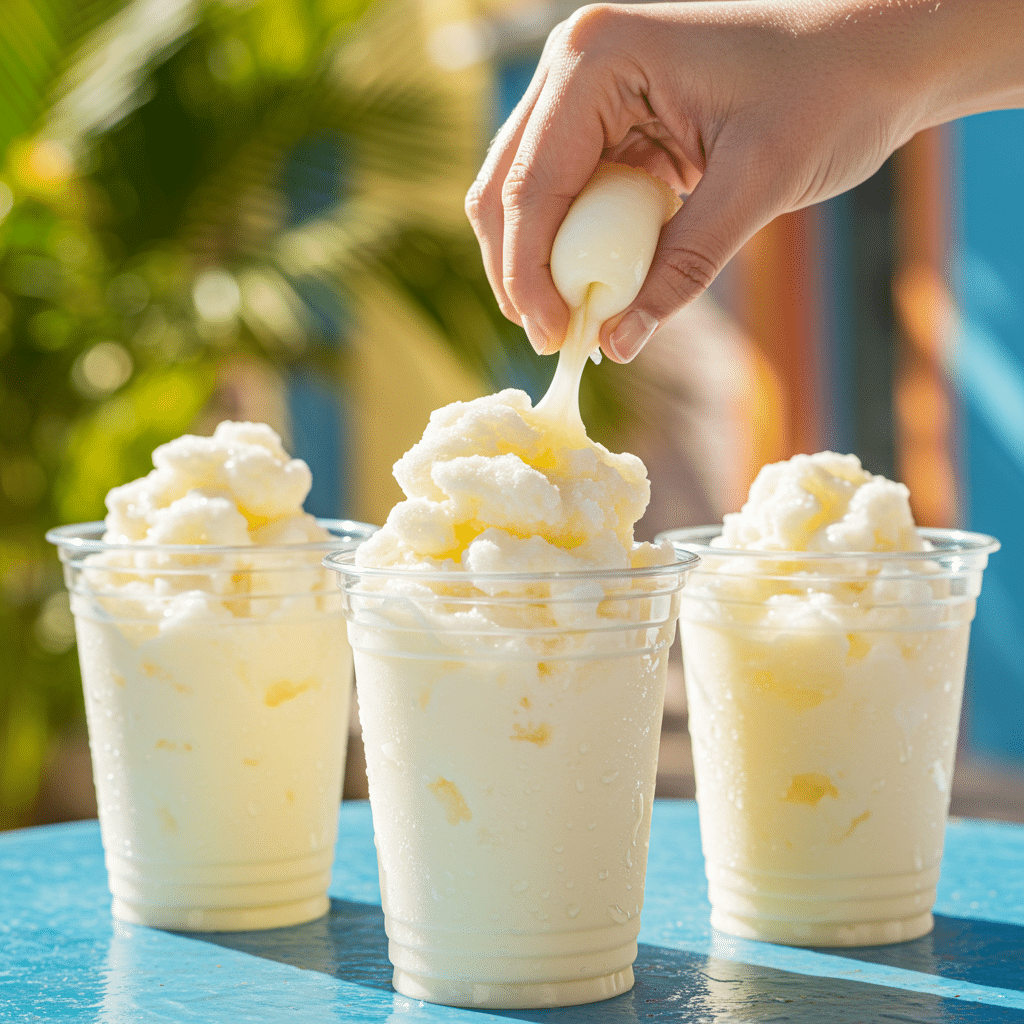
- The traditional way to eat a limber is to let it warm slightly in your hands, then squeeze the bottom of the cup to push the frozen treat up.
How to Eat a Limber
Part of the fun of a Limber de Coco y Piña is the way it’s eaten! There’s no spoon required. Simply warm the plastic cup in your hands for a few seconds to loosen the edges. Then, you can either squeeze the cup from the bottom up, pushing the frozen treat out to eat it, or flip the cup upside down and catch the frozen block in your hand.
Storage Information
Your finished Limber de Coco y Piña will keep very well in the freezer for up to a month. It’s a fantastic treat to make in a big batch and have on hand for any time you need a quick, refreshing taste of the tropics.
Classic Limber Variations to Try Next
Once you master the Limber de Coco y Piña, you can explore other traditional Puerto Rican flavors.
| Flavor Variation | How to Adapt the Recipe | The Delicious Result |
|---|---|---|
| Limber de Fresa (Strawberry) | Replace the pineapple juice and chunks with 2 cups of fresh or frozen strawberries and 1 cup of water. Blend with coconut milk and sugar. | A creamy, sweet, and fruity strawberry limber that kids and adults love. |
| Limber de Mango | Replace the pineapple components with 2 cups of mango nectar and 1 cup of ripe mango chunks. Blend with coconut milk and sugar. | Another classic tropical flavor that is incredibly sweet and refreshing. |
| Limber de Leche (Milk) | Omit the fruit and coconut milk. Blend 1 can of evaporated milk, 1 can of sweetened condensed milk, 1 cup of water, and 1 teaspoon of cinnamon. | A sweet, creamy, and spiced limber that tastes like a frozen cinnamon treat. |
Fore more recipe follow my Pinterest account
Conclusion: A Taste of Puerto Rican Sunshine
This Limber de Coco y Piña is more than just a frozen dessert; it’s a taste of tradition, culture, and the warm, sunny spirit of Puerto Rico. It’s a testament to the fact that the most delicious treats are often the simplest, made with love and a few perfect ingredients. We hope you enjoy the simple process of making this beloved dessert and sharing a refreshing taste of the island with your friends and family. ¡Buen provecho!
Frequently Asked Questions (FAQs)
Why did my limber separate into a clear layer and a white layer?
This happens if you skip the crucial stirring step after the first hour of freezing. The fat from the coconut milk naturally separates and rises to the top as it sits. Stirring the mixture when it’s at a slushy stage re-emulsifies it, ensuring a smooth and consistent texture throughout the final Limber de Coco y Piña.
Can I use fresh pineapple instead of canned?
Yes, absolutely! If you have a very sweet, ripe fresh pineapple, you can use 1/2 cup of fresh chunks and 2 cups of fresh pineapple juice. Just be aware that the sweetness of fresh pineapple can vary, so you may need to adjust the amount of sugar you add.
Is there a non-dairy alternative to this Limber de Coco y Piña?
This recipe is already naturally dairy-free, as it uses coconut milk instead of dairy milk or cream! It’s a fantastic vegan frozen dessert option.


