Are you ready to make a splash at your next party? If you’re looking for a fun, easy, and jaw-droppingly cool dessert for a shark-themed birthday or a “Shark Week” viewing party, then look no further. This recipe for No-Churn Shark Ice Cream is your ticket to the most exciting frozen treat of the summer.
This is a spectacular and incredibly simple dessert that requires no ice cream maker and only a handful of ingredients. We’ll show you how to create beautiful blue and white ocean waves of creamy ice cream, studded with “sea glass” candies and, of course, topped with gummy sharks! This No-Churn Shark Ice Cream is a fun project for all ages and a guaranteed hit with kids and adults alike.
What makes this recipe so fantastic is its simplicity and its show-stopping, thematic presentation. The classic no-churn method creates a luxuriously creamy texture without any special equipment. Get ready to dive into the fun of making this amazing No-Churn Shark Ice Cream.
Table of Contents
Table of Contents
The Magic of No-Churn Ice Cream
The secret to this incredibly easy No-Churn Shark Ice Cream lies in two key ingredients that work together to create a creamy texture without a machine.
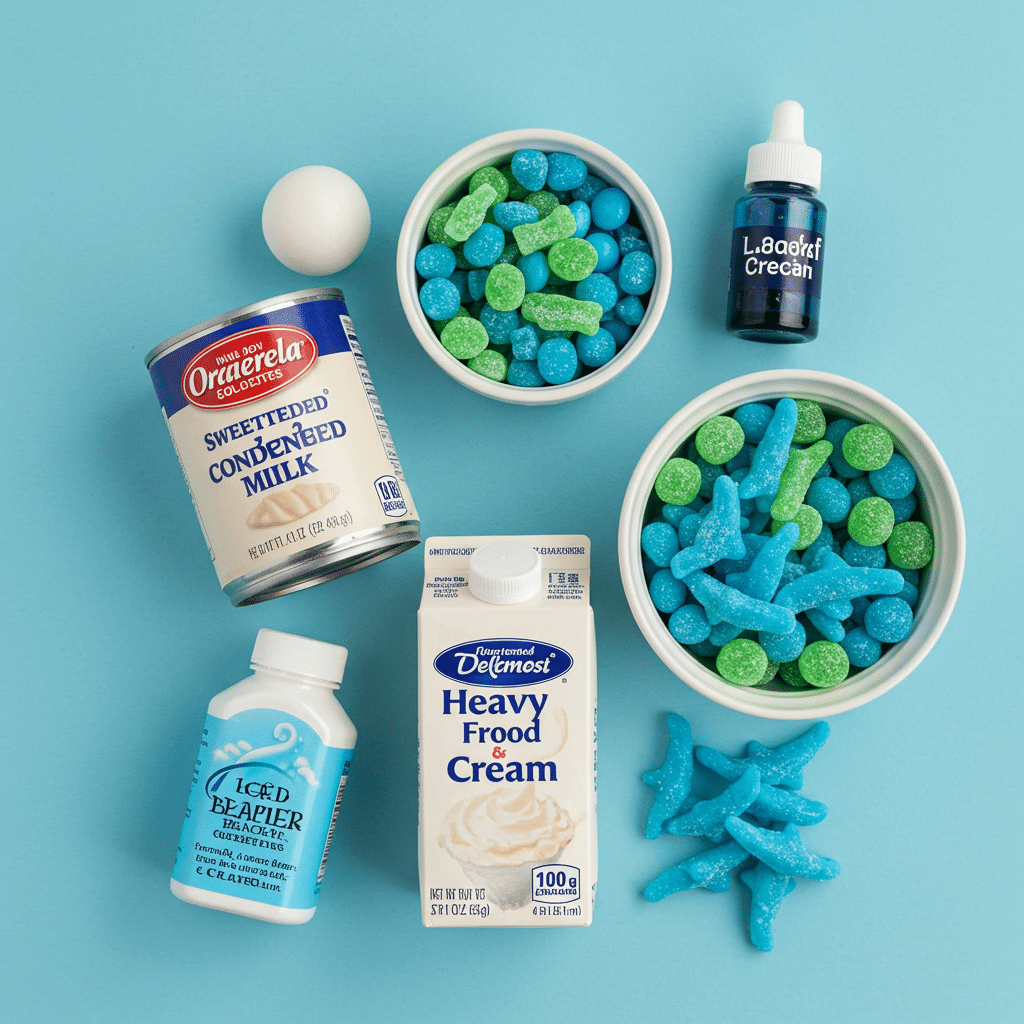
- Sweetened Condensed Milk: This is the magic base. It’s milk that has had most of its water removed and sugar added. Its thick, sugary consistency provides richness and, most importantly, prevents the formation of large, crunchy ice crystals, which is the key to a smooth frozen dessert.
- Whipped Heavy Cream: This is where the airiness comes from. By whipping cold heavy cream to stiff peaks, you are manually incorporating the air that an ice cream machine would churn in. When you fold this light, airy whipped cream into the dense condensed milk base, you create a perfectly balanced, scoopable ice cream texture.
The Key Ingredients for Your Ocean Adventure
Each component of this No-Churn Shark Ice Cream is chosen to create a fun, ocean-themed experience.
- Sweetened Condensed Milk & Heavy Cream: The duo that creates our easy, foolproof no-churn ice cream base.
- Sky Blue Gel Food Coloring: Gel food coloring is highly recommended over liquid coloring. It’s very concentrated, so you only need a tiny amount to get a vibrant color, and it won’t add extra water to your ice cream base, which can cause iciness.
- Blue and Green Candies: These are for the “sea glass” and “seaweed” hidden in the ocean waves! Crushed blue and green hard candies (like Jolly Ranchers) or rock candy work perfectly.
- Gummy Sand Sharks: The star of the show! These fun gummies are the perfect finishing touch to complete the shark theme of your No-Churn Shark Ice Cream.

Step-by-Step Guide to Your No-Churn Shark Ice Cream
This recipe is all about simple, fun assembly. Follow these steps for a perfect ocean-scape in a loaf pan!
Part 1: Create the Ice Cream Base
- Prepare Your Pan: Place a 9-by-5-by-3-inch metal loaf pan in the freezer to get it nice and cold. A cold pan will help the ice cream set up faster.
- Make the Condensed Milk Base: In a medium bowl, whisk together the can of sweetened condensed milk, the pure vanilla extract, and the pinch of fine salt until smooth.
- Divide and Color: Transfer half of this mixture to a second medium bowl. Stir the sky blue gel food coloring into one of the bowls until you have a beautiful ocean blue color. You now have two bases: one white (for the seafoam) and one blue (for the ocean water).
- Whip the Cream: In a separate large bowl, use an electric mixer on medium-high speed to whip the cold heavy cream until firm peaks form. This means that when you lift the beaters out of the cream, the peak that forms stands up straight without slumping over.
- Fold It All Together: Add about 1/2 cup of the whipped cream to your blue condensed milk bowl and fold it in with a rubber spatula to lighten the mixture. Then, add about half of the remaining whipped cream to the blue bowl and fold gently until just combined. Repeat the process with the white condensed milk bowl. You now have two bowls of fluffy ice cream base, one white and one blue.
Part 2: Assemble and Freeze Your Ocean
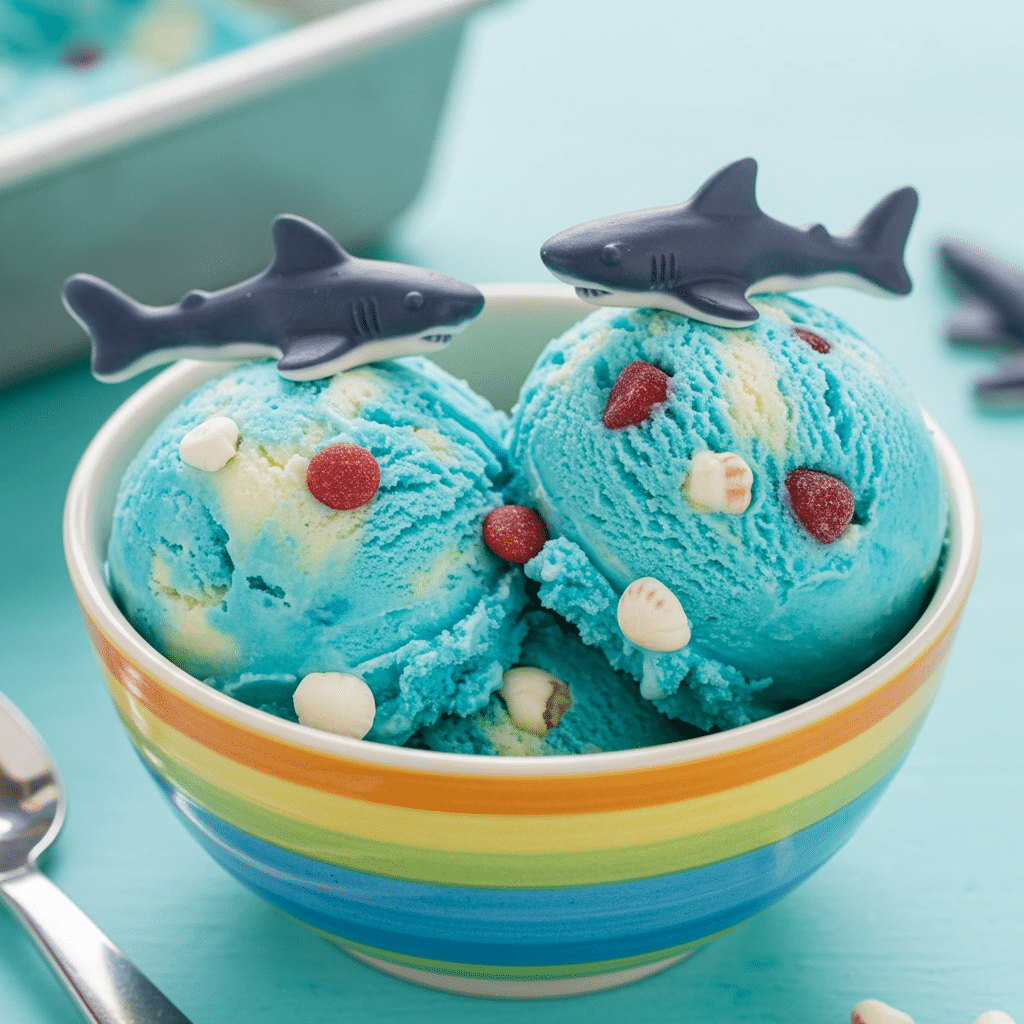
- Create the Waves: Remove the chilled loaf pan from the freezer. Use separate ice cream scoops or large spoons to drop scoops of the white and blue mixtures into the pan, alternating the colors to create a patchy, wave-like effect.
- Swirl the Colors: Take a long wooden skewer or a butter knife and drag it through the mixture a few times to gently swirl the blue and white colors together. Don’t overmix, or you will lose the distinct wave pattern! Just two or three passes is perfect.
- Add the “Sea Glass”: Sprinkle the tablespoon of assorted blue and green candies over the top of your No-Churn Shark Ice Cream.
- Freeze Until Solid: Cover the loaf pan with plastic wrap and place it on a level surface in your freezer. Freeze until the ice cream is solid and scoopable, which will take at least 5 hours, but overnight is best.
Part 3: Serve Your Creation
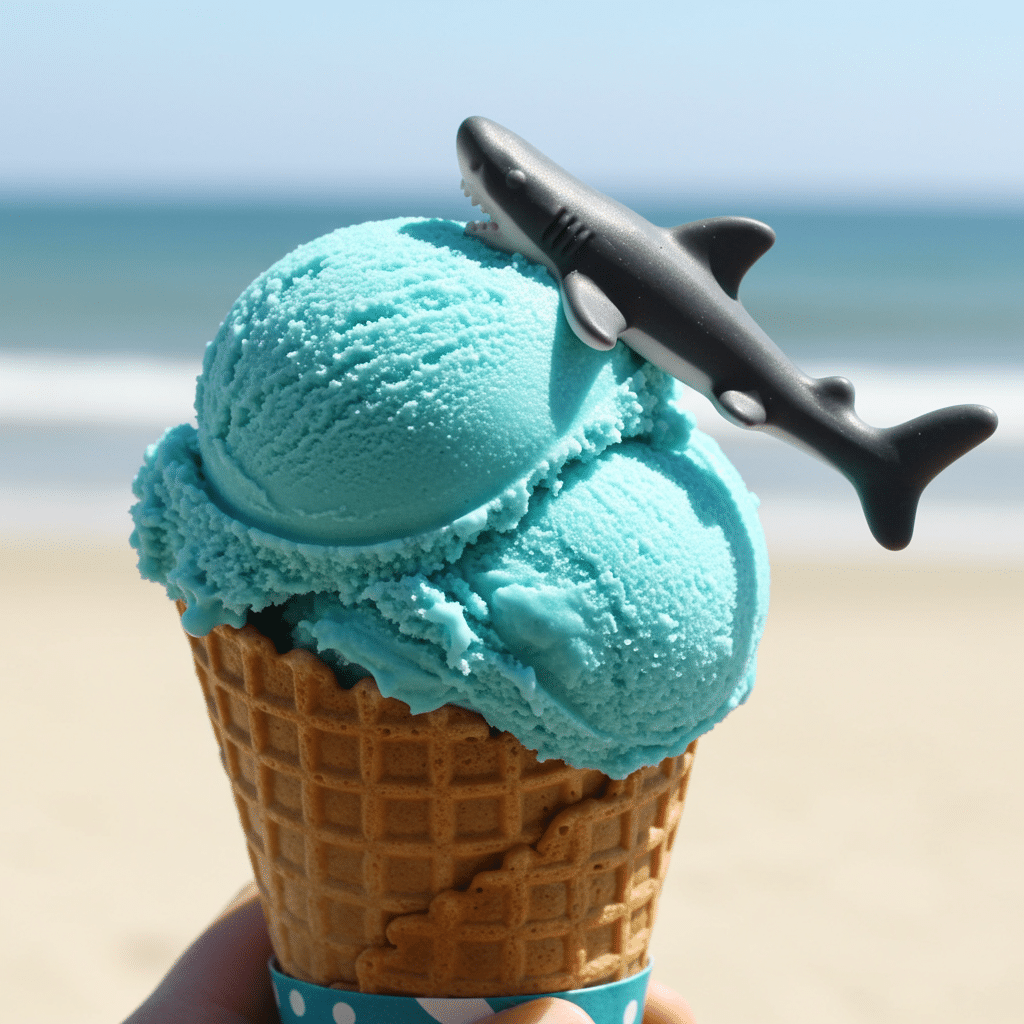
- Scoop and Garnish: When you’re ready to serve, scoop the No-Churn Shark Ice Cream into serving dishes or cones.
- Add the Sharks! Top each serving with more candies and, most importantly, the gummy sand sharks! Serve immediately and watch the fun begin.

The Ultimate No-Churn Shark Ice Cream: The Perfect Party Treat
A fun and easy no-churn ice cream with an ocean theme. This recipe involves making two condensed milk and whipped cream bases: one plain vanilla and one colored sky blue. The two colors are then swirled together in a loaf pan, topped with blue and green candies, and frozen until firm. It’s designed to be served with more candy and gummy sharks for a playful, kid-friendly dessert.
- Prep Time: 20 minutes
- Cook Time: 0 minutes
- Total Time: 5 hours 20 minutes (includes freezing time)
- Yield: 1.5 quarts (about 12 servings)
- Category: Dessert
- Method: No-Churn, Whipping, Freezing
- Cuisine: American
- Diet: Vegetarian
Ingredients
- One 14-ounce can sweetened condensed milk
- 2 teaspoons pure vanilla extract or vanilla bean paste
- Pinch of fine salt
- 1 teaspoon sky blue gel food coloring
- 2 cups cold heavy cream
- 1 tablespoon assorted blue and green candies, plus more for serving
- Gummy sand sharks, for garnish
Instructions
- Place a 9-by-5-by-3-inch metal loaf pan in the freezer to chill.
- In a medium bowl, whisk together the condensed milk, vanilla, and salt.
- Transfer half of this mixture to a second medium bowl and stir in the sky blue gel food coloring until evenly colored. Set both bowls aside.
- In a large bowl, whip the cold heavy cream with an electric mixer on medium-high speed until firm peaks form, which takes about 2 minutes.
- Add 1/2 cup of the whipped cream to each of the two condensed milk bowls. Use separate rubber spatulas to fold the cream in until combined.
- Divide the remaining whipped cream evenly between the two bowls and fold gently until the mixtures are fully combined and no streaks remain.
- Using separate scoops or large spoons, drop alternating scoops of the white and blue mixtures into the chilled loaf pan.
- Drag a long wooden skewer through the pan a few times to gently swirl the colors together.
- Sprinkle the top with 1 tablespoon of candies.
- Cover the pan and freeze until the ice cream is solid and scoopable, for at least 5 hours or overnight.
- To serve, scoop the ice cream into dishes or cones and top with more candies and gummy sharks.
Notes
- A 9-by-5-by-3-inch metal loaf pan is recommended for this recipe.
- Using separate spatulas and scoops for the white and blue mixtures is important to prevent the colors from becoming muddy.
- For a vegetarian version, use gelatin-free gummy candies as the garnish.
Throw a Shark Ice Cream Party!
This No-Churn Shark Ice Cream is the perfect centerpiece for a party. To make it even more fun, create a “Build Your Own Shark Sundae” bar!
- Scoop the ice cream into a large, chilled bowl.
- Set out small bowls of toppings: extra gummy sharks, “sea glass” candies, blue and white sprinkles, crushed vanilla wafers (for “sand”), and a bottle of strawberry or raspberry syrup for a fun “shark attack” effect!
Storage Information
Store your leftover No-Churn Shark Ice Cream in an airtight container in the freezer. For the best texture, press a piece of plastic wrap directly onto the surface of the ice cream before sealing the lid. It will keep well for up to two weeks.
Creative Recipe Variations
This fun recipe is a great base for other creative ideas!
| Flavor Variation | How to Adapt the Recipe | The Delicious Result |
|---|---|---|
| “Shark Attack” Ice Cream | Gently swirl 1/4 cup of strawberry or raspberry puree through the ice cream along with the blue swirls for a fun and “dangerously” delicious look. | A fruity, vibrant twist that adds a splash of red to the ocean scene. |
| “Sandy Beach” Ice Cream | Before you start layering the ice cream, press a thick layer of finely crushed vanilla wafer or Golden Oreo cookies into the bottom of the loaf pan to create an edible “sand” layer. | Adds a delicious, crunchy cookie base to your No-Churn Shark Ice Cream. |
| “Deep Sea” Shark Ice Cream | Use a darker navy blue or even a touch of black food coloring to create a deep-sea effect. Use silver sprinkles or silver pearl candies to represent shimmering fish. | A cool, moody, and mysterious version of the classic ocean theme. |
Fore more recipe follow my Pinterest account
Conclusion: A Jaws-ome Dessert Adventure
This No-Churn Shark Ice Cream is all about fun. It’s a simple, no-stress recipe that invites creativity and results in a dessert that is guaranteed to be the life of the party. The combination of creamy vanilla ice cream, colorful swirls, and playful candy toppings is a perfect treat for a hot summer day. So go ahead, dive in, and enjoy every exciting bite of your homemade No-Churn Shark Ice Cream!
Frequently Asked Questions (FAQs)
Why didn’t my ice cream get firm? It seems too soft.
The most common reason for soft no-churn ice cream is not whipping the heavy cream enough. You need to whip it until firm, stiff peaks form. If the cream is only lightly whipped, the final ice cream will not have enough air and structure to set up properly.
Can I use liquid food coloring instead of gel?
You can, but gel food coloring is highly recommended. You will need significantly more liquid coloring to achieve a vibrant blue, and adding that extra liquid can make your ice cream slightly more prone to iciness.
Where can I find gummy sharks?
Gummy sharks are a popular candy and can usually be found in the candy aisle of most major grocery stores, at specialty candy shops, or easily online.


