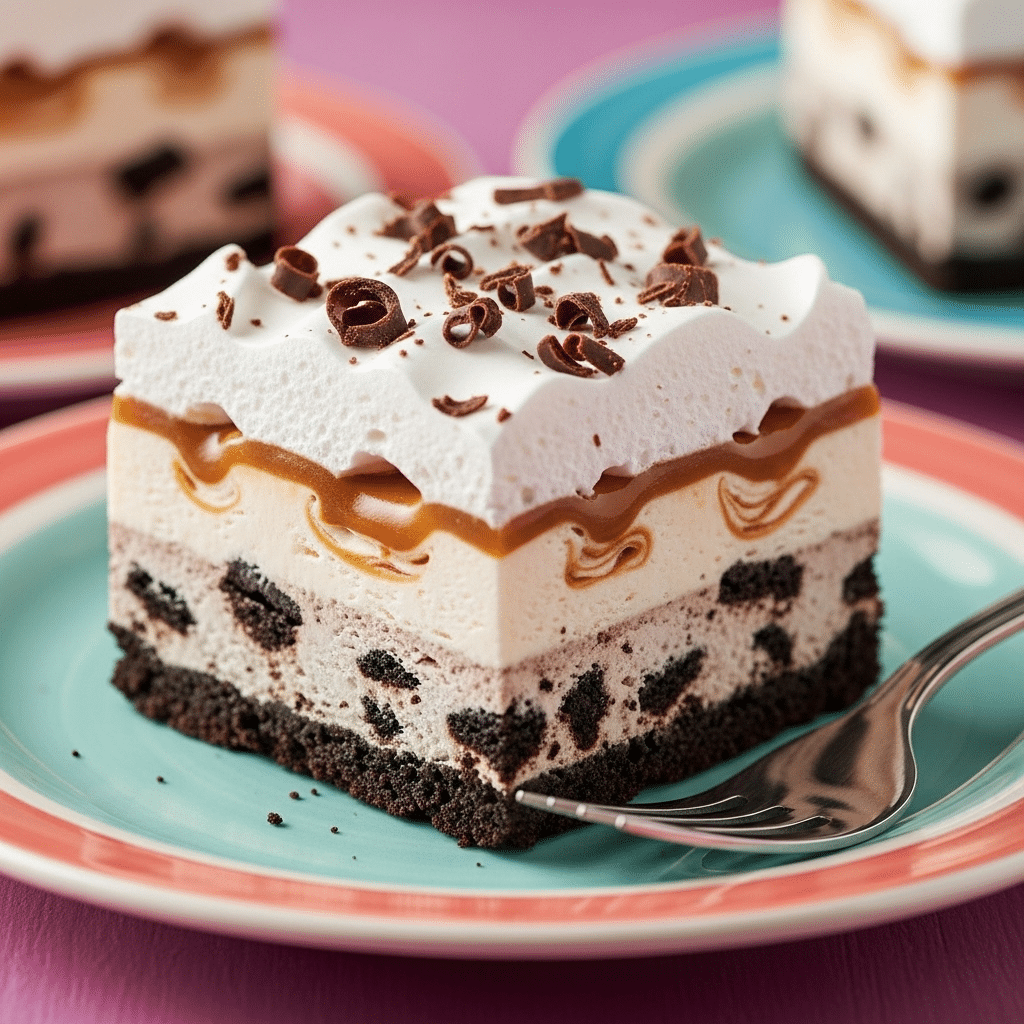
Are you looking for a spectacular, crowd-pleasing dessert that requires absolutely no baking and can be assembled in just a few minutes? Imagine a rich, crunchy chocolate cookie crust, a thick layer of creamy cookie dough ice cream, a drizzle of gooey caramel, and a fluffy whipped topping, all in one perfect, sliceable bar.
This recipe for the ultimate Cookies and Cream Ice Cream Bars is your secret weapon for easy entertaining. It’s a brilliant dessert hack that uses simple, store-bought ingredients to create a multi-layered masterpiece that looks and tastes like you spent hours on it. This is the perfect treat for potlucks, birthday parties, or any time you need a guaranteed hit without any stress.
What makes this recipe so special is its “double cookie” flavor and its incredible ease. With a crunchy cookie crust and a creamy cookie dough ice cream filling, it’s a true cookie lover’s dream. This guide will walk you through the simple layering process to create flawless Cookies and Cream Ice Cream Bars every single time.
Table of Contents
Table of Contents
The Art of the No-Bake Bar: Secrets to Success
The genius of these Cookies and Cream Ice Cream Bars lies in a few simple techniques that guarantee a beautiful, professional-looking result.
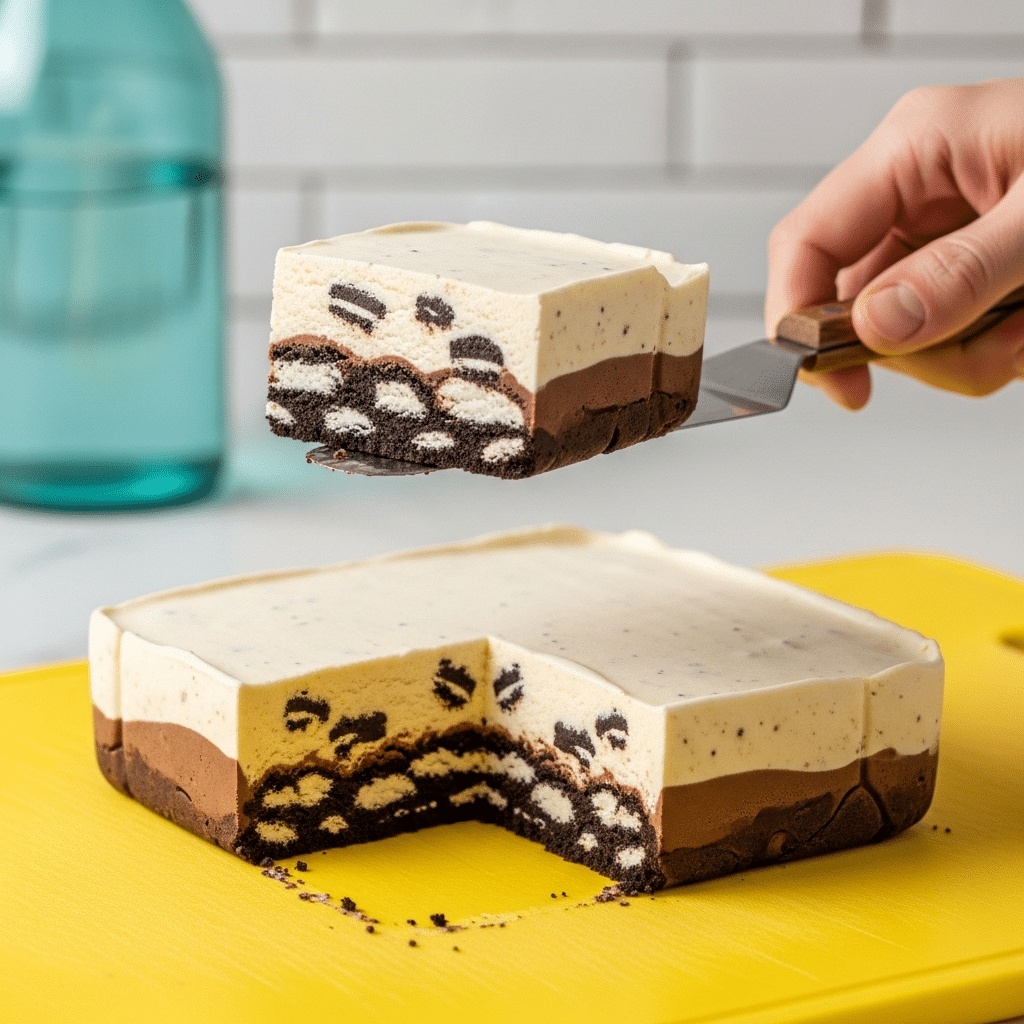
- The Foil Sling: This is the most important trick! By double-lining your baking pan with foil and leaving a few inches of overhang on the sides, you create “handles.” This allows you to lift the entire frozen block out of the pan effortlessly, which is the key to cutting clean, neat bars.
- The Layering Technique: The secret to distinct, beautiful layers is to work with the right textures. Use softened but not melted ice cream. For even cleaner layers, you can freeze the crust for 15 minutes before adding the ice cream, and freeze the ice cream layer for 30 minutes before adding the final toppings.
- The Stabilized Topping: This recipe calls for thawed whipped topping (like Cool Whip). While fresh whipped cream is delicious, a stabilized whipped topping is the better choice here because it holds its shape perfectly and won’t weep or become icy in the freezer.
The Key Ingredients for Your No-Bake Bars
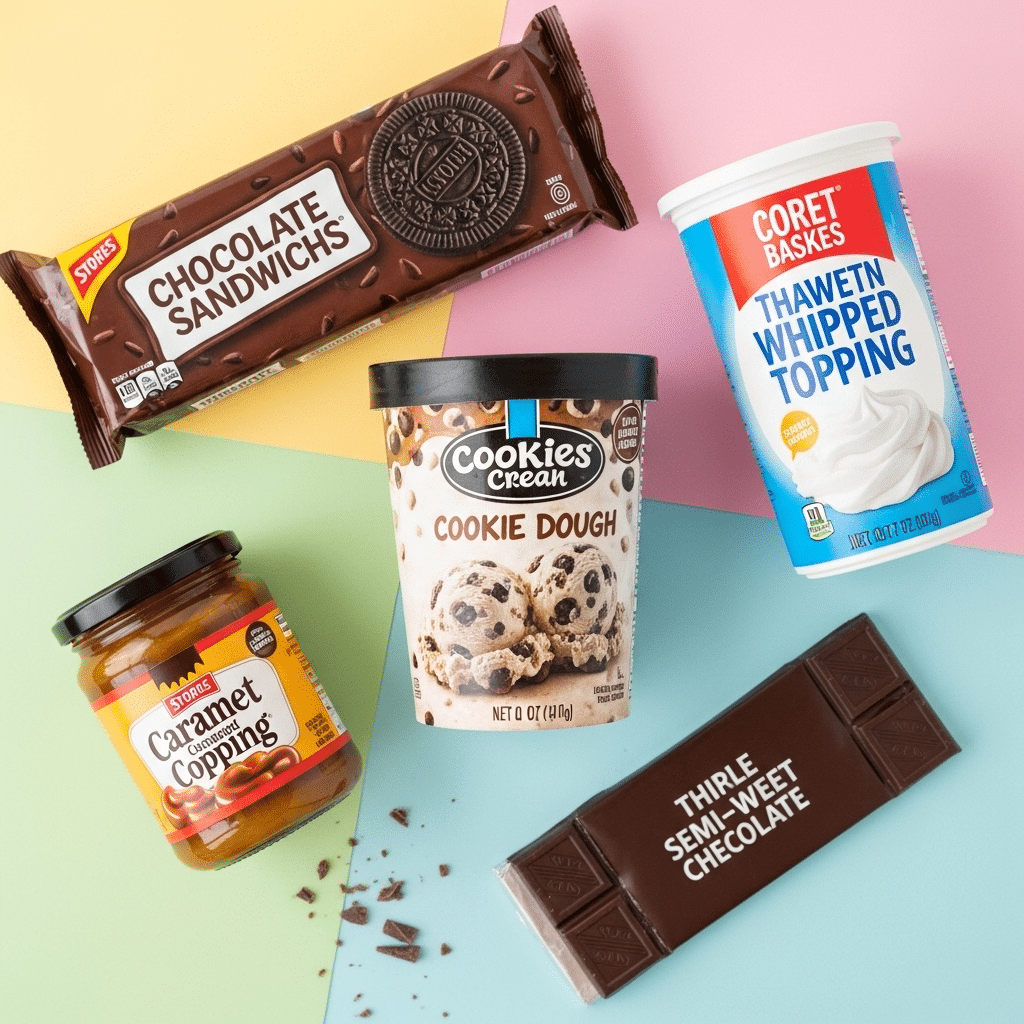
This recipe for Cookies and Cream Ice Cream Bars uses simple, easy-to-find store-bought ingredients.
- Cookies and Cream Cookies: Classic chocolate sandwich cookies (like Oreos) create the perfect rich, dark, and crunchy crust.
- Butter: Melted butter is the binder that turns the cookie crumbs into a sliceable crust.
- Cookie Dough Cream Ice Cream: This is the creamy, dreamy filling. Using a cookie dough-flavored ice cream adds a second, delicious layer of cookie flavor. However, a classic cookies and cream or vanilla ice cream would also be fantastic.
- Caramel Ice Cream Topping: A drizzle of gooey caramel adds a sweet, buttery, and chewy texture that perfectly complements the chocolate and cream.
- Thawed Whipped Topping: Provides the light, fluffy, cloud-like top layer.
- Shaved Chocolate: A simple, elegant garnish that adds a touch of extra chocolate flavor.

Step-by-Step Guide to Your Cookies and Cream Ice Cream Bars
This dessert is all about easy, fun assembly. Follow these steps for a perfect result.
- Prepare the Pan: Double line a 9-inch square baking pan with foil, making sure to leave at least a 2-inch overhang on two opposite sides to create your “handles.”
- Make the Crust: In a food processor, pulse the cookies and cream cookies until they are fine crumbs. If you don’t have a food processor, you can place them in a ziptop bag and crush them with a rolling pin. In a medium bowl, toss the cookie crumbs and the melted butter together until the crumbs are evenly moistened.
- Form the Crust: Firmly press the cookie crumb mixture into the bottom of your prepared pan. Use the flat bottom of a glass or measuring cup to press it into a tight, even layer.
- Pro-Tip: For an extra-sturdy crust, place the pan in the freezer for 15 minutes to firm up before adding the next layer.
- Add the Ice Cream Layer: Let your 4 cups of cookie dough ice cream soften at room temperature for about 15 minutes until it’s spreadable. Carefully spread the softened ice cream in a smooth, even layer across the crust.
- Add the Toppings: Drizzle the caramel topping over the ice cream layer. Then, top with the thawed whipped topping, spreading it gently into a final, fluffy layer. Sprinkle with a dusting of shaved semi-sweet chocolate.
- Freeze Until Solid: Place the pan on a level surface in the freezer. Freeze for at least 3 hours, or until the bars are completely firm and solid. An overnight freeze is even better for the cleanest slices.
- Slice and Serve: To serve, use the foil handles to lift the entire frozen block out of the pan and onto a cutting board. Peel away the foil. Use a large, sharp knife—run under hot water for the cleanest cuts—to slice the block into bars. Serve your perfect Cookies and Cream Ice Cream Bars immediately.

The Easiest No-Bake Cookies and Cream Ice Cream Bars
A simple no-bake, layered dessert bar. This recipe features a crust made from crushed cookies and cream cookies mixed with melted butter. The crust is topped with a layer of softened cookie dough ice cream, drizzled with caramel sauce, and finished with a layer of whipped topping and shaved chocolate. The bars are frozen until firm and then sliced for serving.
- Prep Time: 15 minutes
- Cook Time: 0 minutes
- Total Time: 3 hours 15 minutes (includes freezing time)
- Yield: 12-16 bars
- Category: Dessert
- Method: No-Bake, Layering, Freezing
- Cuisine: American
- Diet: Vegetarian
Ingredients
- 20 cookies and cream cookies
- 3 tablespoons butter, melted
- 4 cups cookie dough cream ice cream, softened
- 1/4 cup caramel ice cream topping
- 2 cups thawed whipped topping
- Shaved semi-sweet chocolate, for garnish
Instructions
- Double line a 9-inch square baking pan with foil, allowing handles to extend over the sides for easy removal.
- Place the cookies in a food processor and pulse until they become fine crumbs.
- In a medium bowl, toss the cookie crumbs with the melted butter until combined.
- Firmly press the crumb mixture into the bottom of the prepared pan to form a crust.
- Carefully spread the softened ice cream evenly across the crust.
- Drizzle the caramel topping over the ice cream layer.
- Top with the thawed whipped topping, spreading it evenly.
- Sprinkle with a dusting of shaved chocolate for garnish.
- Place the pan in the freezer for at least 3 hours to firm up completely.
- To serve, use the foil handles to lift the dessert from the pan and slice into bars.
Notes
- Using a foil sling with handles makes it much easier to remove the frozen dessert from the pan for slicing.
- Allow the ice cream to soften at room temperature for about 10-15 minutes to make it easily spreadable.
Storage Information
Store any leftover Cookies and Cream Ice Cream Bars in an airtight, freezer-safe container, separated by layers of wax or parchment paper. They will keep well in the freezer for up to two weeks.
Creative “Ice Cream Bar” Variations
This simple layering technique is the perfect formula for endless dessert creations.
| Flavor Variation | Crust Base | Ice Cream Flavor | Drizzle/Topping |
|---|---|---|---|
| “Peanut Butter Cup” Bars | Crushed Nutter Butter cookies | Peanut Butter Cup or Chocolate Ice Cream | Chocolate fudge sauce |
| “Strawberry Cheesecake” Bars | Crushed graham crackers | Strawberry Cheesecake Ice Cream | Strawberry sauce |
| “Mint Chocolate” Bars | Crushed chocolate wafer cookies | Mint Chocolate Chip Ice Cream | Chocolate fudge sauce |
| “S’mores” Bars | Crushed graham crackers | Rocky Road or Chocolate Ice Cream | Marshmallow fluff and chocolate sauce |
For more recipe follow mu Pinterest account
Conclusion: The Ultimate No-Fail Party Dessert
These Cookies and Cream Ice Cream Bars are the definition of a crowd-pleasing, no-stress dessert. They are incredibly easy to assemble, can be made well in advance, and deliver on all the delicious, comforting flavors that everyone loves. This is destined to become your new go-to recipe for potlucks, parties, and any time you need a guaranteed hit. Enjoy the simplicity and the delicious results of your homemade Cookies and Cream Ice Cream Bars.
Frequently Asked Questions (FAQs)
Why did my layers all blend together?
This can happen if your ice cream is too soft and melted when you assemble the bars. You want it to be spreadable, but still quite firm. Following the optional pro-tip of freezing the crust and the ice cream layer for a short time before adding the next toppings will guarantee clean, beautiful layers.
Can I use fresh whipped cream instead of thawed whipped topping?
You can, but store-bought whipped topping is recommended for this recipe. It contains stabilizers that allow it to freeze perfectly without becoming icy or weeping, ensuring your bars stay beautiful and delicious.
What’s the best way to cut the frozen bars cleanly?
The secret is a long, sharp knife and hot water. Run the blade of the knife under very hot water for a few seconds, then quickly wipe it dry. The hot blade will slice cleanly through the frozen layers. Repeat this for every cut.


