If you’re obsessed with your Ninja Creami and have been intrigued by the viral cottage cheese ice cream trend, you’ve officially found the perfect recipe. This is the ultimate guide to creating the creamiest, most delicious, high-protein Ninja Creami Cottage Cheese Ice Cream you will ever taste.
This recipe for a Strawberry Ninja Creami Cottage Cheese Ice Cream is a true game-changer. We combine protein-packed cottage cheese with sweet strawberries and honey, then use the unique power of the Ninja Creami to transform it into a luxuriously smooth and scoopable frozen dessert. It’s healthy, incredibly easy, and tastes absolutely phenomenal.
What makes this recipe so special is how the Ninja Creami is uniquely suited to perfecting cottage cheese ice cream. Its powerful processing method completely eradicates any hint of a grainy texture, resulting in a finished product that is far smoother and creamier than what you can achieve with a standard blender and freezer method. Get ready to unlock a new level of healthy frozen treats!
Table of Contents
Table of Contents
Why the Ninja Creami is Perfect for This Trend
The viral cottage cheese ice cream trend is fantastic, but the one challenge can be texture. Because it’s high in protein and lower in fat and sugar, it freezes very hard. The Ninja Creami solves this problem perfectly.
- How it Works: Unlike a traditional ice cream maker that churns a liquid base as it freezes, the Ninja Creami starts with a solid, frozen block. Its “Creamerizer” paddle spins at high speed, shaving and processing the frozen block into microscopic particles. This process creates an incredibly smooth, creamy texture from a high-protein base that would be icy or hard with other methods.
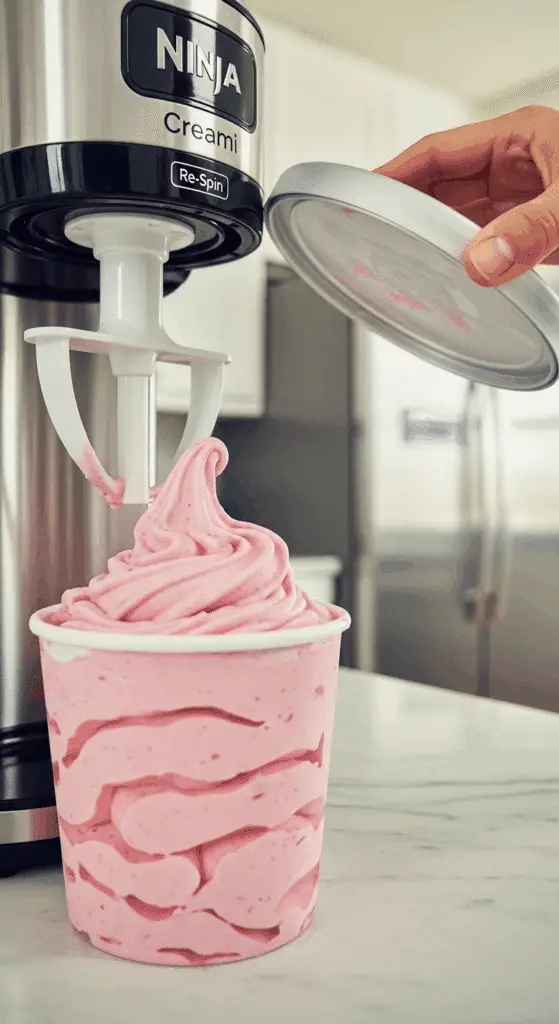
- The Magic of the “Re-Spin”: As this recipe notes, the first spin on a high-protein base might look dry or powdery. This is completely normal! The “Re-Spin” cycle is the magic button. It processes the mixture a second time, creating a perfectly smooth and creamy texture. The power of the Ninja Creami makes it the ideal tool for making the best possible Ninja Creami Cottage Cheese Ice Cream.
The Key Ingredients for Your Creami Masterpiece
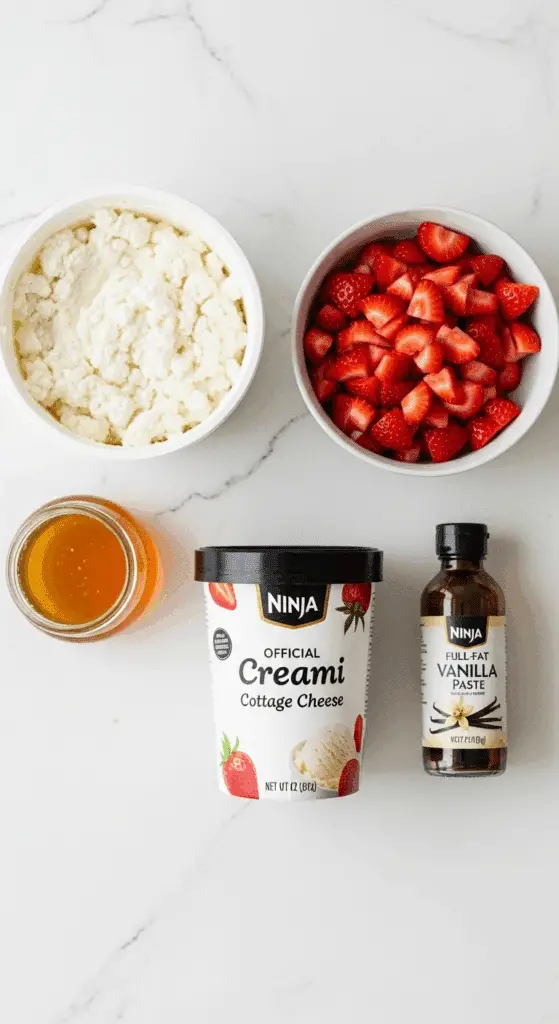
This recipe for Ninja Creami Cottage Cheese Ice Cream uses just four simple, wholesome ingredients.
- Full-Fat Cottage Cheese: This is the most important ingredient for a creamy result. You must use full-fat cottage cheese (4% milkfat or higher). The fat content is essential for a smooth mouthfeel and to prevent a “powdery” texture after the first spin.
- Strawberries: The recipe calls for chopped strawberries, and you can use either fresh or frozen. Frozen strawberries will help the base chill faster and are a great year-round option.
- Honey: A touch of natural liquid sweetener balances the tang of the cottage cheese and helps to ensure a softer final texture. You can also use maple syrup or a sugar-free keto-friendly sweetener.
- Vanilla Bean Paste or Extract: Vanilla bean paste is a fantastic choice as it provides the beautiful visual specks of a real vanilla bean with the convenience of an extract, adding a deep, authentic vanilla flavor.

Step-by-Step Guide to Your Ninja Creami Cottage Cheese Ice Cream
This process is incredibly simple. The magic is all in the machine!
- Blend the Base in the Pint: Place your 2 cups of cottage cheese, 1 cup of chopped strawberries, 3 tablespoons of honey, and 1 teaspoon of vanilla bean paste directly into your Ninja Creami pint container.
- Puree Until Smooth: Use an immersion blender to puree the mixture directly in the pint until it is completely smooth. If you don’t have an immersion blender, you can blend all the ingredients in a regular blender and then pour the smooth mixture into the pint container.
- The 24-Hour Freeze: Secure the lid on the pint and place it on a level surface in your freezer. Freeze the base for at least 24 hours. The block must be completely frozen solid for the Ninja Creami to work its magic.
- The First Spin: Once frozen solid, remove the lid from the pint and place it in the outer bowl of your Ninja Creami. Lock it into place and select the “Lite Ice Cream” cycle.
- The Re-Spin (The Most Important Step): After the first cycle is complete, the mixture will likely look dry, crumbly, or powdery. This is normal! Place the pint back in the machine and run it on one “Re-Spin” cycle. This second spin is what will transform the powdery mixture into a perfectly smooth and creamy Ninja Creami Cottage Cheese Ice Cream.
- Pro-Tip: The recipe notes that if your base is extremely crumbly (which can happen with lower-fat cottage cheese), you can add a tablespoon of milk, cream, or juice to the center before the Re-Spin cycle to help it process.
- Add Mix-Ins (Optional): If you’d like to add mix-ins like more chopped strawberries, chocolate chips, or crushed cookies, create a small well in the center of the ice cream, add your mix-ins, and process them using the “Mix-In” cycle.
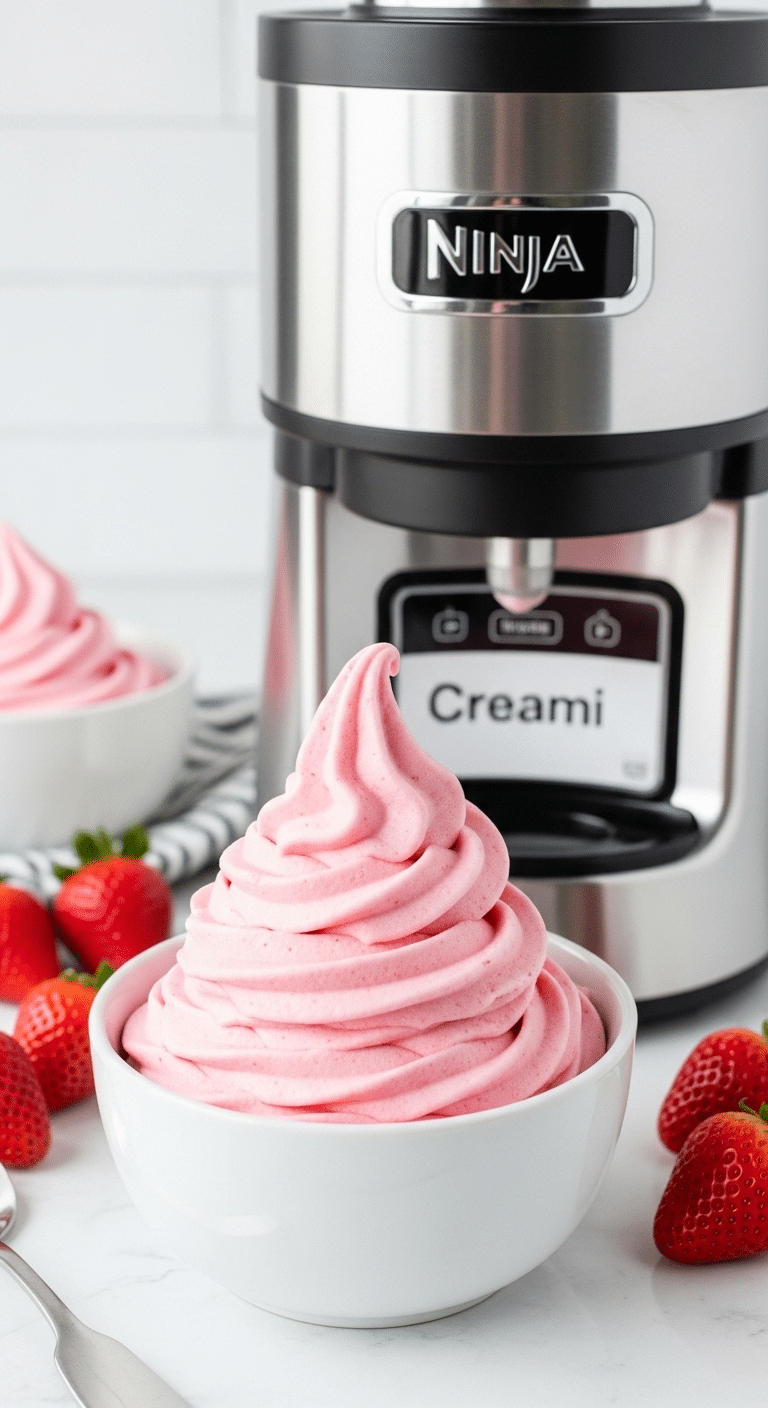
- Serve and Enjoy: You can enjoy your Ninja Creami Cottage Cheese Ice Cream immediately as a perfect, creamy soft-serve.

The Ultimate Ninja Creami Cottage Cheese Ice Cream (Strawberry!)
A high-protein strawberry ice cream recipe specifically designed for the Ninja Creami machine. The base is made by blending cottage cheese, chopped strawberries, honey, and vanilla until smooth. This mixture is frozen solid in a Ninja Creami pint for 24 hours and then processed using the ‘Lite Ice Cream’ and ‘Re-Spin’ cycles to create a creamy, scoopable frozen dessert.
- Prep Time: 10 minutes
- Cook Time: 0 minutes
- Total Time: 24 hours 20 minutes (includes 24-hour freeze time)
- Yield: 1 pint (3-4 servings)
- Category: Dessert
- Method: Blending, Freezing, Processing (Ninja Creami)
- Cuisine: American
- Diet: Gluten Free
Ingredients
- 2 cups cottage cheese
- 1 cup chopped strawberries
- 3 tablespoons honey
- 1 teaspoon vanilla bean paste or extract
Instructions
- In the Ninja Creami pint container, combine the cottage cheese, chopped strawberries, honey, and vanilla.
- Use an immersion blender to puree the mixture directly in the pint until it is smooth. (Alternatively, blend all ingredients in a regular blender and then pour the mixture into the pint).
- Secure the lid on the pint and place it in the freezer on a level surface. Freeze for a full 24 hours.
- Once frozen, remove the pint from the freezer, take off the lid, and place it in the outer bowl of the Ninja Creami. Secure the processing lid and place it in the machine.
- Select the ‘Lite Ice Cream’ cycle and run it.
- After the first cycle, the texture may be powdery. Place the pint back in the machine and run a ‘Re-Spin’ cycle.
- Check the texture. If desired, you can add any mix-ins and run the ‘Mix-In’ cycle.
- Serve the ice cream immediately for a soft-serve consistency, or transfer back to the freezer for a firmer texture.
Notes
- Special Equipment: This recipe requires a Ninja Creami machine and its specific pint container. An immersion blender is also recommended for convenience.
- Freezing the base for a full 24 hours is crucial for the Ninja Creami to process it correctly.
- A ‘Re-Spin’ cycle is usually necessary to achieve a creamy texture after the initial ‘Lite Ice Cream’ cycle.
- The article suggests that adding a tablespoon of liquid during the Re-Spin cycle may be helpful, especially if using fat-free cottage cheese.
Storage Information
If you have leftovers, simply smooth the top of the ice cream in the pint container and return it to the freezer. When you’re ready to eat it again, you will likely need to run it through another “Re-Spin” cycle to return it to its creamy state.
The Ultimate Ninja Creami Cottage Cheese Ice Cream Formula
This strawberry version is just the beginning! Use this simple formula to create endless flavors. 2 cups full-fat cottage cheese + 1/4 cup sweetener + 1 cup fruit/flavoring.
| Flavor Variation | Add to the Pint Before Blending | Optional Mix-Ins |
| Chocolate Peanut Butter | 1 ripe banana, 2 tbsp peanut butter, 2 tbsp cocoa powder, and 2 tbsp maple syrup. | Mini peanut butter cups or chocolate chips. |
| Pineapple “Dole Whip” | 1 cup of canned or fresh pineapple chunks and 2 tbsp of honey. | Toasted coconut flakes. |
| Coffee Toffee | 2 tbsp of instant espresso powder and 1/4 cup of maple syrup. | Crushed toffee bits (like Heath bars). |
| Mint Chocolate Chip | A few drops of pure peppermint extract and a drop of natural green food coloring (optional). Sweeten with 1/4 cup of honey or maple syrup. | Sugar-free or regular mini chocolate chips. |
For more recipe follow my Pinterest account
Conclusion: The Perfect Pairing of Trend and Tech
This Ninja Creami Cottage Cheese Ice Cream is the perfect marriage of a viral health trend and a revolutionary kitchen appliance. The result is a dessert that is not only incredibly delicious but also packed with protein and endlessly customizable. It proves that you can have a guilt-free treat that is every bit as satisfying as a traditional, decadent ice cream. Enjoy experimenting with all the amazing flavors you can create!
Frequently Asked Questions (FAQs)
Why is my ice cream powdery even after a Re-Spin?
This can happen if your base doesn’t have enough fat or sugar. Ensure you are using full-fat (4%) cottage cheese. If it’s still powdery, add one tablespoon of liquid (milk, cream, or even water) and run the Re-Spin cycle one more time. This almost always solves the problem.
Do I have to use an immersion blender?
No, a regular high-powered blender works perfectly. The only advantage of an immersion blender is convenience, as you can blend directly in the pint container, which means one less thing to wash.
Can I use fresh strawberries?
Yes, fresh or frozen strawberries both work wonderfully in this Ninja Creami Cottage Cheese Ice Cream recipe. If using fresh, make sure they are ripe and sweet for the best flavor.


