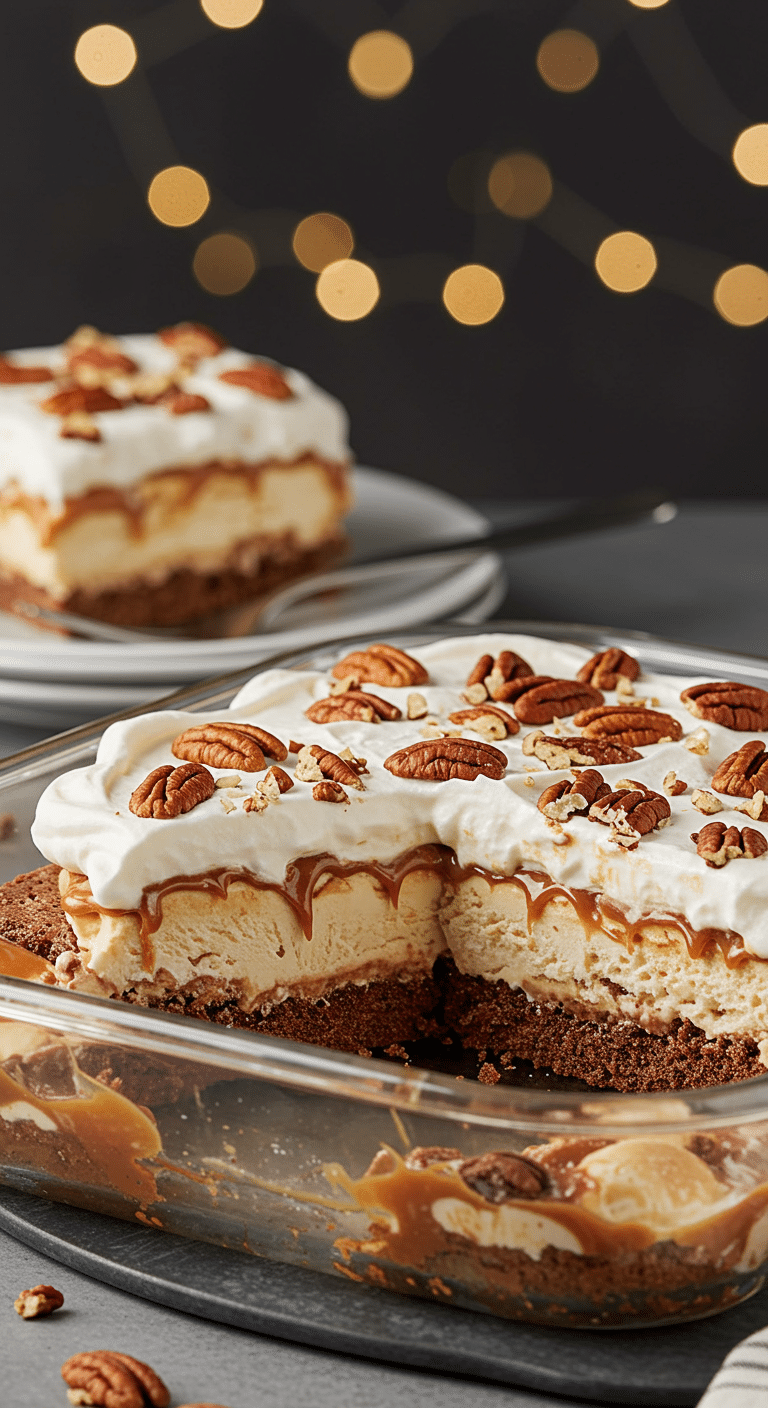
Have you seen that amazing, super-easy layered ice cream dessert that’s all over social media and is the star of every summer party? It’s the legendary Ice Cream Sandwich Cake, and it’s the easiest, most popular, and most requested party dessert you will ever bring to a gathering. It’s less of a recipe and more of a brilliant dessert hack.
This is the ultimate treat for anyone who wants to bring a show-stopping dessert to a potluck or birthday party without turning on their oven or even touching a mixing bowl. We simply layer store-bought ice cream sandwiches with whipped topping and decadent sauces to create a giant, sliceable ice cream sundae. Get ready to discover the secret to the easiest party dessert of all time.
Table of Contents
Table of Contents
Recipe Overview: The Ultimate No-Bake Party Dessert
What makes this Ice Cream Sandwich Cake a viral sensation is its absolute, unapologetic simplicity and its guaranteed crowd-pleasing flavor. This is a true no-bake, “assembly-only” masterpiece that takes about 10 minutes to put together. The layers of familiar, beloved ingredients—creamy ice cream, soft chocolate wafers, fluffy whipped topping, rich hot fudge, and gooey caramel—create a perfect frozen dessert that tastes like pure fun and nostalgia.
| Metric | Time / Level |
| Total Time | 45 minutes (includes freezing) |
| Active Prep Time | 10 minutes |
| Difficulty Level | Easy |
| Servings | 12-16 |
The 5 Essential Ingredients for This Easy Cake
This recipe uses a handful of convenient, easy-to-find ingredients from the freezer and ice cream aisles to create something truly magical.
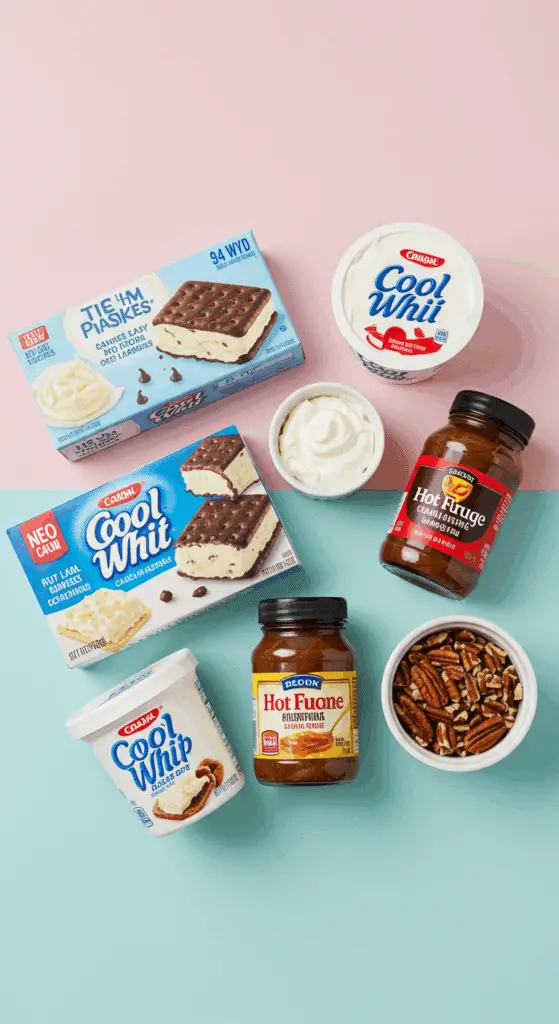
- Vanilla Ice Cream Sandwiches: These are the genius “bricks” we use to build our cake! Standard rectangular vanilla ice cream sandwiches provide perfect, even layers of creamy vanilla ice cream and soft, chocolatey wafer cookies, creating the structure of the cake with zero effort.
- Whipped Topping (like Cool Whip®): This acts as the light and fluffy “mortar” and “frosting” for our cake. A stabilized frozen whipped topping is the best choice for this recipe because it freezes into a perfectly smooth, light, and creamy texture without becoming icy or watery.
- Hot Fudge Ice Cream Topping: For that rich, decadent, and intensely chocolatey layer, you want to use a jar of hot fudge topping. It’s thicker and richer than regular chocolate syrup and creates a distinct, delicious, fudgy layer in the finished cake.
- Caramel Ice Cream Topping: A jar of gooey caramel or dulce de leche topping adds a wonderful, sweet-and-salty layer that is the perfect complement to the rich chocolate and creamy vanilla.
- Chopped Pecans: A sprinkle of toasted, chopped pecans on top is the perfect finishing touch. It adds a much-needed, delightful crunch and a nutty, buttery flavor that beautifully balances all the sweet and creamy layers.

Step-by-Step to the Easiest Ice Cream Cake Ever
This recipe is all about quick and easy assembly. The key is to work with a plan so the ice cream sandwiches don’t melt too much while you work.
Step 1: Prepare Your Pan and Build the Foundation
First, make sure you have all your ingredients unwrapped and ready to go.
Arrange a single, tightly packed layer of 12 of the unwrapped vanilla ice cream sandwiches in the bottom of a 9×13-inch dish. You may need to cut one or two of the sandwiches with a sharp knife to make them fit perfectly and create a solid, even base with no gaps.
Pro Tip: For incredibly easy removal and cleanup, you can line your 9×13-inch dish with a long piece of plastic wrap or parchment paper, leaving some overhang on the two long sides. You can use these “handles” to lift the entire frozen cake out of the dish for easy slicing.
Step 2: Add the First Layer of Toppings
Carefully spread one of the 8-ounce containers of thawed whipped topping in an even layer over the ice cream sandwiches.
Next, drizzle the warmed hot fudge topping and the caramel topping over the whipped topping layer.
Pro Tip: To make the sauces easy to drizzle and spread, you can warm them slightly. Either remove the lids and microwave them for 15-20 seconds, or simply place the closed jars in a bowl of hot tap water for a few minutes.
Step 3: Build the Second and Final Layer
Now, simply repeat the layering process. Arrange the remaining 12 ice cream sandwiches on top of the sauce layer to create the second story of your cake.
Top this with the second container of whipped topping, spreading it all the way to the edges to “frost” the entire cake. You can make it smooth or create pretty, decorative swirls with the back of your spoon.
Drizzle any remaining hot fudge and caramel over the top in an attractive pattern.
Step 4: Garnish and Freeze to Perfection
Sprinkle the chopped pecans evenly over the top of the cake.
Cover the dish tightly with aluminum foil and place it in the freezer. Let the cake freeze until it is firm and the layers have set, which will take at least 30 minutes. For an even firmer cake that is much easier to slice cleanly, it is highly recommended to freeze it for 2 to 4 hours.
When you are ready to serve, simply slice the frozen cake into squares and enjoy the oohs and aahs from your guests!

Viral 10-Minute Ice Cream Sandwich Cake Hack
An incredibly simple, no-bake layered dessert, this Ice Cream Sandwich Cake is perfect for a crowd. The recipe involves layering whole, unwrapped vanilla ice cream sandwiches in a 9×13-inch dish with alternating layers of thawed whipped topping, warm hot fudge, and caramel sauce. The cake is finished with a final layer of whipped topping and a sprinkle of chopped pecans, then frozen until set.
- Prep Time: 15 minutes
- Cook Time: 0 minutes
- Total Time: 45 minutes (includes freezing time)
- Yield: 12 servings
- Category: Dessert
- Method: No-Bake, Layering, Freezing
- Cuisine: American
- Diet: Vegetarian
Ingredients
- 24 vanilla ice cream sandwiches, unwrapped
- 2 (8 ounce) containers whipped topping (e.g., Cool Whip®), thawed
- 1 (12 ounce) jar hot fudge ice cream topping, warmed
- 1 (12 ounce) jar caramel ice cream topping
- ¼ cup chopped pecans, or to taste
Instructions
- In a 9×13-inch dish, arrange a single, tight layer of 12 ice cream sandwiches to cover the bottom.
- Spread one container of the thawed whipped topping over the ice cream sandwich layer.
- Drizzle the hot fudge topping and the caramel topping over the whipped topping.
- Arrange the remaining 12 ice cream sandwiches on top.
- Spread the second container of whipped topping over the top layer of sandwiches.
- Sprinkle the chopped pecans evenly over the top.
- Cover the dish with aluminum foil and place in the freezer for at least 30 minutes, or until firm enough to slice.
- Slice into squares and serve.
Notes
- This is a very quick and easy recipe that uses all store-bought ingredients for fast assembly.
- Warming the hot fudge topping slightly makes it easier to pour and spread over the layers.
- For cleaner slices, you can freeze the cake for a longer period (1-2 hours) before cutting.
The Fun Part: How to Customize Your Cake!
This simple recipe is a fantastic canvas for your creativity. Think of it as a giant ice cream sundae and feel free to swap out the toppings and flavors!
| Variation Name | How to Make It |
| Neapolitan Dream Cake | Use Neapolitan (strawberry, vanilla, chocolate) ice cream sandwiches. Layer with strawberry sauce on the first layer and hot fudge on the second. Top with rainbow sprinkles. |
| Black Forest Sundae Cake | Use all-chocolate ice cream sandwiches. Layer with hot fudge and a can of cherry pie filling. Top with chocolate shavings and maraschino cherries. |
| Coffee Toffee Crunch Cake | Use vanilla ice cream sandwiches. Drizzle with both caramel and hot fudge sauce, and top the entire cake with a generous amount of crushed Heath® or Skor® toffee bars instead of pecans. |
| Ultimate Oreo® Cake | Use cookies and cream ice cream sandwiches. Drizzle with hot fudge and top with a thick layer of coarsely crushed Oreo® cookies. |
Storage and Make-Ahead Tips
This Ice Cream Sandwich Cake is the ultimate make-ahead party dessert.
- Make-Ahead: You can assemble this entire cake up to a week in advance. Simply wrap it tightly in a layer of plastic wrap and then a layer of aluminum foil to protect it from freezer burn. It will be ready and waiting for your next celebration.
- Storage: Store any leftover cake, well-covered, in the freezer. It will stay fresh and delicious for at least a week.
- Serving Tip for Clean Slices: The secret to perfect, clean slices is a hot knife. Fill a tall glass with hot water. Dip a long, sharp knife into the hot water for a few seconds, then quickly wipe it dry with a towel. The hot blade will glide right through the frozen layers, creating a beautiful, clean cut. Repeat for each slice.
For more recipe follow my Pinterest account
Enjoy Your Fun and Festive Creation!
You’ve just created the easiest, most crowd-pleasing dessert on the planet. This Ice Cream Sandwich Cake is a celebration of all things fun, sweet, and simple. It’s the perfect, no-stress treat for birthday parties, summer holidays, or any occasion that calls for a delicious, frozen dessert.
We hope you and your loved ones enjoy every last, cool and creamy bite!
If you enjoyed making this recipe, please leave a comment below or share your own favorite flavor combination!
Frequently Asked Questions (FAQs)
Q1: Why is it called an “ice cream cake” if there is no actual cake in it?
That’s part of the fun! It’s called a “cake” because the ice cream sandwiches are layered to create a cake-like structure that you can slice and serve just like a traditional cake. The soft chocolate wafers of the sandwiches have a surprisingly cake-like texture once frozen in the dessert.
Q2: What’s the best way to transport this ice cream cake to a party?
To transport the cake, make sure it is frozen solid (at least 4-6 hours). Keep it in the 9×13-inch dish and cover it tightly with foil. Place the dish in a cooler with some ice packs around it. It should stay frozen for an hour or two, depending on the outdoor temperature.
Q3: Can I make this dessert gluten-free?
Yes! Several brands now make gluten-free ice cream sandwiches. Simply substitute your favorite gluten-free variety, and check to ensure your toppings (sauces and nuts) are also certified gluten-free.
Q4: My hot fudge is too thick to spread or drizzle. What should I do?
Jarred hot fudge is designed to be thick. The easiest way to make it spreadable is to remove the metal lid and microwave the jar for about 20-30 seconds, then stir. You can also place the sealed jar in a bowl of very hot water for a few minutes to soften it.
Q5: Can I use different flavors of ice cream sandwiches?
Absolutely! This is one of the most fun ways to customize your cake. Many brands offer different flavors like Neapolitan, cookies and cream, or all-chocolate. Feel free to mix and match to create your own unique flavor combination.


