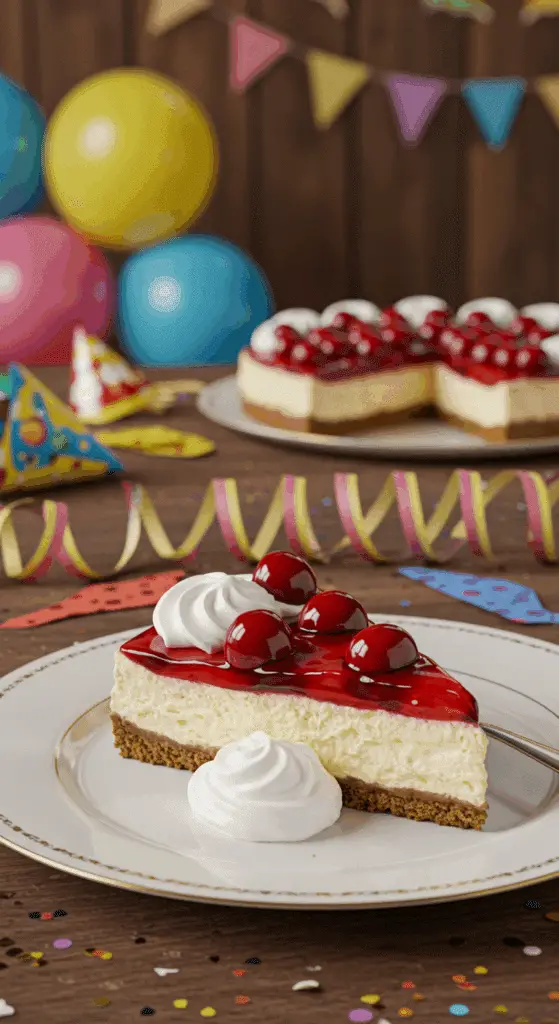
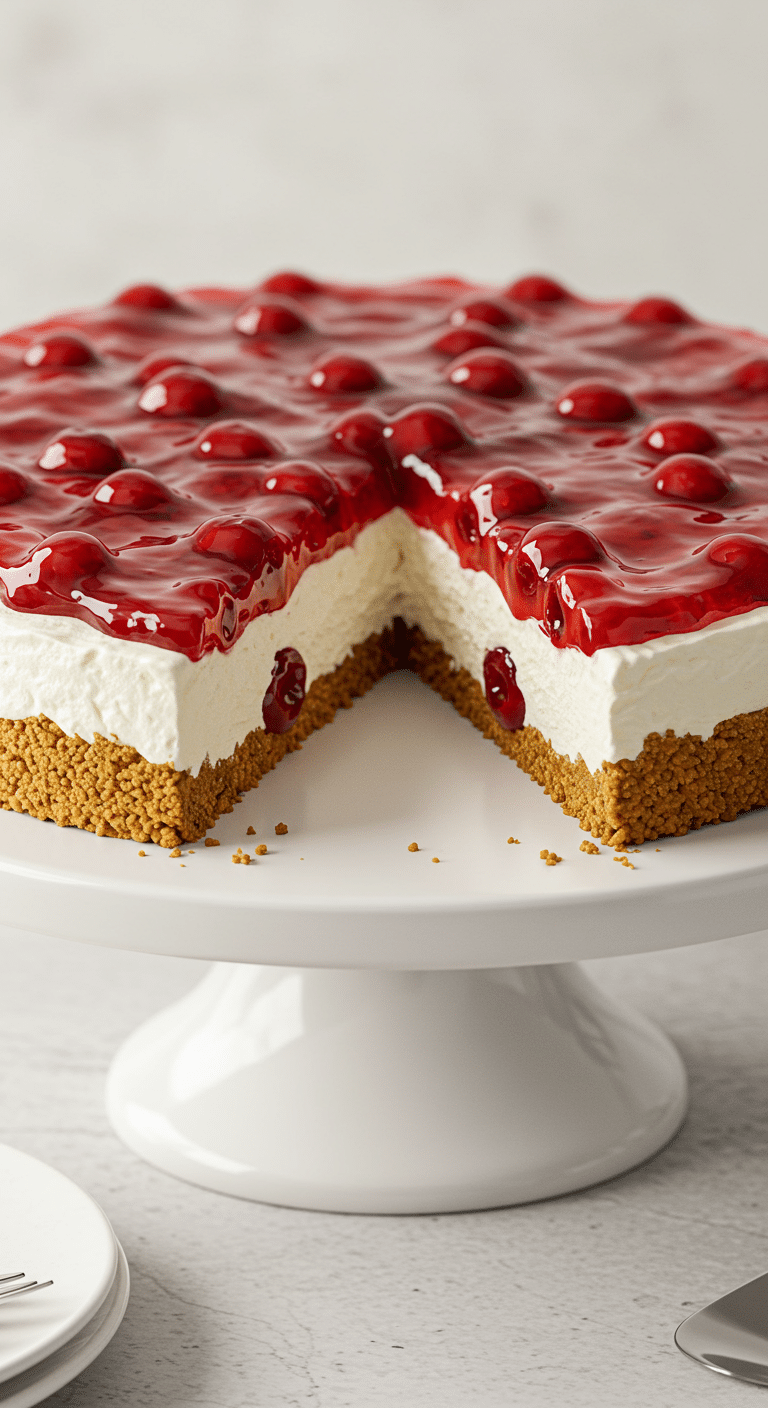
Are you searching for a stunning, crowd-pleasing dessert that’s ridiculously easy to make and requires absolutely no time with a hot oven? Imagine a dessert with a buttery graham cracker crust, a light, tangy, and impossibly creamy cheesecake filling, and a vibrant, glossy crown of sweet-tart cherries. This incredible, show-stopping No-Bake Cherry Cheesecake is the elegant and effortless treat you’ve been dreaming of.
This isn’t your average dense, heavy cheesecake. This is a light, airy, and cloud-like mousse-style cheesecake, made with real whipped cream for a truly luxurious texture. It’s the perfect make-ahead dessert for holidays, parties, potlucks, or any time you need a guaranteed showstopper without the stress of baking. Get ready to master the easiest, most delicious cheesecake you’ll ever make.
Table of Contents
Table of Contents
Recipe Overview: The Ultimate No-Bake Showstopper
What makes this No-Bake Cherry Cheesecake the absolute best is its perfect harmony of textures and its foolproof, no-bake method. The tangy, ethereal cream cheese filling, lightened with fresh whipped cream, is a perfect contrast to the crunchy, buttery graham cracker crust and the sweet, jewel-like cherry topping. It’s a timeless classic that looks like it came from a fancy bakery but is secretly one of the simplest desserts you can create.
| Metric | Time / Level |
| Total Time | 2 hours 20 minutes (includes chilling) |
| Active Prep Time | 20 minutes |
| Difficulty Level | Easy |
| Servings | 8 |
The Essential Ingredients for a Perfect Cheesecake
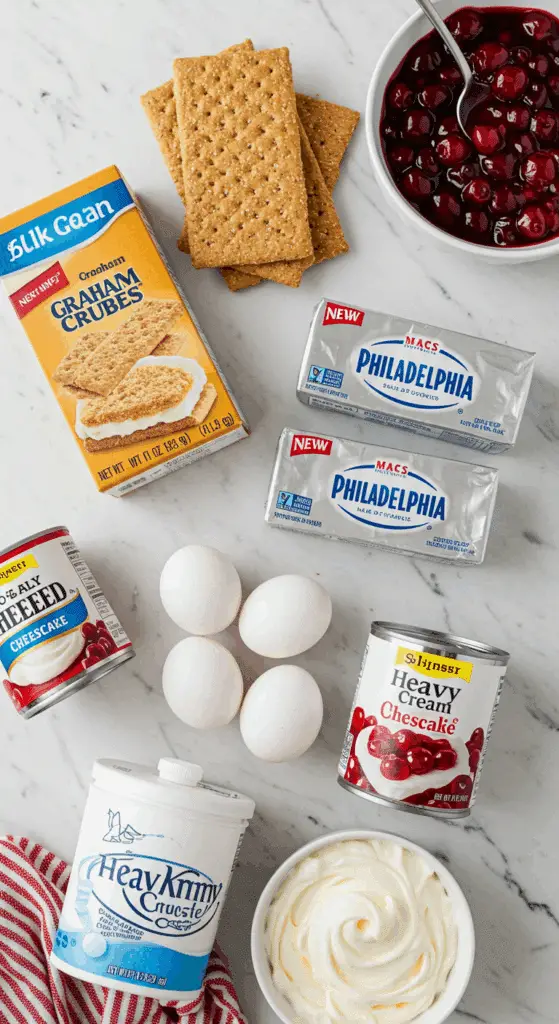
This recipe uses a handful of simple, classic ingredients to create a truly spectacular dessert.
- The Graham Cracker Crust: The buttery, crunchy foundation of our pie.
- Graham Cracker Crumbs, Sugar, and Melted Butter: This classic trio creates a simple, press-in crust that is the perfect salty-sweet complement to the tangy filling.
- The No-Bake Cheesecake Filling: This is what creates the light, cloud-like texture.
- Cream Cheese: It is absolutely crucial to use full-fat, block-style cream cheese that has been fully softened to room temperature. This is the secret to a rich, tangy, and perfectly smooth, lump-free filling.
- Heavy Whipping Cream: We use real, fresh heavy whipping cream, which is whipped to soft peaks and then folded into the cream cheese base. This is what gives the cheesecake its incredibly light, airy, and mousse-like texture.
- Powdered Sugar & Vanilla: The powdered sugar dissolves instantly, sweetening the filling without any graininess. A teaspoon of pure vanilla extract adds a lovely, warm depth of flavor.
- The Cherry Topping: The beautiful, ruby-red crown on our cheesecake. A can of cherry pie filling is the ultimate convenient shortcut, providing sweet, glossy cherries in a pre-thickened sauce.

Bonus: Easy Homemade Cherry Topping
If you have fresh or frozen cherries on hand, you can easily make your own topping!
- In a saucepan, combine 3 cups of pitted cherries (fresh or frozen), 1/2 cup of sugar, 2 tablespoons of cornstarch, and 1/4 cup of water.
- Cook over medium heat, stirring, until the sauce has thickened and the cherries have softened, about 5-10 minutes.
- Let it cool completely before spooning it over your cheesecake.
Step-by-Step to the Creamiest No-Bake Cheesecake
Follow these simple, detailed steps to create this stunning and delicious dessert.
Step 1: Prepare the Graham Cracker Crust
First, let’s make the simple, buttery crust. In a medium bowl, mix together the 1 1/4 cups of graham cracker crumbs, the 1/4 cup of melted unsalted butter, and the 1/4 cup of white sugar. Stir with a fork until the mixture is well incorporated and all the crumbs are evenly moistened, like damp sand.
Press this mixture firmly and evenly into the bottom and up the sides of a 9-inch pie plate. You can use the bottom of a flat measuring cup to help you press it down tightly.
Pro Tip: For an extra-sturdy crust, you can chill the prepared crust in the refrigerator for about 30 minutes, or bake it at 350°F for 8-10 minutes and let it cool completely before filling.
Step 2: Make the Tangy Cream Cheese Base
In a large bowl, beat the softened cream cheese, the 1 cup of powdered sugar, and the 1 teaspoon of vanilla extract with an electric mixer on medium-high speed. Continue to beat until the mixture is completely smooth, creamy, and free of any lumps. Be sure to scrape down the sides of the bowl.
Step 3: Whip the Cream and Create the Filling
In a separate, chilled glass or metal bowl, beat the 1 cup of cold heavy whipping cream with an electric mixer until it begins to thicken and form soft peaks. “Soft peaks” means that when you lift the beaters, a peak will form, but its tip will gently curl over.
Now, add the smooth cream cheese mixture to the bowl with the whipped cream. Continue beating on medium speed until everything is combined and the mixture is thick and smooth.
Step 4: Assemble and Chill the Cheesecake to Perfection
Carefully pour the light and fluffy cheesecake filling into your prepared and chilled graham cracker crust. Use a spatula to spread the filling into an even, smooth layer.
Cover the pie with plastic wrap and place it in the refrigerator to chill until it is firm and set. This will take at least 2 to 3 hours, but 4-6 hours is even better for the firmest set.
Step 5: Add the Cherry Topping and Serve
Just before you are ready to serve, remove the chilled cheesecake from the refrigerator.
Carefully spoon the cherry pie filling over the top of the chilled cheesecake, spreading it gently to the edges.
You can serve the cheesecake immediately, or place it back in the refrigerator until you are ready to serve.

The Best Easy & Creamy No-Bake Cherry Cheesecake
A classic and easy no-bake cherry cheesecake featuring a homemade graham cracker crust. The light and airy filling is made by beating softened cream cheese with powdered sugar and vanilla, and then folding in fresh whipped cream. This creamy filling is poured into the prepared crust and chilled until firm. The cheesecake is finished with a simple topping of canned cherry pie filling just before serving.
- Prep Time: 20 minutes
- Cook Time: 0 minutes
- Total Time: 2 hours 20 minutes (includes chilling time)
- Yield: 8 servings
- Category: Dessert
- Method: No-Bake, Mixing, Chilling
- Cuisine: American
- Diet: Vegetarian
Ingredients
- Graham Cracker Crust:
- 1 ¼ cups graham cracker crumbs
- ¼ cup unsalted butter, melted
- ¼ cup white sugar
- Filling:
- 1 (8 ounce) package cream cheese, softened
- 1 cup powdered sugar
- 1 teaspoon vanilla extract
- 1 cup heavy whipping cream
- 1 (12.5 ounce) can cherry pie filling
Instructions
- Make the Crust: In a bowl, mix the graham cracker crumbs, melted butter, and white sugar until the mixture is well incorporated and crumbly.
- Press the mixture firmly into the bottom and up the sides of a 9-inch pie plate.
- Make the Filling: In a bowl, beat the softened cream cheese, powdered sugar, and vanilla extract with an electric mixer until the mixture is smooth and spreadable.
- In a separate chilled glass or metal bowl, beat the heavy whipping cream with an electric mixer until soft peaks form.
- Gently fold the whipped cream into the cream cheese mixture until smooth and fully combined.
- Pour the filling into the prepared graham cracker crust and smooth the top with a spatula.
- Refrigerate the cheesecake for about 2 to 3 hours, or until the filling is firm.
- Just before serving, spread the cherry pie filling over the top of the chilled cheesecake.
- Serve immediately or return to the refrigerator until ready to serve.
Notes
- This is a no-bake recipe, making it perfect for days when you don’t want to turn on the oven.
- Ensure the cream cheese is fully softened to room temperature to prevent lumps in the filling.
- Using a chilled bowl and beaters will help the heavy cream whip up faster and create more volume.
- Chilling the cheesecake for at least two hours is a crucial step to allow the filling to set properly before slicing.
Storage and Make-Ahead Tips
This No-Bake Cherry Cheesecake is the absolute perfect dessert to make ahead of time, making it a stress-free option for any occasion.
- Make-Ahead: You can prepare this entire cheesecake, including the cherry topping, up to 2 days in advance. Keep it covered and stored in the refrigerator. The flavors will meld and it will be perfectly chilled and ready to serve.
- Storage: Store any leftover cheesecake, covered, in the refrigerator for up to 5 days.
- Freezing: This cheesecake also freezes beautifully! You can freeze it whole or in individual slices. Wrap it tightly in a double layer of plastic wrap and then a layer of aluminum foil. It will keep in the freezer for up to 2 months. Thaw it in the refrigerator for several hours before serving.
For more recipe follow my Pinterest account
Creative Recipe Variations
This wonderful no-bake cheesecake is a perfect canvas for your favorite flavors.
- Try a Different Fruit Topping: This creamy cheesecake filling is a perfect base for any fruit topping you can dream of! Try it with blueberry pie filling, strawberry glaze with fresh berries, a tart lemon curd, or even a rich caramel and pecan topping.
- Ultimate Chocolate Cherry Cheesecake: For a decadent “black forest” flavor, use a homemade or store-bought chocolate Oreo cookie crust instead of the graham cracker crust. You can also sprinkle some chocolate shavings over the cherry topping.
- Add a Hint of Almond: Almond and cherry is a classic and sophisticated flavor combination. Add 1/4 to 1/2 teaspoon of almond extract to the cream cheese filling along with the vanilla extract for a beautiful, subtle, nutty aroma.
Enjoy Your Effortless, Elegant Dessert!
You’ve just created a truly stunning dessert that is bursting with classic, beloved flavors. This Easy No-Bake Cherry Cheesecake is a perfect harmony of creamy, tangy, sweet, and crunchy. It’s a foolproof and impressive treat that proves you don’t need to be an expert baker to make a show-stopping dessert.
We hope you and your loved ones enjoy every last, perfect bite!
If you enjoyed making this recipe, please leave a comment below or share it with a friend who loves an easy, impressive dessert!
Frequently Asked Questions (FAQs)
Q1: What is the difference between a no-bake cheesecake and a baked cheesecake?
The main difference is the ingredients and texture. Baked cheesecakes (like a New York-style cheesecake) contain eggs and are baked in a water bath, which results in a very dense, rich, and firm custard-like texture. No-bake cheesecakes, like this one, do not contain eggs and get their structure from the cream cheese and whipped cream. They are set by chilling, and have a much lighter, softer, more airy, and mousse-like texture.
Q2: Why did my no-bake cheesecake not set up properly?
The most common reason for a soft or runny no-bake cheesecake is not chilling it long enough. It truly needs several hours in the cold refrigerator for the fats in the cream cheese and whipped cream to solidify and create a firm, sliceable texture. Another reason could be using a low-fat cream cheese or a cream cheese from a tub, which are softer and contain more water. Always use full-fat, block-style cream cheese for the best results.
Q3: Can I use low-fat cream cheese or light whipped cream to make this healthier?
It is strongly recommended to use the full-fat versions of both the cream cheese and the heavy whipping cream for this recipe. The fat content is absolutely crucial for the rich flavor and, more importantly, for the pie’s ability to set up into a firm, creamy, and stable texture. Low-fat versions can result in a pie that is runny and does not set properly.
Q4: How do I make sure my whipped cream whips up properly?
The secret to perfect whipped cream is to make sure everything is very cold. Use heavy whipping cream straight from the refrigerator. For an even better result, chill your mixing bowl and the beaters from your electric mixer in the freezer for 10-15 minutes before you start. This will help the cream whip up faster and with more volume.
Q5: Can I use a store-bought whipped topping like Cool Whip instead of fresh whipped cream?
Yes, you can. If you are short on time, you can substitute 1 1/2 to 2 cups of a thawed frozen whipped topping for the homemade whipped cream. Your filling will be a bit sweeter and more stable, but it will be missing the fresh, rich dairy flavor of real whipped cream.


