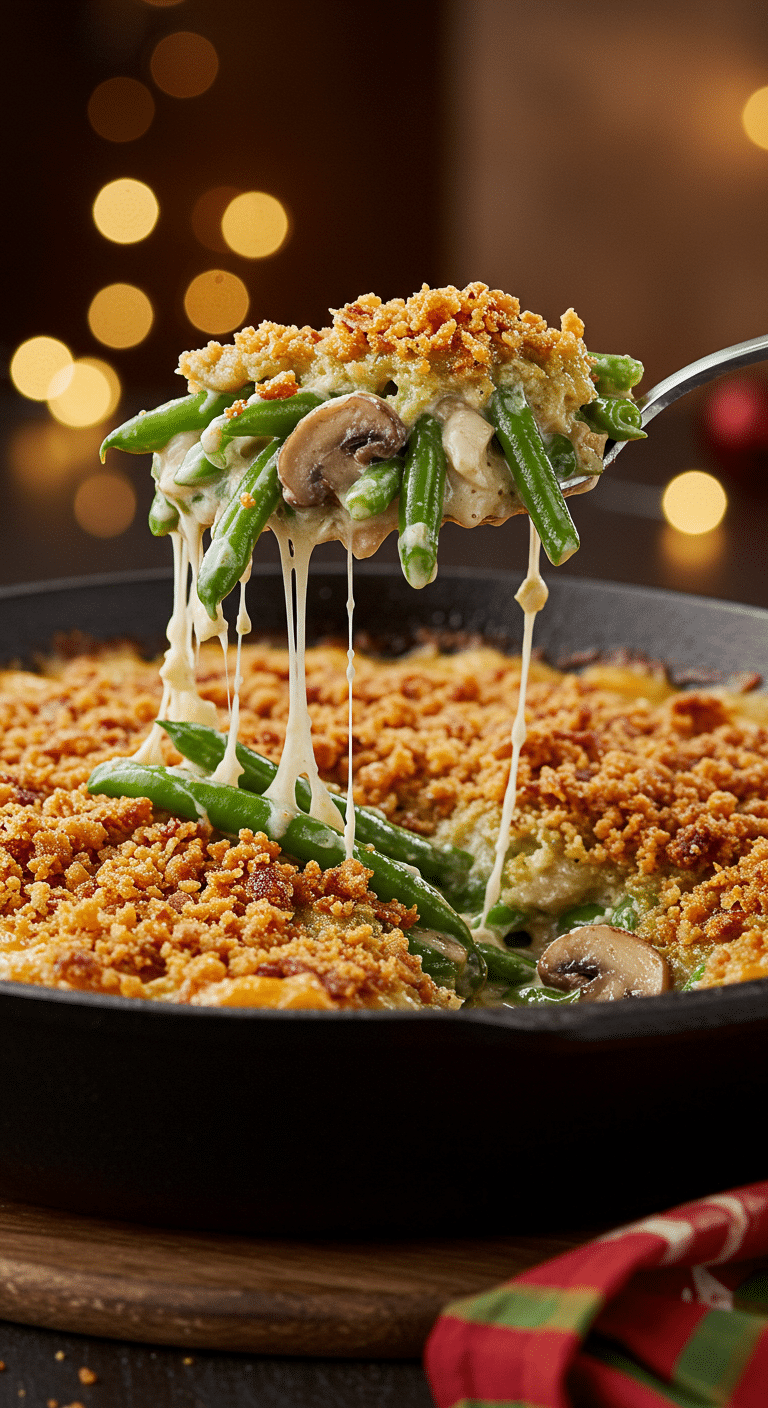
Are you ready to say goodbye to the cans of condensed soup and fried onions forever and discover how unbelievably delicious a true, completely from-scratch Green Bean Casserole can be? This is the recipe that will transform your opinion of this holiday classic, elevating it from a humble potluck dish to a stunning, gourmet-quality masterpiece that will be the most talked-about side dish on your Thanksgiving table.
This isn’t just another green bean casserole; this is the ultimate version. We’ll show you how to create a luxurious, velvety, homemade cream of mushroom sauce from scratch. We’ll use crisp, fresh green beans that are perfectly tender-crisp, not mushy. And the real game-changer? We’ll guide you through making an incredible, super-crunchy, golden-brown homemade crispy onion topping. This is the recipe that proves that from-scratch is always worth it.
Table of Contents
Table of Contents
Recipe Overview: The Ultimate Holiday Side Dish Upgrade
What makes this Green Bean Casserole truly the “best ever” is its unwavering commitment to fresh ingredients and classic, from-scratch techniques. The heart of the dish is a rich and savory velouté sauce, made with fresh mushrooms, aromatics, and a creamy broth. But the real star is the homemade crispy onion topping—a simple, oven-baked method that creates a result far superior to anything from a can. It’s a rewarding, make-ahead-friendly dish that will instantly become a non-negotiable part of your holiday tradition.
| Metric | Time / Level |
| Total Time | 1 hour 30 minutes |
| Active Prep Time | 30 minutes |
| Difficulty Level | Intermediate |
| Servings | 8-10 |
The Essential Ingredients for a From-Scratch Masterpiece
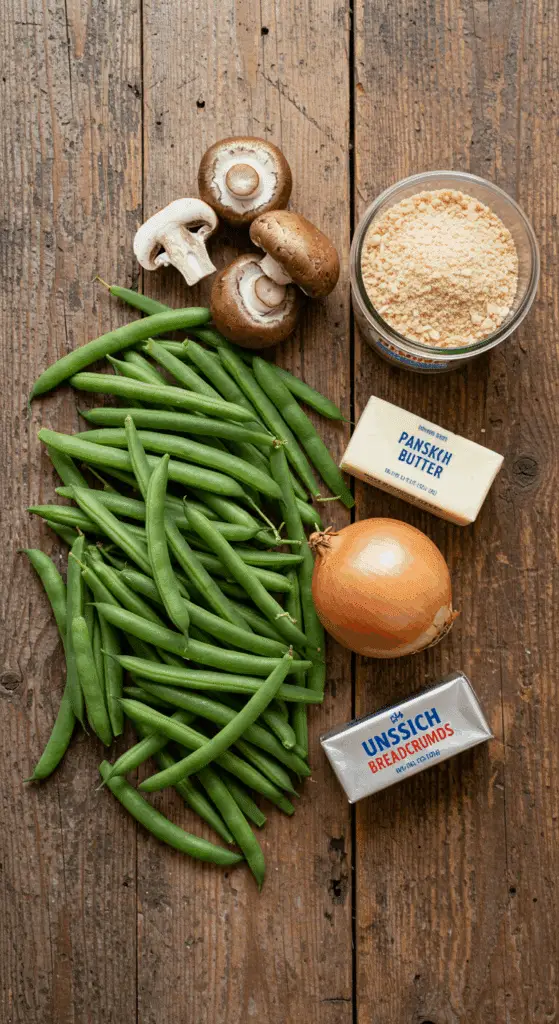
This recipe uses a handful of fresh, high-quality ingredients to create its signature creamy, savory, and crunchy texture.
- The Homemade Crispy Onions: This is the game-changing component. We take thinly sliced yellow onions, toss them with flour and panko breadcrumbs, and bake them at a high heat until they are deeply golden brown and incredibly crispy. The panko is the secret to an extra-light and crunchy texture.
- Fresh Green Beans: The star of the show. Using fresh, crisp green beans is essential for a superior casserole. We blanch them first, a simple technique that leaves them perfectly tender-crisp and locks in their beautiful, vibrant green color.
- The From-Scratch Cream of Mushroom Sauce: This is what sets this recipe apart.
- Fresh Mushrooms: We use fresh button or cremini mushrooms, which are sautéed until deeply browned to develop a rich, savory, umami flavor.
- The Roux: A simple paste made from butter and all-purpose flour is the classic foundation for a stable, thick, and creamy sauce.
- Chicken Broth & Half-and-Half: A combination of a savory, low-sodium chicken broth and rich half-and-half creates a sauce that is both deeply flavorful and wonderfully creamy.

Step-by-Step to the Best Green Bean Casserole
This recipe is a rewarding project with a few distinct parts. Follow these detailed steps for a perfect, show-stopping result.
Part 1: The Ultimate Homemade Crispy Onions
Step 1: First, preheat your oven to a very hot 475°F (245°C).
Step 2: In a large mixing bowl, combine the thinly sliced onions, the 1/4 cup of all-purpose flour, the 2 tablespoons of panko breadcrumbs, and the 1 teaspoon of kosher salt. Toss everything together until the onion slices are evenly and lightly coated.
Step 3: Coat a large, rimmed baking sheet with nonstick cooking spray. Spread the coated onions evenly on the pan in a single layer.
Step 4: Place the pan on the middle rack of the oven and bake until the onions are a deep golden brown and crispy, which will take approximately 30 minutes. Be sure to toss the onions with a spatula 2 to 3 times during the cooking process to ensure they brown evenly.
Step 5: Once they are done, remove the crispy onions from the oven and set them aside. Turn your oven down to 400°F (200°C) for the final casserole bake.
Part 2: Blanch the Fresh Green Beans
Step 1: While the onions are cooking, prepare the green beans. Bring a gallon of water and 2 tablespoons of kosher salt to a rolling boil in a large pot. Prepare a large bowl of ice water on the side.
Step 2: Add your trimmed and halved green beans to the boiling water and let them cook for 5 minutes.
Step 3 (The Shock!): Immediately remove the green beans from the boiling water with a slotted spoon and plunge them directly into the bowl of ice water. Let them sit in the ice water until they are completely cool.
Pro Tip: This process, called “blanching and shocking,” is a professional secret. It par-cooks the beans so they are perfectly tender-crisp in the final casserole, and the ice bath immediately stops the cooking process, locking in their beautiful, vibrant green color.
Step 4: Drain the cooled beans well and set them aside.
Part 3: Create the Creamy Mushroom Sauce
Step 1: In a 12-inch, oven-safe skillet (a cast-iron skillet is perfect), melt the 2 tablespoons of butter over medium-high heat.
Step 2: Add the sliced mushrooms, 1 teaspoon of salt, and the pepper. Cook, stirring occasionally, for 4 to 5 minutes, until the mushrooms begin to release their liquid. Add the minced garlic and the freshly ground nutmeg and continue to cook for another 1 to 2 minutes.
Step 3: Sprinkle the 2 tablespoons of all-purpose flour over the mixture and stir to combine. Cook for 1 minute to get rid of any raw flour taste.
Step 4: Gradually pour in the 1 cup of chicken broth and the 1 cup of half-and-half, stirring or whisking constantly to ensure the sauce is smooth.
Step 5: Bring the sauce to a simmer and let it cook, stirring occasionally, for 6 to 8 minutes, until the mixture has thickened nicely.
Part 4: Assemble and Bake the Casserole
Step 1: Remove the skillet from the heat. Stir in 1/4 of your homemade crispy onions and all of the blanched and drained green beans. Stir gently to combine everything.
Step 2: Top the casserole with the remaining 3/4 of the homemade crispy onions, spreading them in an even layer.
Step 3: Place the entire skillet into the preheated 400°F oven and bake until the sauce is hot and bubbly, which will take approximately 15 minutes.
Remove the casserole from the oven and serve immediately while the topping is at its crispiest!

The Ultimate From-Scratch Green Bean Casserole (Best Ever!)
A from-scratch version of the classic Green Bean Casserole, this recipe features homemade crispy onions and a creamy mushroom sauce. Thinly sliced onions are coated in flour and panko, then baked until golden brown for the topping. The casserole itself consists of fresh green beans, blanched until crisp-tender, and folded into a rich, savory sauce made with sautéed mushrooms, garlic, chicken broth, and half-and-half. The dish is baked in a cast-iron skillet until bubbly and topped with the crispy homemade onions.
- Prep Time: 25 minutes
- Cook Time: 45 minutes
- Total Time: 1 hour 10 minutes
- Yield: 6-8 servings
- Category: Side Dish
- Method: Baking, Blanching, Sautéing
- Cuisine: American
- Diet: Vegetarian
Ingredients
- For the Topping:
- 2 medium onions, thinly sliced
- 1/4 cup all-purpose flour
- 2 tablespoons panko bread crumbs
- 1 teaspoon kosher salt
- Nonstick cooking spray
- For the Beans and Sauce:
- 2 tablespoons plus 1 teaspoon kosher salt, divided
- 1 pound fresh green beans, rinsed, trimmed and halved
- 2 tablespoons unsalted butter
- 12 ounces mushrooms, trimmed and cut into 1/2-inch pieces
- 1/2 teaspoon freshly ground black pepper
- 2 cloves garlic, minced
- 1/4 teaspoon freshly ground nutmeg
- 2 tablespoons all-purpose flour
- 1 cup chicken broth
- 1 cup half-and-half
Instructions
- Make the Crispy Onions: Preheat the oven to 475°F. In a large bowl, toss the thinly sliced onions with the flour, panko, and 1 teaspoon of salt. Coat a sheet pan with nonstick cooking spray and spread the onions in an even layer.
- Bake for approximately 30 minutes, tossing 2 to 3 times during cooking, until golden brown and crisp. Remove from the oven and set aside. Reduce the oven temperature to 400°F.
- Prepare the Green Beans: While the onions are cooking, bring a large pot of water with 2 tablespoons of salt to a boil. Add the green beans and blanch for 5 minutes. Drain the beans in a colander and immediately plunge them into a bowl of ice water to stop the cooking. Once cool, drain well and set aside.
- Make the Sauce: In a 12-inch cast-iron skillet over medium-high heat, melt the butter. Add the mushrooms, 1 teaspoon of salt, and pepper. Cook for 4 to 5 minutes, stirring occasionally, until the mushrooms release their liquid.
- Add the garlic and nutmeg and cook for another 1 to 2 minutes. Sprinkle the flour over the mixture and stir for 1 minute to cook the flour.
- Add the chicken broth and simmer for 1 minute. Decrease the heat to medium-low and add the half-and-half. Cook, stirring occasionally, for 6 to 8 minutes until the mixture thickens.
- Assemble and Bake: Remove the skillet from the heat. Stir in one-quarter of the crispy onions and all of the blanched green beans.
- Top the casserole with the remaining crispy onions. Place the skillet into the 400°F oven and bake for about 15 minutes, until bubbly.
- Remove from the oven and serve immediately.
Notes
- This recipe creates a homemade, baked version of the classic crispy onion topping instead of using a canned product.
- Blanching the green beans and then shocking them in an ice bath is a key step to ensure they remain crisp-tender and maintain their bright green color.
- Using an ovenproof cast-iron skillet allows you to make the sauce and bake the casserole in the same pan for easier cleanup.
- For a vegetarian version, substitute the chicken broth with vegetable broth.
Storage and Make-Ahead Tips
This from-scratch Green Bean Casserole is a fantastic make-ahead side dish for a stress-free holiday.
- Make-Ahead: This is the best way to prep for a big holiday meal! You can make all the components up to 2 days in advance. Store the homemade crispy onions in an airtight container at room temperature. Prepare the creamy mushroom and green bean filling (without the 1/4 of the onions stirred in), let it cool, and store it in an airtight container in the refrigerator. When you are ready to bake, simply place the filling in your skillet or casserole dish, warm it slightly, stir in the 1/4 of the onions, top with the rest of the onions, and bake as directed.
- Storage: Store any leftover casserole, covered, in the refrigerator for up to 4 days.
- Reheating: The best way to reheat the casserole and revive some of the crispiness of the topping is in a 375°F oven, uncovered, for about 15-20 minutes, until it is hot and bubbly.
For more recipe follow my Pinterest account
Creative Recipe Variations
This wonderful from-scratch recipe is a fantastic base for your own delicious and creative twists.
- Add a Rich, Cheesy Twist: For a delicious, cheesy green bean casserole, you can stir 1 cup of shredded sharp white cheddar or nutty Gruyère cheese into the cream sauce at the very end, after you have turned off the heat. Stir until the cheese is melted and the sauce is smooth.
- Add a Smoky Bacon Kick: For a salty, smoky, and savory addition, you can cook 4 to 6 slices of chopped bacon in the skillet until it is crisp. Remove the bacon and set it aside, then cook the mushrooms in the delicious bacon fat. Crumble the cooked bacon and stir it into the finished casserole along with the green beans.
- Make it a Vegetarian Casserole: For a delicious vegetarian version, simply substitute the unsalted butter for the bacon fat and use a high-quality, flavorful mushroom or vegetable broth instead of the chicken broth.
Enjoy The Ultimate Holiday Side Dish!
You’ve just created a truly special, from-scratch version of an all-time American classic. This homemade Green Bean Casserole, with its vibrant, fresh green beans, its luxurious cream sauce, and its unbelievably crunchy homemade onion topping, is a perfect harmony of flavors and textures. It’s a rewarding and deeply satisfying dish that is sure to become the new, non-negotiable star of your holiday table.
We hope you enjoy every last, creamy, and delicious bite!
If you enjoyed making this recipe, please leave a comment below or share it with a friend who is ready to ditch the cans forever!
Frequently Asked Questions (FAQs)
Q1: Is it really worth it to make the crispy onions from scratch?
Yes, a thousand times yes! While it is an extra step, the flavor and texture of homemade, oven-crisped onions are vastly superior to the canned variety. They are much crunchier, less greasy, and have a beautiful, sweet, and toasty onion flavor. They truly elevate this casserole from a simple side dish to a gourmet masterpiece.
Q2: Do I absolutely have to blanch the fresh green beans first?
Blanching is a highly recommended step for two key reasons. First, it par-cooks the beans, so they come out of the final casserole with a perfect, tender-crisp texture, not undercooked or mushy. Second, the process of “shocking” them in ice water immediately after boiling locks in their chlorophyll, which is what keeps them a beautiful, vibrant green color.
Q3: Can I use frozen green beans instead of fresh?
Yes, you can. If you are using frozen cut green beans, there is no need to blanch them first. You can simply let them thaw completely and then pat them very dry with paper towels to remove any excess moisture before you fold them into the cream sauce at the end.
Q4: Can I make this casserole ahead of time for Thanksgiving?
Yes, this is the perfect make-ahead dish for a stress-free holiday! The best method is to prepare all the components separately up to two days in advance and store them as directed in the “Make-Ahead” section above. The final assembly and baking will only take about 20 minutes on the big day.
Q5: My from-scratch cream sauce is lumpy. What did I do wrong?
A lumpy sauce is usually caused by not whisking the liquid into the roux properly. The secret to a perfectly smooth sauce is to add your liquid (the broth and half-and-half) gradually to your hot roux, while whisking constantly and vigorously. This allows the flour and fat particles to disperse evenly into the liquid without clumping together.


