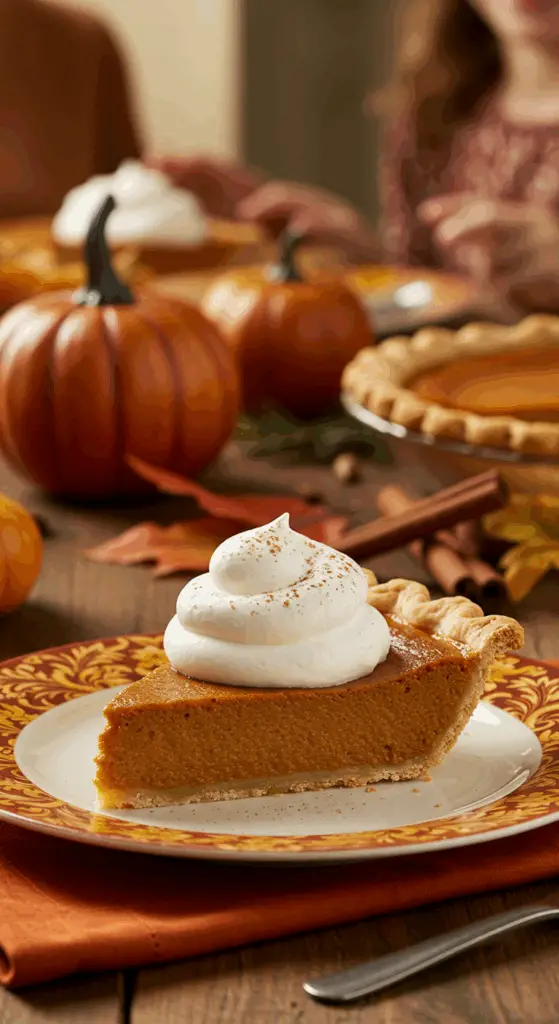
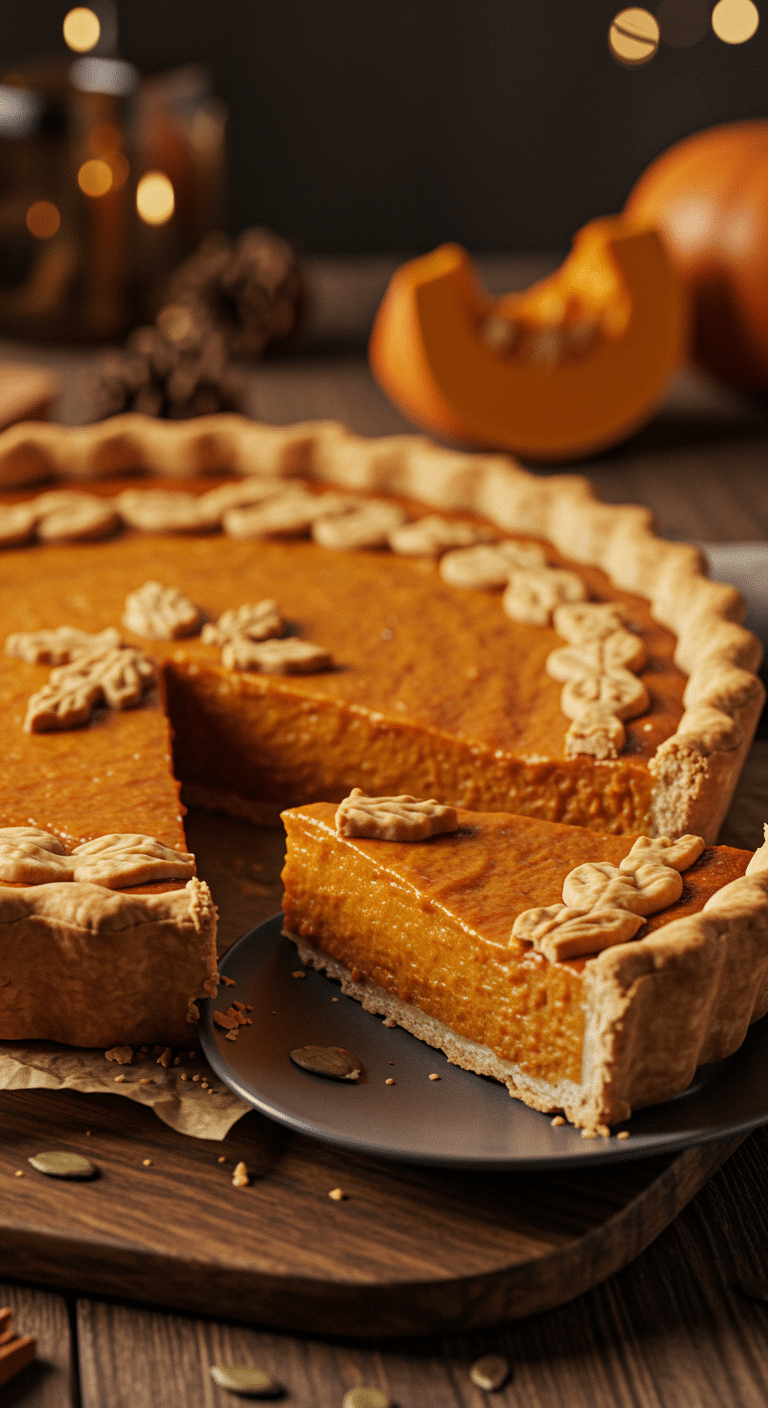
Is there any dessert that more perfectly captures the warm, cozy, and celebratory spirit of the holiday season than a classic, from-scratch Pumpkin Pie? If you’re on the quest for that one perfect recipe—the kind with a flaky, buttery crust that is never soggy and a silky-smooth, custardy, and crack-free pumpkin filling—your search is over. This is your ultimate guide to mastering the quintessential Thanksgiving dessert.
This isn’t just a recipe; it’s a complete masterclass in the simple but crucial techniques that guarantee a flawless result. We’ll show you the secrets to a wonderfully flaky pie crust and the non-negotiable step of blind-baking to ensure a crisp, sturdy base. The filling is a perfectly spiced, velvety custard that bakes up beautifully every single time. Get ready to bake the best, most impressive pumpkin pie of your life.
Table of Contents
Table of Contents
Recipe Overview: The Quintessential Thanksgiving Dessert
What makes this Pumpkin Pie recipe truly “the best” is its foolproof, technique-driven approach that solves all the common pie-baking pitfalls. The homemade pie crust, made with a classic blend of both butter and shortening, delivers on both flavor and flakiness. The brilliant method of fully blind-baking the crust is the number one secret to a crisp bottom that can stand up to the wet custard filling. The result is a stunning, delicious, and perfectly sliceable pie that will be the proud centerpiece of your holiday table.
| Metric | Time / Level |
| Total Time | 4 hours (includes chilling and cooling) |
| Active Prep Time | 40 minutes |
| Difficulty Level | Intermediate |
| Servings | 8 slices |
The Essential Ingredients for a Perfect Pie
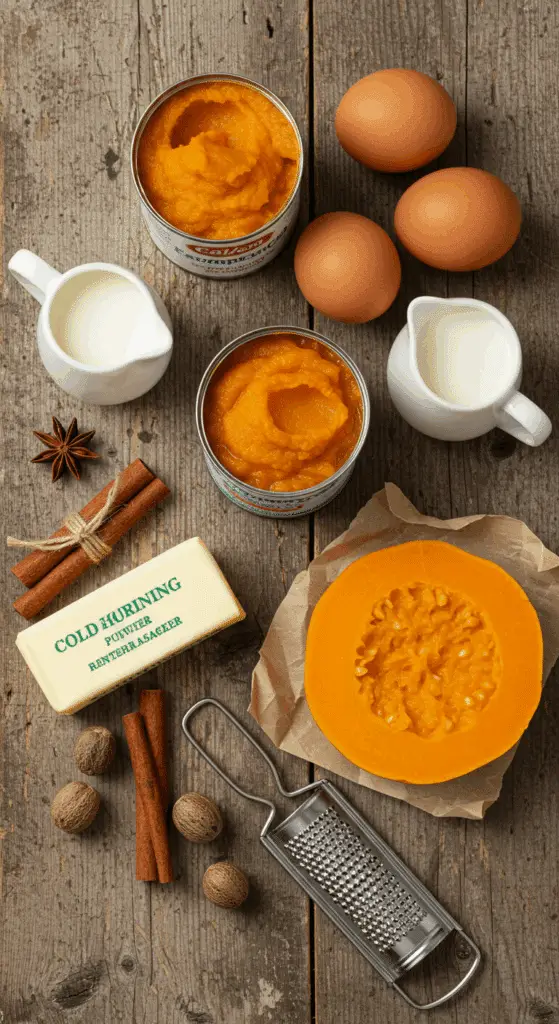
This recipe uses simple, classic ingredients where quality makes all the difference.
- The Perfect Pie Crust: The flaky, tender foundation of our pie.
- The Fats (Butter & Shortening): This recipe uses a classic, foolproof blend. Cold unsalted butter provides a rich, delicious, savory flavor, while cold vegetable shortening has a higher melting point, which creates an incredibly tender and flaky texture. It’s the best of both worlds!
- The Liquid: An egg adds richness and structure, apple cider vinegar helps to tenderize the gluten for a flakier crust, and ice water is essential for keeping the fats cold.
- The Silky-Smooth Pumpkin Filling:
- Pure Pumpkin Purée: It is absolutely essential to use 100% pure pumpkin purée, not pumpkin pie filling (which is pre-sweetened and spiced). This gives you complete control over the flavor and sweetness of your pie.
- Heavy Cream & Eggs: These are the key to a rich, smooth, and perfectly set custard filling. Using room temperature eggs will help them incorporate more smoothly.
- Warm Spices: A classic, cozy, and perfect blend of ground cinnamon and freshly grated nutmeg provides the signature “pumpkin spice” flavor.

Step-by-Step to the Best Pumpkin Pie
This recipe is a rewarding baking project. Follow these detailed steps for a perfect, show-stopping result.
Part 1: The Perfect Flaky Pie Crust
Step 1: In the bowl of a food processor fitted with the steel blade, pulse the 2 1/2 cups of all-purpose flour, the 4 tablespoons of cold vegetable shortening, the 2 teaspoons of sugar, the 1 teaspoon of apple cider vinegar, and the 1/2 teaspoon of salt until the mixture looks like fine meal.
Step 2: Add the 12 tablespoons of cold, cubed butter and pulse about 10 times, until the butter is in small, pea-sized pieces.
Step 3: Sprinkle in 1/4 cup of ice water and pulse just until the dough begins to come together. If the dough seems dry, add up to 4 more tablespoons of ice water, one tablespoon at a time, pulsing after each addition.
Step 4: Turn the dough out, divide it in half, and form each half into a flattened disc. Wrap each disc tightly in plastic wrap and refrigerate for at least 1 hour, or preferably overnight. (You will only need one disc for this pie; the other can be frozen for up to 3 months!)
Part 2: How to Perfectly Blind Bake the Crust
This is the secret to a non-soggy bottom!
Step 1: On a lightly floured surface, roll out one of your chilled dough discs into a 12-inch round. Carefully ease the dough into a 9-inch pie plate. Fold the overhanging dough under itself to create a thick edge, then crimp the edges decoratively with your fingers. Pierce the bottom and sides of the dough all over with a fork. Chill the pie shell in the refrigerator for at least 1 hour.
Step 2: Preheat your oven to 350°F (175°C).
Step 3: Line the chilled dough with a piece of aluminum foil, pressing it gently into the bottom and up the sides. Fill the foil with pie weights or dried beans.
Step 4: Bake for 20 to 25 minutes, until the edges of the crust are a light golden brown.
Step 5: Carefully remove the foil and the pie weights. Return the crust to the oven and continue baking for another 10 to 15 minutes, until the bottom of the crust is a beautiful, even golden brown.
Step 6: Transfer the perfectly pre-baked crust to a wire rack and let it cool completely.
Part 3: The Silky-Smooth Pumpkin Filling and Final Bake
Step 1: In a large bowl, gently whisk together the 15-ounce can of pure pumpkin, the 1 1/4 cups of heavy cream, the 2/3 cup of granulated sugar, 2 of the large eggs, the 1 teaspoon of ground cinnamon, the 1/2 teaspoon of freshly grated nutmeg, the 1/2 teaspoon of vanilla extract, and the 1/4 teaspoon of salt.
Pro Tip: Be careful not to over-mix the filling. Over-whisking incorporates too much air, which can cause the pie to puff up and then crack as it cools. Mix only until the ingredients are smooth and just combined.
Step 2: In a small bowl, lightly beat the remaining 1 large egg. Use a pastry brush to brush a thin layer of the beaten egg onto the cooled, baked crust edge. Sprinkle the edge with coarse sugar, if you are using it.
Step 3: Pour the prepared pumpkin filling into the cooled crust.
Step 4: Bake for 50 minutes to 1 hour. The pie is perfectly done when the edges of the filling are set, but the very center (about a 3-inch circle) still has a slight jiggle to it when you gently nudge the pan.
Step 5 (The Most Important Step!): Let the pie cool completely on a wire rack before you even think about slicing it. This will take at least 3-4 hours. This crucial resting and cooling period allows the hot custard filling to fully set up, which is the secret to a perfect, clean slice.

Storage and Make-Ahead Tips
Pumpkin pie is the absolute perfect make-ahead dessert for a stress-free holiday.
- Make-Ahead: This pie is actually better when made a day in advance! You can bake the entire pie completely up to 2 days ahead of time. Let it cool completely, then cover it and store it in the refrigerator. The flavors will meld and the texture will be perfect.
- Storing the Dough: The raw pie dough can be stored, well-wrapped, in the refrigerator for up to 3 days or in the freezer for up to 3 months.
- Storage: Store any leftover pie, covered, in the refrigerator for up to 5 days.
For more recipe follow my Pinterest account
Creative Recipe Variations
This classic pumpkin pie is a wonderful base for your own delicious and creative twists.
- Use a Different Spice Blend: For a spicier, more complex flavor, you can substitute the cinnamon and nutmeg with 2 teaspoons of your favorite pumpkin pie spice blend. You can also add a pinch of ground ginger or ground cloves.
- Add a Brown Sugar-Pecan Streusel: For a delicious, crunchy topping, you can create a simple streusel by mixing together 1/2 cup of brown sugar, 1/2 cup of chopped pecans, 1/4 cup of flour, and 4 tablespoons of cold, cubed butter. Sprinkle this over the top of the pie during the last 20-25 minutes of baking.
- Add a Bourbon Kick: For a delicious, sophisticated, grown-up version, you can add 2 tablespoons of your favorite bourbon to the pumpkin filling along with the vanilla extract. The warm notes of the bourbon are fantastic with the pumpkin and spices.
Enjoy a True Thanksgiving Icon!
You’ve just created a truly special, from-scratch dessert that is the very definition of the holiday season. This perfect, classic Pumpkin Pie, with its flaky crust and its silky, custardy filling, is a rewarding baking project that is guaranteed to be the star of your dessert table. It’s the kind of timeless treat that makes the holiday feel complete.
We hope you and your loved ones enjoy every last, perfect, and delicious bite!
If you enjoyed making this recipe, please leave a comment below or share it with a friend who loves to bake for the holidays!
Frequently Asked Questions (FAQs)
Q1: What are the biggest secrets to a pumpkin pie that doesn’t crack on top?
There are two main secrets to a beautiful, crack-free pumpkin pie. First, be very careful not to over-mix your filling, especially after you have added the eggs. Over-mixing whips too much air into the custard, which causes it to puff up in the oven and then collapse and crack as it cools. Second, do not over-bake your pie. Pull it from the oven when the center still has a slight jiggle. A great extra tip is to let the pie cool down slowly in a turned-off oven with the door propped open for an hour before moving it to a wire rack.
Q2: Why is my pumpkin pie’s bottom crust always soggy, and how does this recipe fix that?
A soggy bottom crust is the most common problem with custard pies. This recipe brilliantly solves that problem with the professional technique of blind-baking. By fully pre-baking the pie crust before you add the wet custard filling, you are creating a crisp, golden, and sealed pastry shell that will not get soggy.
Q3: Can I use a store-bought pie crust to save time?
Yes, for a convenient shortcut, you can absolutely use a high-quality, store-bought refrigerated pie crust. Simply unroll it, fit it into your pie pan, and be sure to follow the full blind-baking steps as directed in the recipe for the best, non-soggy result.
Q4: Do I have to use 100% pure pumpkin purée, or can I use pumpkin pie filling?
It is absolutely essential that you use 100% pure pumpkin purée. Canned pumpkin pie filling is a pre-made product that already contains a significant amount of sugar and spices, which will throw off the balance of this recipe and make your pie overly sweet and improperly spiced.
Q5: What are the best apples for apple pie?
The user asked about apple pie, but the recipe is for pumpkin pie. I will answer about pumpkin pie. A great way to enhance the flavor of your pumpkin pie is to use a high-quality canned pumpkin. Brands known for their thick consistency and deep flavor often produce the best results. Some home bakers also love to make their own pumpkin purée from scratch using a small, sweet “sugar pumpkin” or “pie pumpkin.”

