Have you ever seen a dessert so spectacular, so ambitious, and so perfectly over-the-top that you thought, “I could never make that”? This incredible “Every Flavor” Thanksgiving Pie Bar is that dessert—and I’m here to show you that with a simple game plan, it’s not only achievable but a fun, stress-free baking project that will make you a holiday legend.
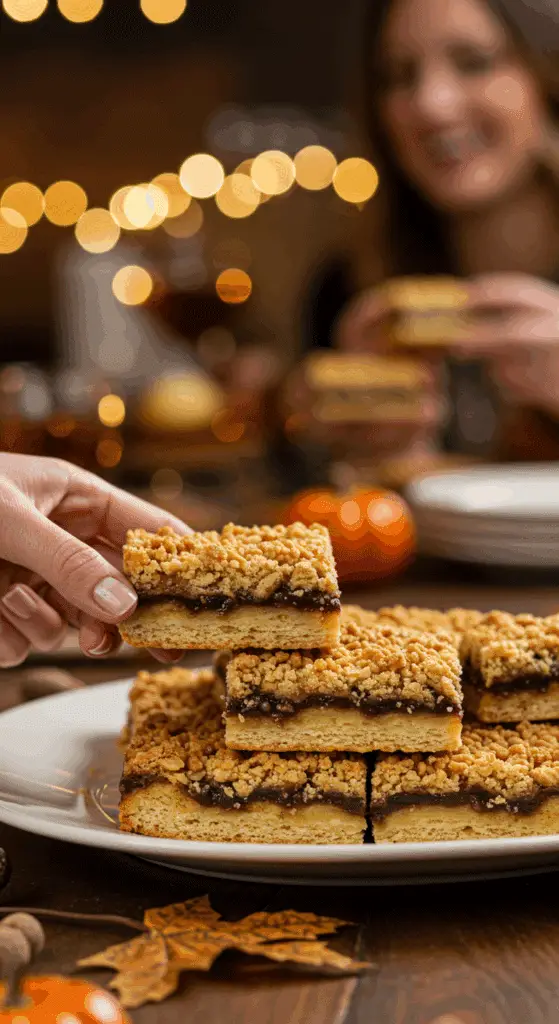
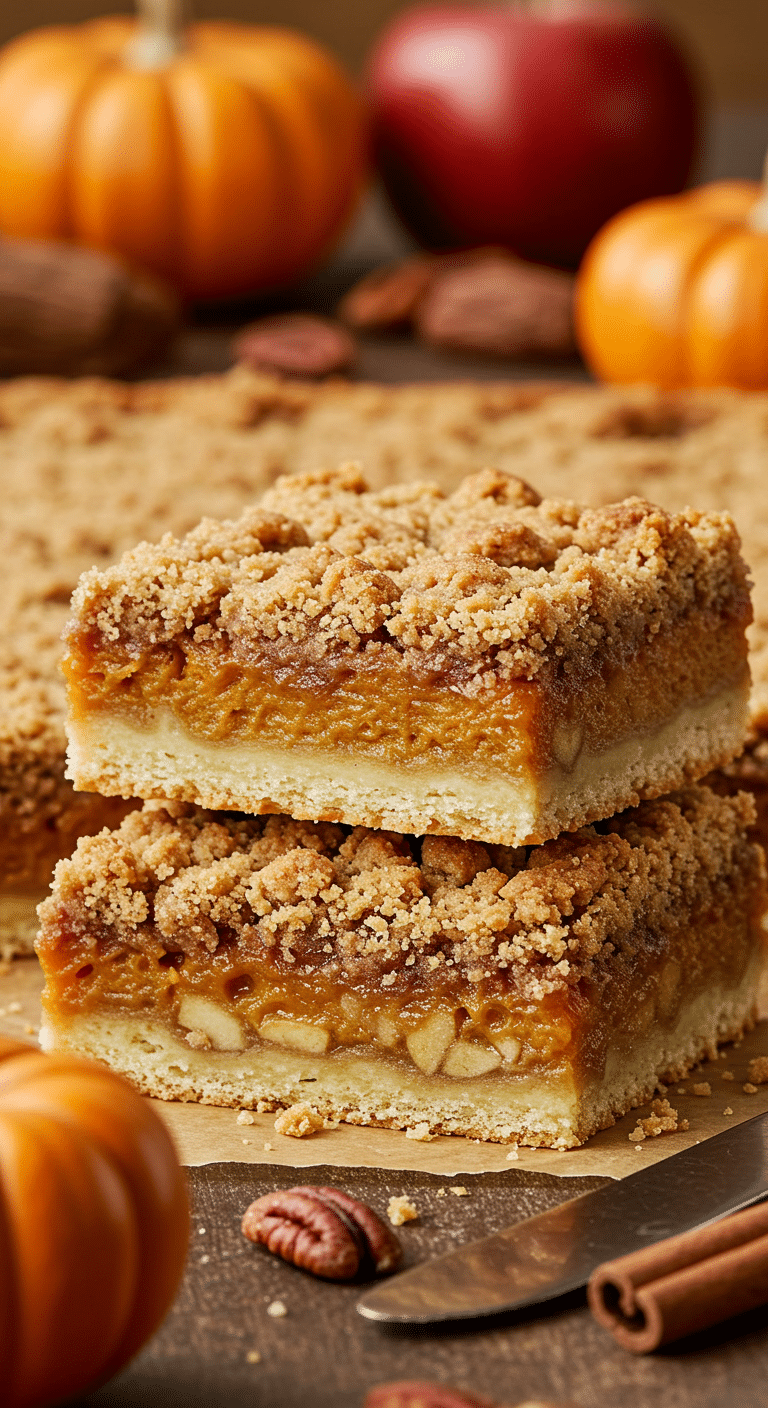
This isn’t just a recipe; it’s the ultimate Thanksgiving dessert solution. Why force your guests to choose between gooey Pecan Pie, creamy Pumpkin Pie, or a classic Apple Crumble when they can have all three in one perfect, layered, and completely unforgettable bite? This is the showstopper that will have everyone at your holiday gathering asking, “How did you do that?!”
Table of Contents
Table of Contents
Recipe Overview: A Stress-Free Holiday Baking Project
What makes these Thanksgiving Pie Bars so brilliant is the way they transform an ambitious idea into a completely manageable project. The secret lies in our foolproof make-ahead game plan, which breaks down the process into simple, easy steps you can do in the days leading up to your celebration. By using a convenient shortcut of store-bought pie crusts, you can focus on creating the three delicious, from-scratch fillings. The final result is a stunning, multi-layered “slab pie” that is incredibly easy to slice and serve to a crowd.
| Metric | Time / Level |
| Total Time | 4 hours 30 minutes (includes cooling) |
| Active Prep Time | 1 hour |
| Difficulty Level | Advanced |
| Servings | 12-16 bars |
Your Thanksgiving Baking Game Plan (Make-Ahead Schedule)
The key to this recipe is not to do it all at once! Here is your stress-free timeline.
- 3 Days Before Thanksgiving: Bake your three pie crust layers. Let them cool completely, then store them carefully in an airtight container at room temperature.
- 2 Days Before Thanksgiving: Prepare all three of the delicious pie fillings (Pecan, Pumpkin, and Apple) and the crumb topping. Store each component in its own separate, airtight container in the refrigerator.
- 1 Day Before Thanksgiving: It’s assembly day! Follow the simple layering instructions below to build your entire pie bar. Cover it tightly and store it in the refrigerator overnight.
- Thanksgiving Day: Simply let the assembled bars sit at room temperature for about an hour, and then bake and cool. The house will smell amazing, and your show-stopping dessert will be ready with zero last-minute fuss!
The Essential Ingredients for This Masterpiece
This recipe is built from five perfect, from-scratch components.
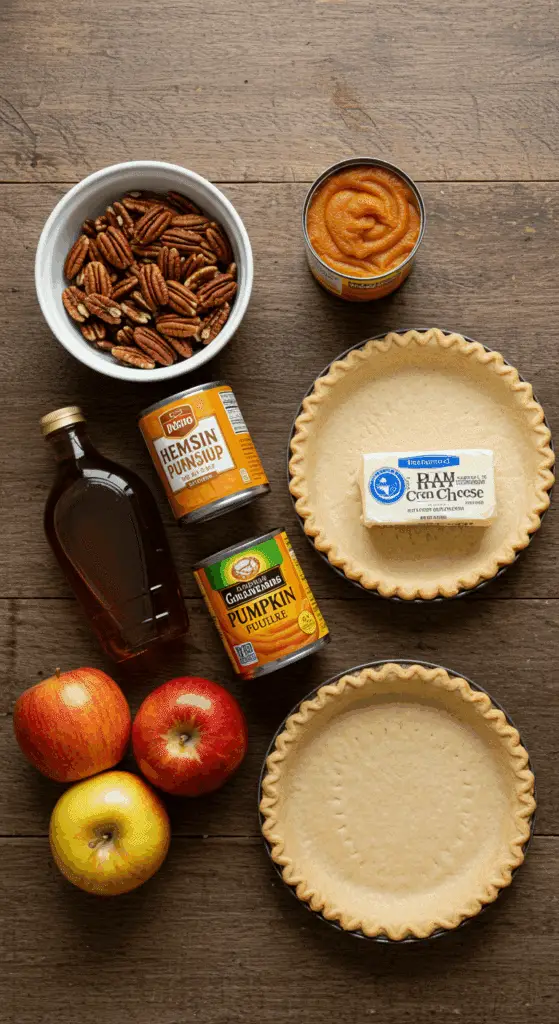
- The Pie Dough Layers: The flaky foundation. To make this ambitious project easy, we use refrigerated, rolled pie crusts. Pre-baking them is the non-negotiable secret to ensuring you have distinct, flaky layers, not a soggy mess.
- The Pecan Pie Layer: A classic, rich, and gooey filling made from light corn syrup, brown sugar, eggs, and toasted pecans.
- The Pumpkin Pie Layer: A perfectly smooth and creamy custard made from pure pumpkin puree, heavy cream, eggs, and a classic blend of cinnamon and nutmeg.
- The Apple Pie Layer: A bright and tender filling made with a mix of Gala or McIntosh and Granny Smith apples for the perfect sweet-tart balance.
- The Crumb Topping: A classic, buttery, and crunchy streusel made from flour, brown sugar, cinnamon, and room temperature butter.

Step-by-Step to the Ultimate Thanksgiving Dessert
Let’s break this incredible project down into simple, manageable parts.
Part 1: Pre-Baking the Foundation – The Crusts
Step 1: First, preheat your oven to 350°F (175°C).
Step 2: On a lightly floured work surface, roll one sheet of the refrigerated pie dough into an 8 3/4 by 12 3/4-inch rectangle, trimming the edges to make it neat.
Step 3: Transfer the dough to a parchment-lined baking sheet and prick it all over with a fork. Top the dough with another layer of parchment and another heavy baking sheet. This weight is the secret to keeping the dough from puffing up as it bakes.
Step 4: Bake for 10 to 14 minutes, until the dough is just starting to brown. Carefully remove the top baking sheet and the top layer of parchment, then continue to bake the crust for another 3 to 5 minutes, until it is a beautiful golden brown.
Step 5: Transfer the baked crust to a wire rack to cool completely. Repeat this entire process with the remaining two pieces of pie dough.
Part 2: Prepping Your Flavors – The Fillings & Topping
Step 1 (The Pecan Layer): In a large bowl, whisk together the 3/4 cup of packed light brown sugar, the 1/2 cup of light corn syrup, the 2 tablespoons of melted butter, the 1 teaspoon of pure vanilla extract, the pinch of kosher salt, and the 3 large eggs until the mixture is smooth and combined. Stir in the 1 1/2 cups of toasted and roughly chopped pecans.
Step 2 (The Pumpkin Layer): In another large bowl, whisk together the 1 1/2 cups of pure pumpkin purée, the 1/2 cup of heavy cream, the 1/2 cup of granulated sugar, the 1 teaspoon of pure vanilla extract, the 1/2 teaspoon of ground cinnamon, the pinch of ground nutmeg, the pinch of kosher salt, and the 2 large eggs until smooth and combined.
Step 3 (The Apple Layer): In a third large bowl, toss together the sliced apples, the 1/3 cup of granulated sugar, the 4 tablespoons of melted butter, the 2 tablespoons of all-purpose flour, the 1 tablespoon of fresh lemon juice, the 1/2 teaspoon of ground cinnamon, and the pinch of kosher salt until the apples are well combined.
Step 4 (The Crumb Topping): Whisk together the 1 cup of all-purpose flour, the 1/3 cup of packed light brown sugar, the 1/4 teaspoon of ground cinnamon, and the 1/4 teaspoon of kosher salt in a medium bowl. Stir in the 1 stick of room temperature butter with a fork until the mixture is completely moistened and starts to form large clumps.
Part 3: The Grand Assembly
Step 1: Spray a 9×13-inch baking dish generously with cooking spray. Line the dish with aluminum foil, leaving a 2-inch overhang on the two longer sides to act as “handles.” Spray the lined pan again.
Step 2: Lay one of your cooled, pre-baked pie dough sheets in the bottom of the pan. Top it with the prepared pecan pie filling, using an offset spatula to spread it all the way to the edges.
Step 3: Add another layer of the pre-baked pie dough. Spread an even layer of the prepared pumpkin pie filling on top.
Step 4: Place the third and final piece of pre-baked pie dough on top. Evenly spread the prepared apple pie filling over the top.
Step 5: Sprinkle the prepared crumb topping evenly over the top of the apple layer.
Part 4: Baking and Cooling Your Masterpiece
Bake the assembled pie bars for 1 hour to 1 hour and 10 minutes. The bars are perfectly done when the edges and the crumb topping are a deep golden brown and the center is set.
You must let the bars cool completely in the pan on a wire rack. This will take about 2 hours.
Once the bars are completely cool, you can run an offset spatula around the edges of the pan and then use the foil overhang “handles” to lift the entire slab out onto a cutting board. Cut into 12 large squares and serve.

The Ultimate Make-Ahead Thanksgiving Pie Bars (Every Flavor!)
An ambitious and decadent dessert bar that combines three classic Thanksgiving pies—pecan, pumpkin, and apple—into one multi-layered treat. This recipe features layers of pre-baked, store-bought pie crust alternating with a gooey pecan pie filling, a creamy pumpkin pie custard, and a fresh apple pie filling. The entire dessert is finished with a buttery brown sugar and cinnamon crumb topping and then baked in a 9×13-inch pan until golden and set.
- Prep Time: 40 minutes
- Cook Time: 1 hour 10 minutes
- Total Time: 4 hours 45 minutes (includes crust baking and cooling time)
- Yield: 12 bars
- Category: Dessert
- Method: Baking
- Cuisine: American
- Diet: Vegetarian
Ingredients
- For the Pie Dough Layers:
- 3 refrigerated rolled pie crusts (from two 14.1-ounce boxes)
- All-purpose flour, for dusting
- For the Pecan Pie Layer:
- 3/4 cup packed light brown sugar
- 1/2 cup light corn syrup
- 2 tablespoons unsalted butter, melted
- 1 teaspoon pure vanilla extract
- Pinch kosher salt
- 3 large eggs
- 1 1/2 cups pecans, toasted and roughly chopped
- For the Pumpkin Pie Layer:
- 1 1/2 cups pure pumpkin puree
- 1/2 cup heavy cream
- 1/2 cup granulated sugar
- 1 teaspoon pure vanilla extract
- 1/2 teaspoon ground cinnamon
- Pinch ground nutmeg
- Pinch kosher salt
- 2 large eggs
- For the Apple Pie Layer:
- 2 Gala or McIntosh apples, peeled, cored and thinly sliced
- 2 Granny Smith apples, peeled, cored and thinly sliced
- 1/3 cup granulated sugar
- 4 tablespoons unsalted butter, melted
- 2 tablespoons all-purpose flour
- 1 tablespoon fresh lemon juice
- 1/2 teaspoon ground cinnamon
- Pinch kosher salt
- For the Crumb Topping:
- 1 cup all-purpose flour
- 1/3 cup packed light brown sugar
- 1/4 teaspoon ground cinnamon
- 1/4 teaspoon kosher salt
- 1 stick (8 tablespoons) unsalted butter, at room temperature
Instructions
- Prepare the Crusts: Preheat the oven to 350°F. Roll out one pie crust into an 8 3/4-by-12 3/4-inch rectangle. Place it on a parchment-lined baking sheet, prick with a fork, and top with another sheet of parchment and a second baking sheet. Bake for 10-14 minutes, then remove the top sheet and parchment and bake for 3-5 more minutes until golden. Cool completely. Repeat with the other two crusts.
- Prepare the Fillings and Topping: While the crusts bake, prepare the three fillings and the topping in four separate bowls according to the ingredient list for each layer. Whisk the pecan pie ingredients. Whisk the pumpkin pie ingredients. Toss the apple pie ingredients. For the crumb topping, whisk the dry ingredients, then stir in the butter until clumps form.
- Assemble the Bars: Spray a 9-by-13-inch baking dish with cooking spray and line it with a foil sling. Spray the foil.
- Place one baked pie crust in the bottom of the pan. Top with the pecan pie filling, spreading it to the edges.
- Add the second layer of pie crust, then spread an even layer of the pumpkin pie filling.
- Place the third and final pie crust on top, then evenly spread with the apple pie filling.
- Sprinkle the crumb topping evenly over the apple layer.
- Bake: Bake at 350°F for 1 hour to 1 hour 10 minutes, until the edges and topping are golden brown and the center is set.
- Cool completely in the pan for about 2 hours.
- Use the foil overhang to lift the bars out, then cut into 12 squares and serve.
Notes
- This is a complex, multi-component recipe perfect for a special occasion. Preparing the fillings and topping while the crusts bake is an efficient workflow.
- Baking the pie crust layers between two baking sheets is a key technique to keep them flat and prevent puffing.
- A foil sling in the baking dish is crucial for easily removing the finished bars for clean slicing.
- The bars must cool completely for at least 2 hours to set properly before cutting.
- The article references a ‘Cook’s Note’ for the flour that is not provided in the text.
Storage and Make-Ahead Tips
- Make-Ahead: As outlined in our “Game Plan” above, this is the perfect dessert to make in stages over a few days to make your holiday baking completely stress-free.
- Storage: Store the finished, cut bars in an airtight container, with parchment paper between the layers, in the refrigerator for up to 5 days.
- Serving: These bars are fantastic served chilled, at room temperature, or gently warmed for a few seconds in the microwave.
For more recipe follow my Pinterest account
Enjoy The Ultimate Thanksgiving Dessert!
You’ve just created a truly epic, show-stopping dessert that is the very definition of a holiday centerpiece. This “Every Flavor” Thanksgiving Pie Bar is a perfect symphony of all the classic tastes and textures of the season. It’s a rewarding baking project that is guaranteed to be the most memorable and most talked-about dessert you’ll ever make.
We hope you and your loved ones enjoy every last, perfect, and delicious bite!
If you enjoyed making this recipe, please leave a comment below or share it with a friend who is ready for a holiday baking adventure!
Frequently Asked Questions (FAQs)
Q1: This recipe seems like a lot of work. Is it really worth it?
While it is a multi-component project, the actual steps are very simple, and the “wow factor” of the final result is absolutely worth it! By following the make-ahead game plan, you can spread the work out over several days, making it a fun and completely stress-free process.
Q2: How do I lift the whole slab of bars out of the pan without it breaking?
The two secrets are the foil sling and the complete cool-down. The foil overhangs that you create at the beginning act as sturdy “handles” to lift the entire slab out at once. However, this will only work if the bars are completely cooled and set. A warm bar will be too soft and will likely crack.
Q3: Can I use a different size pan?
This recipe is specifically developed for the volume and surface area of a 9×13-inch baking dish. Using a different size pan would require you to adjust the amount of ingredients and the baking time significantly.
Q4: My fillings seem very wet. Will they really set up properly during baking?
Yes, they will! The pecan and pumpkin fillings are both classic, egg-based custards that will set up beautifully as they bake and cool. The flour in the apple filling will thicken its juices into a perfect, jammy consistency. The key is to bake the bars until the center is set (not overly jiggly) and to allow for the crucial, long cool-down period.
Q5: What are the best apples to use to ensure they don’t get mushy?
The recipe’s suggestion of using a mix of a firm-sweet apple like Gala or McIntosh and a firm-tart apple like Granny Smith is a perfect combination for both flavor and texture. Other great, firm baking apples include Honeycrisp, Braeburn, and Jonagold.


