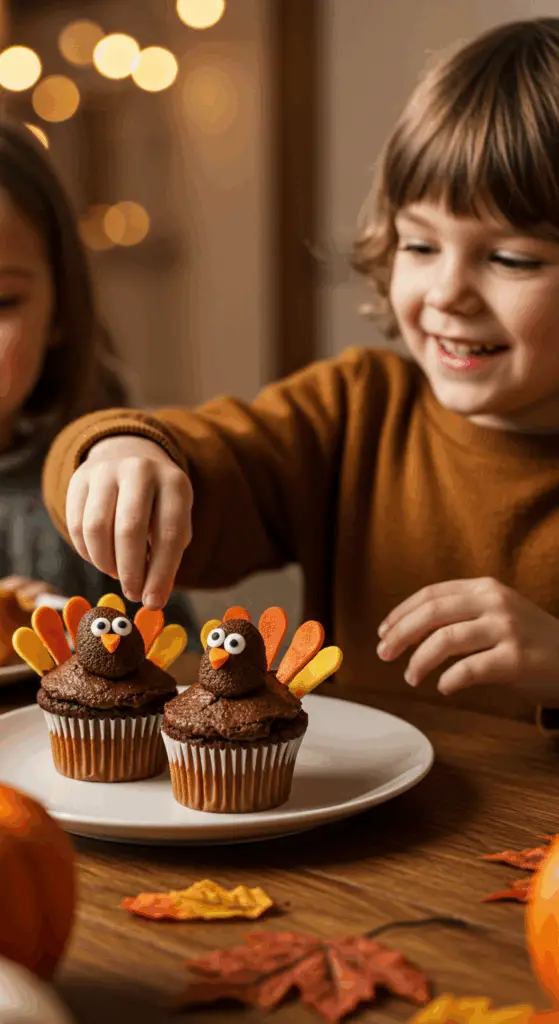
Are you looking for the most fun, most creative, and completely show-stopping dessert for your Thanksgiving table this year? A festive baking project that is perfect for getting the whole family, especially the kids, involved in the holiday fun? These incredible, adorable, and delicious Thanksgiving Turkey Tail Cupcakes are the perfect answer!
This isn’t just a recipe; it’s a guide to creating a truly memorable and edible work of art. The secret to making this impressive project fun and totally stress-free is the brilliant use of a simple cake mix and pre-made frosting. This allows you to focus all your creative energy on the best part: building the stunning, colorful turkey tails from scratch using a clever and easy candy-melt technique. Get ready to create the cutest dessert that will have everyone gobbling with delight!
Table of Contents
Table of Contents
Recipe Overview: The Ultimate Fun Thanksgiving Project
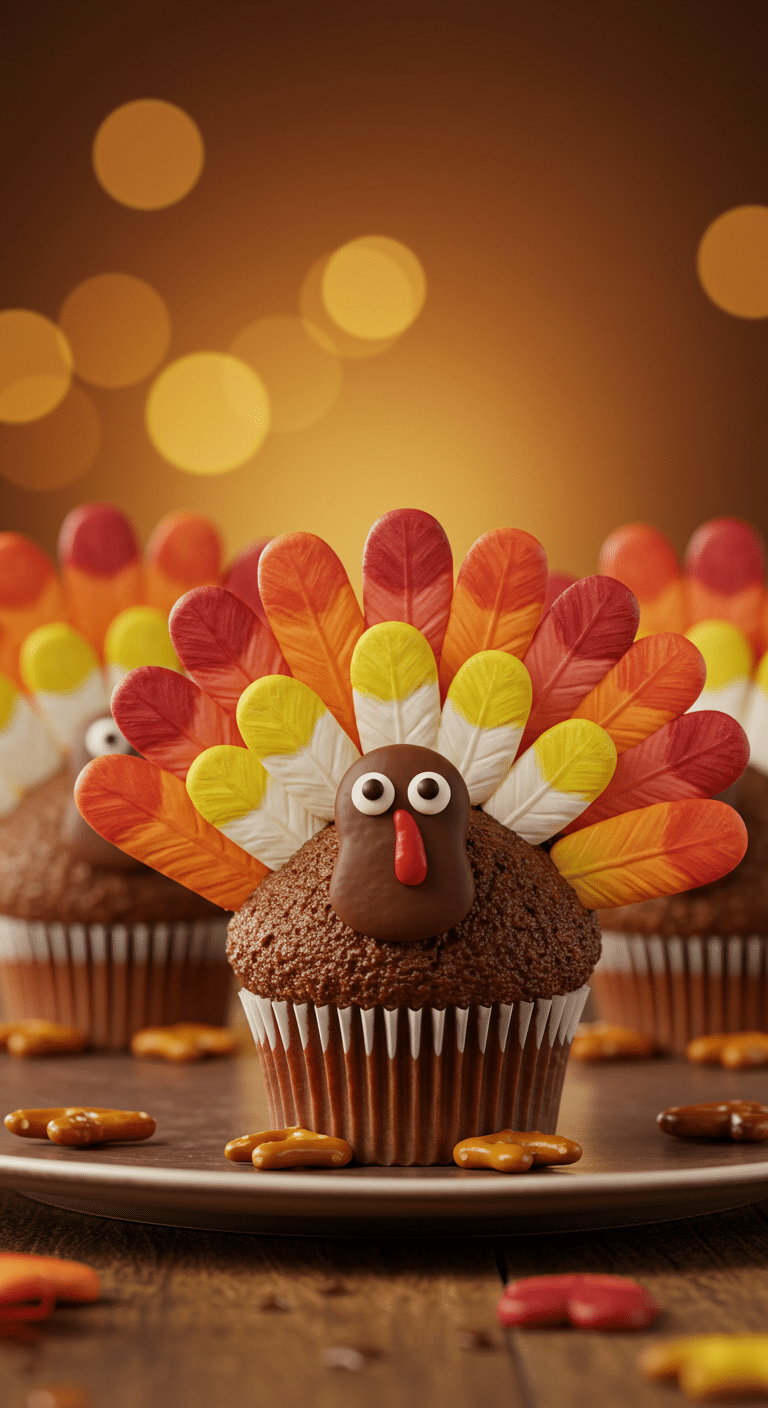
What makes these Thanksgiving Turkey Cupcakes so special is their stunning, three-dimensional design and their classic, crowd-pleasing flavor. The base is a rich and moist chocolate cupcake with a creamy chocolate frosting. But the real star of the show is the magnificent, fan-shaped turkey tail, made from individual, hand-painted stripes of colorful candy melts. Finished with a little chocolate candy body and pretzel feet, these cupcakes are a fantastic and engaging project for a festive afternoon.
| Metric | Time / Level |
| Total Time | 2 hours (plus cooling time) |
| Active Prep Time | 45 minutes |
| Difficulty Level | Intermediate |
| Servings | 24 cupcakes |
The Essential Ingredients for These Festive Cupcakes
This recipe is made from two simple components: a classic cupcake base and a fun, creative “decorating toolkit.”
- The Cupcake & Frosting Base (The Easy Shortcut!):
- Chocolate Cake Mix: This is the key to making this intricate-looking project easy and foolproof! Using one 15.25-ounce box of your favorite chocolate cake mix guarantees a perfectly moist and delicious cupcake every time. You will also need the ingredients listed on the box, which are typically oil, water, and eggs.
- Chocolate Frosting: Two tubs of a rich, store-bought chocolate frosting is the perfect, delicious “glue” and a huge time-saver.
- The Turkey Decorating Toolkit: This is where the real fun happens! You’ll need:
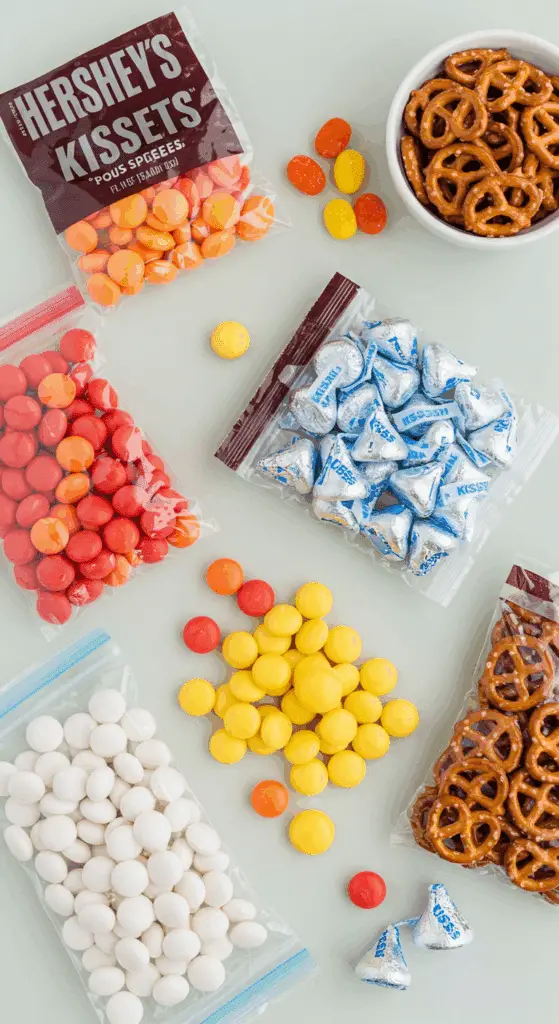
- Candy Melts: These are the secret to our beautiful, sturdy feathers. You will need white, yellow, orange, and red candy melts. These are a type of confectionery coating that melts beautifully and sets up hard at room temperature without any complicated tempering.
- Milk Chocolate Drop Candies: A classic, teardrop-shaped chocolate candy, like a Hershey’s Kiss®, makes the perfect, simple turkey body.
- Miniature Twist Pretzels: The unique shape of mini twist pretzels, when broken, creates two perfect, T-shaped “feet” for our turkeys.
- Parchment Paper & a Paintbrush: You will need parchment paper as your non-stick surface for making the feathers and a clean, food-safe 1/2-inch paintbrush.

Step-by-Step to the Cutest Thanksgiving Cupcakes
This is a fun and rewarding baking project. Let’s break it down into simple, manageable parts.
Part 1: Bake the Chocolate Cupcakes
Step 1: First, preheat your oven and prepare your cupcake pan with liners according to the package directions on your chosen chocolate cake mix.
Step 2: Prepare and bake 24 cupcakes as directed on the box.
Step 3: Let the cupcakes cool in the pan for a few minutes before transferring them to a wire rack to cool completely. The cupcakes must be completely cool before you attempt to frost them.
Part 2: Create the Colorful Candy Melt “Feathers”
Step 1: While the cupcakes are cooling, you can create your beautiful turkey feathers. Line two large baking sheets with four sheets of parchment paper.
Step 2: Place each color of the melting candy in a separate, small, microwave-safe bowl. Working with one color at a time, melt the candy melts in the microwave in 15-second intervals, stirring in between, until they are fully melted and smooth.
Step 3: Dip your clean, 1/2-inch paintbrush into one color of the melted candy, making sure you have a generous amount on the brush. On one of the pieces of parchment paper, “paint” a thick, 1-inch-long stripe. The stripe should be opaque; you can brush on a little more if needed.
Step 4: Repeat this process, covering each of your four pieces of parchment paper with different colored candy lines. You will need a total of:
- 72 white candy stripes (3 per cupcake)
- 96 yellow candy stripes (4 per cupcake)
- 96 orange candy stripes (4 per cupcake)
- 96 red candy stripes (4 per cupcake)
Pro Tip: If the bowls of melting candy begin to harden while you are working, simply pop them back in the microwave for 10 seconds to soften them up again.
Step 5: Let all the candy stripes set at room temperature until they are completely dry and hardened, which will take about 15 minutes.
Part 3: The Fun Assembly – Building Your Turkeys
This is the most fun part, and it’s a perfect activity to do with kids!
Step 1: Pipe or spread a generous amount of the chocolate frosting on top of each of your completely cooled cupcakes. You want a nice, thick layer (at least 1/2-inch thick) to hold all the decorations.
Step 2: Place one milk chocolate drop candy, with the point facing up, on each cupcake. Position it on the lower third of the center of the cupcake. This will be the turkey’s body.
Step 3: Carefully cut or break each of your miniature twist pretzels in half. This should give you two “T-shaped” pieces from each pretzel. These will be your turkeys’ feet.
Step 4 (Adding the Feathers!): Now, let’s build the beautiful tail. Carefully peel the hardened candy stripes off of the parchment paper.
- First, insert 4 of the red brushstrokes in a fanned-out row along the top edge of a cupcake, pressing them into the frosting at a slight 45-degree angle. These are the back feathers.
- Make a second row of 4 orange brushstrokes in front of the red ones.
- Then, add a row of 4 yellow brushstrokes in front of the orange ones.
- Finally, add a row of 3 white brushstrokes in front of the yellow ones.
Step 5: Insert one of the pretzel “feet” on either side of the chocolate drop candy body, pressing them gently into the frosting.
Step 6: Repeat this entire decorating process with the remaining 23 cupcakes.

The Best Adorable & Easy Thanksgiving Turkey Cupcakes
A festive and creative recipe for Thanksgiving cupcakes designed to look like turkeys with fanned-out tails. The recipe starts with a simple base of chocolate cupcakes baked from a box mix, which are then frosted with pre-made chocolate frosting. The elaborate ‘turkey tail’ is created by painting stripes of melted white, yellow, orange, and red candy onto parchment paper. Once set, these colorful candy stripes are arranged as ‘feathers’ on the cupcakes, with a milk chocolate drop candy for the body and pretzel pieces for the feet.
- Prep Time: 1 hour 15 minutes
- Cook Time: 22 minutes
- Total Time: 2 hours 40 minutes (includes cooling time)
- Yield: 24 cupcakes
- Category: Dessert
- Method: Baking, Decorating
- Cuisine: American
- Diet: Vegetarian
Ingredients
- For the Cupcakes:
- 1 (15.25-ounce) box chocolate cake mix, plus required oil and eggs
- Two 16-ounce tubs chocolate frosting
- For the Decorations:
- 2 1/2 ounces white melting candy (a heaping 1/3 cup)
- 3 ounces yellow melting candy (1/2 cup)
- 3 ounces orange melting candy (1/2 cup)
- 3 ounces red melting candy (1/2 cup)
- 24 milk chocolate drop candies (e.g., Hershey’s Kisses)
- 24 miniature twist pretzels
Instructions
- Bake 24 chocolate cupcakes according to the package directions and let them cool completely.
- Make the Candy Feathers: While the cupcakes cool, melt each color of the melting candy in separate microwave-safe bowls, heating in 10-second intervals until smooth.
- Using a 1/2-inch paintbrush, paint thick, 1-inch long stripes of the melted candy onto sheets of parchment paper. You will need 72 white stripes and 96 stripes each of yellow, orange, and red.
- Let the candy stripes set at room temperature for about 15 minutes, until they are dry and firm.
- Decorate the Cupcakes: Spread a generous amount of chocolate frosting on each cooled cupcake.
- Press a milk chocolate drop candy, point-side up, onto the lower third of each cupcake to serve as the turkey’s body.
- Cut or break each pretzel to get 2 T-shaped pieces from each one. Insert one pretzel ‘foot’ on either side of the chocolate drop candy.
- Assemble the Feathers: Carefully peel the set candy stripes off the parchment paper.
- Create the tail by inserting the candy stripes into the frosting at a 45-degree angle. Start with a back row of 4 red stripes, followed by a row of 4 orange stripes, then 4 yellow stripes, and finally a front row of 3 white stripes.
- Repeat the decorating process for all 24 cupcakes.
Notes
- This recipe relies on several store-bought shortcuts, like cake mix and frosting, to focus on the creative decorating aspect.
- Painting the candy stripes onto parchment paper allows them to set into firm, individual ‘feathers’ that are easy to handle.
- If the melting candy hardens while you are working, it can be re-softened in the microwave.
Storage and Make-Ahead Tips
These festive cupcakes are a great treat to make ahead for the busy holiday season.
- Make-Ahead: You can make all the components separately in advance. The baked cupcakes (unfrosted) can be stored in an airtight container at room temperature for up to 2 days. The candy melt feathers can be made up to a week in advance and stored, layered between parchment paper, in a flat, airtight container at room temperature.
- Storage: The finished, decorated cupcakes are best stored in a single layer in a tall, airtight container at room temperature. They will stay fresh and delicious for up to 3 days. It is not recommended to refrigerate them, as this can cause the candy melts to become a bit tacky from condensation.
For more recipe follow my Pinterest account
Creative Recipe Variations
This fun and festive cupcake is a wonderful base for your own delicious and creative twists.
- Use a Different Cupcake and Frosting Flavor: If you’re not a fan of chocolate, these adorable decorations would also be fantastic on a spice cupcake with a cream cheese frosting, or a yellow cupcake with a vanilla or caramel buttercream.
- Make a “No-Melt” Feather Tail: For a simpler, no-melt version of the turkey tail that is even easier for very young kids, you can use colorful, fan-shaped cookies (like striped shortbread cookies or colorful wafer cookies). You can also use slices of fresh fruit, like apples or pears, arranged in a fan shape.
- Use a Different Candy for the “Body”: If you can’t find the classic milk chocolate drop candies, you could also use a chocolate truffle, a mini peanut butter cup, or a chocolate-covered caramel to create the turkey’s body.
Enjoy Your Fun and Festive Thanksgiving Treat!
You’ve just created a wonderfully fun, creative, and delicious cupcake that is sure to be the star of your Thanksgiving dessert table. These Turkey Tail Cupcakes are a perfect harmony of a classic, moist chocolate cupcake and a fun, festive decoration that is a joy for the whole family to create together. It’s a sweet and simple way to celebrate the holiday season.
We hope you and your family love making—and eating—this adorable new tradition!
If you enjoyed making this recipe, please leave a comment below or share it with a friend who is looking for a fun holiday baking project!
Frequently Asked questions (FAQs)
Q1: What are “candy melts,” and where can I find them?
Candy melts (also known as confectionery coating or melting wafers) are a type of candy that is designed to melt very easily and smoothly and then harden again at room temperature with a nice, shiny finish. They come in a wide variety of colors. You can find them in the baking or the party supply aisle of most major craft stores (like Michaels or Jo-Ann) and many large grocery stores.
Q2: Can I make the candy melt feathers ahead of time?
Yes, absolutely! This is a great time-saving trick. You can make the candy melt feathers up to a week in advance. Let them set completely, and then store them, still on their parchment paper sheets, layered carefully in a flat, airtight container at room temperature.
Q3: What is the best way to transport these decorated cupcakes?
Because of their tall, 3D decorations, these cupcakes can be a bit tricky to transport. The absolute best tool is a dedicated cupcake carrier with tall, individual slots that will hold each cupcake securely in place. If you don’t have one, you can place them carefully in a large, deep, lidded container in a single layer.
Q4: Can I use real white chocolate instead of the candy melts?
You can, but it is a bit trickier. Real white chocolate needs to be “tempered” in order to set up properly with a hard, shiny finish at room temperature. Candy melts are designed to give you this result without any of the complicated tempering steps, which makes them a much more foolproof and easy choice for a simple decorating project like this one.
Q5: My frosting is too soft to hold up the feathers. What should I do?
If your store-bought frosting seems a bit too soft, you can easily thicken it up. Simply place the frosting in a large bowl and, using an electric mixer, beat in some confectioners’ (powdered) sugar, about 1/4 cup at a time, until the frosting is thick and stiff enough to hold the candy feathers upright.


