Are you looking for a beautiful, elegant, and incredibly delicious dessert or appetizer that you can prep in about 10 minutes? These stunning, individual Quick Pear Tarts, with their delicious sweet and savory flavor, are your new go-to secret weapon. Using a few brilliant shortcuts like store-bought puff pastry and canned pears, you can create a restaurant-quality treat that is perfect for any occasion, from a last-minute dinner party to a special holiday brunch.
This isn’t just a recipe; it’s your guide to the ultimate easy yet impressive pastry. We’ll show you how to transform a simple sheet of puff pastry into a golden, flaky, and buttery tart, topped with tender pear slices, a crisp cinnamon-sugar crust, and a surprising, savory melt of sharp cheddar cheese. It’s a classic flavor combination, made unbelievably easy.
Table of Contents
Table of Contents
Recipe Overview: The Ultimate 10-Minute Prep Dessert
What makes these Quick Pear Tarts so spectacular is their incredible speed and ease, and their sophisticated, sweet-and-savory flavor profile. The recipe brilliantly uses two smart shortcuts—store-bought puff pastry and canned pears—to eliminate almost all the prep work. The final result is a beautiful, individual tart with a wonderfully light and flaky base, sweet and tender fruit, and a delicious, salty counterpoint from the melted cheddar cheese. It’s a foolproof recipe that delivers an impressive result with minimal effort.
| Metric | Time / Level |
| Total Time | 40 minutes |
| Active Prep Time | 10 minutes |
| Difficulty Level | Easy |
| Servings | 6 tarts |
The Essential Ingredients for These Easy Tarts
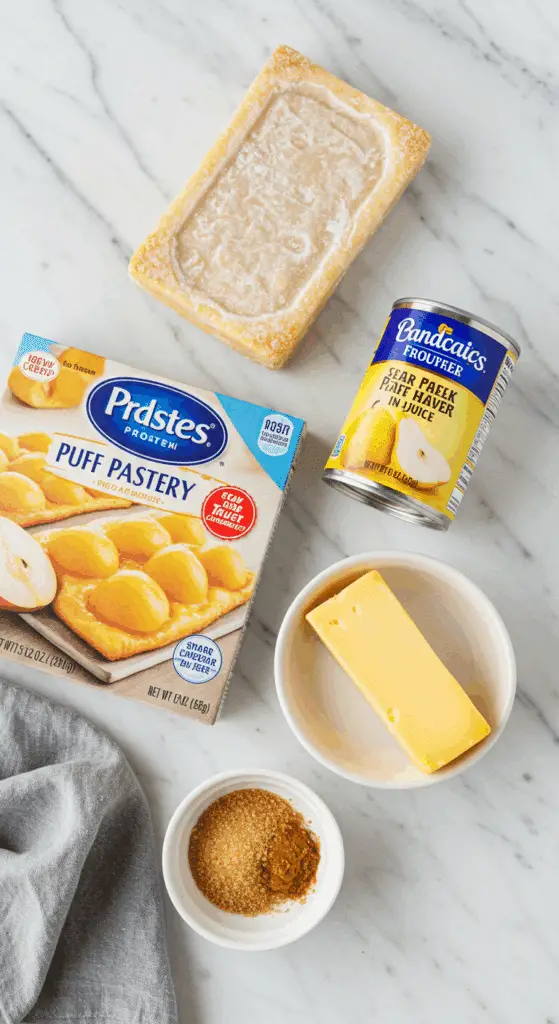
This recipe uses a handful of simple pantry staples and smart shortcuts to create a spectacular result.
- Frozen Puff Pastry: This is the ultimate kitchen shortcut and the key to how easy this recipe is! A high-quality, all-butter frozen puff pastry will bake up into hundreds of light, airy, and shatteringly crisp layers. Be sure to thaw it according to the package directions.
- Canned Pear Halves: While fresh pears are wonderful, using high-quality canned pear halves in juice is another brilliant shortcut that makes this recipe incredibly fast and foolproof. They are already peeled, cored, and perfectly tender.
- The Classic Flavor Pairing (Pear & Cheddar): This is a timeless, old-fashioned flavor combination that is absolutely delicious. The sweetness of the pears is a perfect match for the sharp, salty, and savory flavor of a good sharp Cheddar cheese.
- The Topping (Raw Sugar & Cinnamon): We use a simple sprinkle of cinnamon and a coarse raw sugar, like Turbinado or demerara. The large crystals of raw sugar don’t melt as quickly as granulated sugar, which gives the finished tarts a beautiful, sparkling look and a delightful, crunchy texture.

Step-by-Step to Perfect Quick Pear Tarts
Follow these simple, detailed steps for a perfect, golden-brown, and puffy result every time.
Step 1: Prepare the Oven and the Puff Pastry Base
First, preheat your oven to a hot 400°F (200°C). Line two large baking sheets with parchment paper.
In a small bowl, mix together the 1/4 cup of raw sugar and the 2 teaspoons of ground cinnamon.
On a lightly floured work surface, gently unfold your thawed sheet of puff pastry.
Using a pastry brush, brush the entire surface of the puff pastry with the 1/2 stick of melted butter. Sprinkle the pastry evenly with half of your prepared cinnamon-sugar mixture.
Using a sharp knife or a pizza cutter, cut the puff pastry sheet into 6 even rectangular pieces.
Step 2: Assemble the Pear Tarts
Carefully cut your canned pear halves into thin, 1/4-inch thick slices, keeping the slices for each half together.
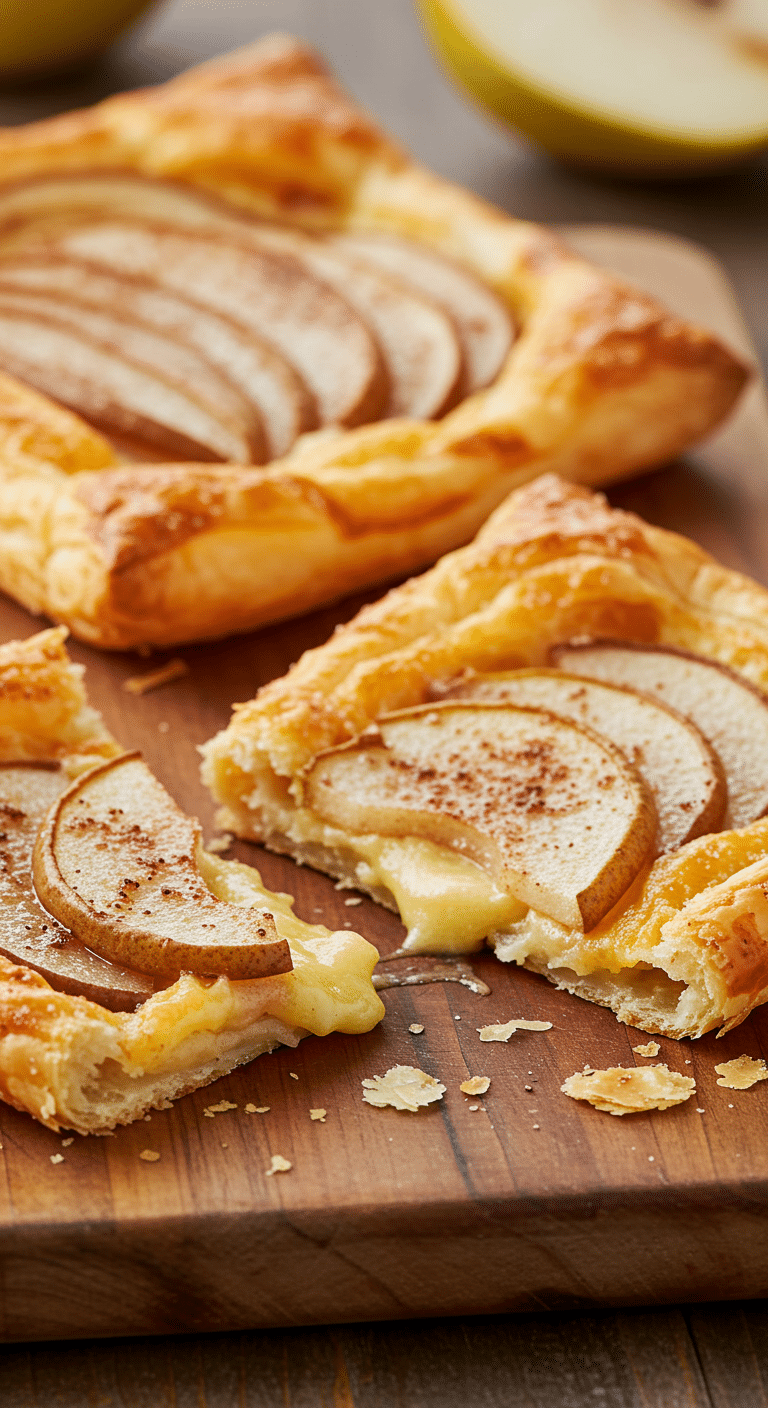
Gently “fan” the pear slices for one pear half out and arrange them on top of one of the puff pastry rectangles. Repeat this process with the remaining pear halves and pastry rectangles.
Sprinkle the tops of all the pear tarts with the remaining half of the cinnamon-sugar mixture.
Step 3: Bake to Golden, Puffy Perfection
Bake the tarts for 20 to 25 minutes, until the puff pastry is a deep golden brown, beautifully puffed up, and cooked all the way through.
Step 4: The Final Cheesy Melt
Carefully remove the tarts from the oven. Sprinkle the 1/2 cup of shredded Cheddar cheese evenly over the tops of the hot pear tarts.
Return the tarts to the oven and bake for 5 more minutes, or until the cheese is perfectly melted and bubbly.
Serve the tarts warm.

The Easiest Quick & Elegant Pear Tart
A quick and easy recipe for individual pear tarts that combines sweet and savory flavors. The recipe uses a convenient sheet of store-bought puff pastry as the base, which is brushed with melted butter and sprinkled with cinnamon sugar. Fanned slices of canned pear are arranged on top, and the tarts are baked until golden. In a unique final step, the warm tarts are sprinkled with shredded Cheddar cheese and returned to the oven just long enough for the cheese to melt.
- Prep Time: 10 minutes
- Cook Time: 30 minutes
- Total Time: 40 minutes
- Yield: 6 tarts
- Category: Dessert
- Method: Baking
- Cuisine: American
- Diet: Vegetarian
Ingredients
- 1/4 cup raw sugar
- 2 teaspoons ground cinnamon
- 1 sheet puff pastry, thawed
- 1/2 stick (4 tablespoons) butter, melted
- 2 (15 1/4-ounce) cans pear halves in syrup, drained
- 1/2 cup shredded Cheddar cheese
Instructions
- Preheat the oven to 400°F.
- In a small bowl, mix the sugar and cinnamon together.
- Lay the thawed puff pastry sheet on a work surface. Brush it with melted butter and sprinkle with half of the cinnamon-sugar mixture.
- Cut the pastry into 6 even pieces.
- Slice the pear halves into 1/4-inch thick slices, keeping them attached at the stem end. Fan the slices of one pear half over each puff pastry square.
- Sprinkle the tops of the pear tarts with the remaining cinnamon-sugar mixture.
- Place the tarts on a baking sheet and bake for 20 to 25 minutes, until the pastry is golden and cooked through.
- Remove the tarts from the oven, sprinkle them with the shredded Cheddar cheese, and return them to the oven to bake for 5 more minutes, or until the cheese has melted.
- Serve warm.
Notes
- This recipe is very quick to assemble, using store-bought puff pastry and canned pears as shortcuts.
- The combination of sweet, spiced pear and savory, melted Cheddar cheese is a classic pairing, similar to serving apple pie with a slice of cheddar.
- These tarts are best served warm while the cheese is still melted and gooey.
Serving Your Pear and Cheddar Tarts
These versatile tarts are fantastic served in a number of ways. They are at their absolute best served warm, fresh from the oven, while the pastry is at its crispiest and the cheese is perfectly melty.
- As a Dessert: Serve a warm tart on a plate with a scoop of vanilla ice cream or a drizzle of honey.
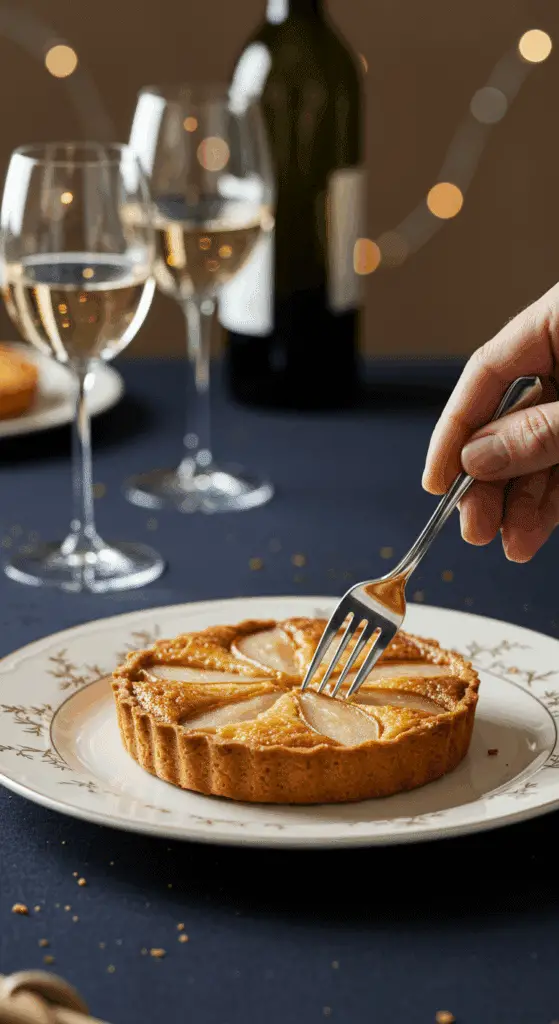
- As an Appetizer: These make a wonderful, elegant appetizer for a dinner party, served with a glass of crisp white wine.
- For Brunch: A perfect, impressive, and easy addition to any holiday or weekend brunch spread.
Storage and Make-Ahead Tips
These Quick Pear Tarts are at their absolute crispiest and best on the day they are made, preferably served warm from the oven.
- Make-Ahead: For a super-fast, fresh-from-the-oven treat, you can fully assemble the unbaked tarts on your parchment-lined baking sheets up to a day in advance. Simply cover them tightly with plastic wrap and store them in the refrigerator. When you are ready to serve, you can bake them directly from the fridge.
- Storage: If you do have leftovers, they can be stored in an airtight container in the refrigerator for up to 3 days.
- Reheating: The absolute best way to reheat the tarts and bring back some of their original crispiness is in an air fryer or back in a hot 375°F oven. Place them on a baking sheet and reheat for just 3-5 minutes, until they are hot and have crisped up again.
For more recipe follow my Pinterest account
Creative Recipe Variations
This incredibly simple and delicious recipe is a fantastic base for your own creative and flavorful twists.
- Use a Different Fall Fruit: This same easy and elegant tart method is absolutely fantastic with other fruits. Try it with canned or fresh, thinly sliced apples, peaches, or even apricots.
- Use a Different Sophisticated Cheese: If you want to experiment with the sweet and savory flavor, you can swap the sharp cheddar for an equal amount of a tangy, crumbled blue cheese or goat cheese.
- Add a Nutty Crunch: For a wonderful, nutty flavor and an extra layer of texture, you can sprinkle the tarts with some chopped, toasted walnuts or pecans along with the cheese before the final 5-minute bake.
Enjoy Your New Favorite “Fancy” Shortcut!
You’ve just discovered a truly magical recipe that delivers a stunning, restaurant-quality result with just a few minutes of work. This Quick Pear Tart is a perfect harmony of flaky pastry, sweet fruit, and savory cheese. It’s a rewarding and deeply satisfying recipe that is sure to become a new staple in your entertaining repertoire.
We hope you enjoy every last, perfect, flaky, and delicious bite!
If you enjoyed making this recipe, please leave a comment below or share it with a friend who loves an easy and impressive recipe!
Frequently Asked Questions (FAQs)
Q1: What is the best way to thaw frozen puff pastry so it doesn’t break?
The absolute best way is to thaw it slowly in the refrigerator overnight. If you are short on time, you can let it sit at room temperature for about 40-60 minutes, but you must be careful. You want the dough to be just pliable enough to unfold without cracking, but it should still be very cold to the touch for the best, puffiest result.
Q2: Can I use fresh pears instead of canned for this recipe?
Yes, you can, but it will require one extra step. If you are using fresh pears, you want to use a firm variety like Bosc or Anjou. You will want to poach or sauté the pear slices in a little bit of butter and sugar for a few minutes first to soften them slightly before you arrange them on the raw puff pastry.
Q3: What other cheeses go well with pears and apples?
Pears and apples have a wonderful affinity for a variety of cheeses. A sharp cheddar, as used in this recipe, is a classic pairing. For a tangier, more pungent flavor, a creamy, crumbled blue cheese (like Gorgonzola or Stilton) or a soft goat cheese would be absolutely fantastic.
Q4: Can I make these tarts ahead of time for a party?
Yes! The best make-ahead method is to fully assemble the unbaked tarts on your parchment-lined baking sheets, cover them tightly with plastic wrap, and keep them in the refrigerator for up to 24 hours. Then, when your guests arrive, you can bake them fresh from the fridge so they are served hot, puffy, and at their absolute crispiest.
Q5: Can I make one large tart instead of individual ones?
Of course! You can simply leave the sheet of puff pastry whole, arrange all of your fanned-out pear halves on top, and bake it as one large, rustic tart. You will then be able to slice it into individual portions after it has been baked.


