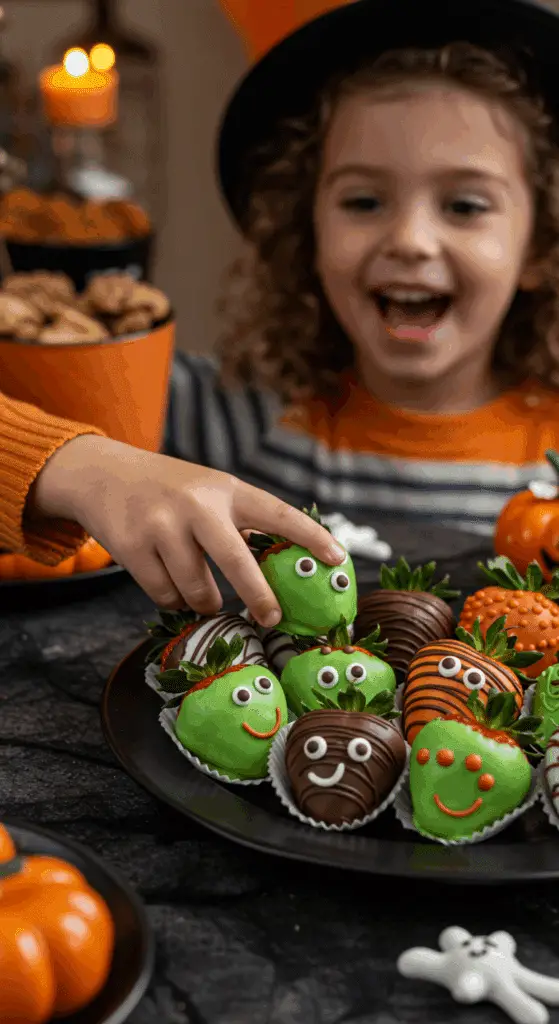
Looking for the ultimate spooky, sweet, and unbelievably fun treat for your next Halloween celebration? A festive dessert that is as adorable to look at as it is delicious to eat, and is a perfect, creative activity to do with your kids? These incredible, from-scratch Halloween Chocolate-Covered Strawberries are the perfect project! We’ll show you how to easily transform simple, juicy strawberries into a ghoulishly delightful trio of spooky monsters, ghostly ghouls, and grinning jack-o’-lanterns.
This isn’t just a recipe; it’s a guide to your new favorite Halloween tradition. We’ll show you the simple but crucial secrets to perfectly melting candy and creating three different, stunningly cute designs. These are the kind of fun, satisfying, and completely irresistible treats that will be the star of any festive gathering.
Table of Contents
Table of Contents
Recipe Overview: The Ultimate Spooky & Sweet Halloween Treat
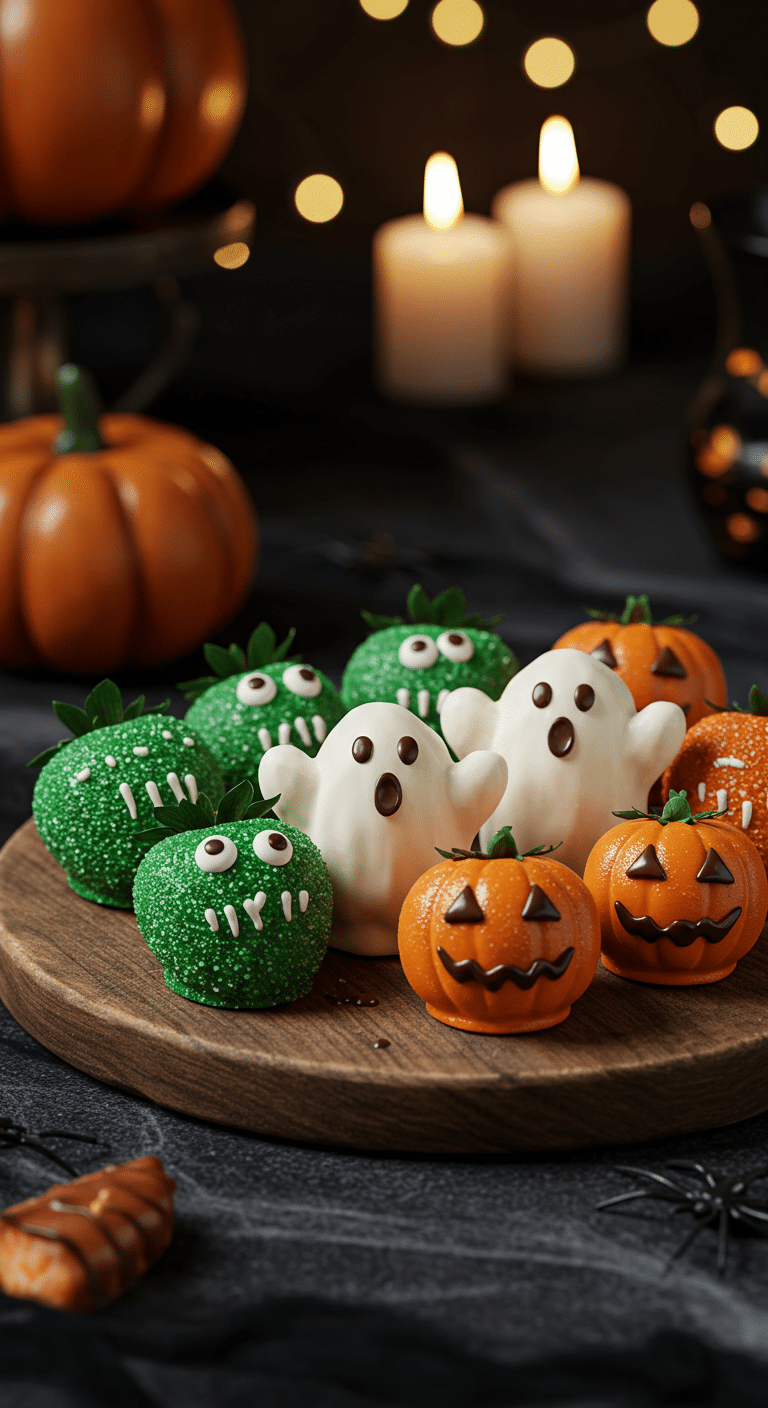
What makes these Halloween Strawberries so spectacularly fun is their brilliant, easy-to-make designs and their classic, crowd-pleasing flavor. This recipe is a masterclass in creative, festive treats, guiding you through three unique and adorable designs. Using simple, colorful candy melting wafers, we’ll create:
- Fuzzy Green Monsters: Coated in green candy and sparkly sanding sugar, with cute candy eyeballs.
- Spooky White Ghosts: Dipped in white candy, with a clever trick to create a flowing, ghostly “tail.”
- Classic Jack-O’-Lantern Pumpkins: A vibrant orange coating with a spooky, piped-on chocolate face.
It’s a foolproof recipe that is perfect for all skill levels and is a guaranteed hit with kids and adults alike.
| Metric | Time / Level |
| Total Time | 45 minutes |
| Active Prep Time | 30 minutes |
| Difficulty Level | Easy |
| Servings | 36 strawberrie |
The “Witch’s Workshop”: Essential Ingredients & Tools
This iconic party dish uses a handful of simple, fun ingredients to create its signature spooky look.
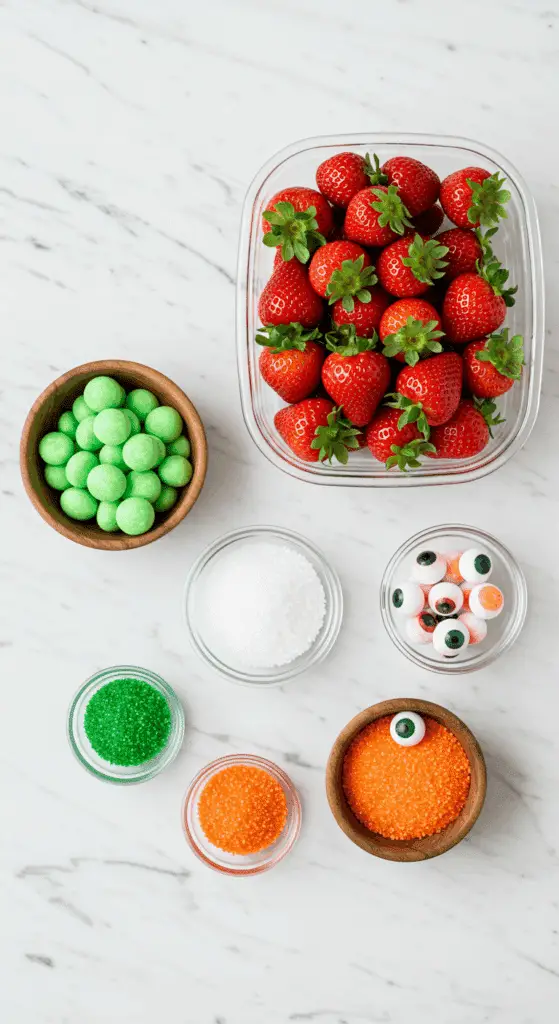
- The Strawberries: For the best, most beautiful result, it is crucial to use large, fresh, ripe strawberries with beautiful, vibrant green tops. The green leaves will be your “handle” for dipping!
- The Candy Coating (Candy Melts are Key!):
- Candy Melting Wafers: This is the secret to an easy, foolproof, and brightly colored coating! Candy melts are a type of confectionery coating that is specifically designed to melt beautifully and set up quickly with a smooth, hard finish, without any of the complicated “tempering” that real chocolate requires. You will need dark green, white, and orange wafers for our three designs.
- The Decorations:
- Candy Eyeballs: These are a fantastic and easy shortcut for creating the cutest monster faces!
- Dark Green Sanding Sugar: This gives our monsters their fun, sparkly, and “fuzzy” texture.
- Chocolate Chips or Black Candy Wafers: These are perfect for melting and piping on the fine details, like the ghosts’ and pumpkins’ faces.
The Candy-Making Masterclass: How to Perfectly Melt Candy Wafers
This is the most important step for a smooth, beautiful coating.
- The Double Boiler Method (Recommended): Place your candy wafers in the top of a double boiler (or in a heatproof bowl set over a saucepan of simmering water, making sure the bottom of the bowl does not touch the water). Cook, stirring occasionally, until the wafers are smooth and completely melted.
- The Microwave Method: Place your candy wafers in a microwave-safe bowl. Microwave in 30-second increments, stirring well after each one, until the wafers are completely melted and smooth. Be careful not to overheat them, as this can cause them to “seize” or become thick.
- Pro Tip (The Secret to a Smooth Melt!): If your melted candy seems too thick, or if it starts to reharden, you can stir in 1/2 to 1 teaspoon of coconut oil or vegetable shortening. This will make it wonderfully smooth and fluid again, which is perfect for dipping.

Step-by-Step to the Best Halloween Strawberries
This fun and festive project is incredibly simple to prepare. The number one secret to success is to make sure your strawberries are washed and completely, totally dry before you begin! Any water will cause your melted candy to seize up.
Part 1: How to Make the Green Monsters
Step 1: Line a baking sheet with parchment paper. Melt your 6 ounces of dark-green candy wafers as directed above.
Step 2: Spread your 1/2 cup of dark-green sanding sugar in a small, shallow bowl.
Step 3: Holding one of your 12 large, dry strawberries by its green leaves, dip it into the melted green candy, letting any excess drip back into the bowl.
Step 4: Immediately and gently press the coated strawberry into the sanding sugar, coating it completely.
Step 5: Set the monster, leaf-side down, on the prepared baking sheet. Repeat with the remaining strawberries for this design.
Step 6: Refrigerate the monsters until the candy has set, which will take about 10 minutes.
Step 7: To add the eyes, you can spread a tiny bit of the remaining melted green candy on the back of 2 candy eyeballs and press them on near the tip of the strawberry. You can also use melted chocolate chips to pipe on a spooky mouth.
Part 2: How to Make the White Ghosts
Step 1: Line a baking sheet with parchment paper. Melt your 6 ounces of white candy wafers. Step 2: Holding a strawberry by its leaves, dip it into the melted white candy. Let some, but not all, of the excess drip back into the bowl. Step 3 (The Ghostly “Tail”!): Set the strawberry, with the leaf-side up, on the prepared baking sheet. As you set it down, let the excess melted candy pool out in front of the strawberry to create the beautiful, flowing bottom of your ghost. Repeat with your remaining strawberries. Step 4: Refrigerate the ghosts until they are set, about 10 minutes. Step 5: Melt your 1 ounce of black candy wafers or chocolate chips. Transfer the melted black candy to a small piping bag or a zip-top bag with a tiny corner snipped off. Once the white candy has set, pipe on two small ovals for the eyes and one for the mouth on each ghost.
Part 3: How to Make the Jack-O’-Lantern Pumpkins
Step 1: Line a baking sheet with parchment paper. Melt your 6 ounces of orange candy wafers. Step 2: Dip your 12 strawberries into the melted orange candy, letting the excess drip back into the bowl. Set them, leaf-side up, on the prepared baking sheet. Refrigerate until they are set, about 10 minutes. Step 3: Melt your 1 ounce of chocolate chips. Transfer the melted chocolate to a small piping bag. Step 4: Once the orange coating on the strawberries has hardened, pipe on your favorite spooky or silly jack-o’-lantern faces (triangle eyes and a jagged mouth) onto the pumpkins. Let them set for 10 to 15 minutes.

Fun Halloween Chocolate-Covered Strawberries (3 Ways!)
A festive and creative recipe for Halloween-themed chocolate-covered strawberries, providing instructions for three different fun and spooky designs: green ‘Monsters,’ white ‘Ghosts,’ and orange ‘Pumpkins.’ Using fresh strawberries and various colors of candy melting wafers, this recipe walks through the process of dipping and decorating the fruit to create edible treats perfect for a Halloween party. Techniques include using sanding sugar for texture and piping on details like eyes and mouths.
Ingredients
- For the Monsters:
- 6 ounces dark-green candy melting wafers
- 1 to 2 teaspoons coconut oil or vegetable shortening (if needed)
- 1/2 cup dark-green sanding sugar
- 12 large strawberries with green tops, rinsed and well-dried
- 24 small candy eyeballs
- 1 ounce chocolate chips (optional, for mouths)
- For the Ghosts:
- 6 ounces white candy melting wafers
- 1 to 2 teaspoons coconut oil or vegetable shortening (if needed)
- 12 large strawberries with green tops, rinsed and well-dried
- 1 ounce black candy melting wafers or chocolate chips
- For the Pumpkins:
- 6 ounces orange candy melting wafers
- 1 to 2 teaspoons coconut oil or vegetable shortening (if needed)
- 12 large strawberries with green tops, rinsed and well-dried
- 1 ounce chocolate chips
Instructions
- For the Monsters: Melt the green candy wafers in a double boiler until smooth. Dip each strawberry in the melted candy, then gently press into a bowl of sanding sugar to coat. Place on a parchment-lined baking sheet and refrigerate for 10 minutes to set. Use a bit of melted candy to ‘glue’ on two candy eyeballs. If desired, melt chocolate chips and use a piping bag to pipe mouths onto the monsters. Let set for 10 more minutes.
- For the Ghosts: Melt the white candy wafers in a double boiler until smooth. Dip each strawberry, letting the excess drip and pool at the base on a parchment-lined baking sheet to create a ‘ghostly’ shape. Refrigerate for 10 minutes to set. Melt the black candy wafers or chocolate chips and use a piping bag to pipe on oval eyes and a mouth for each ghost. Let set for 10-15 minutes.
- For the Pumpkins: Melt the orange candy wafers in a double boiler until smooth. Dip each strawberry in the melted candy and place on a parchment-lined baking sheet. Refrigerate for 10 minutes to set. Transfer the remaining orange candy to a piping bag and pipe vertical lines on the strawberries to create pumpkin ‘ribs.’ Refrigerate for 5 more minutes. Melt the chocolate chips and use a piping bag to pipe on jack-o’-lantern faces. Let set for 10-15 minutes.
Notes
- It is crucial to ensure the strawberries are completely dry before dipping them in the melted candy, as any water can cause the candy to seize.
- A double boiler is recommended for gently melting the candy wafers, but a microwave can also be used in short intervals. A little coconut oil or shortening can be added to smooth the consistency if needed.
- These treats require several chilling steps in the refrigerator to properly set the candy coatings.
Storage and Make-Ahead Tips
Chocolate-covered strawberries are a delicate treat that is at its absolute best on the day that it is made.
- Make-Ahead: You can make these beautiful strawberries up to 24 hours in advance.
- Storage: Store the finished strawberries in a single layer in an airtight container in the refrigerator.
For more recipe follow my pinterest account
Frequently Asked Questions (FAQs)
Q1: What is the absolute, number one secret to perfectly smooth, melted candy for dipping?
The most important secret is to melt it gently and slowly, especially if you are using a microwave. The second secret is to make sure that no water comes into contact with your melted candy, as this will cause it to “seize” and become a thick, grainy, and unusable mess.
Q2: Why did my melted candy get thick and lumpy?
This is called “seizing,” and it is almost always caused by one of two things: either it came into contact with a small drop of water, or it was overheated. If it has just become a little too thick, you can often save it by stirring in a small amount of coconut oil or vegetable shortening until it is smooth again.
Q3: How far in advance can I make chocolate-covered strawberries?
They are at their absolute best and freshest on the day that they are made. You can make them up to 24 hours in advance, but be aware that the strawberries may start to release a little bit of moisture under the candy shell as they sit.
Q4: Can I use real chocolate instead of candy melts?
You can, but it is a bit more challenging. To get that classic, shiny, and hard “snap,” real chocolate needs to be tempered, which is a more advanced process of heating and cooling it to specific temperatures. Candy melts are a fantastic shortcut that gives you a perfect result with no tempering required.
Q5: What is the best way to dry my strawberries completely before I dip them?
After you have washed your strawberries, it is a great idea to first let them air-dry in a single layer on a kitchen towel for about 30 minutes. Then, just before you are ready to dip them, you can use a fresh, dry paper towel to gently pat each one completely dry, paying special attention to the area around the green leaves.


