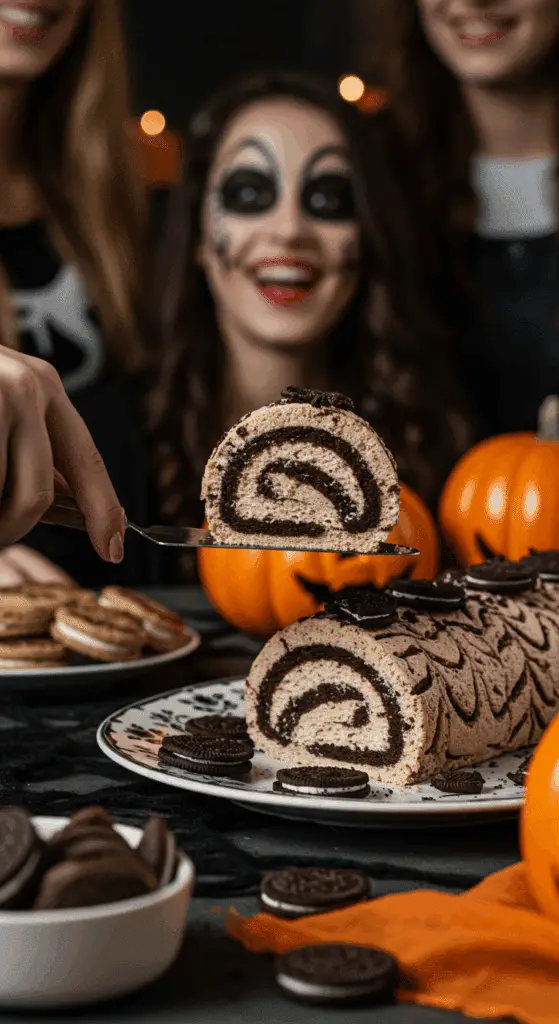
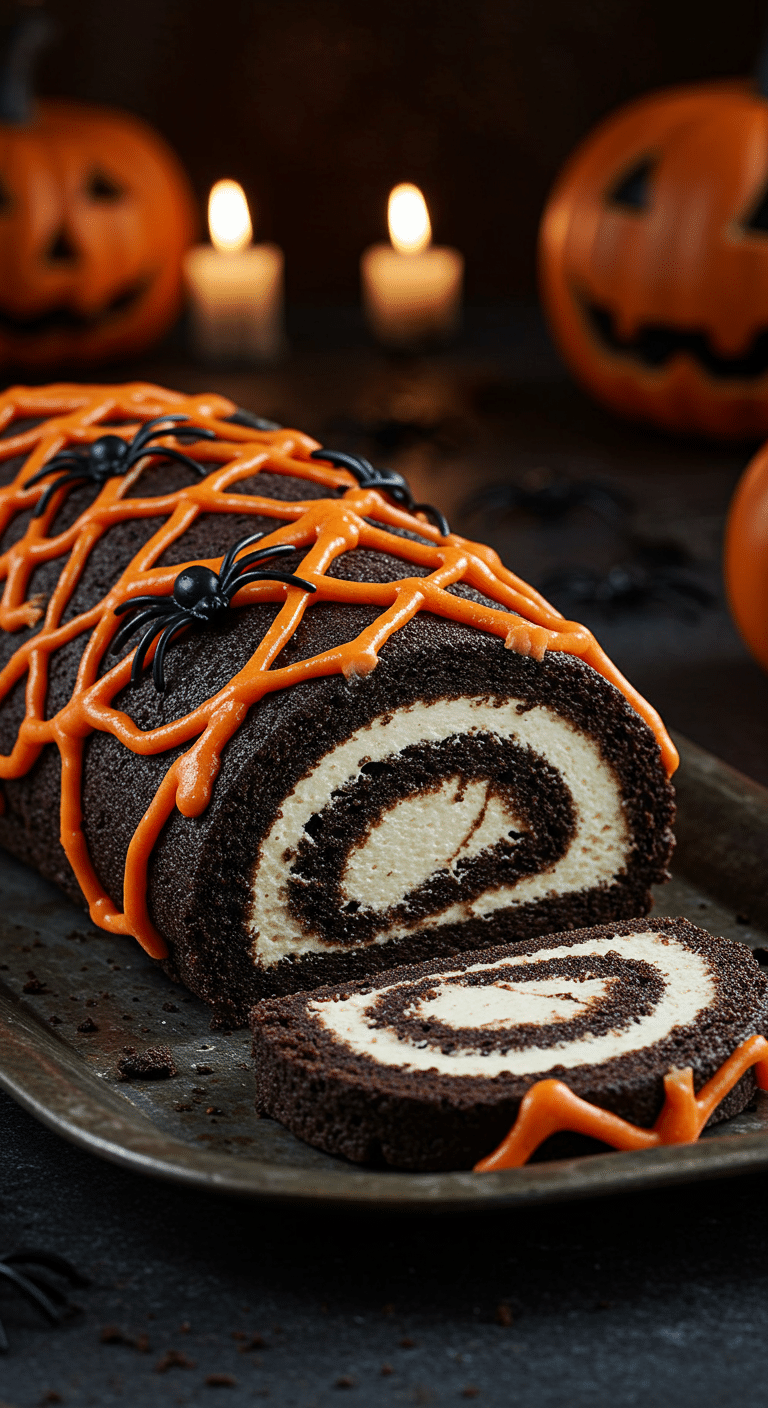
Ready to create the ultimate spooky, delicious, and show-stopping dessert for your Halloween party that requires absolutely no baking? This incredible, from-scratch-tasting Halloween Oreo Roll is the perfect magical creation! We’re talking about a rich, fudgy, “cookies and cream” roll with a super-creamy, sweet filling, all ensnared in a creepy, crawly, and completely edible orange marshmallow spiderweb.
This isn’t just a recipe; it’s a guide to your new favorite festive tradition. We’ll show you the simple secrets to creating this stunning dessert using just a handful of simple ingredients. It’s a guaranteed, crowd-pleasing hit that is as fun to make as it is to eat, making it the perfect project to do with your little monsters.
Table of Contents
Table of Contents
Recipe Overview: The Ultimate No-Bake Halloween Treat
What makes this Halloween Oreo Roll so spectacularly fun is its brilliant, easy, no-bake method and its stunning, spooky presentation. The “cake” itself is a masterpiece of simplicity: a rich, fudgy, and intensely chocolatey “dough” made from finely crushed chocolate sandwich cookies and cream cheese. The filling is a clever, no-waste, and super-creamy frosting made from the reserved creme filling from the cookies, butter, and confectioners’ sugar. The entire log is then chilled until firm and decorated with the most incredible, stretchy, and vibrant orange marshmallow spiderweb.
| Metric | Time / Level |
| Total Time | 5 hours (includes chilling) |
| Active Prep Time | 30 minutes |
| Difficulty Level | Easy |
| Servings | 10-12 |
The “Potion’s” Ingredients for Your Oreo Roll
This iconic party treat uses a handful of simple ingredients to create its signature cookies-and-cream flavor.
- The No-Bake Oreo “Dough”:
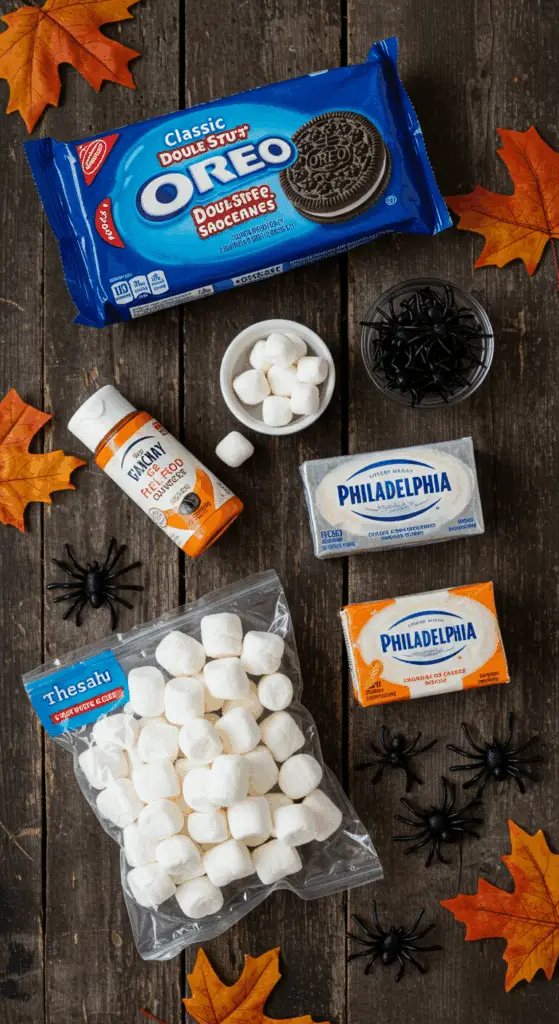
- Double Creme Filled Chocolate Sandwich Cookies: Using a classic, double-creme filled cookie (like an Oreo® Double Stuf) is a fantastic choice, as it gives you plenty of extra, delicious creme filling to use for your frosting.
- Cream Cheese: It is crucial to use a block of softened, full-fat cream cheese that is at room temperature. This is the secret that will bind your cookie crumbs together into a smooth, cohesive, and rollable dough.
- The Creamy Filling:
- Reserved Creme Filling: This is a brilliant, no-waste trick! The creme filling from the cookies is the perfect, sweet base for our simple buttercream-style filling.
- The Spooky Decorations:
- The Orange Marshmallow Web: A simple bag of mini marshmallows and a little bit of orange gel food coloring are all you need to create the most impressive and fun Halloween decoration!
- Gummy Spiders: A few creepy, crawly gummy spiders are the perfect finishing touch for your web.

Step-by-Step to the Best Halloween Oreo Roll
This fun and festive project is incredibly simple to prepare.
Part 1: Make the No-Bake Oreo “Dough” and the Filling
Step 1: First, carefully scrape the creme filling from your 15-ounce package of cookies into a small bowl and set it aside.
Step 2: Place the chocolate cookie wafers into a food processor and pulse about 20 times, until they are finely ground into crumbs.
Step 3: Add your 8 ounces of room temperature cream cheese to the food processor with the cookie crumbs. Pulse about 15 times, scraping down the sides of the bowl as needed, until a thick, uniform “dough” forms. If the mixture seems too thick, you can add 1 tablespoon of the milk.
Step 4: Transfer the dough to a large sheet of plastic wrap. Cover it with another large sheet of plastic wrap and use a rolling pin to roll it out into a 9×12-inch rectangle. Set this aside.
Step 5: In the same food processor (no need to wash it!), combine the 1 stick of room temperature butter with your reserved creme filling. Process for about 30 seconds, until it is smooth. Add 1 cup of the confectioners’ sugar and process until smooth. Add the remaining 1 cup of confectioners’ sugar and a pinch of salt and process until smooth. Finally, add the remaining 1 tablespoon of milk and process for about 30 more seconds, until the buttercream is light and fluffy.
Part 2: Roll, Chill, and Decorate Your Oreo Log
Step 1: Position the rectangle of Oreo dough with one of the shorter, 9-inch sides facing you. Remove the top sheet of plastic wrap. Evenly spread the prepared buttercream all the way to the edges on three sides of the rectangle, but be sure to leave a 1/2-inch border on the short side that is opposite you.
Step 2: Use the bottom sheet of plastic wrap to help you lift and tightly roll the dough away from you into a log. Place it with the seam-side down.
Step 3: Tightly wrap the log with the excess plastic wrap and tie the two ends to tighten the roll. Refrigerate the log until it is very firm, which will take at least 4 hours, or up to overnight.
Step 4 (The Fun Part!): When you are ready to serve, unwrap the chilled roll and transfer it to a serving platter.
Step 5: Combine your 6 ounces of marshmallows with 12 drops of orange gel food coloring in a large, microwave-safe bowl. Microwave for about 1 minute, until the marshmallows lose their shape and puff up. Stir the mixture well until it is deflated and an even orange color. Let it cool slightly for about 1 minute, until it is cool enough to touch.
Step 6: Dip your fingers (it’s a great idea to wear disposable gloves and to spray them with cooking spray for an easy cleanup!) into the warm marshmallow mixture. Pull and stretch the marshmallow between your hands until it becomes thin and web-like. Stretch and wrap these marshmallow “webs” around the Oreo roll until it is completely covered.
Step 7: While the web is still sticky, decorate it with your candy gummy spiders. Let the roll stand until the web has firmed up, which will take about 10 minutes.
Slice the finished roll and serve it immediately.

Halloween Oreo Roll (with Marshmallow Web!)
A festive, no-bake ‘Halloween Oreo Roll,’ perfect for a spooky party. This dessert features a soft, pliable ‘dough’ made from finely ground chocolate sandwich cookies and cream cheese. This is rolled into a rectangle and spread with a sweet buttercream filling made from the reserved cookie creme, butter, and confectioners’ sugar. The log is then rolled up and chilled until firm. For a fun Halloween decoration, orange-tinted marshmallows are melted and stretched over the finished roll to create a spooky web effect, which is then adorned with gummy spiders.
Ingredients
- 1 (15-ounce) package double creme filled chocolate sandwich cookies (e.g., Oreo Double Stuf)
- 8 ounces cream cheese, at room temperature
- 2 tablespoons whole milk
- 1 stick (8 tablespoons) unsalted butter, at room temperature
- 2 cups confectioners’ sugar
- Kosher salt
- 6 ounces marshmallows (about 24)
- Orange gel food coloring
- Gummy spiders, for decorating
Instructions
- Separate the cookies, scraping the creme filling into a small bowl and placing the chocolate cookie wafers into a food processor.
- Pulse the cookie wafers until they are finely ground. Add the cream cheese and pulse until a dough forms. Add 1 tablespoon of milk if the mixture is too thick.
- Transfer the dough to a large sheet of plastic wrap, cover with another sheet, and roll it out into a 9-by-12-inch rectangle.
- Make the Filling: In the same food processor, combine the reserved creme filling and the room-temperature butter. Process until smooth. Add the confectioners’ sugar and a pinch of salt and process until smooth. Add the remaining 1 tablespoon of milk and process until light and fluffy.
- Assemble the Roll: Remove the top layer of plastic wrap from the dough. Spread the buttercream filling evenly over the dough, leaving a 1/2-inch border on the far short side.
- Using the bottom layer of plastic wrap to help, roll the dough away from you into a tight log. Wrap it tightly in the plastic and refrigerate for at least 4 hours, or up to overnight, until firm.
- Decorate: When ready to serve, unwrap the roll and place it on a platter.
- In a large microwave-safe bowl, combine the marshmallows and about 12 drops of orange food coloring. Microwave for about 1 minute, until the marshmallows lose their shape. Stir until evenly colored and let cool slightly.
- Wearing disposable gloves, dip your fingers into the marshmallow mixture and stretch it between your hands to create thin, web-like strands. Stretch and wrap the marshmallow web around the entire roll.
- While the web is still sticky, decorate it with gummy spiders. Let it stand for about 10 minutes until firm. Slice and serve.
Notes
- This is a no-bake dessert that requires a food processor and significant chilling time.
- Using the creme from the sandwich cookies as the base for the buttercream filling is a clever, no-waste technique.
- The marshmallow web decoration is a fun, hands-on activity, but it’s sticky—wearing disposable gloves is highly recommended for easy cleanup.
Storage and Make-Ahead Tips
This Halloween Oreo Roll is the perfect make-ahead party dessert!
- Make-Ahead: You can prepare and chill the un-decorated Oreo roll up to 3 days in advance. Simply keep it tightly wrapped in the plastic wrap in your refrigerator.
- Storage: The fully decorated Oreo roll is best enjoyed on the day that it is made, as the marshmallow web will be at its best. Store any leftovers, well-covered, in the refrigerator for up to 5 days.
For more recipe follow my pinterest account
Creative Recipe Variations (“Make it Your Own Potion!”)
- Make it a “Ghostly” White Oreo Roll: For a different but equally spooky look, you can use a vanilla-flavored sandwich cookie (like a Golden Oreo®) for the dough, and use the un-colored, white melted marshmallow to create a ghostly web.
- Add a Minty “Monster” Twist: For a delicious, mint-chocolate flavor, you can add about 1/2 teaspoon of peppermint extract to your creamy filling. Use green food coloring in your marshmallow web for a fun, monster-y look.
- Make it a “Graveyard” Log: For a different and easy decoration, you can skip the marshmallow web and instead cover your Oreo roll with a simple chocolate frosting. Press some extra, crushed Oreo crumbs on top to look like “dirt,” and then stick a few rectangular cookies (like a Milano®) into the top to look like “tombstones.”
Enjoy Your Ultimate No-Bake Halloween Treat!
You’ve just created a truly special treat that is a perfect harmony of fun, classic ingredients and delicious, satisfying flavors. This classic “Halloween Oreo Roll” is a testament to the power of a simple, creative idea to become an instant party favorite and a treasured holiday tradition. It’s a rewarding and deeply satisfying recipe that is sure to make your Halloween party a memorable one.
We hope you enjoy every last, perfect, and delicious bite!
If you enjoyed making this recipe, please leave a comment below or share it with a friend who loves an easy and impressive meal!
Frequently Asked Questions (FAQs)
Q1: What is the absolute, number one secret to a no-bake Oreo dough that is smooth and easy to roll?
The secret is to use room temperature, softened cream cheese. The softened cream cheese will blend beautifully and easily with the fine cookie crumbs to create a smooth, pliable, and non-crumbly dough that is a dream to roll out.
Q2: How do I make a marshmallow spiderweb that is stretchy and web-like, and not just a big, sticky mess?
There are two main secrets! First, and most importantly, you must let your melted marshmallows cool down for a minute or two after you have microwaved them. When they are very hot, they are just a sticky liquid. As they cool, they will become wonderfully stretchy and pliable. Second, it is absolutely essential to liberally spray your hands (or your food-safe gloves) with a nonstick cooking spray. This will prevent the marshmallow from sticking to your fingers and will allow you to stretch it into those beautiful, thin, web-like strands.
Q3: Can I make this Oreo roll ahead of time for a party?
Yes, this is a perfect make-ahead dessert! The best method is to prepare and chill the un-decorated Oreo roll and store it, tightly wrapped, in the refrigerator for up to 3 days. Then, on the day of your party, you can simply do the fun, final step of decorating it with the marshmallow web.
Q4: What is the best way to slice the chilled Oreo roll to get beautiful, clean, spiral slices?
For the absolute cleanest slices, it is a great idea to use a long, sharp, thin-bladed knife. It is also a fantastic trick to run the blade of the knife under hot water and then to wipe it dry between each slice.
Q5: Can I freeze this Oreo roll?
Yes! You can freeze the un-decorated Oreo roll beautifully. Simply wrap it very well in a double layer of plastic wrap and then a layer of foil. It will keep in the freezer for up to 3 months. Let it thaw overnight in the refrigerator before you decorate and serve it.


