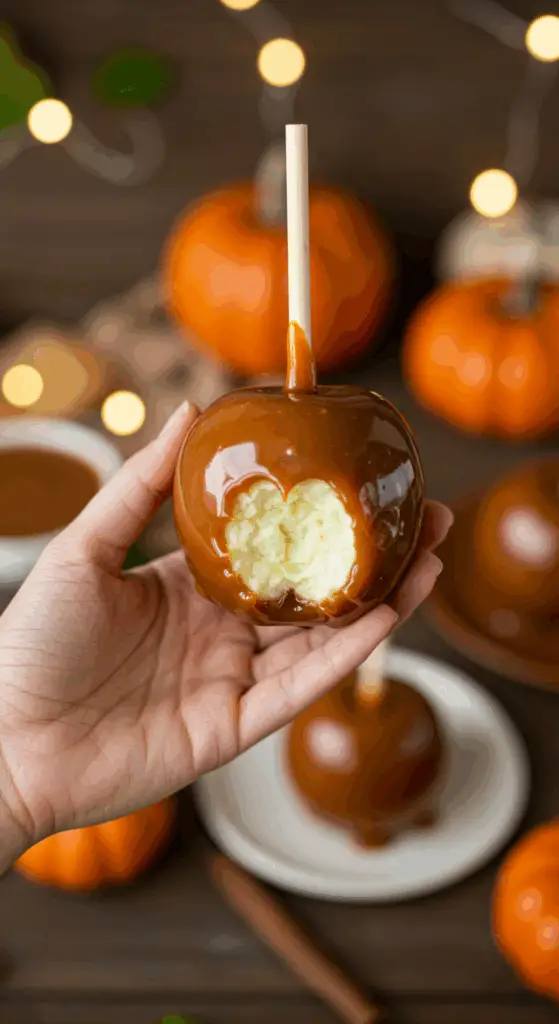
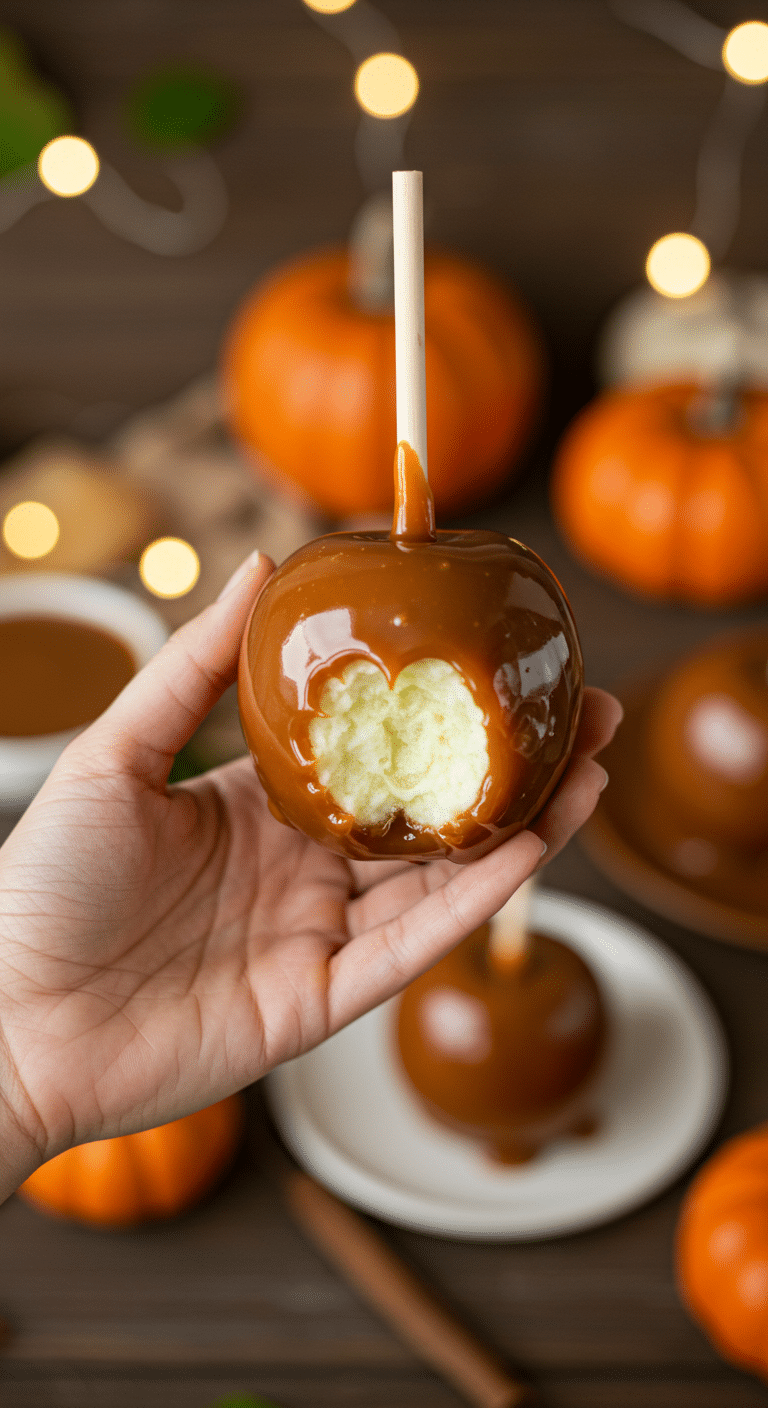
Is there any treat that captures the pure, nostalgic magic of a crisp autumn day more perfectly than a classic Caramel Apple? We’re not talking about those sad, waxy, store-bought versions. This is your ultimate guide to creating the most incredible, from-scratch, homemade Caramel Apples you’ve ever had. Imagine a crisp, tart, and juicy apple, enrobed in a thick, chewy, and deeply flavorful, buttery caramel shell. It’s a taste of pure fall joy.
This isn’t just a recipe; it’s a guide to mastering a timeless, beloved tradition. While making candy from scratch can seem intimidating, we’ll show you the simple but crucial secrets to a foolproof caramel that sets up perfectly every time. This is a stunning, festive, and completely unforgettable treat that is perfect for a Halloween party, a fall festival, or a fun weekend project with the family.
Table of Contents
Table of Contents
Recipe Overview: The Ultimate Fall Treat
What makes these Homemade Caramel Apples so spectacularly delicious is the incredible, from-scratch cooked caramel. This isn’t a quick sauce made from melted caramels; this is the real deal. The secret to a perfect, authentic caramel that has a wonderful, chewy texture and a deep, complex flavor is to cook a simple sugar syrup to the “hard crack” stage. The hot, amber-colored syrup is then enriched with heavy cream and butter to create a luscious, smooth, and perfectly dippable caramel. This beautiful coating is the perfect partner for a crisp, tart, and juicy apple, creating an unbeatable sweet and tangy combination.
| Metric | Time / Level |
| Total Time | 1 hour 30 minutes (includes setting) |
| Active Prep Time | 30 minutes |
| Difficulty Level | Intermediate |
| Servings | 6 apples |
The Candy Maker’s Workshop: Essential Ingredients & Tools
The simplicity of this recipe means that the quality of your ingredients and having the right tools are absolutely paramount.
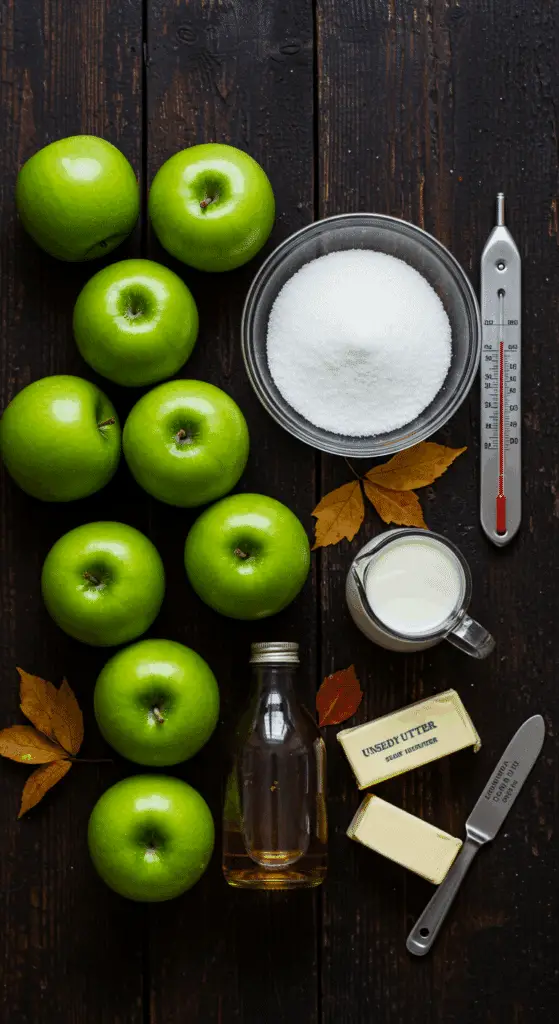
- The Apples (The Perfect Canvas!):
- The key to a perfect caramel apple is the contrast between the sweet caramel and the apple itself. It is essential to use a firm, crisp, and tart apple variety that will hold its shape and balance the sweetness. A classic, bright green Granny Smith is the number one choice for its intense tartness and crisp texture. A Honeycrisp or a Pink Lady are also fantastic, sweet-tart, and super-crisp options.
- The Homemade Caramel (The Star of the Show!):
- Sugar & Light Corn Syrup: This is the foundation of our caramel. The granulated sugar provides the sweetness, and the light corn syrup is a crucial “secret” ingredient that works as an interfering agent to prevent the sugar from crystallizing, which is the key to a perfectly smooth, not grainy, caramel.
- Heavy Cream & Butter: These are added at the end and are the key to a rich, chewy, and decadent final texture.
- The Key Equipment:
- A Candy Thermometer: For a truly foolproof and stress-free caramel-making experience, a candy thermometer is a highly recommended and non-negotiable tool. It is the only way to know for sure when your sugar syrup has reached the perfect temperature for a caramel that will set up properly.
- A Heavy-Bottomed Saucepan: A heavy-bottomed pot is essential because it distributes the heat evenly and prevents the sugar from scorching in hot spots.

Step-by-Step to the Best Homemade Caramel Apples
This fun and festive project is a joy to prepare.
Part 1: Prepare the Apples
Step 1 (The Most Important Step!): Wash your 6 medium, crisp apples very well under warm water and then dry them completely and totally.
Pro Tip: Most store-bought apples have a waxy coating on their skin. It is absolutely crucial to remove this wax, as it is the number one culprit that will prevent your beautiful, homemade caramel from sticking to the apple.
Step 2: Pierce the apples through their stem ends about halfway through with your candy apple sticks.
Step 3: Line a baking sheet with parchment paper and lightly spray the parchment with a nonstick cooking spray.
Part 2: The Art of Making Perfect Homemade Caramel
Step 1: In a small, heavy-bottomed saucepan, add the 2 cups of sugar, the 1/4 cup of light corn syrup, and the 1/2 cup of water. Stir the mixture a few times before it begins to boil to combine the ingredients.
Step 2: Attach your candy thermometer to the inside of the pan and bring the syrup to a boil over a medium-high heat.
Pro Tip: Once the syrup has started to boil, do not stir it! Stirring can cause the sugar to crystallize and will result in a grainy caramel.
Step 3: Let the syrup cook until it begins to turn a beautiful, amber color. You can gently swirl the pan to even out the color. Continue to cook until the syrup is a deep amber color and the thermometer reads between 375°F and 380°F (this is the “hard crack” stage).
Step 4: Immediately remove the pan from the heat. Very carefully, pour in the 1/2 cup of heavy cream and gently whisk it to combine. Be aware that the mixture will bubble up violently at first.
Step 5: Stir in the 2 tablespoons of unsalted butter, the 1/2 teaspoon of pure vanilla extract, and a pinch of salt until the mixture is completely smooth. Keep the thermometer attached to the pan.
Part 3: Dipping and Decorating Your Apples
Step 1: Let the hot caramel cool, undisturbed, until the temperature of the caramel reads around 190°F on your thermometer. Pro Tip: This is another crucial, professional secret! If the caramel is too hot, it will be too thin and will just slide right off your apple in a sad, thin sheet. Letting it cool to 190°F allows it to thicken to the perfect, rich, and dippable consistency that will create a beautiful, thick coating. Step 2: Holding one of your prepared apples by its stick, dip it into the warm caramel, tilting and swirling the apple to coat it completely. Step 3: Lift the apple out and allow the excess caramel to drip off the bottom. Step 4: Place the coated apple on your prepared, greased parchment sheet to cool and set. Repeat this process with your remaining apples. If your caramel gets too thick, you can gently reheat it over a low heat.
Let the caramel apples cool and set completely at room temperature, which will take about 1 hour.

Homemade Caramel Apples (Easy & Perfect Recipe!)
A classic, from-scratch recipe for perfect homemade caramel apples, a quintessential fall treat. The recipe involves making a rich caramel sauce by carefully cooking sugar and corn syrup to a deep amber color, then enriching it with heavy cream, butter, and vanilla. Crisp, fresh apples are washed, dried, and inserted with sticks, then dipped into the warm caramel to create a thick, even coating. The finished apples are set on a prepared baking sheet to cool and harden.
Ingredients
- 2 cups sugar
- 1/4 cup light corn syrup
- 1/2 cup heavy cream
- 2 tablespoons unsalted butter
- 1/2 teaspoon pure vanilla extract
- Kosher salt
- 6 medium crisp apples (such as Honeycrisp or Granny Smith)
- 6 candy apple sticks
- Nonstick cooking spray
Instructions
- Prepare the Caramel: Add the sugar, corn syrup, and 1/2 cup of water to a small saucepan over medium-high heat. Attach a candy thermometer to the pan. Bring the syrup to a boil and cook, swirling the pan occasionally, until the syrup is a deep amber color and the thermometer reads between 375°F and 380°F.
- Remove the pan from the heat. Carefully pour in the heavy cream and gently whisk to combine (the mixture will bubble up).
- Stir in the butter, vanilla, and a pinch of salt until the caramel is smooth. Keep the thermometer attached to the pan and let the caramel cool.
- Prepare the Apples: While the caramel is cooling, wash and dry the apples thoroughly. Pierce each apple through the stem end with a candy apple stick.
- Line a baking sheet with parchment paper and lightly spray it with nonstick cooking spray.
- Dip the Apples: When the temperature of the caramel cools to around 190°F, it is ready for dipping.
- Holding the stick as a handle, dip an apple into the caramel, swirling to coat it completely. Allow the excess caramel to drip off.
- Place the coated apple on the prepared baking sheet to cool. Repeat with the remaining apples, gently reheating the caramel over low heat if it becomes too thick.
- Allow the caramel to set and cool completely before serving, which takes about 1 hour.
Notes
- Special Equipment: A candy thermometer and candy apple sticks are essential for this recipe.
- Using a candy thermometer to monitor the sugar temperature is crucial for achieving the correct caramel consistency.
- It is very important that the apples are washed and dried well before dipping, as any wax or moisture can prevent the caramel from adhering properly.
- The caramel must be cooled to about 190°F before dipping; if it is too hot, it will be too thin and run off the apples.
Storage and Make-Ahead Tips
- Make-Ahead: You can make these festive apples up to 3 days in advance.
- Storage: Store the finished caramel apples, loosely covered, in the refrigerator. The cold will help the caramel to stay firm. Let them sit out at room temperature for about 15 minutes before serving for the best, chewy texture.
For more recipe follow my pinterest account
Creative Recipe Variations (“Customize Your Creation!”)
Once your apples are dipped, you can immediately roll them in your favorite toppings while the caramel is still wet!
- Make them “Gourmet” Salted Caramel Apples: For a classic, sophisticated flavor, you can sprinkle your still-wet caramel apples with a generous pinch of a beautiful, flaky sea salt (like a Maldon salt).
- Make them “Turtle” Apples: For a truly decadent treat, you can drizzle your set caramel apples with some melted dark or milk chocolate and then sprinkle them with some toasted, chopped pecans.
- Add a Crunchy Coating: You can roll your freshly dipped apples in a variety of delicious, crunchy toppings, like chopped peanuts, mini M&Ms®, festive Halloween sprinkles, or even some toasted coconut flakes.
Enjoy The Ultimate Fall Treat!
You’ve just created a truly special treat that is a perfect harmony of high-quality, simple ingredients and classic, time-honored technique. These classic Caramel Apples are a testament to the power of a from-scratch recipe to create something truly extraordinary. It’s a rewarding and deeply satisfying recipe that is sure to become a new family favorite for all the cozy days of the year.
We hope you enjoy every last, perfect, and delicious bite!
If you enjoyed making this recipe, please leave a comment below or share it with a friend who loves an easy and impressive meal!
Frequently Asked Questions (FAQs)
Q1: What is the absolute, number one secret to getting the caramel to stick to my apples and not slide off?
There are two main secrets! First, it is absolutely crucial to wash and dry your apples very, very well to remove the natural or man-made wax coating on their skin. Caramel will not stick to a waxy surface. Second, it is essential to let your hot caramel cool to about 190°F before you begin to dip your apples. This allows the caramel to thicken to the perfect consistency that will beautifully cling to the apple.
Q2: Do I really need to use a candy thermometer?
For a foolproof and perfect result every single time, a candy thermometer is highly recommended. It is the only way to know for sure that your sugar has reached the correct temperature to create a caramel that will set up with a perfect, firm, and chewy texture.
Q3: Why did my caramel turn out grainy and sugary instead of smooth?
This is called crystallization, and it is the most common problem when making caramel. It is most often caused by agitating or stirring the sugar syrup after it has started to boil, or by having a stray sugar crystal fall into the pot. To prevent this, be sure to stir your ingredients together before the syrup boils, and then do not stir it again.
Q4: Can I make these caramel apples ahead of time?
Yes! These are a fantastic make-ahead treat for a party. You can prepare them completely and store them, loosely covered, in the refrigerator for up to 3 days.
Q5: What are the best kind of apples to use for caramel apples?
You want to use a firm, crisp, and tart apple to balance the sweetness of the rich caramel. A classic, bright green Granny Smith is the number one choice. Other fantastic options include a Honeycrisp, a Braeburn, a Fuji, or a Gala.


