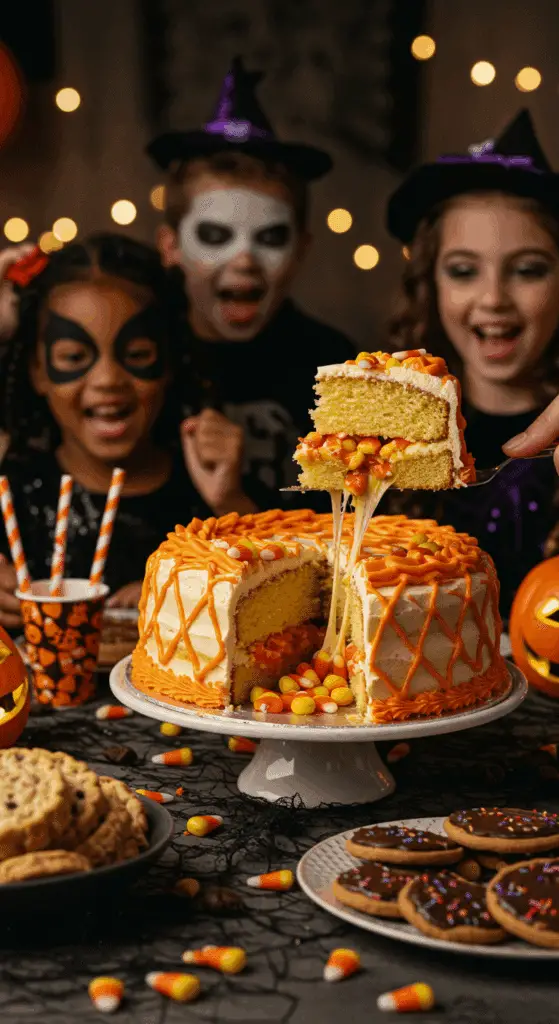
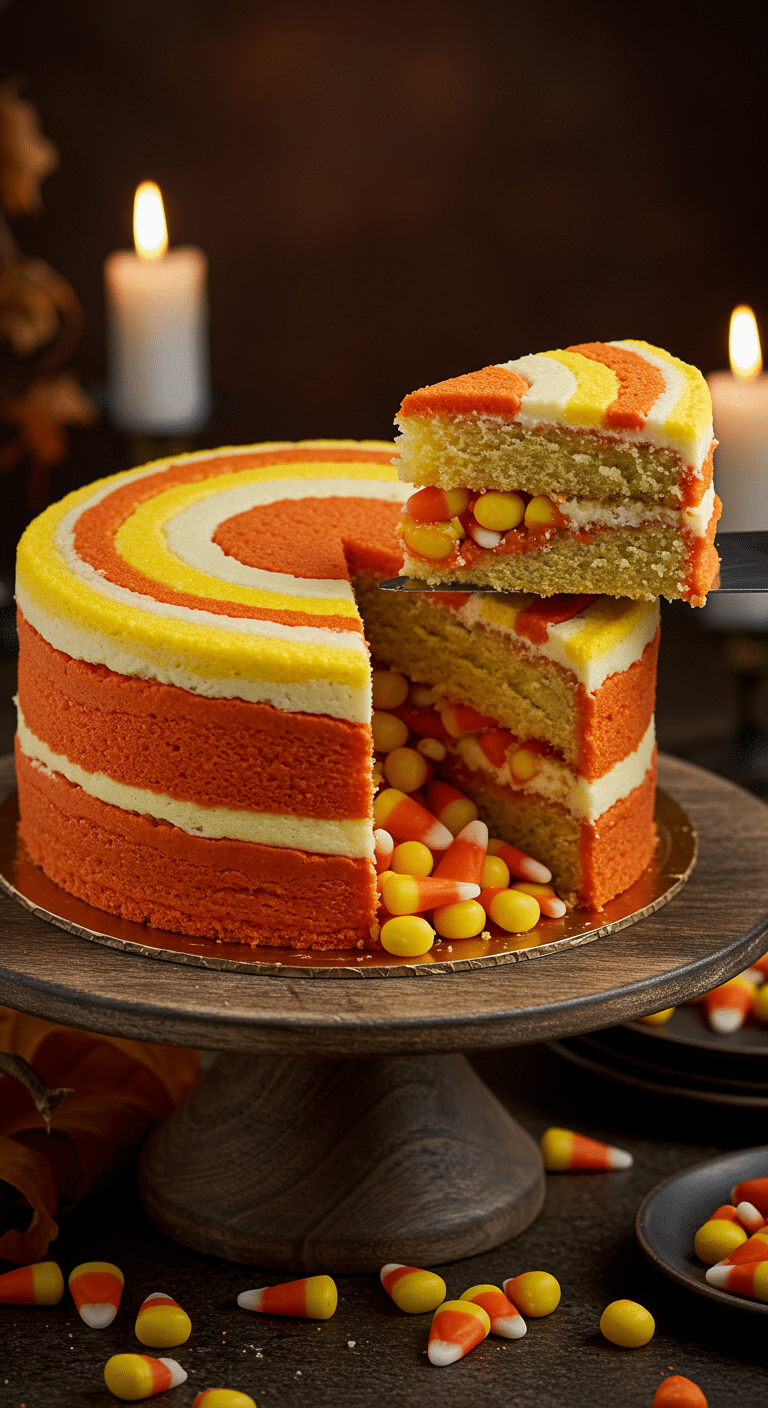
Ready to bake up the ultimate show-stopping, edible centerpiece for your next Halloween party or fall gathering? A cake so fun, so festive, and so unbelievably delicious, it will have everyone gasping in delight when you cut into it? This incredible, from-scratch Stuffed “Candy Corn” Cake is that perfect recipe! We’re talking a super moist, tender vanilla cake, decorated to look just like a giant candy corn, with a magical, hidden piñata center that spills out a cascade of colorful candy corn when you cut the first slice!
This isn’t just another cake recipe; it’s a guide to your new favorite edible Halloween project. It looks like it came from a professional bakery, but it’s surprisingly easy to assemble. This is a show-stopping, crowd-pleasing dessert that is as fun to make as it is to eat, and it will be the undisputed star of your haunted gathering.
Table of Contents
Table of Contents
Recipe Overview: The Ultimate Fun & Festive Fall Centerpiece
What makes this Candy Corn Cake so spectacularly fun is its brilliant, surprise-inside design and its classic, crowd-pleasing flavor. This recipe is a masterpiece of festive creativity. The cake itself is a classic, from-scratch vanilla butter cake, with a wonderfully rich, moist, and tender crumb. The real magic, however, is in the assembly and decoration. The center of the bottom cake layer is hollowed out and filled with a generous pile of candy corn, creating a hidden “piñata” surprise. The cake is then frosted with a luscious, homemade buttercream, which is colored and piped in concentric rings of yellow, orange, and white to perfectly mimic the iconic look of a giant candy corn.
| Metric | Time / Level |
| Total Time | 3 hours (includes cooling) |
| Active Prep Time | 45 minutes |
| Difficulty Level | Intermediate |
| Servings | 12-16 slices |
The Candy Corn Bakeshop: The Essential Ingredients & Tools
This iconic party cake uses a handful of high-quality pantry staples and a few key techniques to create its signature festive look.
- The Perfect Vanilla Cake:
- Room Temperature Ingredients: It is absolutely crucial that your butter, eggs, and milk are all at a true room temperature. This is the secret that allows the ingredients to emulsify together into a smooth, uniform batter that can trap air, which is the key that creates a light, tender, and evenly baked cake.
- The Alternating Method: The classic technique of adding your wet and your dry ingredients in alternating additions is the key to a perfectly tender cake crumb that is never tough or dry.
- The Buttercream Frosting: A classic, simple, and delicious American buttercream is made from softened butter, confectioners’ sugar, and a splash of milk. Using softened butter is the non-negotiable secret to a perfectly smooth and lump-free frosting.
- The Key Equipment:
- Piping Bags: A few piping bags are essential for creating the neat, concentric rings of colored frosting.
- A Spinning Cake Stand: While optional, a spinning cake stand is the highly recommended secret weapon that will make the final, smooth-swipe decorating step incredibly easy and professional-looking.

Step-by-Step to the Best Stuffed Candy Corn Cake
This fun and festive project is a joy to prepare.
Part 1: Bake the Classic Vanilla Cakes
Step 1: First, preheat your oven to 350°F (175°C). Butter two 9-inch round cake pans and line the bottom of each with a round of parchment paper.
Step 2: In a medium bowl, whisk together the 2 1/2 cups of all-purpose flour, the 1 tablespoon of baking powder, and the 1/2 teaspoon of fine salt.
Step 3: In a separate medium bowl, whisk together the 1 cup of room temperature milk, the 1 tablespoon of vanilla extract, and the 3 large eggs plus 1 large egg yolk.
Step 4: In a large bowl (or the bowl of a stand mixer), beat the 1 1/2 sticks of room temperature butter and the 1 1/2 cups of granulated sugar on a medium-high speed for about 3 minutes, until the mixture is light and fluffy.
Step 5: With the mixer on a low speed, add about a third of your flour mixture, followed by a third of your egg-milk mixture, beating until just incorporated after each addition. Repeat this process, ending with the final addition of the flour mixture.
Step 6: Divide the batter evenly between your two prepared cake pans. Bake for 35 to 40 minutes, until the cakes are golden brown and a toothpick inserted into the center comes out clean. Let the cakes cool completely in their pans on a wire rack.
Part 2: Whip Up the Buttercream and Assemble the “Piñata”
Step 1: To make the frosting, in a large bowl, beat the 1 1/2 cups of room temperature butter, the 4 1/2 cups of confectioners’ sugar, the 3 tablespoons of whole milk, and the 1 1/2 teaspoons of vanilla extract with an electric mixer until the frosting is light and fluffy. Step 2: Divide your frosting: Place 3 tablespoons in a small bowl (this will be your white). Place 3/4 cup in another bowl and dye it with your orange food coloring. Dye the remaining frosting in the mixing bowl with your yellow food coloring. Step 3: Transfer your yellow and your orange frostings to two separate piping bags that have been fitted with a 1/2-inch plain tip. Step 4 (The Fun Part!): Cut a 4-inch circle out of the center of one of your cooled cake layers. Place the cake ring on your serving platter and fill the hole with your 1 1/2 cups of candy corn. Step 5: Put the second, whole cake layer on top, with the rounded side of the cake facing up.
Part 3: The Art of the Candy Corn Frosting Design
Step 1: Use your yellow frosting to pipe a ring along the outside edge of the top of the cake, and to frost the sides of the cake until they are smooth. Step 2: Pipe three concentric, touching rings of the orange frosting just inside the yellow ring on top. Step 3: Spoon your reserved white frosting into the very center of the cake. Step 4 (The Magic Trick!): Position the tip of a large offset spatula in the very center of the cake. Using one continuous, circular motion with gentle pressure, spread the frostings flat on the top of the cake so they form the beautiful, iconic candy corn stripes.
Let the cake stand at room temperature for at least 1 hour before serving to allow the frosting to set.

Candy Corn Cake (A Festive Halloween Recipe!)
A festive, from-scratch ‘Stuffed Candy Corn Cake,’ perfect as a showstopper for a Halloween party. This dessert features two layers of a classic vanilla butter cake. One layer is hollowed out and filled with a surprise center of candy corn candies. The cake is then covered in a rich vanilla buttercream frosting, which is divided and colored white, yellow, and orange. The frosting is piped in concentric rings on top and then smoothed out in a single motion to create a striking candy corn design.
Ingredients
- For the Cake:
- 12 tablespoons (1 1/2 sticks) unsalted butter, at room temperature, plus more for pans
- 2 1/2 cups all-purpose flour
- 1 tablespoon baking powder
- 1/2 teaspoon fine salt
- 1 cup whole milk, at room temperature
- 1 tablespoon vanilla extract
- 3 large eggs plus 1 large egg yolk, at room temperature
- 1 1/2 cups granulated sugar
- For the Frosting:
- 4 1/2 cups confectioners’ sugar
- 1 1/2 cups (3 sticks) unsalted butter, at room temperature
- 3 tablespoons whole milk
- 1 1/2 teaspoons vanilla extract
- For the Filling and Decoration:
- 1 1/2 cups (9 ounces) candy corn candies
- 1/2 teaspoon orange gel food coloring
- 2 teaspoons yellow gel food coloring
Instructions
- Make the Cake Layers: Preheat the oven to 350°F. Butter and line two 9-inch round cake pans.
- In a medium bowl, whisk together the flour, baking powder, and salt. In another bowl, whisk the milk, vanilla, eggs, and egg yolk.
- In a large bowl, beat the butter and granulated sugar with an electric mixer until light and fluffy. Alternately add the flour mixture and the milk mixture, beginning and ending with the flour, until a smooth batter forms.
- Divide the batter between the prepared pans and bake for 35 to 40 minutes, until a toothpick inserted in the center comes out clean. Let the cakes cool completely in the pans.
- Make the Frosting: In a large bowl, beat the confectioners’ sugar, butter, milk, and vanilla with an electric mixer on low speed, then increase to medium-high and beat until light and fluffy.
- Divide the frosting: leave 3 tablespoons white, color 3/4 cup orange, and color the remaining 3 3/4 cups yellow.
- Assemble the Cake: Cut a 4-inch circle out of the center of one cake layer. Place this cake ring on a serving platter and frost the top with about 1/2 cup of yellow frosting. Fill the hole with the candy corn.
- Place the second, whole cake layer on top.
- Pipe the yellow frosting in rings on the outer edge of the cake top and all over the sides. Use a large offset spatula to smooth the frosting on the sides.
- Pipe three concentric rings of orange frosting just inside the yellow rings on top. Spoon the white frosting into the very center.
- Using one continuous, circular motion with the offset spatula, smooth the three colors of frosting on top of the cake to form flat stripes. Let the cake stand for 1 hour before serving.
Notes
- Special Equipment: The recipe recommends 2 piping bags, a spinning cake stand, and a large offset spatula for the specific decorating technique.
- The ‘surprise inside’ element of this cake comes from the candy corn filling hidden in the center.
- The unique, clean-striped candy corn design on top is achieved by piping the colored frostings in rings and then smoothing them out in a single, continuous motion.
- The article references a ‘Cook’s Note’ that is not provided in the text.
Storage and Make-Ahead Tips
- Make-Ahead: For a super-fast and impressive party day, you can get a head start by preparing all your components in advance. The cake layers can be baked, and the frosting can be made and colored up to 2 days ahead of time. Store the wrapped cake layers at room temperature and the frosting in airtight containers in the refrigerator.
- Storage: Store the finished, decorated cake, loosely covered, at room temperature for up to 3 days.
For more recipe follow my pinterest account
Frequently Asked Questions (FAQs)
Q1: What is the absolute, number one secret to a truly moist and tender butter cake?
The secret is to use room temperature ingredients and to use the alternating additions method. Using softened butter, room temperature eggs, and room temperature milk is the key to creating a smooth, stable emulsion. Adding the wet and dry ingredients in alternating batches is the key that prevents the over-development of gluten and guarantees a wonderfully soft and tender cake crumb.
Q2: How do I get those perfect, clean candy corn stripes on top of the cake?
The most important tool for this technique is a large offset spatula. The secret is to use one, single, confident, and continuous circular motion while applying a gentle, even pressure. A spinning cake stand will make this step incredibly easy and will give you a much smoother, more professional result.
Q3: Can I make this Halloween cake ahead of time for a party?
Yes, this is a perfect make-ahead cake! You can bake the cake layers and make the frosting a day or two in advance. For the freshest and most impressive result, it is a great idea to assemble and decorate the cake on the day of your party.
Q4: Can I make this recipe with a boxed cake mix?
Of course! For an even easier shortcut, you can absolutely use your favorite brand of a boxed yellow or vanilla cake mix for the cake layers. Adding a box of instant vanilla pudding to the mix is a great trick for an even moister result.
Q5: What can I use if I don’t have piping bags?
If you don’t have piping bags, you can easily use a large ziptop bag. Simply fill the bag with your frosting, press out the excess air, and then snip a small corner off the bottom to create a simple, homemade piping bag.


