Are you searching for that one perfect, cozy dessert that completely captures the essence of a crisp autumn day? A warm, bubbling, and deeply comforting fruit dessert that will fill your home with the most incredible aroma of baked apples, pears, and cinnamon? This incredible, from-scratch Apple and Pear Crisp is the ultimate fall comfort food you’ve been dreaming of.
This isn’t just another fruit crisp recipe; it’s a celebration of the perfect harmony between two of fall’s most beloved fruits. We’ll show you how to create a luscious, jammy filling with a perfect balance of sweet apples and tender pears, all tucked under a thick, buttery, and irresistibly crunchy oat crumble topping. This is the simple, rustic, and show-stopping dessert that is guaranteed to become a new family tradition.
Table of Contents
Table of Contents
Recipe Overview: The Ultimate Fall Comfort Food
What makes this Apple and Pear Crisp so spectacular is its incredible, perfectly balanced flavor profile and its wonderful contrast of textures. The combination of both apples and pears provides a much more complex and interesting fruit flavor than a single-fruit crisp. The topping is a classic, rich, and buttery oat streusel that bakes up to a beautiful golden brown with a satisfyingly crunchy texture. It’s a foolproof, crowd-pleasing dessert that is perfect for a cozy family dinner or as a star on your Thanksgiving dessert table.
| Metric | Time / Level |
| Total Time | 1 hour 15 minutes |
| Active Prep Time | 25 minutes |
| Difficulty Level | Easy |
| Servings | 12 |
The Essential Ingredients for a Perfect Crisp
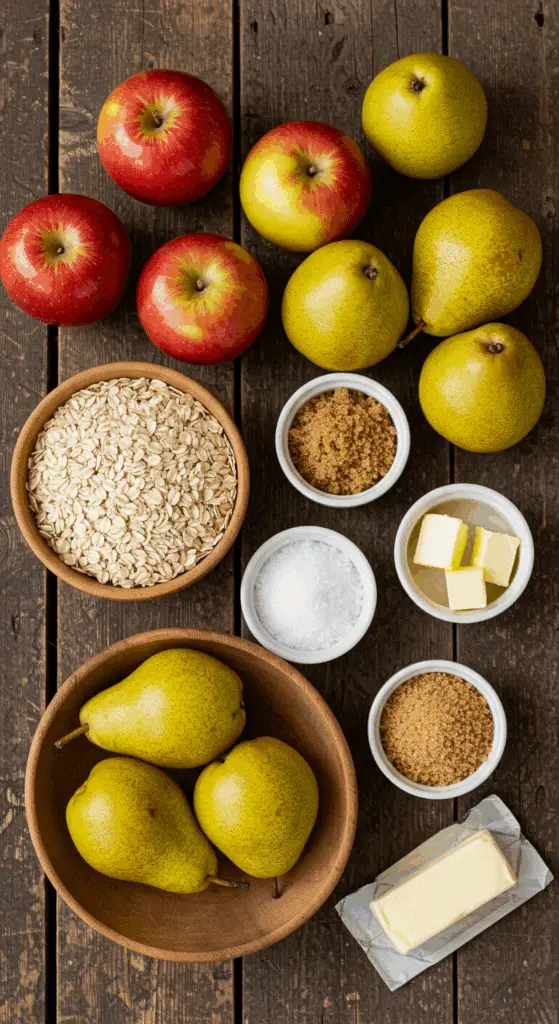
This recipe uses a handful of simple, classic ingredients to let the beautiful seasonal fruit shine.
- The Fruit Duo (Apples & Pears): This is the heart and soul of our crisp. For the best result, you want to use firm varieties of both fruits that will hold their shape during baking and not turn to mush.
- Apples: A firm, crisp apple like a Macoun, Honeycrisp, Braeburn, or Granny Smith is a perfect choice. Using a mix of sweet and tart apples is a great way to get a complex flavor.
- Pears: A firm pear like a Bosc or Anjou is ideal for baking, as they are less watery and will hold their shape beautifully.
- The Flavorings (Citrus & Spices):
- Orange & Lemon Zest/Juice: This is a brilliant, professional touch! The zest and juice from both a lemon and an orange add a wonderful, bright, and complex citrusy note that perfectly balances the sweetness of the fruit and the richness of the topping.
- Cinnamon & Nutmeg: The classic, warm, and aromatic spice duo that is the perfect complement to the baked apples and pears.
- The Crunchy Oat Topping: This is what provides the wonderful, buttery crunch.
- Cold Butter: It is absolutely crucial to use cold, cubed unsalted butter. When you mix the cold butter into the dry ingredients, it creates small, flour-coated pockets of fat. As the crisp bakes, these pockets melt and create steam, resulting in a topping that is wonderfully tender and perfectly crisp.
- Old-Fashioned Oatmeal: This is what makes a “crisp” a crisp! Old-fashioned rolled oats provide a wonderful, hearty, chewy, and crispy texture.
- Flour & Sugars: All-purpose flour provides structure, while a mix of granulated sugar and light brown sugar creates a balanced sweetness with a hint of deep, molasses flavor.

Step-by-Step to the Best Apple and Pear Crisp
Follow these simple, detailed steps to create this rustic and deeply satisfying dessert.
Part 1: Prepare the Fruit Filling
First, preheat your oven to 350°F (175°C).
Peel, core, and cut the 2 pounds of apples and 2 pounds of pears into large, 1- to 1 1/2-inch chunks. Place the fruit in a large mixing bowl.
Add the orange zest, lemon zest, orange juice, lemon juice, 1/2 cup of granulated sugar, 1/4 cup of all-purpose flour, 1 teaspoon of ground cinnamon, and 1/2 teaspoon of ground nutmeg to the bowl with the fruit.
Toss everything together gently until all the fruit is evenly and thoroughly coated in the sugar and spice mixture.
Pour the fruit filling into a large 9×12-inch oval (or a 9×13-inch rectangular) baking dish and spread it into an even layer.
Part 2: Make the Buttery Oat Topping
In the bowl of an electric mixer fitted with the paddle attachment, combine the 1 1/2 cups of all-purpose flour, the 3/4 cup of granulated sugar, the 3/4 cup of light brown sugar, the 1/2 teaspoon of kosher salt, and the 1 cup of old-fashioned oatmeal. Mix on low speed just to combine the dry ingredients.
Add the 1/2 pound (2 sticks) of cold, diced unsalted butter to the bowl.
Mix on low speed for about 1 minute, or until the mixture comes together into large, crumbly pieces.
Pro Tip: Be careful not to overmix the topping. You want to keep those small pieces of butter intact, as that is the secret to a perfectly crisp and tender crumble.
Part 3: Assemble and Bake to Perfection
Evenly sprinkle the prepared oat topping mixture over the top of the fruit in the baking dish, making sure to cover the fruit completely from edge to edge.
Place your baking dish on a larger, rimmed baking sheet. This is a crucial step that will catch any potential drips from the bubbling fruit filling and will save your oven from a sticky mess!
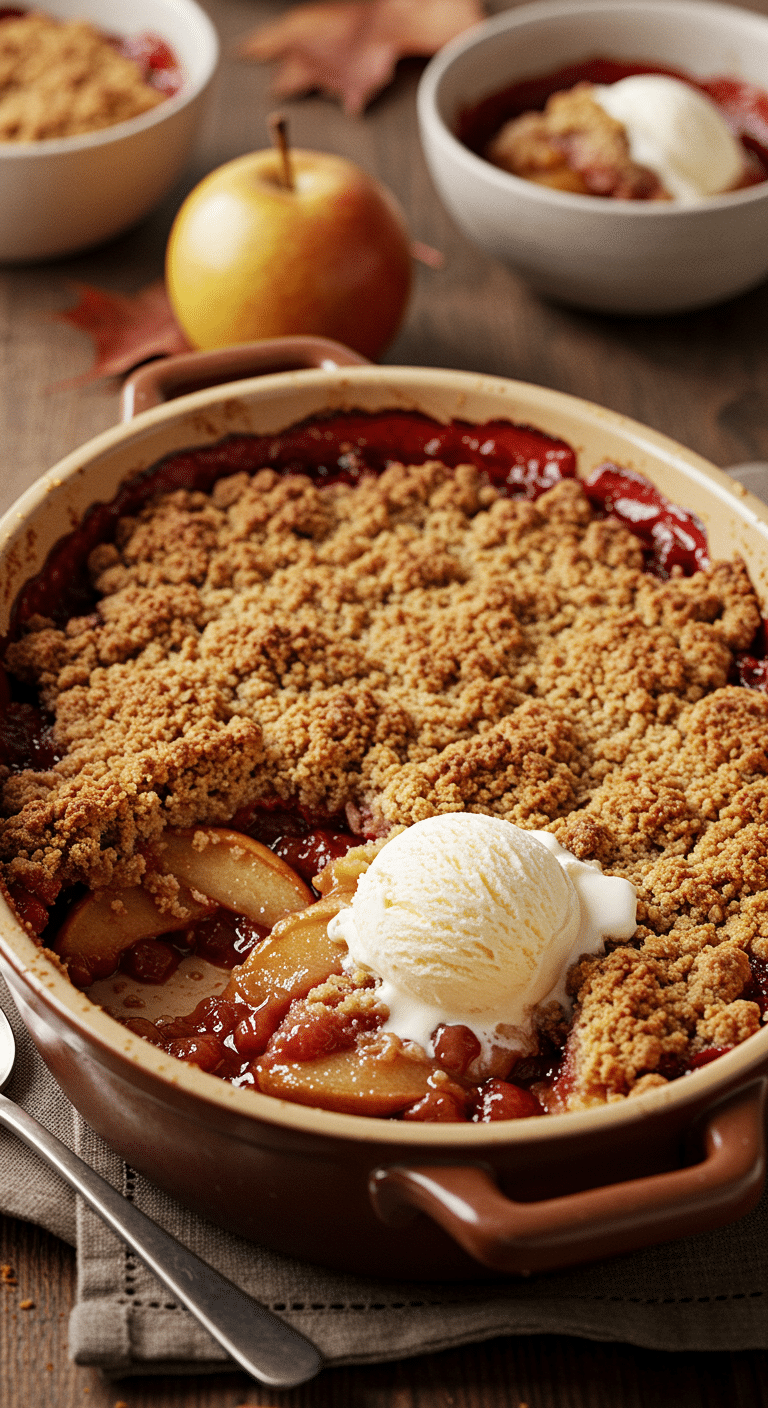
Bake in the preheated oven for 50 minutes to 1 hour. You’ll know the crisp is perfectly baked when the fruit filling is hot and bubbling vigorously all around the edges and the oat topping is a beautiful, deep golden brown.
Let the crisp cool on a wire rack for at least 20-30 minutes before serving. This important resting period allows the hot, jammy filling to cool down and set up slightly, making it easier to scoop.

The Best Classic Apple and Pear Crisp Recipe
A classic fruit crisp featuring a flavorful combination of fresh Bosc pears and Macoun apples. The fruit is tossed with citrus zests, juices, sugar, and warm spices like cinnamon and nutmeg. The dish is covered with a generous, crumbly streusel topping made from flour, sugars, old-fashioned oatmeal, and cold diced butter. The crisp is then baked until the fruit filling is hot and bubbly and the topping is golden brown.
- Prep Time: 25 minutes
- Cook Time: 55 minutes
- Total Time: 1 hour 20 minutes
- Yield: 8-10 servings
- Category: Dessert
- Method: Baking
- Cuisine: American
- Diet: Vegetarian
Ingredients
- For the Filling:
- 2 pounds ripe Bosc pears (4 pears)
- 2 pounds firm Macoun apples (6 apples)
- 1 teaspoon grated orange zest
- 1 teaspoon grated lemon zest
- 2 tablespoons freshly squeezed orange juice
- 2 tablespoons freshly squeezed lemon juice
- 1/2 cup granulated sugar
- 1/4 cup all-purpose flour
- 1 teaspoon ground cinnamon
- 1/2 teaspoon ground nutmeg
- For the Topping:
- 1 1/2 cups all-purpose flour
- 3/4 cup granulated sugar
- 3/4 cup light brown sugar, lightly packed
- 1/2 teaspoon kosher salt
- 1 cup old-fashioned oatmeal
- 1/2 pound (2 sticks) cold unsalted butter, diced
Instructions
- Preheat the oven to 350°F.
- Prepare the Filling: Peel, core, and cut the pears and apples into large chunks.
- In a large bowl, combine the fruit with the orange zest, lemon zest, orange juice, lemon juice, 1/2 cup of granulated sugar, 1/4 cup of flour, cinnamon, and nutmeg. Toss to combine.
- Pour the fruit mixture into a 9 by 12 by 2-inch oval baking dish.
- Prepare the Topping: In the bowl of an electric mixer fitted with a paddle attachment, combine 1 1/2 cups of flour, 3/4 cup of granulated sugar, the brown sugar, salt, and oatmeal.
- Mix on low speed, then add the diced cold butter and continue to mix for about 1 minute, until the mixture forms large crumbles.
- Sprinkle the topping evenly over the fruit, covering it completely.
- Bake: Place the baking dish on a sheet pan to catch any drips. Bake for 50 minutes to 1 hour, until the top is brown and the fruit is bubbly.
- Serve warm, often with a scoop of vanilla ice cream.
Notes
- An electric mixer with a paddle attachment is the recommended tool for making the crumbly topping, but it can also be made by cutting in the butter with a pastry blender or your fingers.
- Baking the crisp on a larger sheet pan is a helpful tip to prevent any bubbling fruit juices from spilling over into your oven.
- Using a mix of apples and pears provides a more complex flavor and texture to the filling.
Serving Your Warm Apple and Pear Crisp
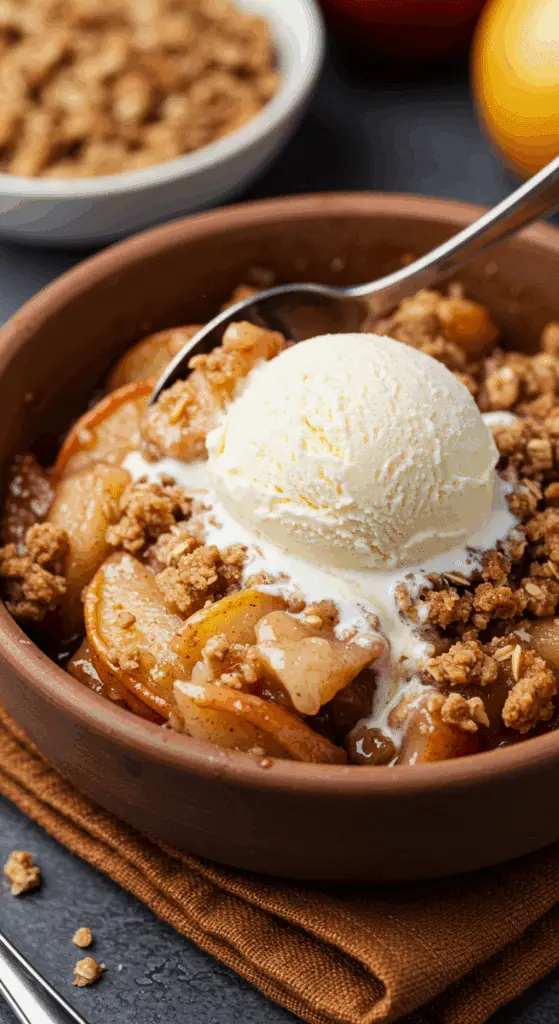
The absolute best way to serve a classic fruit crisp is warm from the oven. The beauty of this dessert is its rustic, home-style presentation, so there’s no need for neat slices. Simply use a large spoon to scoop the warm, bubbly dessert into cozy bowls.
For the ultimate, classic comfort food experience, top each warm scoop of the crisp with a large scoop of high-quality vanilla bean ice cream. The way the cool, creamy ice cream melts into the warm, buttery, and spiced fruit is one of life’s greatest simple pleasures. A dollop of fresh, sweetened whipped cream is also a fantastic choice.
Storage and Make-Ahead Tips
This Apple and Pear Crisp is a wonderful dessert to have on hand for a sweet treat.
- Make-Ahead: You can prepare the entire oat topping up to 3 days in advance. Store it in an airtight container or a zip-top bag in the refrigerator. You can also prepare the entire fruit filling a day in advance and store it, covered, in the baking dish in the refrigerator. When ready to bake, just sprinkle the pre-made topping over the fruit and bake as directed (you may need to add 10-15 minutes to the baking time).
- Storage: Store any leftover crisp, covered, at room temperature for up to 2 days, or in the refrigerator for up to 5 days.
- Reheating: You can enjoy leftovers cold or at room temperature, but it’s best when reheated. You can reheat individual portions in the microwave, or place the entire baking dish back in a 350°F oven for 15-20 minutes, until it is warmed through and the topping has re-crisped.
For more recipe follow my Pinterest account
Creative Recipe Variations
This incredibly simple crisp recipe is a fantastic base for all sorts of delicious fruit desserts.
- Add a Nutty Crunch: For a wonderful, buttery crunch and extra texture, you can add 1 cup of chopped pecans or walnuts to the oat topping mixture along with the flour and sugars.
- Add a Tart Berry Boost: For a beautiful color and a delicious sweet-tart flavor combination, you can toss in 1 to 1 1/2 cups of fresh or frozen cranberries along with the apples and pears.
- Make it Gluten-Free: You can easily make this recipe gluten-free! Simply substitute the all-purpose flour in both the filling and the topping with your favorite gluten-free 1-to-1 baking blend and make sure to use certified gluten-free old-fashioned rolled oats.
Enjoy The Ultimate Fall Dessert!
You’ve just created a truly perfect dessert that celebrates the simple beauty of fresh, seasonal fruit. This Apple and Pear Crisp is a timeless classic for a reason: it’s incredibly easy to make, it’s a guaranteed crowd-pleaser, and it is the taste of pure, homemade comfort in a bowl. It’s the perfect ending to any meal.
We hope you and your family love every warm, bubbly, and crunchy bite!
If you enjoyed making this recipe, please leave a comment below or share it with a friend who loves an easy fruit dessert!
Frequently Asked Questions (FAQs)
Q1: What are the best apples and pears to use for a crisp?
The most important thing is to use firm varieties of both fruits that will hold their shape during the long baking time and not turn to mush. For apples, a mix of a firm-tart variety like Granny Smith and a firm-sweet one like Honeycrisp or Braeburn is fantastic. For pears, a Bosc or an Anjou pear is the ideal choice for baking.
Q2: Do I have to peel the apples and pears?
While you can leave the skins on for a more rustic texture and extra fiber, peeling the fruit is recommended for the best, most tender, and most pleasant final texture. The skins can sometimes become a bit tough during baking.
Q3: My crisp topping is soggy, not crispy. What did I do wrong?
A soggy topping is usually caused by one of two things. First, you may not have baked it long enough. The crisp needs that full 50-60 minutes for the butter to melt and then “fry” the topping into a crispy, golden crust. Second, your fruit may have been very wet, creating too much steam. Make sure your fruit is dry before you mix it with the sugar and flour. Using cold butter is also key to a crisp, not greasy, topping.
Q4: Can I make the topping by hand if I don’t have an electric mixer?
Yes, absolutely! An electric mixer is just a quick shortcut. You can easily make the topping by hand in a large bowl. Simply use a pastry blender, two knives, or your fingertips to “cut” the cold, cubed butter into the dry ingredients until the mixture resembles coarse crumbs with some small, pea-sized bits of butter still visible.
Q5: Can I make this crisp a day or two ahead of time for a party?
Yes, this is a perfect make-ahead dessert! The best method is to prepare the components separately and store them in the refrigerator, as described in the “Make-Ahead Tips” section above. This allows you to do a quick, fresh assembly on the day of, which will give you the best final texture. You can also bake the entire dish a day in advance and simply reheat it before serving.


