Are you looking for a delicious, warm, and comforting dessert to feed a crowd, but don’t want to spend hours in the kitchen with a complicated recipe? This incredible Sheet-Pan Apple Crumble is your new secret weapon. It’s ridiculously easy to make, serves a dozen people with minimal effort, and delivers that classic, cozy, homemade flavor that everyone loves.
This isn’t just a recipe; it’s the ultimate dessert hack for effortless entertaining. We’ll show you how the simple genius of a sheet pan creates the perfect ratio of a thick, buttery, and extra-crunchy oat crumble topping to a thin, jammy layer of tender, cinnamon-spiced apples. This is the foolproof, low-fuss dessert that is perfect for any potluck, family gathering, or easy weeknight treat.
Table of Contents
Table of Contents
Recipe Overview: The Ultimate Easy, Crowd-Pleasing Dessert
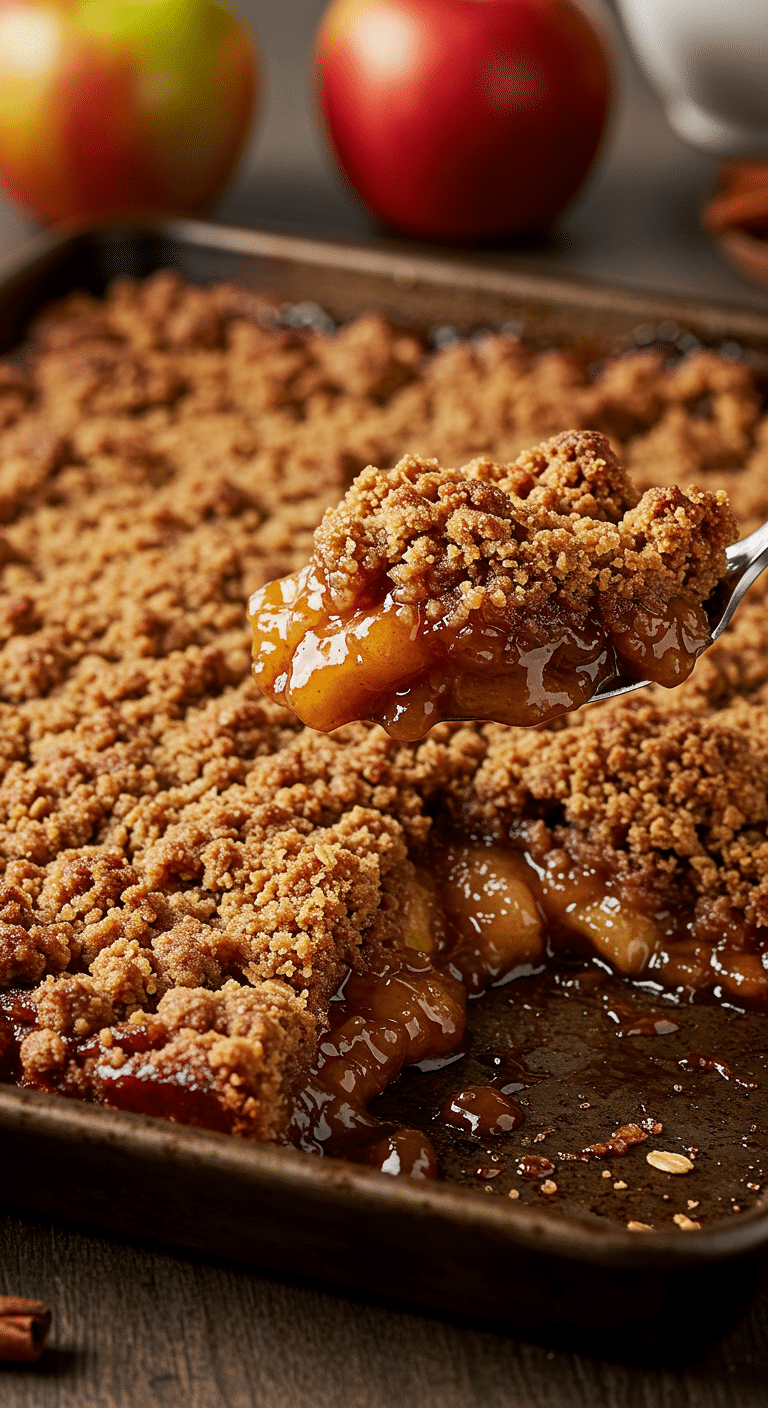
What makes this Sheet-Pan Apple Crumble so brilliant is its incredible simplicity and its crowd-pleasing format. The stir-together topping uses melted butter, making it unbelievably quick and easy with no special equipment required. By baking the crumble on a sheet pan, you create a massive surface area, which means you get more of that irresistible, golden-brown, crispy topping in every single bite. It’s the perfect, rustic, and completely foolproof dessert for bakers of all skill levels.
| Metric | Time / Level |
| Total Time | 50 minutes |
| Active Prep Time | 15 minutes |
| Difficulty Level | Easy |
| Servings | 10-12 |
The Essential Ingredients for the Best Crumble
This recipe uses a handful of simple, classic ingredients to let the beautiful seasonal fruit shine.
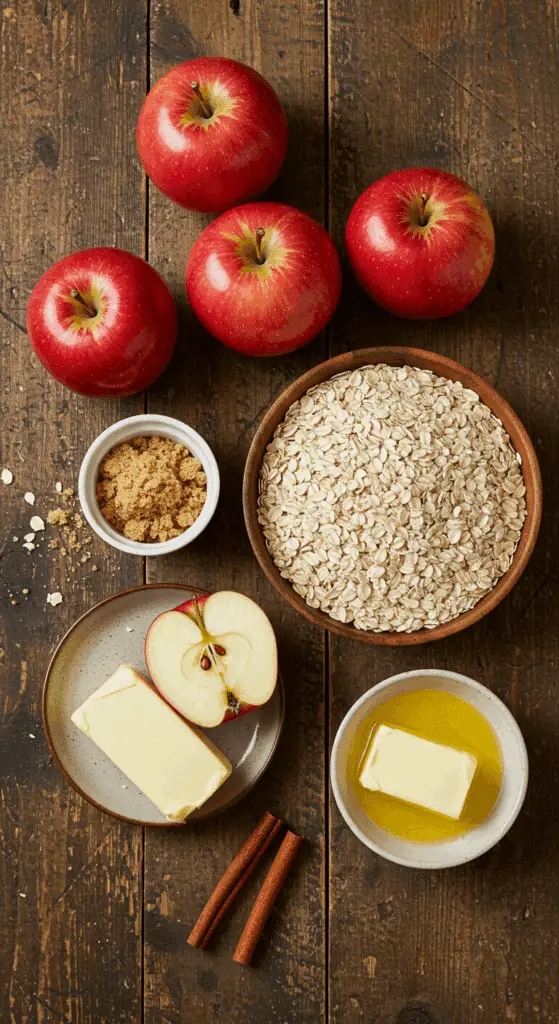
- The Apples: The sweet and tender heart of our crumble. For the best result, you want to use a firm, crisp baking apple that will hold its shape during baking and not turn to mush.
- Best Varieties: The recipe suggests Gala or Fuji apples, which are fantastic, sweet, and firm choices. Other great options include Honeycrisp, Braeburn, or Jonagold.
- The “Crumble Lovers'” Topping: This is what provides the signature, buttery crunch, and we use a lot of it!
- Old-Fashioned Rolled Oats: This is the key to a classic “crisp” or “crumble” texture. Old-fashioned oats provide a wonderful, hearty, chewy, and crispy texture.
- Melted Butter: Using melted butter is a brilliant shortcut for an easy, no-fuss topping. It creates a wonderfully clumpy, crunchy, and almost granola-like texture that is absolutely irresistible.
- Flour & Brown Sugar: All-purpose flour provides structure, while packed light brown sugar lends a deep, caramel-like sweetness that is the perfect complement to the tart apples and warm spices.
- The Flavorings (Lemon & Spices):
- Fresh Lemon Juice: A squeeze of fresh lemon juice not only adds a bright, tart flavor that balances the sweetness but also prevents the apples from browning as you prepare them.
- Ground Cinnamon: The classic, warm, and aromatic spice that is the absolute perfect pairing with baked apples.

Step-by-Step to the Perfect Sheet-Pan Crumble
Follow these simple, detailed steps to create this rustic and deeply satisfying dessert.
Step 1: Prepare and Par-Bake the Apple Layer
First, position a rack in the center of your oven and preheat it to 425°F (220°C).
Peel, core, and cut your 7 medium baking apples into 1/4-inch-thick slices. Place the apple slices on a large, 18×13-inch rimmed baking sheet.
Add the 1 tablespoon of fresh lemon juice, 1/4 cup of the packed light brown sugar, 2 tablespoons of the melted butter, 1 teaspoon of the cinnamon, and 1/8 teaspoon of salt to the pan with the apples. Toss everything together with your hands or a large spatula until the apple slices are evenly and thoroughly coated.
Spread the apples evenly on the pan in a single layer. Cover the pan tightly with aluminum foil.
Bake for about 20 minutes, until the apples have softened and have released some of their delicious liquid.
Part 2: The 5-Minute “Stir-Together” Crumble Topping
While the apples are in their initial bake, you can prepare the easy, stir-together topping.
In a large bowl, combine the 2 cups of old-fashioned rolled oats, the 1 1/2 cups of all-purpose flour, the remaining 1 1/4 cups of packed light brown sugar, the 1 teaspoon of cinnamon, and the 1 teaspoon of salt. Use a fork to break up any lumps and mix the dry ingredients together.
Add the remaining melted butter to the oat mixture. Stir with a fork until all the dry ingredients are moistened and a wonderful, crumbly texture has formed.
Part 3: Assemble and the Final Bake
Carefully remove the hot sheet pan of apples from the oven. Uncover the pan.
Generously and evenly scatter the prepared oat crumble mixture over the top of the par-baked apples.
Return the uncovered sheet pan to the oven and bake until the topping is a beautiful, deep golden brown and crispy, and the juices from the apples are thick and bubbly around the edges. This should take about 15 more minutes.
Let the crumble cool on the pan for at least 10-15 minutes before serving. This important resting period allows the hot, jammy filling to cool down and set up slightly.

The Easiest Sheet-Pan Apple Crumble (for a Crowd!)
A decadent, multi-layered dessert that combines the flavors of sweet potato pie, cheesecake, and s’mores into one showstopping dish. The recipe starts with a from-scratch chocolate graham cracker crust. The filling is a rich and creamy sweet potato cheesecake, which is baked in a water bath to ensure a smooth, crack-free texture. After being chilled overnight, the cheesecake is topped with a layer of miniature marshmallows that are toasted under the broiler, and then finished with a drizzle of homemade chocolate ganache.
- Prep Time: 35 minutes
- Cook Time: 2 hours 20 minutes
- Total Time: 12 hours (includes extensive cooling and chilling)
- Yield: 10 servings
- Category: Dessert
- Method: Baking, Broiling
- Cuisine: American
- Diet: Vegetarian
Ingredients
- For the Crust:
- 18 whole chocolate graham crackers
- 12 tablespoons (1 1/2 sticks) unsalted butter, melted
- 1/4 cup sugar
- Pinch of kosher salt
- For the Filling:
- Four 8-ounce packages (32 oz total) cream cheese, at room temperature
- 2 cups sugar
- One 15-ounce can pure sweet potato puree
- 1/4 cup sour cream
- 6 large eggs, at room temperature, lightly beaten
- 1 tablespoon vanilla extract
- 1 1/2 teaspoons ground cinnamon
- 1 teaspoon kosher salt
- For the S’more Topping:
- 3/4 cup semi-sweet chocolate chips
- 1/2 cup heavy cream
- 3 cups miniature marshmallows
- Non-stick cooking spray
Instructions
- Make the Crust: Preheat the oven to 325°F. In a food processor, pulse the graham crackers into fine crumbs. Combine the crumbs, melted butter, sugar, and salt. Press the mixture into the bottom and 1 inch up the side of a 10-inch springform pan. Bake for 15 to 20 minutes. Let cool completely.
- Wrap the outside of the cooled pan in a large sheet of foil and place it in a roasting pan.
- Make the Filling: Bring a large pot of water to a boil for the water bath. In a stand mixer, beat the cream cheese and sugar until light and fluffy. Add the sweet potato puree, sour cream, eggs, vanilla, cinnamon, and salt; beat until just combined. Pour the filling into the cooled crust.
- Bake the Cheesecake: Carefully pour the boiling water into the roasting pan to create a water bath that comes halfway up the sides of the springform pan. Bake for about 2 hours, until the edges are set but the center still jiggles.
- Turn off the oven, prop the door open for 1 minute, then close the door and let the cheesecake cool in the oven for 1 more hour. Remove from the water bath, let it cool to room temperature, then cover and refrigerate for at least 8 hours or overnight.
- Make the Topping and Finish: Once chilled, make the chocolate ganache. Place the chocolate chips in a bowl. Heat the heavy cream until it simmers, then pour it over the chocolate. Let stand for 1 minute, then stir until smooth. Let cool to room temperature.
- Preheat the broiler. Pile the miniature marshmallows on top of the chilled cheesecake. Place on a baking sheet and broil for about 1 minute, watching closely, until the marshmallows are golden brown.
- Unlock and remove the springform ring. Drizzle each slice of cheesecake with the cooled chocolate sauce and serve.
Notes
- This is a complex, multi-component recipe perfect for a special occasion.
- Baking the cheesecake in a water bath (bain-marie) is a crucial step that ensures a creamy, crack-free texture.
- The slow cooling process—in the oven, then at room temperature, then in the refrigerator—is essential for the cheesecake to set properly.
- Watch the marshmallows very carefully under the broiler as they can burn in seconds.
Serving Your Apple Crumble
The absolute best way to serve a classic apple crumble is warm from the oven. The beauty of this sheet-pan dessert is its rustic, easy-to-serve nature. Simply use a large spoon or a spatula to scoop generous portions into cozy bowls.
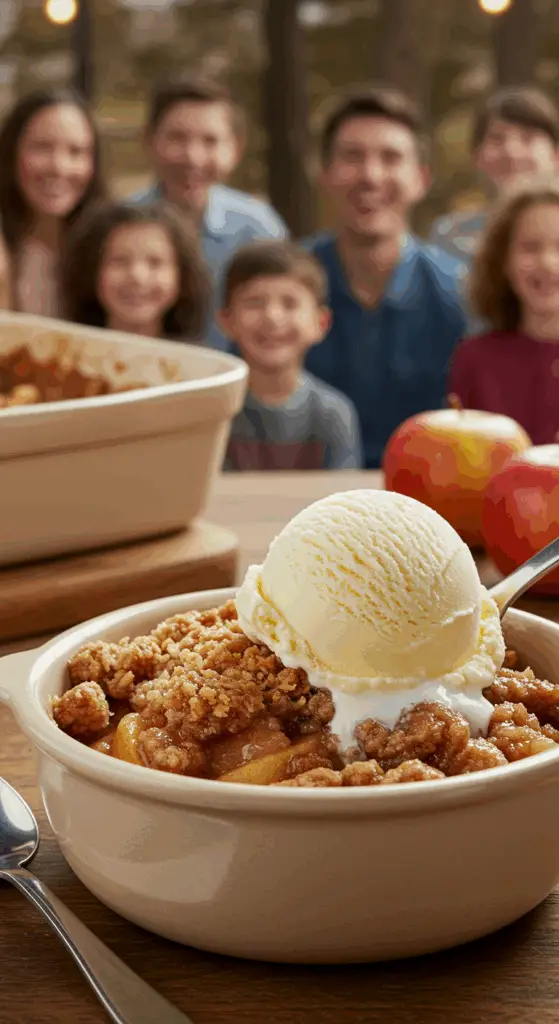
For the ultimate, classic comfort food experience, top each warm scoop of the crumble with a large scoop of high-quality vanilla bean ice cream. The way the cool, creamy ice cream melts into the warm, buttery, and spiced fruit is one of life’s greatest simple pleasures. A dollop of fresh, sweetened whipped cream or a drizzle of heavy cream is also a fantastic choice.
Storage and Make-Ahead Tips
This Sheet-Pan Apple Crumble is a wonderful dessert to have on hand for a sweet treat.
- Make-Ahead: You can prepare the entire oat topping up to 3 days in advance. Store it in an airtight container or a zip-top bag in the refrigerator. This turns the recipe into a super-fast, 10-minute assembly job.
- Storage: Store any leftover crumble, covered, at room temperature for up to 2 days, or in the refrigerator for up to 5 days.
- Reheating: You can enjoy leftovers cold or at room temperature, but it’s best when reheated. The best way to re-crisp the topping is to reheat the crumble in a 350°F oven or an air fryer for 5-10 minutes, until it is warmed through and the topping is crunchy again.
For more recipe follow my Pinterest account
Creative Recipe Variations
This incredibly simple crumble recipe is a fantastic base for all sorts of delicious fruit desserts.
- Add a Nutty Crunch: For a wonderful, buttery crunch and extra texture, you can add 1 cup of chopped pecans or walnuts to the oat topping mixture along with the flour and sugars.
- Use a Different Fall Fruit: This sheet-pan method is also absolutely fantastic with a mix of apples and firm pears, or for a more tart version, a mix of apples and fresh or frozen cranberries.
- Add a Drizzle of Salted Caramel: For an even more decadent and delicious treat, you can drizzle the entire warm, finished crumble with your favorite store-bought or homemade salted caramel sauce just before serving.
Enjoy The Ultimate Easy Fall Dessert!
You’ve just created a truly perfect dessert that celebrates the simple beauty of fresh, seasonal fruit. This Sheet-Pan Apple Crumble is a timeless classic for a reason: it’s incredibly easy to make, it’s a guaranteed crowd-pleaser, and it is the taste of pure, homemade comfort. It’s the perfect ending to any meal.
We hope you and your family love every warm, bubbly, and crunchy bite!
If you enjoyed making this recipe, please leave a comment below or share it with a friend who is a true “crumble lover”!
Frequently Asked Questions (FAQs)
Q1: How many people does a sheet pan crumble serve?
A standard 18×13-inch half sheet pan makes a very generous amount of crumble, perfect for a crowd! This recipe will comfortably serve about 10 to 12 people, especially when served with a scoop of ice cream.
Q2: Can I use a different size pan, like a 9×13-inch dish?
Yes, you can. If you use a smaller, deeper dish like a 9×13-inch pan, your layer of apples will be much thicker. You will need to increase the initial, covered baking time to about 30-35 minutes to ensure the apples are tender all the way through before you add the topping.
Q3: Can I prepare the entire crumble ahead of time and bake it later?
Yes! You can assemble the entire, unbaked crumble, cover it tightly, and store it in the refrigerator for up to 24 hours. When you are ready to bake, you may need to add 10-15 minutes to the total baking time since it will be starting from cold.
Q4: Why did my topping come out greasy instead of crispy?
A greasy topping is usually a sign that the ratio of butter to dry ingredients was a little bit off, or that it was overmixed. Be sure to measure your ingredients carefully. When you are stirring in the melted butter, mix only until the dry ingredients are just moistened and have formed clumps. Don’t continue to stir until it becomes a smooth paste.
Q5: What are the best apples for a crumble that won’t get mushy?
The most important thing is to use a firm baking apple that will hold its shape during baking. For a sweeter crumble, Gala, Fuji, Honeycrisp, or Braeburn apples are all excellent choices. For a more classic, tarter flavor that contrasts beautifully with the sweet topping, a Granny Smith apple is also a fantastic option.


