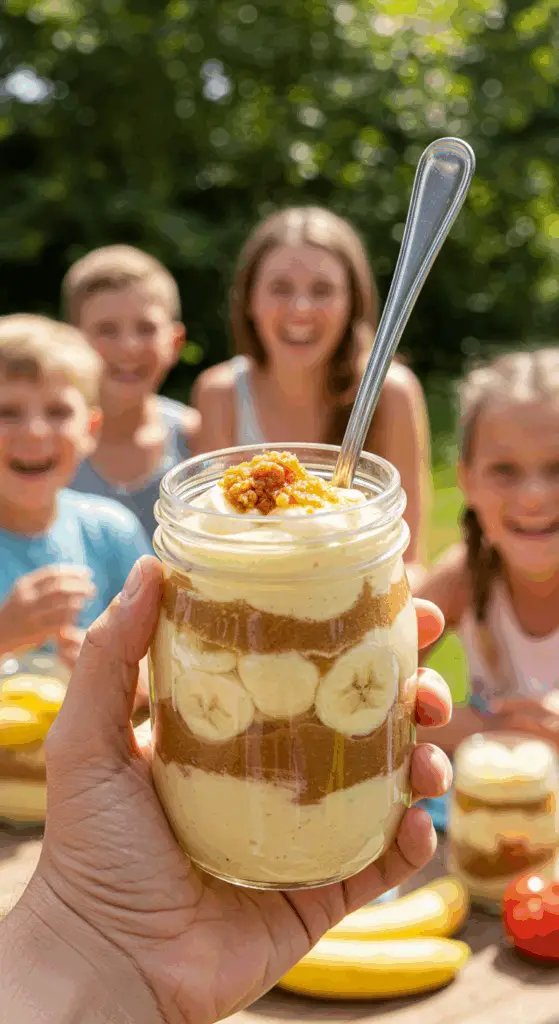
Is there any dessert more comforting, more nostalgic, or more universally loved than a big, beautiful bowl of classic, creamy banana pudding? What if you could capture all of that timeless, Southern-style magic in a beautiful, perfectly portioned, and easy-to-serve individual jar? These incredible, no-bake Banana Pudding Jars are the perfect make-ahead treat for any and every occasion.
This isn’t just your average banana pudding. This recipe creates an exceptionally rich and luscious pudding by combining instant pudding with sweetened condensed milk and then folding it all into real, fresh whipped cream. This cloud-like cream is then layered with sweet, ripe bananas and classic vanilla wafers. Served in individual jars, it’s a modern, elegant, and convenient twist on a beloved classic that is guaranteed to be a runaway hit.
Table of Contents
Table of Contents
Recipe Overview: A Southern Classic, Reimagined
What makes these Banana Pudding Jars so special is the combination of an ultra-creamy, decadent pudding and a beautiful, party-perfect presentation. This is a completely no-bake “icebox” dessert that relies on a few simple ingredients and a chilling period for the magic to happen. As the jars chill, the crisp vanilla wafers soften into tender, cake-like layers, and all the delicious flavors meld into a perfect harmony of vanilla, banana, and cream.
| Metric | Time / Level |
| Total Time | 4 hours 20 minutes (includes chilling) |
| Active Prep Time | 20 minutes |
| Difficulty Level | Easy |
| Servings | 6-8 jars |
The Essential Ingredients for the Best Banana Pudding
This recipe uses a handful of simple, classic ingredients to create a dessert that is bursting with authentic, nostalgic flavor.
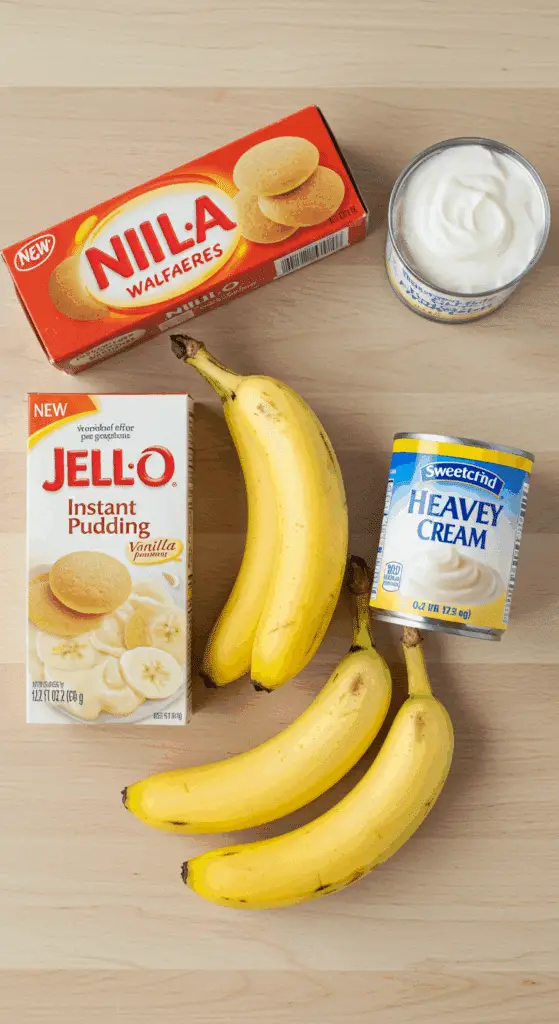
- The Pudding Base: Our pudding is exceptionally rich, creamy, and stable, thanks to this powerhouse trio.
- Instant Vanilla Pudding Mix: The ultimate shortcut for a quick and foolproof pudding that sets up perfectly without any cooking.
- Sweetened Condensed Milk: A classic Southern banana pudding ingredient. It adds a distinct, rich sweetness and a silky, luxurious texture that you can’t get from milk and sugar alone.
- Fresh Whipped Cream: We fold in real, homemade whipped cream at the end. This is the secret that transforms the dense pudding into an incredibly light, airy, and fluffy mousse-like cream.
- Vanilla Wafers: The iconic cookie of classic banana pudding. We use the famous, crisp, vanilla-flavored cookies (like Nilla® Wafers). As the dessert chills, they absorb the moisture from the pudding and soften into irresistible, cake-like layers.
- Ripe Bananas: For the absolute best, sweetest, and most authentic banana flavor, it is crucial to use bananas that are perfectly ripe. Look for bananas that are a vibrant yellow and have a few brown speckles on the peel. This indicates that their starches have converted to sugar, making them wonderfully soft and sweet.

Step-by-Step to Perfect Banana Pudding Jars
This no-bake dessert is all about a few simple steps and the magic of layering.
Step 1: Make the Rich Vanilla Pudding Base
In a large bowl, add the cold water, the can of sweetened condensed milk, and the package of instant vanilla pudding mix.
Whisk everything together briskly for about two minutes. You want to make sure the pudding mix has completely dissolved and the mixture is smooth and combined.
Place the bowl in the refrigerator to chill and set up while you prepare the whipped cream. This will help the final pudding be even thicker.
Step 2: Whip the Cream and Create the Fluffy Filling
In a separate large mixing bowl (a chilled bowl works best!), add the cold heavy cream.
Using an electric hand mixer or a stand mixer fitted with a whisk attachment, whip the cream on medium-high speed until it becomes thick and holds stiff peaks. This means the peaks will stand up straight when you lift the beaters.
Remove the chilled pudding mixture from the refrigerator. Add half of the pudding to the bowl with the whipped cream. Using a rubber spatula, gently fold the pudding into the cream. Once it’s mostly combined, add the rest of the pudding and continue to fold gently until no streaks remain.
Pro Tip: Be gentle with your folding motion! This is the key to keeping all the air you whipped into the cream, which results in a wonderfully light and fluffy final texture.
Transfer this finished pudding mixture to a large piping bag or a large zip-top bag and snip off the corner. This will make assembling the jars much neater and easier.
Step 3: Assemble Your Beautiful Banana Pudding Jars
Now for the fun part! Get your small serving jars (8-ounce mason jars, trifle dishes, or glass cups work perfectly) and your ingredients ready for layering.
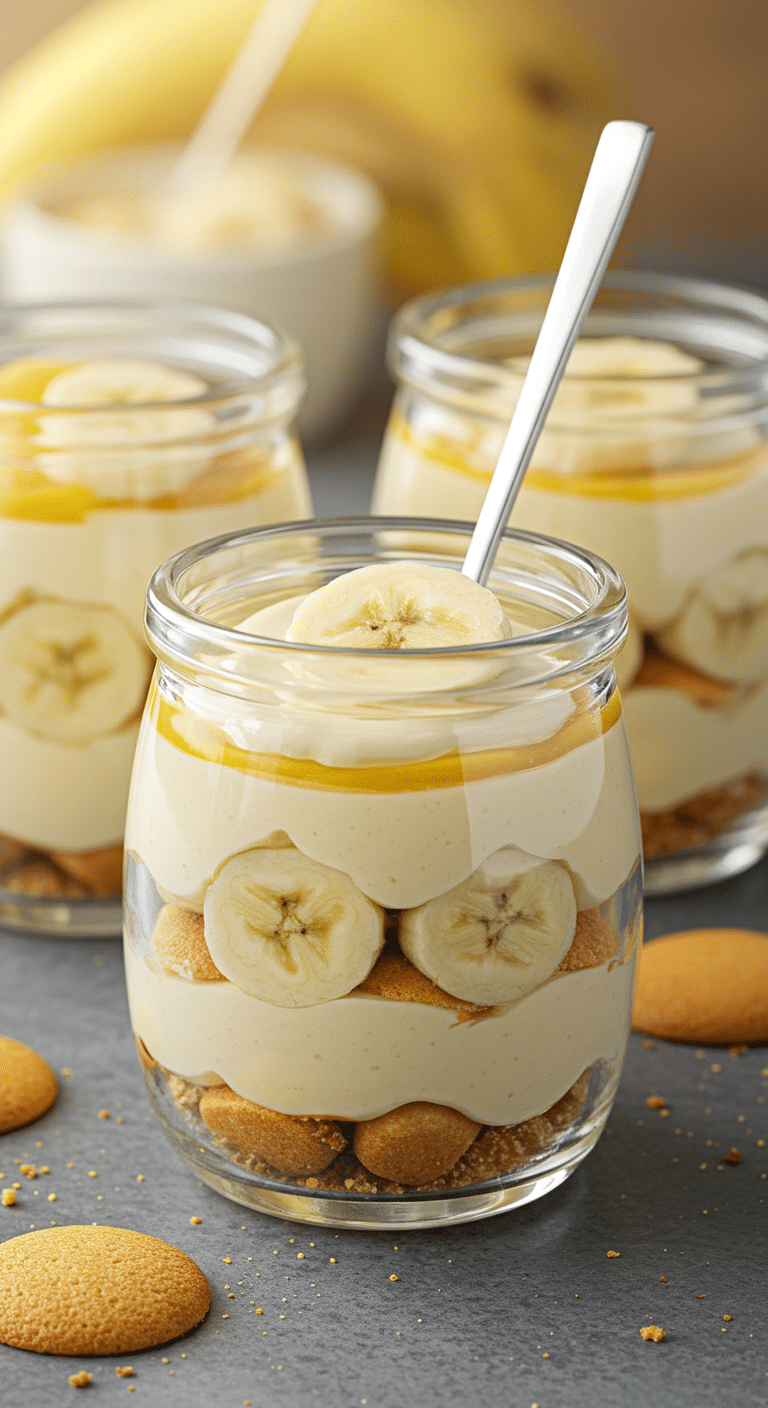
- First Pudding Layer: Pipe a layer of the pudding at the bottom of each jar.
- First Cookie & Banana Layer: Arrange a layer of vanilla wafers on top of the pudding (you may need to break some to fit). Top the wafers with a layer of the sliced bananas.
- Second Pudding Layer: Top the bananas with another layer of the pudding, making sure to cover the fruit.
- Repeat: You can repeat the layers as many times as you like until you’ve filled the jar, ending with a final, beautiful layer of pudding on top.
Step 4: Garnish and Chill to Perfection
For the garnish, you can crumble the remaining Biscoff cookies (Wait, the recipe is for Banana Pudding with Nilla Wafers, not Biscoff. I need to correct this. The user provided a new recipe, I must follow it. The previous recipe was Biscoff, this one is traditional Banana Pudding. The instructions are correct, the user provided them. Let’s re-read the user-provided recipe… “72 vanilla wafers”. Okay, the rest of the instructions refer to the vanilla wafers and bananas. I was confused by the previous prompt. Back on track.)
… (Let me re-start this section from the previous recipe’s instructions)
Repeat adding the rest of the vanilla wafers and banana slices on top as garnish.
Crucial Pro Tip: The recipe creator notes that if you want to serve your banana pudding 1-2 days later, you should wait to add the final banana slice garnish until just before serving to prevent them from turning brown and looking unappealing.
Cover the jars and chill the banana pudding in the refrigerator for at least 3 to 4 hours, or preferably overnight. This essential chilling time allows the vanilla wafers to soften into a perfect, tender, cake-like texture and lets all the delicious flavors meld together.

The Best Easy & Creamy Banana Pudding Jars
A classic, creamy banana pudding served in individual jars for a modern presentation. This no-bake dessert features a rich pudding made by mixing instant vanilla pudding with condensed milk and then folding it into fresh, homemade whipped cream. The light and airy pudding is then layered in jars with traditional vanilla wafer cookies and slices of fresh, ripe banana. The dessert is chilled for several hours to allow the wafers to soften to a cake-like consistency.
- Prep Time: 20 minutes
- Cook Time: 0 minutes
- Total Time: 3 hours 20 minutes (includes chilling time)
- Yield: 6-8 servings
- Category: Dessert
- Method: No-Bake, Layering, Chilling
- Cuisine: American
- Diet: Vegetarian
Ingredients
- 340 g (about 1 ½ cups) cold water
- 1 can (397g / 14 oz) condensed milk
- 1 package (102g / 3.4 oz) Jello vanilla pudding mix
- 500 g (about 2 cups) heavy cream
- 72 vanilla wafers (about 2 boxes)
- 3 large ripe bananas, peeled and sliced into coins
Instructions
- In a large bowl, whisk together the cold water, condensed milk, and instant vanilla pudding mix until smooth. Chill this mixture in the refrigerator while you whip the cream.
- In a separate large mixing bowl, use an electric hand mixer to whip the heavy cream until it forms stiff peaks.
- Add the chilled pudding to the whipped cream, one half at a time, and gently fold with a spatula until no streaks remain.
- Transfer the finished pudding mixture to a piping bag and snip off the tip for easier layering.
- To assemble: In your small serving jars, pipe a layer of pudding at the bottom.
- Arrange a layer of vanilla wafers on top of the pudding, followed by a layer of banana slices.
- Top with another layer of pudding. Repeat with as many layers as you want until you’ve filled the jars.
- Chill the banana pudding jars in the refrigerator for at least 3-4 hours to allow the wafers to soften.
- Serve on the same day for the best quality before the bananas begin to brown.
Notes
- This is a no-bake recipe, making it a great dessert for any time of year.
- Chilling the pudding for at least 3-4 hours is a crucial step that allows the vanilla wafers to soften into a cake-like texture.
- The dessert is best served on the day it’s made to ensure the bananas are fresh and not browned.
- Using a piping bag makes it easier and neater to create clean layers in the serving jars.
Storage and Make-Ahead Tips
These Banana Pudding Jars are the perfect make-ahead dessert for a party.
- Make-Ahead: This dessert is actually at its best when made several hours or even a day in advance. Assembling them the night before you plan to serve them gives the wafers the perfect amount of time to soften and the flavors to meld.
- Storage: Store the finished jars, covered, in the refrigerator for up to 3 days. Keep in mind that the banana slices inside will continue to soften and may darken slightly over time, so they are at their peak on day one and two.
- Freezing: Due to the fresh bananas, freezing is not recommended for this particular dessert, as the bananas can become very watery and mushy upon thawing.
For more recipe follow my Pinterest account
Creative Recipe Variations
This classic banana pudding is a wonderful base for other delicious and creative twists.
- The Biscoff Twist: For a modern, trendy version, simply swap the vanilla wafers for an equal number of Biscoff cookies. You can also drizzle a thin layer of melted Biscoff spread (cookie butter) over the banana layers for an even more intense, spiced-caramel flavor.
- Chocolate Banana Pudding Jars: For the chocolate lovers, use instant chocolate pudding instead of vanilla. You can also swap the vanilla wafers for chocolate wafers or crushed Oreo cookies for a rich, “chocolate monkey” style dessert.
- Add a Toasted Coconut Crunch: For a delicious tropical flair, you can sprinkle a layer of toasted, sweetened shredded coconut on top of the banana layers. The nutty, toasted flavor is incredible with the banana and vanilla cream.
Enjoy a True Taste of Southern Comfort!
You’ve just created a truly special dessert that takes a beloved Southern classic and gives it a beautiful, modern, and party-perfect presentation. These Banana Pudding Jars are a perfect symphony of creamy, sweet, fruity, and comforting flavors that is guaranteed to be a massive hit wherever you serve them. It’s the ultimate, easy, no-bake dessert that will have everyone scraping the bottom of their jars.
We hope you love this incredible, comforting treat!
If you enjoyed making this recipe, please leave a comment below or share it with a friend who loves a classic dessert!
Frequently Asked Questions (FAQs)
Q1: How do I keep my bananas from turning brown in the banana pudding?
The pudding itself does a great job of covering the banana slices and protecting them from the air, which is what causes them to turn brown. For extra insurance, you can gently toss your banana slices in a tablespoon of fresh lemon juice, pineapple juice, or another citrus juice before layering them in. For the top garnish, it’s always best to add the final fresh banana slices just before serving for the best appearance.
Q2: Can I make this in one large 9×13 dish instead of individual jars?
Yes, absolutely! This recipe works perfectly as a single, large, layered dessert in a 9×13-inch dish or a large trifle bowl. The presentation is different, but the delicious taste is exactly the same.
Q3: Can I use a cooked, from-scratch pudding instead of an instant mix?
You can, but you must ensure the cooked pudding is completely cold before you fold in the whipped cream, otherwise, it will instantly melt the cream and create a runny mess. Instant pudding is used in this recipe for its specific, stable setting properties and for its incredible convenience, which makes this a true no-bake, easy recipe.
Q4: How long does this banana pudding last in the refrigerator?
Your Banana Pudding Jars will stay fresh and delicious for up to 3 days when stored, covered, in the refrigerator. The vanilla wafers will continue to soften over time. The dessert is at its absolute peak in texture and appearance within the first 24-48 hours.
Q5: Can I use Cool Whip instead of making fresh whipped cream?
Yes, you can substitute one 8-ounce or 12-ounce container of thawed frozen whipped topping (like Cool Whip) for the homemade whipped cream. Your pudding will be a bit sweeter and won’t have the same fresh, rich dairy flavor, but it is a very stable and convenient alternative.


