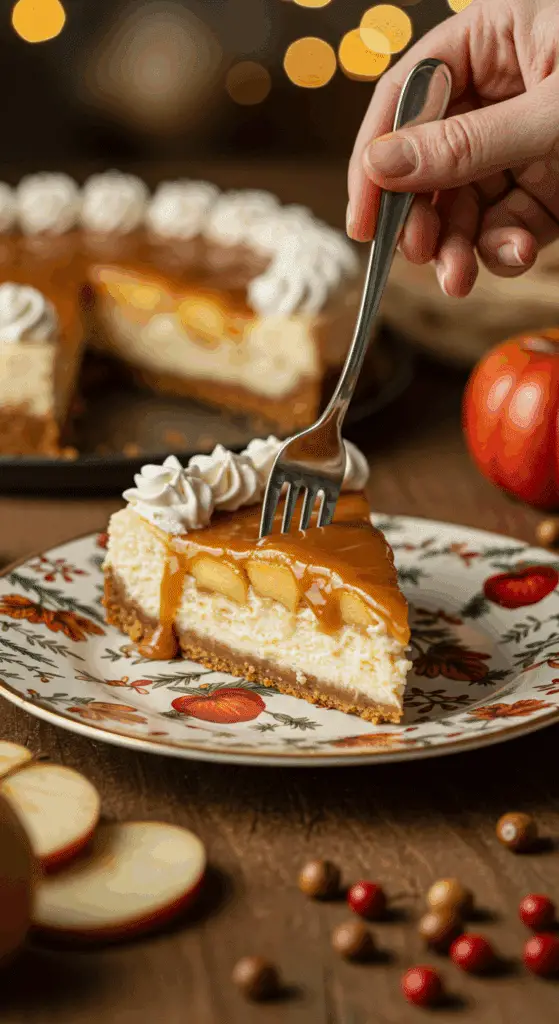
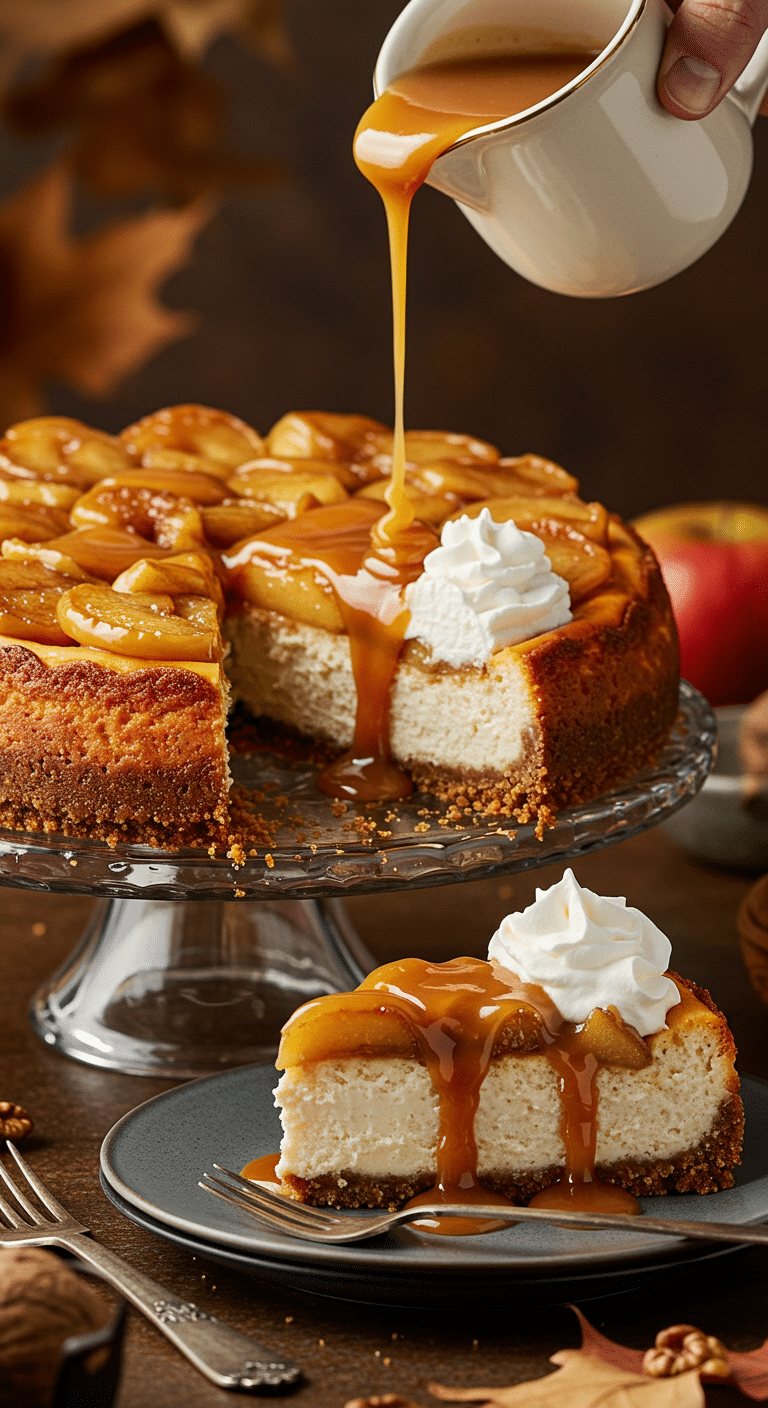
Are you ready to elevate your baking skills and create a truly spectacular, multi-layered dessert that is the absolute epitome of fall elegance? This incredible Caramel Apple Cheesecake isn’t just a recipe; it’s a baker’s masterclass in classic pastry techniques. We’re going to deconstruct each perfect component—from the nutty crust and the silky cheesecake to the caramelized apples and luscious, from-scratch caramel sauce—so you can build the ultimate showstopper with total confidence.
This is a true project in deliciousness, a dessert that is guaranteed to be the grand finale of your Thanksgiving feast or any special occasion. It’s a symphony of autumn’s finest flavors: a rich, tangy cheesecake, tender apples kissed with the warmth of apple brandy, and a river of liquid gold caramel, all on a buttery walnut crust. It’s a showstopper worth every moment of effort.
Table of Contents
Table of Contents
Recipe Overview: A True Baking Masterpiece
What makes this Caramel Apple Cheesecake so unforgettable is its incredible, multi-layered combination of from-scratch components that work in perfect harmony. This is a true gourmet dessert experience. The recipe guides you through four distinct pastry techniques: creating a perfect press-in crust, a flawless, crack-free baked cheesecake using a water bath, a beautiful caramelized apple topping, and a silky, from-scratch caramel sauce. It’s the ultimate make-ahead centerpiece for a truly special occasion.
| Metric | Time / Level |
| Total Time | 12 hours (includes chilling) |
| Active Prep Time | 1.5 hours |
| Difficulty Level | Advanced |
| Servings | 12-16 |
Your Holiday Baking Game Plan (Make-Ahead Schedule)
The secret to this seemingly complex dessert is to make it in easy, manageable stages. This is the perfect timeline for a stress-free holiday.
- Up to 1 Week Ahead: Make your Apple-Caramel Sauce. Let it cool completely and store it in an airtight jar in the refrigerator. Its flavor will only deepen!
- Up to 2-3 Days Ahead: Bake the entire cheesecake (crust and filling). Let it cool completely, then cover and let it chill and set in the refrigerator.
- Up to 1 Day Ahead: Prepare the Caramelized Apple Topping. Let it cool and store it in an airtight container in the refrigerator.
- On Serving Day: Gently reheat the apple topping and the caramel sauce. Top the chilled cheesecake with the warm apples, drizzle with the caramel sauce, and prepare for the applause!
The Essential Ingredients for This Showstopper
This recipe is built from four perfect, from-scratch components.
- The Graham Cracker-Walnut Crust: A delicious upgrade to a classic crust. The addition of lightly toasted walnuts adds a wonderful, rich, and nutty flavor that is perfect with the apples and caramel.
- The Creamy Cheesecake Filling: A classic, dense, and tangy New York-style cheesecake.
- Room Temperature Ingredients: This is the non-negotiable secret to a smooth, lump-free cheesecake. Your full-fat, block-style cream cheese and your large eggs must all be at room temperature.
- Muscovado Sugar & Vanilla Bean: Light muscovado sugar is a less-refined brown sugar with a fine, moist texture and a strong molasses flavor that adds incredible depth. A real vanilla bean, with its thousands of tiny, flavorful seeds, provides an authentic, aromatic flavor that is far superior to extract alone.
- The Caramelized Apple Topping:
- The Apples: A mix of a firm-tart apple like Granny Smith and a firm-sweet apple like Fuji provides the perfect balance of flavor and a texture that is tender but not mushy.
- Calvados (Apple Brandy): A splash of this classic French apple brandy adds a wonderful, warm, and sophisticated apple flavor to the topping.
- The Apple-Caramel Sauce: A classic, from-scratch wet caramel sauce, enriched with heavy cream and finished with Calvados for a deep, buttery, and apple-infused flavor.

Step-by-Step: Your Cheesecake Masterclass
Let’s break this incredible project down into four simple, manageable modules.
Module 1: The Foundation – A Perfect Press-In Crust
Step 1: Preheat your oven to 350°F (175°C).
Step 2: In a food processor, pulse the 8 whole graham crackers, 1/2 cup of the walnuts, and the 2 tablespoons of light brown sugar until they are finely ground. With the motor running, pour in the 5 tablespoons of melted butter through the feed tube and process until the crumbs are evenly moistened.
Step 3: Spray a 9-inch springform pan with cooking spray. Firmly press the crumb mixture evenly into the bottom of the pan.
Step 4: Place the pan on a baking sheet and bake for about 8 minutes, until the crust is lightly golden brown and set. Let the crust cool completely on a wire rack.
Module 2: The Heart – A Flawless, Crack-Free Cheesecake
Step 1: In a food processor, combine 1/4 cup of the granulated sugar and the 1 tablespoon of orange zest and process until the sugar is fragrant and tinted orange.
Step 2: In the bowl of a stand mixer fitted with the paddle attachment, beat the 3 packages of room temperature cream cheese for 3 to 4 minutes, until it is completely smooth and light. Add the orange sugar, the remaining granulated sugar, and the light muscovado sugar and beat again until the mixture is light and fluffy.
Step 3: Add the 4 room temperature eggs, one at a time, mixing on low speed until just incorporated after each addition. Stir in the vanilla bean seeds, the vanilla extract, the salt, and the heavy cream until just combined. Do not overmix!
Step 4: Prepare your pan for a water bath. Tightly wrap the outside of your springform pan with a large, double layer of heavy-duty aluminum foil. Pour the cheesecake batter over your cooled crust. Place the wrapped pan inside a larger roasting pan.
Step 5: Carefully pour hot tap water into the roasting pan until the water comes about halfway up the sides of your cheesecake pan.
Step 6: Bake for about 55 minutes, until the sides are set but the center still has a slight jiggle.
Step 7: Turn the oven off, prop the oven door open with a wooden spoon, and allow the cheesecake to cool slowly in the water bath for 1 hour.
Step 8: Remove the cheesecake from the roasting pan and let it cool to room temperature for 2 hours. Cover the cake and refrigerate for at least 4 hours, but preferably overnight.
Module 3: The Fruit – Perfectly Caramelized Apples
In a large sauté pan over high heat, bring the 2 cups of apple juice, the 1/4 cup of sugar, and the reserved vanilla bean pod to a boil. Cook until the liquid has reduced to about 1/2 cup and is slightly thickened.
Stir in the 1 tablespoon of cold butter until it has melted. Add the sliced apples and cook, stirring occasionally, until the apples are tender and have become lightly caramelized. Add the 1/4 cup of apple brandy and cook until the liquid has reduced by half. Let the apples cool slightly.
Module 4: The Finishing Touch – Silky, From-Scratch Caramel
Step 1: In a small pan, warm the 3/4 cup of heavy cream over medium heat until it is simmering. Keep it warm.
Step 2: In a medium, heavy-bottomed saucepan, combine the 1 1/2 cups of granulated sugar and the 1/4 cup of water. Cook over high heat, swirling the pot occasionally but not stirring, until the sugar has dissolved and the mixture turns a deep amber color, which will take 10 to 12 minutes.
Step 3: Once you have a deep amber caramel, carefully and slowly whisk in the warm heavy cream and the pinch of salt. The mixture will bubble up vigorously. Continue to whisk until the sauce is smooth.
Step 4: Remove the pan from the heat and stir in the 3 tablespoons of apple brandy and the 1/2 teaspoon of vanilla extract.
To serve, top the chilled, finished cheesecake with the warm apple topping, drizzle it liberally with the warm caramel sauce, and sprinkle with the remaining toasted walnuts. Serve any extra sauce on the side.

The Ultimate Caramel Apple Cheesecake (A Baker’s Guide!)
A seasonal twist on the classic French dessert, this Pumpkin Crème Brûlée features a rich, smooth custard infused with the warm flavors of pumpkin puree, cinnamon, nutmeg, and ginger. The custard is made by tempering a hot, spiced cream and milk mixture into egg yolks and sugar. It is then gently baked in individual ramekins in a water bath until just set. After chilling for several hours, the dessert is finished with a layer of coarse sugar that is caramelized under a broiler or with a kitchen torch to create the signature hard, crackly topping.
- Prep Time: 25 minutes
- Cook Time: 40 minutes
- Total Time: 3 hours 35 minutes (includes steeping, cooling, and chilling)
- Yield: 4 servings
- Category: Dessert
- Method: Baking, Broiling
- Cuisine: French
- Diet: Gluten Free
Ingredients
- 1 1/2 cups heavy cream
- 1/2 cup whole milk
- 1/8 teaspoon cinnamon
- 2 pinches nutmeg
- 1 pinch ginger
- 1 pinch ground cloves
- 4 egg yolks
- 1/2 cup granulated sugar
- 1/4 cup canned pumpkin puree
- 1/3 cup coarse sugar or raw sugar, for topping
Instructions
- Preheat the oven to 300°F.
- In a medium saucepan, combine the cream, milk, cinnamon, nutmeg, ginger, and cloves. Heat over medium heat, stirring occasionally, until it just comes to a boil. Immediately turn off the heat and let the mixture steep for at least 15 minutes.
- In a large bowl, whisk the egg yolks with the granulated sugar.
- Whisking constantly, gradually pour the hot cream mixture into the egg yolk mixture to temper it.
- Whisk in the pumpkin puree until the custard base is smooth.
- Pour the mixture into 4 ovenproof ramekins. Arrange the ramekins in a baking pan and create a water bath by pouring hot water into the pan until it comes halfway up the sides of the ramekins.
- Bake in the center of the oven for 30 to 40 minutes, until the custards are almost set but still jiggle slightly in the center.
- Remove the ramekins from the water bath, let them cool for 15 minutes, then cover each with plastic wrap and refrigerate for at least 2 hours, and up to 24 hours.
- When ready to serve, preheat the broiler or prepare a kitchen torch. Uncover the chilled custards.
- Sprinkle a thin, even layer of coarse sugar on top of each custard.
- Place the ramekins on a baking sheet and broil for 1 to 2 minutes, or use a torch, until the sugar is melted and caramelized.
- Let the custards cool for 1 minute before serving.
Notes
- Infusing the cream with spices before making the custard is a key step for a deep, aromatic flavor.
- Baking the custards in a water bath (bain-marie) provides gentle, even heat, which is essential for a smooth, creamy texture.
- The long chilling period of at least 2 hours is crucial for the custard to set completely.
- The signature crunchy topping is created just before serving by caramelizing a layer of sugar with high heat from a broiler or torch.
Storage and Make-Ahead Tips
- Make-Ahead: As outlined in our “Game Plan” above, this is the perfect dessert to make in stages over a few days to make your holiday baking completely stress-free.
- Storage: The finished cheesecake must be stored, covered, in the refrigerator. It will keep for up to 5 days.
For more recipe follow my Pinterest account
Enjoy The Ultimate Holiday Dessert!
You’ve just created a truly epic, show-stopping dessert that is the very definition of a holiday centerpiece. This Caramel Apple Cheesecake is a perfect symphony of creamy, tangy, sweet, and spiced flavors that is guaranteed to impress. It’s a rewarding baking project that is well worth the effort for a truly spectacular result.
We hope you enjoy every last, perfect, and delicious bite!
If you enjoyed making this recipe, please leave a comment below or share it with a friend who is ready for a holiday baking adventure!
Frequently Asked Questions (FAQs)
Q1: What is a springform pan, and do I really need one for a cheesecake?
A springform pan is a type of cake pan that has sides that can be removed with a latch. For a delicate, tall dessert like a cheesecake, it is highly recommended. It is the only way to release the cheesecake cleanly without having to flip it over, which would destroy it.
Q2: My cheesecake cracked despite the water bath. What else could have gone wrong?
The other major culprit for a cracked cheesecake is over-mixing the batter, especially after the eggs have been added. This incorporates too much air, which causes the cheesecake to puff up and then sink and crack as it cools. Always mix on a low speed only until the ingredients are just combined.
Q3: What is Calvados, and is there a good non-alcoholic substitute?
Calvados is a type of apple brandy from the Normandy region of France. It has a beautiful, warm, and distinct apple flavor. If you prefer to cook without alcohol, you can substitute it in both the apples and the caramel sauce with an equal amount of a high-quality apple cider or apple juice.
Q4: My caramel sauce seized up and became hard. What did I do wrong?
This usually happens if your cream was too cold when you added it to the hot caramel, which causes the sugar to rapidly cool and harden. The key is to make sure your heavy cream is hot, as directed in the recipe, before you slowly and carefully whisk it into the finished caramel.
Q5: What are the best apples to use for this topping?
The recipe’s suggestion of using a mix of a firm-tart apple like Granny Smith and a firm-sweet apple like Fuji is a perfect combination for both flavor and texture. Other great, firm baking apples include Honeycrisp and Braeburn.


