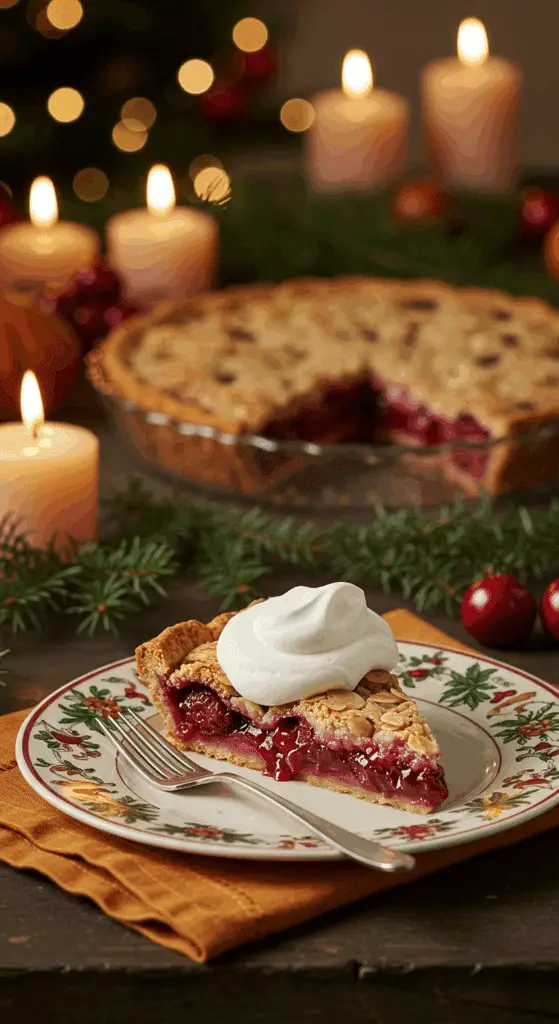
Are you ready to bake the absolute best, most vibrant, and most deliciously memorable cherry pie of your life? The secret to a truly spectacular pie isn’t just any cherry—it’s the sour cherry. This incredible, from-scratch Sour Cherry-Almond Pie is a masterpiece of sweet-tart flavor, with a thick and jammy filling, a flaky, all-butter crust, and a surprise crunchy, candied almond topping that is pure elegance.
This isn’t just another pie recipe; it’s your ultimate guide to a sophisticated, show-stopping dessert. We’ll show you the professional secrets to a perfectly flaky pie crust and a foolproof, cooked filling that will never be runny or make your crust soggy. Forget overly sweet, one-note cherry pies. This is the real deal, a perfectly balanced dessert that will be the star of your Thanksgiving or Christmas table.
Table of Contents
Table of Contents
Recipe Overview: A Stunning Holiday Showstopper
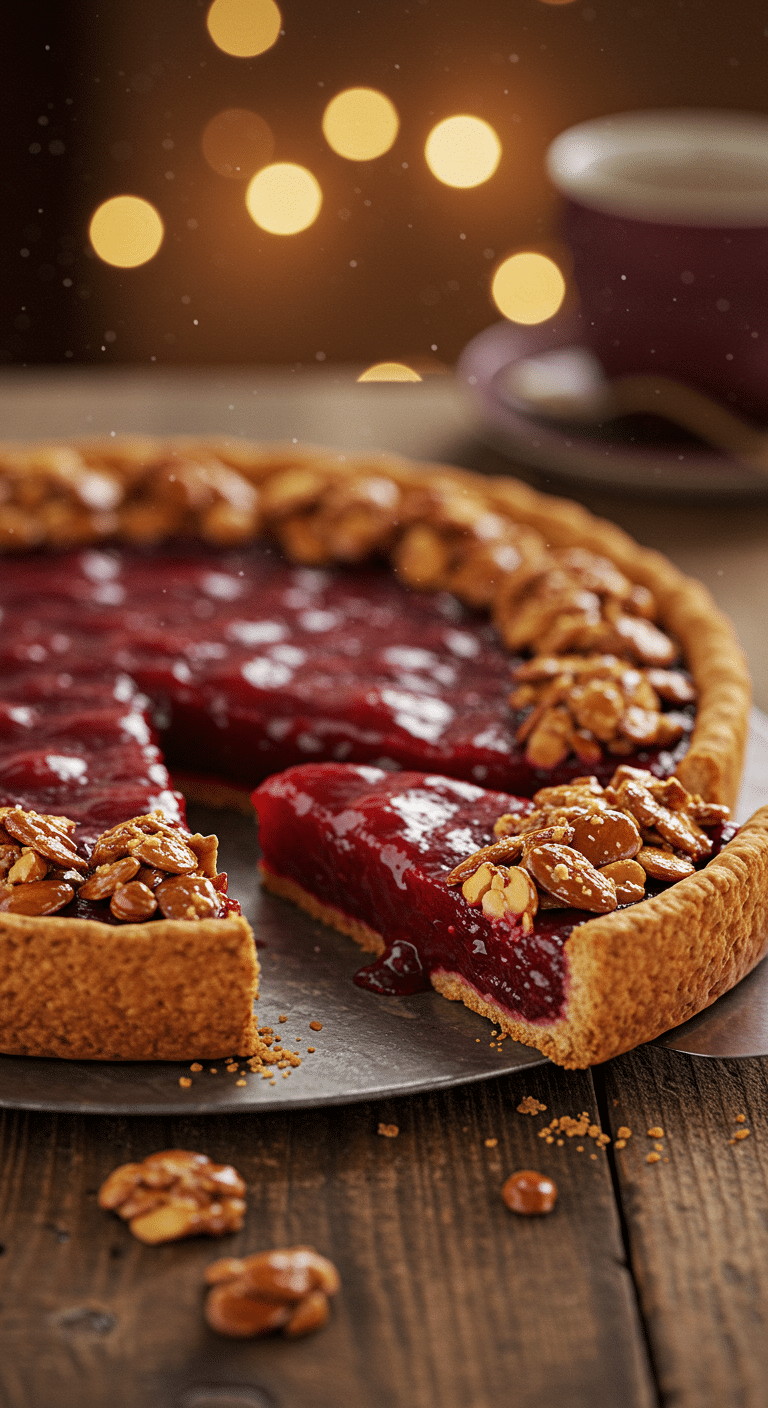
What makes this Sour Cherry-Almond Pie so spectacular is its intense, perfectly balanced flavor and its wonderful combination of textures. The filling, made with tart sour cherries, has a bright, vibrant, and complex flavor that is beautifully enhanced by a hint of almond extract. The professional technique of cooking the filling on the stovetop first guarantees a thick, glossy, and perfectly set result every single time. The unique, crunchy, candied almond topping adds a final, elegant touch that is an irresistible contrast to the soft filling and flaky crust.
| Metric | Time / Level |
| Total Time | 4 hours (includes chilling and cooling) |
| Active Prep Time | 45 minutes |
| Difficulty Level | Intermediate |
| Servings | 8 slices |
Your Holiday Baking Game Plan (Make-Ahead Schedule)
The secret to a stress-free holiday is to make as much as you can in advance. This pie is perfect for that!
- Up to 3 Days Ahead: Make the pie dough, wrap it tightly, and store it in the refrigerator. You can also prepare the candied almond topping, let it cool, and store it in an airtight container at room temperature.
- Up to 2 Days Ahead: Prepare the entire sour cherry filling. Let it cool completely and store it in an airtight container in the refrigerator.
- 1 Day Before Serving (or on the day of): Assemble the pie with your pre-made crust and filling, and bake it fresh so your home is filled with the most incredible aroma!
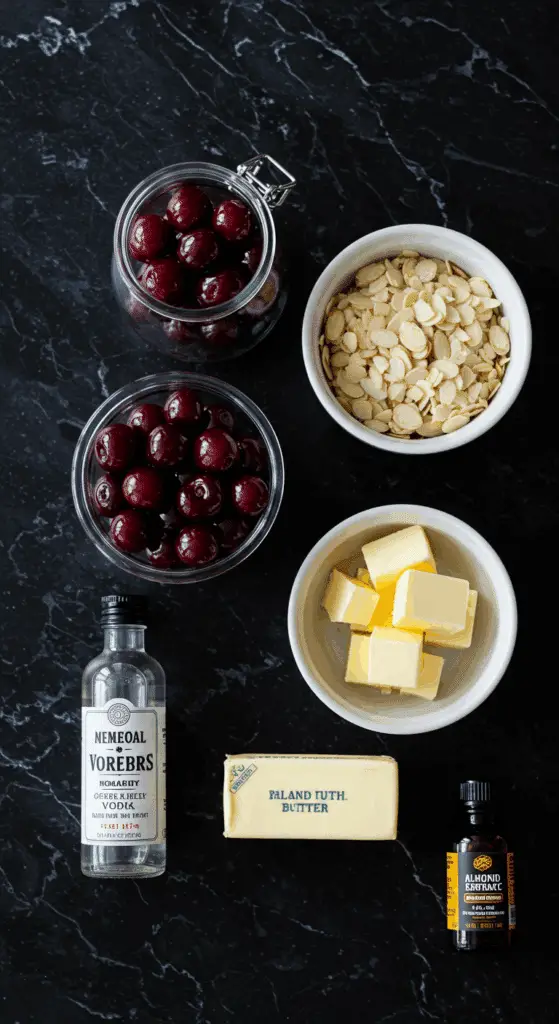
The Essential Ingredients for This Elegant Pie
This recipe is built from three perfect, from-scratch components.
- The Flaky Vodka Pie Crust: A rich, tender, and incredibly flaky foundation.
- The Fats (Butter & Shortening): This recipe uses a classic, foolproof blend for the best of both worlds. Cold unsalted butter provides a rich, delicious flavor, while cold vegetable shortening creates an incredibly tender and extra-flaky texture.
- Cold Vodka: This is a brilliant baker’s trick! Because a portion of the liquid is alcohol (which does not promote gluten development), it helps to create an incredibly tender and flaky crust that is less prone to becoming tough.
- The Thick & Glossy Sour Cherry Filling:
- Jarred Sour Cherries: These are the star of the show! Jarred sour cherries (often labeled as Morello cherries and packed in syrup or water) have an intensely tart and complex flavor that is far superior for pie making than sweet cherries like Bing or Rainier. It’s crucial to use the juice from the jars to create the sauce.
- Cornstarch Slurry: The secret to a perfectly thick, non-runny filling. We make a “slurry” by mixing the cornstarch with a little bit of the cool cherry juice before adding it to the hot liquid, which is a foolproof way to prevent any lumps.
- Almond Extract: A classic and sophisticated pairing with cherries. Just a touch of pure almond extract adds a wonderful, fragrant, and nutty note that beautifully enhances the flavor of the fruit.
- The Crunchy Candied Almond Topping: A simple, elegant, and professional-style garnish. Blanched sliced almonds are tossed with sugar and a lightly beaten egg white, and then baked separately until they are light, crisp, and beautifully golden brown.

Step-by-Step to a Show-Stopping Cherry Pie
Let’s break this incredible project down into simple, manageable parts.
Part 1: The Flaky Vodka Pie Crust
Step 1: In the bowl of a food processor, pulse the 1 1/4 cups of all-purpose flour, the 1 tablespoon of sugar, and the 1/2 teaspoon of salt to combine.
Step 2: Add the 4 tablespoons of cold shortening and pulse until the mixture looks like cornmeal. Add the 6 tablespoons of cold, cubed butter and pulse until you have pea-sized pieces.
Step 3: Add the 2 tablespoons of cold vodka and 2 tablespoons of ice water. Pulse just until the dough begins to come together but is still crumbly.
Step 4: Turn the dough out onto a piece of plastic wrap, shape it into a flat disc, and wrap it tightly. Refrigerate for at least 1 hour.
Part 2: The Thick & Glossy Sour Cherry Filling
Step 1: Drain your jarred sour cherries, being sure to reserve 1 1/2 cups of the juice. Place the drained cherries in a medium bowl.
Step 2: In a separate small bowl, whisk 1/4 cup of the reserved cherry juice with the 3 tablespoons of cornstarch until it is completely smooth. This is your “slurry.”
Step 3: In a small saucepan, add the remaining 1 1/4 cups of cherry juice and the 2/3 cup of sugar. Bring the mixture to a boil over medium-high heat.
Step 4: Once the juice is boiling, whisk in your cornstarch slurry. Continue to cook, whisking constantly, for about 30 seconds, until the sauce becomes very thick and glossy.
Step 5: Pour the hot, glossy sauce over the cherries in the bowl. Add the 1/4 teaspoon of pure almond extract and gently fold everything together to combine. Let the filling cool completely.
Part 3: The Crunchy Candied Almond Topping & Assembly
Step 1: Position racks in the upper and lower thirds of your oven and place a baking sheet on the lower rack. Preheat the oven to 425°F (220°C).
Step 2: While the oven is preheating, make the topping. In a medium bowl, combine the 1/2 cup of blanched sliced almonds, the 2 tablespoons of sugar, and the 1 tablespoon of beaten egg white. Stir until the almonds are completely coated.
Step 3: Spread the coated almonds in a single layer on a parchment-lined baking sheet. Bake on the upper oven rack for about 10 minutes, stirring halfway through, until the almonds are dry and a light golden brown. Let them cool completely, then break them into crunchy clusters.
Step 4: On a lightly floured surface, roll out your chilled pie dough into a 12-inch round. Ease the dough into a 9-inch pie plate. Fold the overhanging dough under itself and crimp the edges decoratively. Refrigerate the pie shell until it is firm, for about 30 minutes.
Step 5: Add the completely cooled cherry filling to the chilled crust.
Step 6: Transfer the pie to the hot baking sheet on the lower oven rack and bake for 15 minutes at 425°F.
Step 7: After 15 minutes, reduce the oven temperature to 375°F (190°C) and continue to bake until the crust is a deep golden brown and the filling is hot and bubbly, about 55 more minutes.
Step 8: Let the pie cool completely on a wire rack. Just before serving, sprinkle the crunchy, candied almond clusters around the edge of the warm pie.

The Best Classic Sour Cherry-Almond Pie
A from-scratch, gluten-free recipe for festive Pumpkin Spice Cream Puffs. The dessert starts with instructions for a homemade gluten-free flour blend, which is then used to make a classic choux pastry (pâte à choux) on the stovetop and in a food processor. The dough is scooped onto a baking sheet and baked until puffed and golden. The cooled puffs are then split and filled with a light and airy homemade whipped cream that has been flavored with pumpkin puree and pumpkin pie spice.
- Prep Time: 35 minutes
- Cook Time: 30 minutes
- Total Time: 1 hour 50 minutes (includes cooling time)
- Yield: 12-18 cream puffs
- Category: Dessert
- Method: Baking
- Cuisine: French
- Diet: Gluten Free
Ingredients
- For the Gluten-free Flour Blend:
- 3 cups (435 grams) white rice flour
- 1 1/2 cups (187 grams) tapioca flour
- 3/4 cup (123 grams) potato starch
- 1 tablespoon (8 grams) xanthan gum
- 1 1/2 teaspoons (5 grams) salt
- For the Puffs:
- 1 tablespoon granulated sugar
- 1/4 teaspoon ground cinnamon
- 1/4 teaspoon salt
- 1/2 cup (1 stick) unsalted butter
- 1/2 cup milk
- 1/2 cup water
- 1 cup homemade gluten-free flour blend
- 3 large eggs plus 1 large egg white, at room temperature
- 3/4 teaspoon baking powder
- For the Filling:
- 2 cups heavy cream
- 1/2 cup confectioners’ sugar, plus more for dusting
- 2 teaspoons pure vanilla extract
- 1/2 teaspoon ground pumpkin spice
- 1/4 cup pumpkin puree
Instructions
- Make the Gluten-Free Flour Blend: In a large bowl, whisk together the white rice flour, tapioca flour, potato starch, xanthan gum, and salt.
- Make the Puffs: Preheat the oven to 400°F and line a baking sheet with parchment paper.
- In a medium saucepan, melt the butter with the milk and 1/2 cup of water. Bring to a boil.
- Reduce the heat to low and gradually whisk in 1 cup of the prepared gluten-free flour blend, the granulated sugar, cinnamon, and salt. Stir with a wooden spoon for about 3 minutes, until a ball of dough forms.
- Transfer the dough to a food processor and pulse about 20 times to cool it down. With the motor running, stream in the eggs, egg white, and baking powder. Process until a smooth dough forms.
- Using a 1 1/2-inch ice cream scoop, drop the dough onto the prepared baking sheet. Bake for about 25 minutes, until puffed and golden.
- Using a sharp knife, cut a small slit in the side of each hot puff to allow steam to escape. Let them cool completely on a wire rack.
- Make the Filling and Assemble: Using an electric mixer, beat the heavy cream until soft peaks start to form. Add the confectioners’ sugar, vanilla, and pumpkin spice and beat until soft peaks form. Gently fold in the pumpkin puree.
- Cut the cooled puffs in half. Place a mound of the whipped pumpkin cream on each puff bottom and then set the tops in place.
- Dust with additional confectioners’ sugar before serving.
Notes
- Special Equipment: The recipe suggests using parchment paper and a 1 1/2-inch ice cream scoop.
- This recipe is entirely gluten-free, starting with a homemade multi-flour blend for the choux pastry.
- Cutting a slit in the side of the puffs immediately after they come out of the oven is a crucial step to release steam and prevent them from becoming soggy as they cool.
- The puffs must be cooled completely before they are filled with the whipped pumpkin cream.
Storage and Make-Ahead Tips
- Make-Ahead: As outlined in our “Game Plan” above, this is the perfect dessert to make in stages over a few days to make your holiday baking completely stress-free.
- Storage: The finished pie, once completely cooled, can be stored, covered, at room temperature for up to 2 days, or in the refrigerator for up to 4 days.
For more recipe follow my Pinterest account
Enjoy Your Elegant Holiday Pie!
You’ve just created a truly special, show-stopping dessert that is the very definition of holiday elegance. This Sour Cherry-Almond Pie is a perfect symphony of flaky crust, jammy fruit, and a crunchy, nutty topping. It’s a rewarding baking project that is guaranteed to be the most beautiful and unique pie on any table.
We hope you enjoy every last, perfect, and delicious bite!
If you enjoyed making this recipe, please leave a comment below or share it with a friend who is ready for a holiday baking adventure!
Frequently Asked Questions (FAQs)
Q1: What is the difference between sour cherries and sweet cherries, and do I have to use sour?
For the absolute best, most flavorful, and perfectly balanced cherry pie, yes, it is highly recommended to use sour cherries. Sour cherries (like Morello or Montmorency) have an intensely tart and complex flavor that becomes wonderfully sweet-tart when baked with sugar. Sweet cherries (like Bing or Rainier) are delicious for eating fresh, but they can often result in a pie filling that is one-dimensionally sweet and less flavorful.
Q2: Why did my cherry pie turn out runny?
This recipe has a brilliant, built-in secret to prevent a runny pie: pre-cooking the filling! By thickening the reserved cherry juices on the stovetop with a cornstarch slurry before you add them back to the cherries, you are creating a thick, glossy, and stable filling that is guaranteed to set up perfectly and will never be watery.
Q3: Can I use a store-bought pie crust for this recipe?
Yes, for a convenient shortcut, you can absolutely use a high-quality, store-bought refrigerated pie crust. You will need one sheet for a single-crust pie.
Q4: Can I make a classic lattice top instead of the almond topping?
Of course! To make a classic, double-crust lattice pie, you will need to prepare a full batch of a double-crust pie dough. Simply use the second disc of dough to cut into strips and weave a beautiful lattice top over the filling before you bake it.
Q5: What is the secret to a flaky pie crust using vodka?
This is a fantastic, scientific baking trick! Gluten, which can make a pie crust tough, forms when flour is mixed with water. Because vodka is only about 60% water (and 40% ethanol), it provides the moisture needed to bring the dough together while developing significantly less gluten than if you were to use all water. The alcohol bakes out completely in the oven, leaving behind an incredibly tender and flaky crust.


