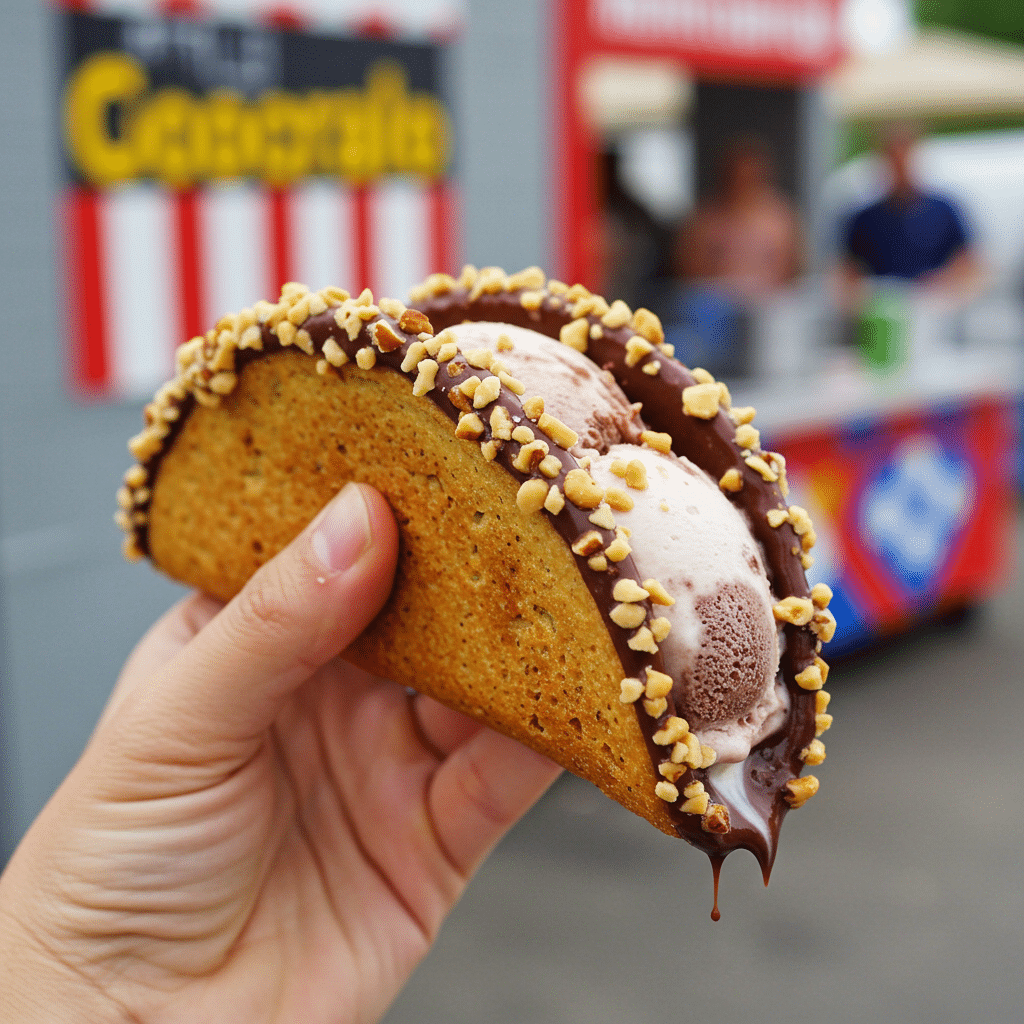
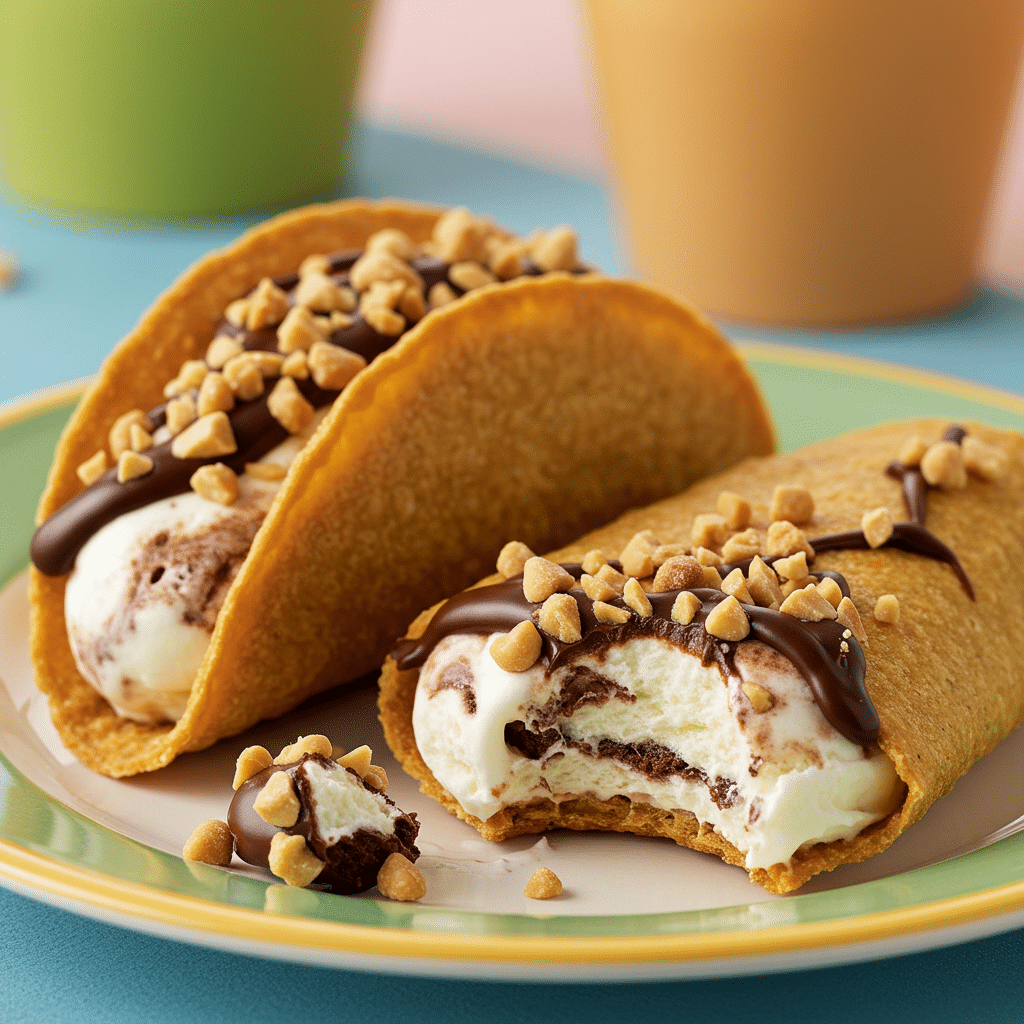
There are few frozen treats as iconic or as beloved as the classic ice cream taco. That perfect combination of a crispy, cone-like shell, creamy ice cream, and a crunchy chocolate-nut coating is a powerful taste of nostalgia. This recipe is your ultimate guide to recreating that magic at home and making from-scratch Chocolate-Covered Ice Cream Tacos that are even better than the original.
This is a fun and rewarding dessert project that will walk you through every step, from making your own crispy taco shells to filling them with ice cream and finishing them with a classic chocolate and nut topping. While it takes a little time, each step is simple, and the result is a truly spectacular homemade treat.
What makes this recipe so special is the from-scratch waffle-cone-style shell. Its flavor and texture are a world away from any shortcut. Get ready to impress your friends and family and become a dessert legend with these amazing homemade Chocolate-Covered Ice Cream Tacos.
Table of Contents
Table of Contents
Mastering the Homemade Taco Shell: The Book Spine Hack
The absolute star of these Chocolate-Covered Ice Cream Tacos is the homemade shell. It’s made from a thin, delicate batter—similar to a French tuile cookie or a soft waffle cone—that you cook like a small crepe in a skillet. The real magic happens right after it’s cooked.
The secret to getting that perfect taco shape without any special equipment is the book spine hack.
- The Technique: Immediately after you remove the hot, pliable cookie from the skillet, you gently drape it over the spine of a clean, hardcover book.
- The Science: As the cookie cools, the steam escapes and the sugars harden, locking it into that perfect, curved taco shape.
- The Result: A perfect, custom-made, crispy shell that’s ready to be filled. It’s a brilliant, low-tech kitchen trick that works every time.
The Key Ingredients for Your Ice Cream Tacos
Each component of these Chocolate-Covered Ice Cream Tacos is chosen to recreate a classic flavor profile.
- For the Taco Shells:
- Flour, Sugar, and Butter: The classic building blocks for a crisp and sweet cookie-like shell.
- Almond and Vanilla Extracts: The combination of these two extracts gives the shells a more complex, “bakery-style” flavor that is a step above plain vanilla.
- Egg Whites: Provide protein and structure, helping the shells become light and crisp.
- For the Filling and Topping:
- Ice Cream: The original Choco Taco used a fudge-swirled vanilla ice cream, which is a perfect choice. However, any of your favorite ice cream flavors will work beautifully.
- Dark Chocolate Chips & Coconut Oil: Melting these two together creates a “magic shell” topping. The coconut oil helps the chocolate melt smoothly and harden instantly into a crisp, snappy shell when it hits the cold ice cream.
- Crushed Nuts: Finely chopped peanuts or other nuts provide that classic salty crunch and finish.

Step-by-Step Guide to Your Chocolate-Covered Ice Cream Tacos
This recipe is a fun project with two main stages: making the shells and assembling the tacos.
Part 1: Make and Shape the Taco Shells
- Prepare Your Molds: Before you start, gather six to eight 1-inch-thick hardcover books. Wipe the spines and covers clean. You can even cover the spines with a small piece of parchment paper for extra food safety. Stand them up on your counter, spine-up, ready to be used as your taco shell molds.
- Make the Batter: In a medium bowl, whisk together the flour, sugar, and salt. In a separate bowl, whisk together the melted butter, milk, vanilla extract, and almond extract. Then, whisk in the two large egg whites until smooth.
- Combine: Pour the wet ingredients into the dry ingredients and mix with a spatula or whisk to form a smooth, thin batter.
- Cook the Shells: Heat a nonstick skillet over medium heat. Grease it lightly with butter. Spoon about 2 1/2 tablespoons of batter into the center of the skillet. Using the back of the spoon or a small offset spatula, gently spread the batter out into a thin, even circle about 5-6 inches in diameter.
- Flip and Shape (The Key Step): Cook the shell for 3 to 5 minutes, until the bottom is slightly browned and the edges are set. Flip it carefully and cook for just 1 to 2 more minutes. You must work quickly now! Immediately remove the hot, flexible shell from the skillet and gently drape it over the spine of one of your prepared books to create a taco shape. Let it cool completely on the book, where it will harden into a crisp shell.
- Repeat: Continue this process with the remaining batter until you have a delicious stack of homemade taco shells for your Chocolate-Covered Ice Cream Tacos.
Part 2: Assemble and Finish the Tacos
- Make the Chocolate Topping: Place the dark chocolate chips and coconut oil in a microwave-safe bowl. Microwave in 30-second increments, stirring after each interval, until the chocolate is completely melted and smooth. Let the chocolate cool slightly so it doesn’t instantly melt the ice cream on contact.
- Soften and Fill: Let your ice cream soften at room temperature for about 10-15 minutes until it’s easily scoopable. Carefully fill each cooled taco shell with the ice cream.
- Drizzle and Garnish: Drizzle the tacos with as much of the melted chocolate topping as you wish. Immediately top with the crushed nuts or other desired toppings like sprinkles.
- Serve or Freeze: You can enjoy your Chocolate-Covered Ice Cream Tacos immediately. Or, if you’re making them in advance, place them on a tray in the freezer, uncovered, for about 15-20 minutes until the chocolate shell hardens completely. Then, wrap them individually in plastic wrap and store them in the freezer.

The Ultimate Homemade Chocolate-Covered Ice Cream Tacos
A from-scratch recipe for homemade chocolate-covered ice cream tacos, inspired by the classic Choco Taco. The process involves making thin, waffle-cone-like shells in a skillet, which are then shaped over the spines of books while still warm. Once cooled, these custom taco shells are filled with ice cream, drizzled with a homemade chocolate ‘magic shell’ topping, and finished with crushed nuts and other desired toppings.
- Prep Time: 1 hour 25 minutes (includes cooling time)
- Cook Time: 45 minutes
- Total Time: 2 hours 40 minutes (includes brief final freeze)
- Yield: 6 to 8 tacos
- Category: Dessert
- Method: Pan-Frying, Molding, Assembling
- Cuisine: American
- Diet: Vegetarian
Ingredients
- Taco Shells:
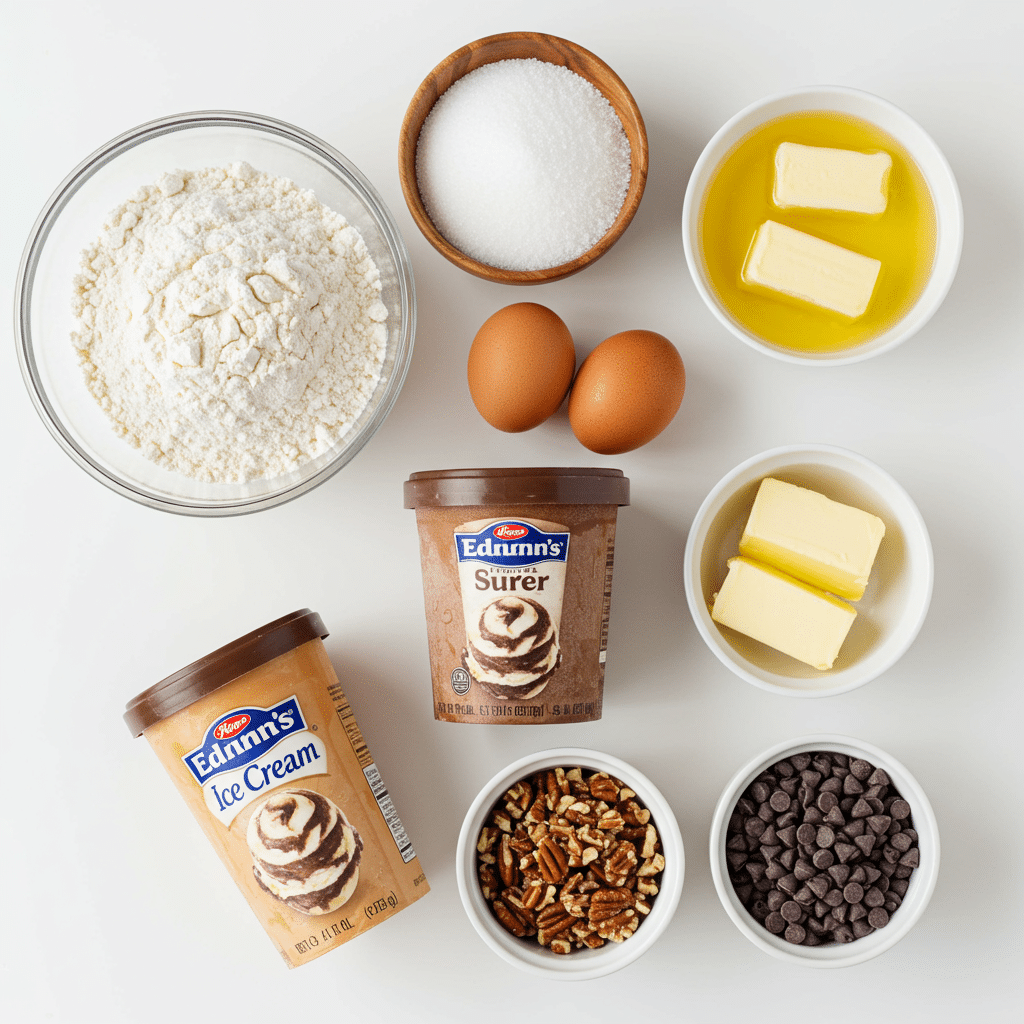
- 2/3 cup all-purpose flour
- 1/2 cup sugar
- 1/8 teaspoon kosher salt
- 2 tablespoons unsalted butter, melted, plus more for greasing the pan
- 1/4 cup milk
- 1/4 teaspoon almond extract
- 1/2 teaspoon vanilla extract
- 2 large egg whites
- Fillings and Toppings:
- 10 ounces dark chocolate chips
- 3 tablespoons coconut oil
- 4 cups ice cream (such as fudge-swirled vanilla)
- 1/2 cup crushed nuts, plus other toppings like sprinkles
Instructions
- Prepare the Molds: Gather six to eight 1-inch-thick hardcover books and set them up vertically on their bottom edge with the spines facing up. These will be used to shape the taco shells.
- Make the Taco Shell Batter: In a medium bowl, whisk together the flour, sugar, and salt. In a separate bowl, whisk together the melted butter, milk, vanilla extract, and almond extract. Then whisk in the egg whites. Add the wet ingredients to the dry ingredients and mix until a smooth batter forms.
- Cook and Shape the Shells: Heat a skillet over medium heat and grease it with butter. Spoon about 2 1/2 tablespoons of batter into the skillet and spread it into an even circle. Cook for 3 to 5 minutes until the bottom is lightly browned. Flip and cook for 1 to 2 more minutes.
- Immediately remove the cooked circle from the skillet and gently fold it over the spine of a book to create a taco shell shape. Let it cool completely on the book. Repeat with the remaining batter to create 6-8 shells.
- Prepare the Chocolate Topping: In a microwave-safe bowl, combine the chocolate chips and coconut oil. Microwave in 30-second increments, stirring after each, until the chocolate is melted and smooth. Let it cool slightly.
- Assemble the Tacos: Allow the ice cream to soften slightly at room temperature. Fill the cooled taco shells with the ice cream.
- Drizzle the tacos with the melted chocolate topping and immediately sprinkle with crushed nuts or other toppings.
- Enjoy immediately, or for a firmer taco, place them on a tray in the freezer, uncovered, for about 15-30 minutes until the chocolate hardens. Then, wrap individually in plastic wrap and store in the freezer.
Notes
- A unique aspect of this recipe is using the spines of hardcover books as molds to shape the taco shells.
- Work quickly when shaping the shells as they harden soon after being removed from the heat.
- If making ahead, freeze the assembled tacos before wrapping them to prevent the plastic wrap from sticking to the wet chocolate.
Storage Information
Your finished and wrapped Chocolate-Covered Ice Cream Tacos can be stored in the freezer for up to one week for the best texture. The shells may begin to soften slightly after that.
Creative “Gourmet Taco” Variations
This from-scratch shell is the perfect base for endless flavor combinations.
| Flavor Variation | Shell Adaptation | Ice Cream Filling | Topping & Garnish |
|---|---|---|---|
| “Strawberry Shortcake” Taco | Omit almond extract from the shell batter. | Strawberry or Cheesecake Ice Cream | Drizzle with melted white chocolate and top with crushed freeze-dried strawberries. |
| “Salty Caramel” Taco | Add a pinch of sea salt to the shell batter. | Salted Caramel or Butter Pecan Ice Cream | Drizzle with the chocolate shell and top with flaky sea salt and chopped pecans. |
| “Coffee & Donuts” Taco | Add 1 tsp of instant espresso powder to the shell batter. | Coffee Ice Cream | Drizzle with the chocolate shell and top with crushed cake donuts and toffee bits. |
For more recipe follow my Pinterest account
Conclusion: A Nostalgic Treat, Perfected at Home
There is something deeply satisfying about recreating an iconic treat from scratch. These homemade Chocolate-Covered Ice Cream Tacos are a fun, rewarding project that results in a dessert that is brimming with flavor, texture, and pure nostalgia. The crisp, homemade shell and the endless possibilities for fillings make this a recipe you’ll return to again and again. Enjoy the process, and get ready for the rave reviews!
Frequently Asked Questions (FAQs)
My shells cracked when I tried to fold them! What went wrong?
You must shape the shells the second they come out of the hot skillet. They are only pliable for a few seconds. If you wait even 15-20 seconds, they will start to harden and will crack when you try to fold them. Have your book molds right next to your stove so you can transfer them immediately.
Can I make the taco shells ahead of time?
Yes. You can make the shells and store them in a single layer in an airtight container at room temperature for up to 2 days before you assemble your Chocolate-Covered Ice Cream Tacos.
The ice cream is melting too fast during assembly. Any tips?
Make sure your shells are completely cool before you start filling them. It also helps to work in a cool kitchen and to only take the ice cream out of the freezer right before you’re ready to start scooping. Assembling them on a chilled baking sheet can also help.


