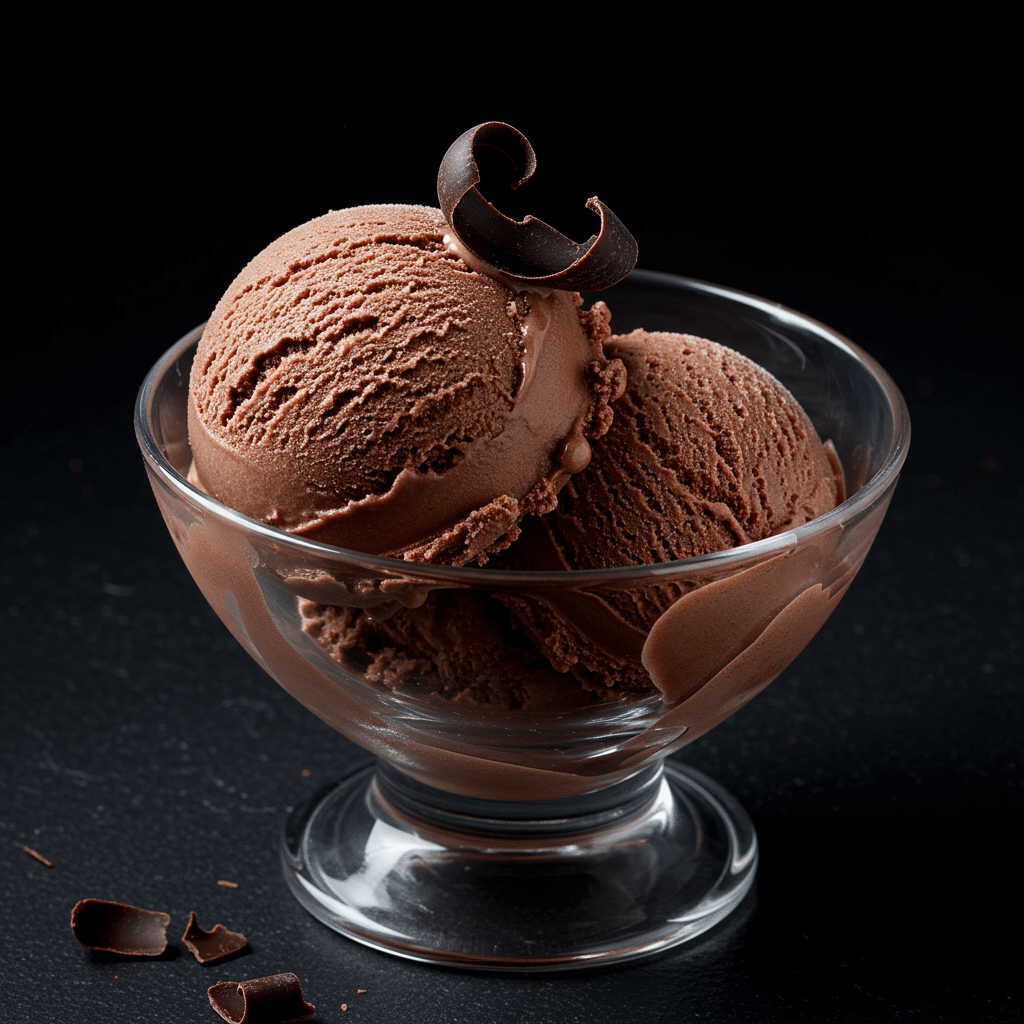
There is chocolate ice cream, and then there is truly great, rich, and deeply flavorful Chocolate Ice Cream. The kind that is luxuriously creamy, intensely chocolatey, and tastes like it came from a high-end scoop shop. This recipe is your definitive guide to making that exceptional version at home.
This is more than just a recipe; it’s a master class in creating a classic, French-style custard-based Chocolate Ice Cream. We will walk you through the essential techniques—from “blooming” cocoa powder for intense flavor to perfectly tempering egg yolks for a supremely creamy texture. This is the recipe that will transform you from a home cook into a true ice cream artisan.
What makes this from-scratch Chocolate Ice Cream so spectacular is its unparalleled richness and depth of flavor, which can only be achieved by making a real egg custard base. While it requires an ice cream maker and some patience, the process is incredibly rewarding. Get ready to create the most decadent and satisfying Chocolate Ice Cream you’ve ever tasted.
Table of Contents
Table of Contents
The Gold Standard: Why a Custard Base is Better
A truly premium Chocolate Ice Cream begins with a French-style custard base. Unlike simpler eggless recipes, a custard base uses cooked egg yolks, which are the secret to a luxuriously smooth and rich final product. Here’s why:
- Unmatched Creaminess: Egg yolks are powerful natural emulsifiers. They have the unique ability to bind the fat from the cream and the water from the milk together, resulting in an incredibly smooth, fine-grained texture and preventing the formation of undesirable ice crystals.
- Richness and Flavor: The fat and protein in the egg yolks contribute a rich, decadent flavor and a satisfyingly dense mouthfeel that simply cannot be replicated.
- Superior Scoopability: The stable emulsion created by the egg yolks helps the ice cream stay smoother and softer in the freezer, making it easier to scoop.
The Secret to Intense Chocolate Flavor
This recipe for Chocolate Ice Cream uses a classic baker’s technique to achieve the deepest possible chocolate flavor: “blooming” the cocoa. By whisking the cocoa powder with a portion of the warm half-and-half at the beginning, we are essentially rehydrating it. This allows the cocoa particles to dissolve completely, unlocking their full flavor potential and ensuring your finished ice cream is perfectly smooth and intensely chocolatey, with no gritty cocoa residue.
The Key Ingredients for a Rich Chocolate Ice Cream
The quality of your ingredients will shine through in this classic recipe.
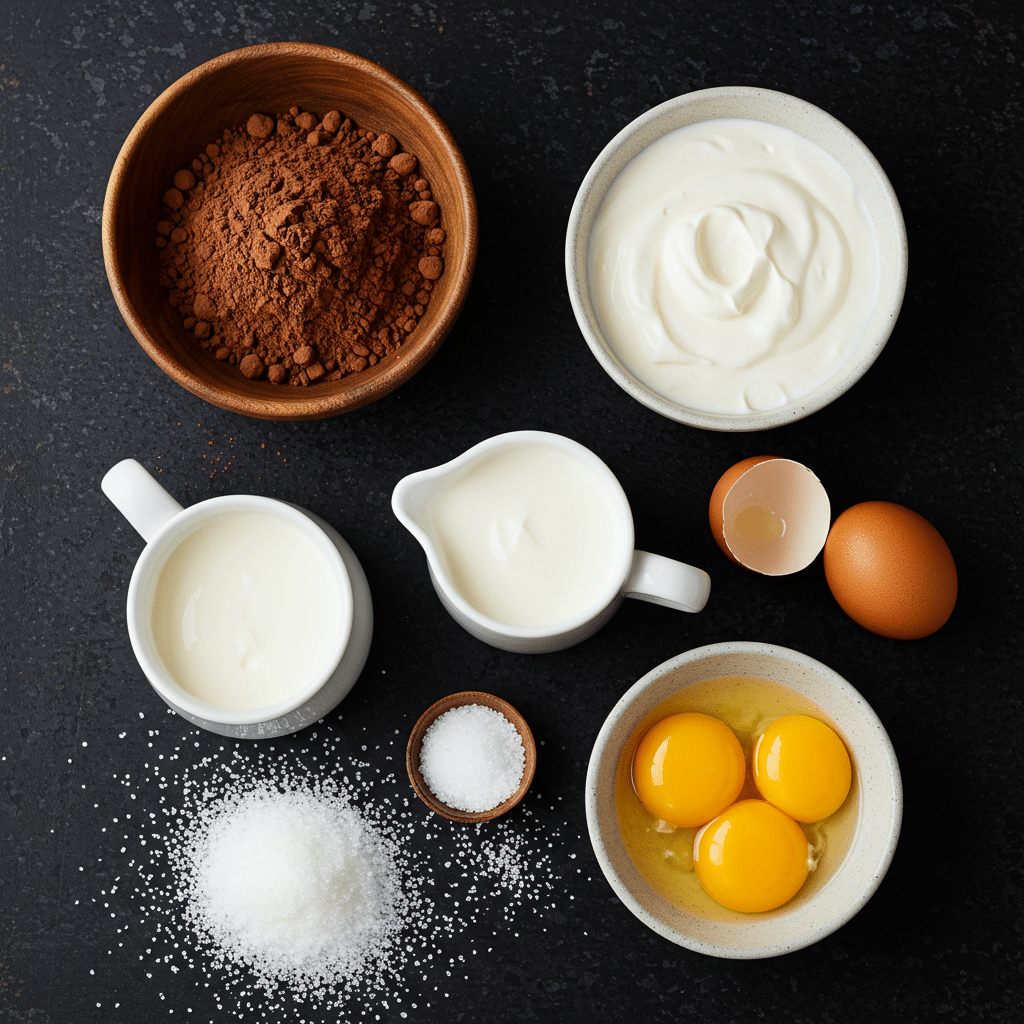
- Unsweetened Cocoa Powder: This is where all your chocolate flavor comes from. For the richest, darkest, and most complex flavor, opt for a high-quality Dutch-processed cocoa powder.
- Half-and-Half & Heavy Cream: The combination of these two provides the perfect fat content for a rich, creamy, and churnable custard base.
- Large Egg Yolks: The essential ingredient for creating our French-style custard. They provide the richness and create that signature velvety texture.
- Sugar: Provides the necessary sweetness to balance the bitterness of the cocoa.
- Pure Vanilla Extract: Vanilla and chocolate are a classic pairing. Vanilla doesn’t make it taste like vanilla; it enhances and rounds out the flavor of the chocolate.

Step-by-Step Guide to Your From-Scratch Chocolate Ice Cream
Follow these detailed instructions carefully. The technique of tempering the eggs and gently cooking the custard is crucial for success.
Part 1: Create and Chill the Custard Base
- “Bloom” the Cocoa: In a medium, heavy-bottomed saucepan, place the unsweetened cocoa powder. Pour in 1 cup of the half-and-half and place the pan over medium heat. Whisk constantly until the cocoa powder is completely dissolved into the liquid, forming a smooth, lump-free paste.
- Heat the Dairy: Add the remaining half-and-half and the heavy cream to the saucepan. Continue to heat, stirring occasionally, until the mixture just reaches a simmer. As soon as you see bubbles forming around the edges, remove the pan from the heat.
- Prepare the Yolks: While the cream heats, whisk the egg yolks in a medium mixing bowl until they lighten in color and become slightly frothy. Gradually add the sugar and continue to whisk until the sugar is well combined and the mixture is pale and thick.
- Temper the Egg Yolks (The Most Important Step): This process gently warms the eggs so they don’t scramble. Very slowly, pour about one-third of the hot cream mixture into the egg yolk mixture in a thin, steady stream while whisking the yolks constantly.
- Combine and Cook the Custard: Pour the now-warmed egg yolk mixture back into the saucepan with the rest of the cream. Place the pan over low heat.
- Cook Until Thickened: Cook the custard, stirring constantly with a wooden spoon or heatproof spatula and scraping the bottom of the pan. The mixture will thicken slightly and is ready when it reaches 170°F to 175°F, or when it is thick enough to coat the back of the spoon (if you draw a line with your finger, the line should hold clear).
- Cool and Chill (Non-Negotiable): Immediately pour the cooked custard through a fine-mesh sieve into a clean container to remove any small bits that may have accidentally cooked. Allow the base for your Chocolate Ice Cream to sit at room temperature for 30 minutes, then stir in the vanilla extract.
- Refrigerate Overnight: Cover the container and refrigerate the custard base for at least 4 to 8 hours, but preferably overnight. The base must be completely cold (below 40°F) before churning to achieve the creamiest Chocolate Ice Cream.
Part 2: Churn and Freeze
- Churn the Ice Cream: Pour your thoroughly chilled chocolate custard base into your ice cream maker and churn according to the manufacturer’s directions, typically for 25 to 35 minutes. The mixture will lighten in color and thicken to the consistency of soft-serve.
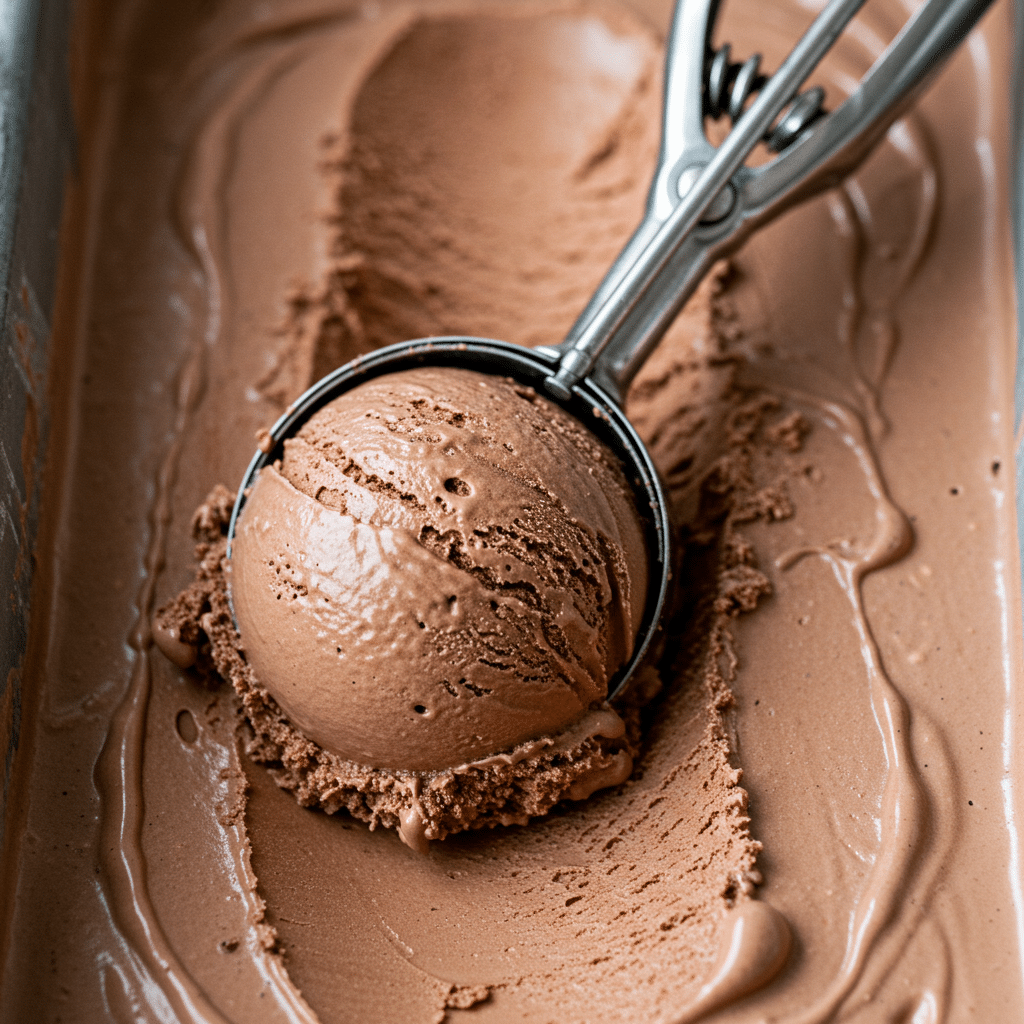
- Harden and Store: You can enjoy your Chocolate Ice Cream immediately as a soft-serve treat. For a classic, hard-scoop ice cream, transfer it to an airtight, freezer-safe container. Press a piece of plastic wrap directly on the surface of the ice cream to prevent ice crystals, then seal the container. Freeze for at least 3 to 4 hours, or until firm.

The Ultimate From-Scratch Chocolate Ice Cream Recipe
A classic, from-scratch recipe for a rich and creamy custard-style chocolate ice cream. The process involves creating a cooked base by dissolving cocoa powder in half-and-half and cream, then tempering the warm liquid into a mixture of egg yolks and sugar. The resulting custard is cooked until thickened, then chilled thoroughly before being churned into a smooth, decadent ice cream.
- Prep Time: 4 hours 50 minutes (includes chilling time)
- Cook Time: 15 minutes
- Total Time: 8 hours 35 minutes (includes churning and hardening time)
- Yield: Approximately 1.5 quarts
- Category: Dessert
- Method: Making Custard, Churning, Freezing
- Cuisine: American
- Diet: Gluten Free
Ingredients
- 1 1/2 ounces unsweetened cocoa powder (approximately 1/2 cup)
- 3 cups half-and-half
- 1 cup heavy cream
- 8 large egg yolks
- 9 ounces sugar
- 2 teaspoons pure vanilla extract
Instructions
- In a medium saucepan, whisk together the cocoa powder and 1 cup of the half-and-half over medium heat until combined.
- Add the remaining 2 cups of half-and-half and the heavy cream. Bring the mixture just to a simmer, stirring occasionally, then remove from the heat.
- In a medium mixing bowl, whisk the egg yolks until they lighten in color. Gradually add the sugar and whisk to combine.
- Temper the egg mixture by slowly whisking in about one-third of the hot cream mixture in a thin stream.
- Pour the tempered egg mixture back into the saucepan with the rest of the cream.
- Place the saucepan over low heat and cook, stirring frequently, until the mixture thickens enough to coat the back of a spoon and a thermometer reads 170 to 175 degrees F.
- Pour the custard into a container and let it sit at room temperature for 30 minutes. Stir in the vanilla extract.
- Cover the container and refrigerate for 4 to 8 hours, or until the temperature of the base is 40 degrees F or below.
- Pour the chilled base into an ice cream maker and process according to the manufacturer’s directions, typically for 25 to 35 minutes.
- Serve immediately for a soft-serve consistency, or transfer to an airtight container and freeze for another 3 to 4 hours to harden.
Notes
- An ice cream maker is required for this recipe.
- A food thermometer is recommended to ensure the custard reaches the correct temperature (170-175°F) for proper thickness and safety.
- Ingredient substitutions are noted as being available.
Storage Information
Your homemade Chocolate Ice Cream will keep well in an airtight container in the coldest part of your freezer for up to two weeks. After that, it may begin to develop some ice crystals.
Creative Recipe Variations
This rich Chocolate Ice Cream is the perfect base for creating other classic flavors.
| Flavor Variation | How to Adapt the Recipe | The Delicious Result |
|---|---|---|
| Rocky Road Ice Cream | After churning, gently fold in 1 cup of mini marshmallows and 3/4 cup of toasted, chopped almonds before the final freeze. | A classic, chunky, and textural delight with chewy marshmallows and crunchy nuts. |
| Mexican Hot Chocolate Ice Cream | Add 1 teaspoon of ground cinnamon and 1/8 teaspoon of cayenne pepper to the cocoa powder at the very beginning of the recipe. | A warm, spicy, and fragrant version with a delightful kick of heat at the end. |
| Chocolate Peanut Butter Cup Ice Cream | After churning, gently fold in 1 cup of chopped peanut butter cups. | The ultimate combination of two powerhouse flavors: rich chocolate and salty peanut butter. |
| Double Chocolate Fudge Swirl | Transfer half of the churned ice cream to your freezer container. Drizzle with 1/2 cup of thick chocolate fudge sauce. Top with the remaining ice cream and more fudge sauce. Use a knife to gently swirl once or twice before freezing. | An even more decadent and intensely chocolatey version of your classic Chocolate Ice Cream. |
For more recipe follow my Pinterest account
Conclusion: The Gold Standard of Homemade Ice Cream
Mastering this recipe for from-scratch, custard-based Chocolate Ice Cream is a truly rewarding experience. It teaches you the classic techniques that are the foundation of all premium ice creams and rewards you with a dessert that is incomparably rich, creamy, and flavorful. This is the recipe that will spoil you from ever wanting to buy a store-bought pint again. Enjoy the process, and savor the perfection of your homemade Chocolate Ice Cream.
Frequently Asked Questions (FAQs)
My custard curdled and looks like scrambled eggs! Can I save it?
This happens when the eggs get too hot, too fast. If it’s only slightly curdled, you can often save it! Immediately remove it from the heat and pour it through a fine-mesh sieve into a bowl set in an ice bath. Then, use an immersion blender or a regular blender to blitz the mixture for 30 seconds until it is smooth again. Chill and proceed as directed.
Why is it so important to chill the custard base overnight?
This “aging” step is critical for texture. It allows the fat molecules in the cream to get very cold and firm up, and the proteins to relax. A thoroughly chilled base will churn up with a much smoother, creamier, and more stable texture than a base that is even slightly warm.
Can I make this Chocolate Ice Cream without an ice cream maker?
A churned custard will always have the best texture. However, you can try a no-churn method by pouring the completely chilled base into a shallow freezer-safe pan. Freeze for 45-60 minutes, then scrape and stir vigorously with a fork. Repeat every 30 minutes for 3-4 hours until frozen. The result will be denser and less airy, but still delicious.


