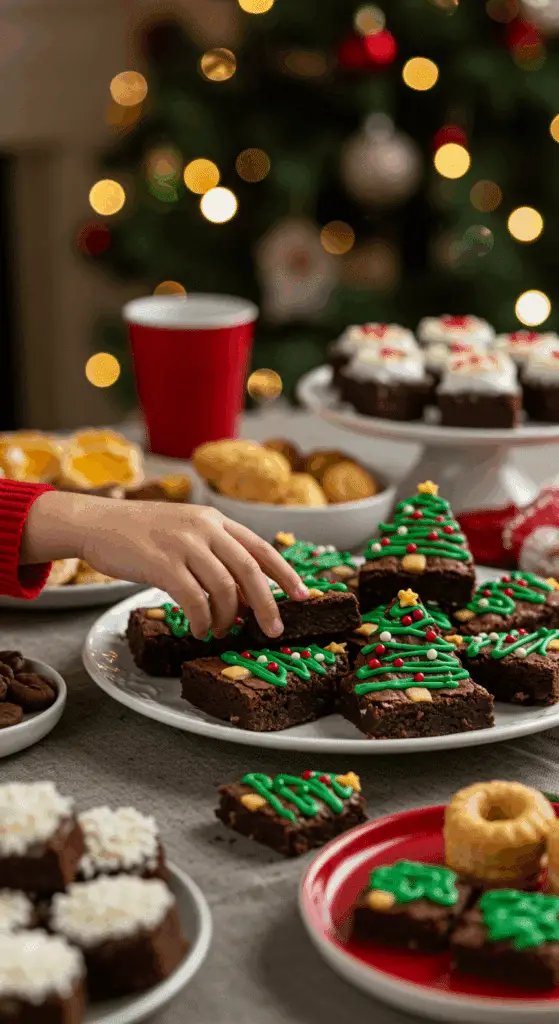
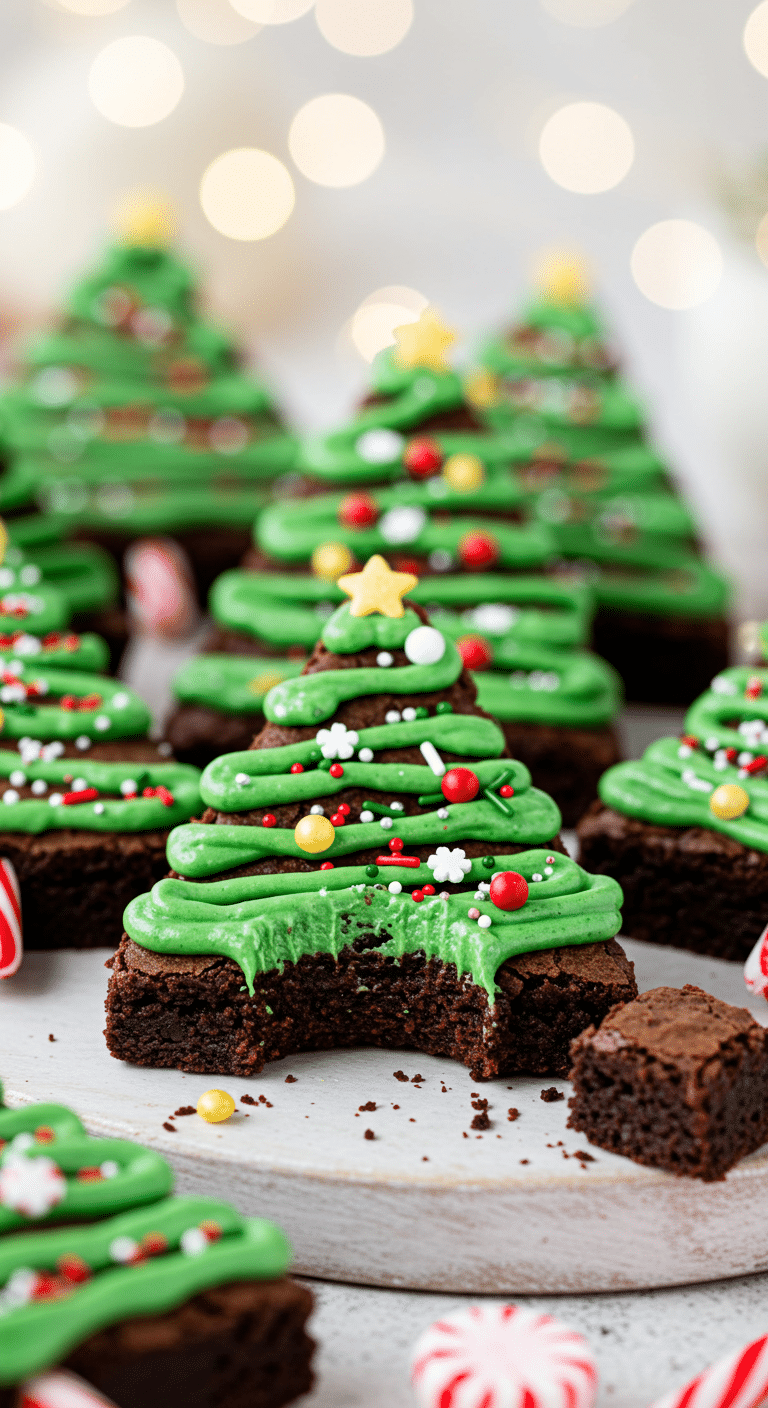
Are you looking for the ultimate fun, festive, and completely irresistible dessert for your next Christmas party or holiday gathering? A cute and creative edible craft that is perfect to make with your kids? These incredible, from-scratch Christmas Tree Brownies are that perfect recipe! We’re talking a rich, dense, and fudgy brownie, cleverly cut into a tree shape, and decorated with a beautiful, fluffy green buttercream “garland,” a candy cane “trunk,” and a shower of sparkly, edible “ornaments.”
This isn’t just another brownie recipe; it’s a guide to your new favorite holiday tradition. We’ll show you the simple but brilliant secrets to a flawless, from-scratch fudgy brownie and the easy, fun techniques for creating these adorable, edible Christmas trees. This is a guaranteed, crowd-pleasing hit that is as fun to decorate as it is to eat!
Table of Contents
Table of Contents
Recipe Overview: The Ultimate Cute & Festive Holiday Treat
What makes these Christmas Tree Brownies so spectacularly fun is their brilliant, easy-to-achieve design and their classic, crowd-pleasing flavor. This recipe is a masterpiece of festive creativity. The “tree” is a classic, rich, and fudgy chocolate chip brownie, which is baked in a simple round cake pan. The magic happens when the round brownie is cut into wedges, instantly creating a whole forest of perfect, triangular trees. The brownies are then decorated with a simple, from-scratch American buttercream frosting, which is tinted a festive green and piped on to look like a beautiful, swooping garland. The final, adorable touches are a small piece of a candy cane for the “trunk” and a festive shower of sprinkles for the “ornaments.”
| Metric | Time / Level |
| Total Time | 2 hours 30 minutes (includes cooling) |
| Active Prep Time | 30 minutes |
| Difficulty Level | Easy |
| Servings | 16 brownie trees |
Santa’s Bakeshop: The Essential Ingredients
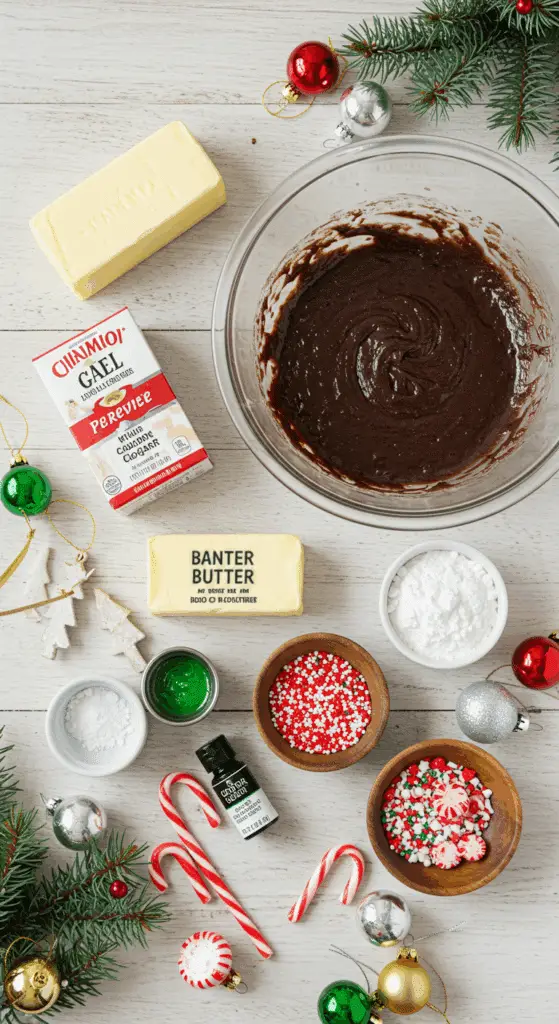
This iconic party treat uses a handful of high-quality pantry staples to create its signature festive look and delicious flavor.1
- The Fudgy Brownie “Tree”:
- Melted Butter: The secret to a super-rich, dense, and fudgy (not cakey!) brownie is to use melted butter.
- Double Chocolate: This recipe uses both unsweetened cocoa powder and semisweet chocolate chips for a deep, rich, and intensely chocolatey flavor.
- The Frosting “Garland”:
- American Buttercream: A classic, simple, and delicious frosting made from softened butter, confectioners’ sugar, and a splash of milk. Using softened butter is the non-negotiable secret to a perfectly smooth and lump-free frosting.
- The Perfect “Forest Green”: A brilliant, professional baker’s secret! By adding just a single, tiny drop of red food coloring to your green frosting, you are neutralizing some of the bright, artificial tones, which is the key that creates a beautiful, deep, and more realistic “forest green” or “pine green” color.
- The Festive Decorations:
- The “Trunk”: A small, 1 1/2-inch piece of a classic candy cane makes the perfect, festive tree trunk.
- The “Ornaments”: A fun and festive combination of white and gold sanding sugars and other small, colorful candies creates the perfect, sparkly ornaments for your trees.
The Baker’s Masterclass: The Secret to Perfect Brownie Trees
This recipe uses a few simple but brilliant techniques that guarantee a flawless, delicious result.
- Fudgy, Not Cakey: The secret to a perfectly dense and fudgy brownie is the high ratio of fat (from the butter and the eggs) to flour. This is the key that creates that signature, rich and chewy texture that is perfect for a sturdy, cut-out treat.
- The Round Pan Hack: The number one, non-negotiable secret to the perfect tree shape is to bake your brownies in two, 8-inch round cake pans. Once they have cooled, you can simply cut each round brownie into 8 equal wedges, just like a pizza, to create 16 perfect, identical triangles.
- Clean Cuts: For the most beautiful, clean-edged triangles, it is a great idea to chill your cooled brownies in the refrigerator for about 30 minutes before you cut them. Use a large, sharp chef’s knife and wipe the blade clean between each cut.

Step-by-Step to the Best Christmas Tree Brownies
This fun and festive project is a joy to prepare.
Part 1: Bake the Fudgy Brownie Base
Step 1: First, preheat your oven to 350°F (175°C). Butter and line two 8-inch round cake pans with parchment paper.
Step 2: In a medium bowl, stir together your 1 cup of melted and cooled butter, the 1 1/2 cups of granulated sugar, the 1 teaspoon of vanilla, and the 3 large eggs.
Step 3: In a separate bowl, whisk together the 1 cup of all-purpose flour, the 1/2 cup of unsweetened cocoa powder, the 1 teaspoon of salt, and the 1/2 teaspoon of baking powder.
Step 4: Add the dry ingredients to the wet ingredients and stir until they are just combined. Be careful not to overmix! Stir in the 3/4 cup of semisweet chocolate chips.
Step 5: Divide the batter between your two prepared pans and bake for 35 to 40 minutes, until a toothpick inserted in the center of the brownies comes out clean. Let the brownies cool completely in their pans on a cooling rack.
Part 2: Whip Up the Festive Frosting
Step 1: To make the frosting, in a large bowl, beat the 1/2 stick of room temperature butter, the 1 cup of confectioners’ sugar, and a pinch of salt with an electric mixer until they are smooth.
Step 2: Add the 1/2 teaspoon of vanilla extract and 1/4 to 1/2 tablespoon of whole milk and continue to beat until the frosting is light and fluffy.
Step 3: Add 24 drops of your green food coloring and 1 single drop of your red food coloring and mix for 1 more minute until the color is even.
Part 3: Assemble and Decorate Your Christmas Tree Forest
Step 1: Cut each of your cooled, round brownies into 8 equal triangles.
Step 2: Use the tip of a paring knife to poke a small hole along the bottom, flat edge of each brownie triangle. Gently insert one of your candy cane “trunks” into each hole.
Step 3: Fill a piping bag (or a resealable plastic bag with the corner snipped off) with your green frosting.
Step 4 (The Fun Part!): Using a back-and-forth, zig-zag motion, pipe the frosting “garland” from the base to the tip of each of your brownie trees.
Step 5: While the frosting is still wet, decorate your trees with a generous shower of your sanding sugars and candy “ornaments.”

Christmas Tree Brownies (An Easy & Fun Holiday Treat!)
A festive and fun recipe for ‘Christmas Brownie Trees,’ perfect for a holiday party or baking project. This dessert features a rich, fudgy brownie batter that is baked in two round cake pans. Once cooled, the round brownies are cut into triangles to resemble Christmas trees. Each ‘tree’ is given a candy cane ‘trunk’ and then decorated with green-tinted American buttercream frosting, piped in a zig-zag motion to look like evergreen branches. The trees are finished with sanding sugar and candy ‘ornaments.’
Ingredients
- For the Brownies:
- 1 cup (2 sticks) unsalted butter, melted and cooled, plus more for greasing
- 1 1/2 cups granulated sugar
- 1 teaspoon vanilla extract
- 3 large eggs
- 1 cup all-purpose flour
- 1/2 cup unsweetened cocoa powder
- 1 teaspoon fine salt
- 1/2 teaspoon baking powder
- 3/4 cup semisweet chocolate chips
- For the Frosting & Decoration:
- 1 cup confectioners’ sugar
- 1/2 stick (4 tablespoons) unsalted butter, at room temperature
- Pinch of fine salt
- 1/2 teaspoon vanilla extract
- 1/4 to 1/2 tablespoon whole milk
- 24 drops green food coloring & 1 drop red food coloring
- Sixteen 1 1/2-inch pieces of candy cane
- White and gold sanding sugar
- Small candy-coated chocolates (e.g., Sno-Caps)
Instructions
- Make the Brownies: Preheat the oven to 350°F. Butter and line the bottoms of two 8-inch round cake pans with parchment.
- In a medium bowl, stir together the melted butter, granulated sugar, vanilla, and eggs.
- In another bowl, whisk together the flour, cocoa powder, salt, and baking powder. Add the dry ingredients to the wet ingredients and stir until just combined. Stir in the chocolate chips.
- Divide the batter between the prepared pans and bake for 35 to 40 minutes, until a toothpick inserted in the center comes out clean. Let the brownies cool completely in the pans, about 1 hour.
- Once cooled, cut each round brownie into 8 equal triangles.
- Make the Frosting: In the bowl of a stand mixer, combine the confectioners’ sugar, room-temperature butter, and salt. Mix on low speed, then add the vanilla and milk and beat on medium-high until smooth and fluffy. Add the green and red food coloring and mix for 1 minute until the frosting is an even green color.
- Assemble the Trees: Using a knife, poke a small hole in the bottom (wide) edge of each brownie triangle. Insert a candy cane piece into each hole to create a ‘trunk.’
- Transfer the green frosting to a piping bag with a small tip. Using a back-and-forth zig-zag motion, pipe the frosting from the base to the tip of each brownie tree to resemble branches.
- Decorate the ‘trees’ with sanding sugars and candy-coated chocolates as desired.
Notes
- Special Equipment: The recipe recommends a piping bag for decorating.
- This is a very creative and festive way to serve brownies for a Christmas or holiday party.
- The key to the tree shape is baking the brownies in round pans and then cutting them into wedges.
- Make sure the brownies are completely cool before frosting to prevent the buttercream from melting.
- The article references a ‘Cook’s Note’ that is not provided in the text.
Storage and Make-Ahead Tips
These Christmas Tree Brownies are the ultimate make-ahead party treat!
- Make-Ahead: You can bake the un-decorated brownie bases up to 3 days in advance and store them, well-wrapped, at room temperature. The frosting can also be made a day in advance and stored in the refrigerator.
- Storage: Store the finished, decorated brownies in a single layer in an airtight container at room temperature for up to 5 days.
- Freezing: These brownies freeze beautifully! You can freeze them either with or without the frosting. Simply cut them into triangles and store them in a freezer-safe, airtight container for up to 3 months.
For more recipe follow my pinterest account
Frequently Asked Questions (FAQs)
Q1: What is the absolute, number one secret to a truly fudgy, not cakey, brownie?
The secret is to use melted butter and a relatively low amount of flour. The melted butter is the key that creates that signature, dense, moist, and wonderfully chewy texture that makes for a perfect, sturdy brownie.
Q2: Can I make these ahead of time for a Christmas party?
Yes, absolutely! The best method is to bake your brownies and make your frosting a day in advance. Then, you can have a fun and easy decorating party on the day you plan to serve them!
Q3: Can I make this with a boxed brownie mix?
Of course! For an even easier shortcut, you can absolutely use your favorite brand of a fudgy, 8-inch round boxed brownie mix for the base of this recipe.
Q4: Can I make this recipe without a piping bag?
Yes! If you don’t have a piping bag, you can easily use a large ziptop bag. Simply fill the bag with your frosting, press out the excess air, and then snip a small corner off the bottom to create a simple, homemade piping bag. You can also simply spread the frosting on with a small knife for a more rustic, “snow-covered” look.
Q5: Why do you add a drop of red food coloring to the green frosting?
This is a brilliant, professional artist’s trick! Red is the opposite of green on the color wheel. By adding just a single, tiny drop of red to your green frosting, you are neutralizing and deepening the color, which is the key that transforms it from a bright, artificial-looking green into a much more beautiful and realistic “forest” or “pine tree” green.


