Are you searching for the ultimate, foolproof recipe for the most important dish on your holiday table? A magnificent, jaw-dropping centerpiece for your Thanksgiving or Christmas dinner that is impossibly juicy, unbelievably flavorful, and has the most beautiful, golden-brown skin imaginable, all without any of the stress? This incredible, from-scratch-tasting Classic Roast Turkey is that perfect recipe. We’re talking a classic, no-fuss approach that guarantees a perfect bird every single time.
This isn’t just another turkey recipe; it’s your definitive guide to a stress-free and spectacular holiday feast. Forget the complicated brines, fancy injections, and endless anxiety of Thanksgiving morning. We’ll show you the simple but crucial professional secrets to a flawless, tender turkey that never fails, using just a handful of classic ingredients. This is the recipe that will fill your home with the most incredible, comforting aroma and allow you to actually enjoy the holiday.
Table of Contents
Table of Contents
Recipe Overview: The Ultimate Foolproof & Juicy Holiday Turkey
What makes this Roast Turkey so spectacularly “perfect” is its incredible simplicity and the wonderful, classic flavor it delivers. This recipe is a masterpiece of minimalist cooking, letting the high-quality bird be the star. The foundation of the flavor comes from stuffing the cavity with a classic aromatic blend of onion, garlic, and fresh herbs, which perfumes the meat from the inside out as it roasts. A simple coating of olive oil is the key to a beautifully crisp, golden-brown skin. The turkey is then cooked using a brilliant two-stage roasting method—a high-heat blast to crisp the skin, followed by a lower, steady heat to cook the meat gently and evenly.
| Metric | Time / Level |
| Total Time | 4 hours (for a 14-lb bird) |
| Active Prep Time | 25 minutes |
| Difficulty Level | Easy |
| Servings | 10-14 |
The Thanksgiving Pantry: The Essential Ingredients
This iconic dish uses a handful of high-quality, classic ingredients to create its signature festive flavor.
- The Turkey: For this recipe, a classic 14- to 16-pound turkey is the perfect size. If you are using a frozen turkey, be sure it is completely thawed before you begin (this can take several days in the refrigerator!).
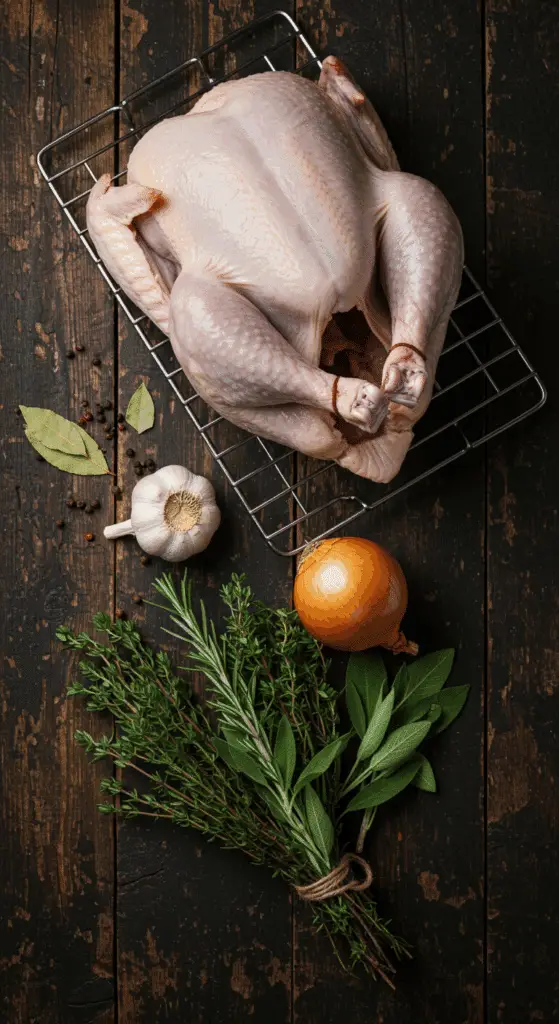
- The Aromatics (The Flavor Foundation!): A simple but powerful combination of a quartered onion, a halved head of garlic, and a handful of classic poultry herbs like thyme, rosemary, and sage, along with bay leaves, are stuffed into the cavity. This is a crucial step that infuses the entire bird with a wonderfully savory and aromatic flavor as it cooks.
- The Basting (The Secret to Golden Skin!): A simple but essential coating of olive oil (or melted butter), along with a generous seasoning of salt and pepper, is the key to a skin that is beautifully browned, crisp, and incredibly flavorful.
The Roasting Masterclass: The Secret to a Perfect, Juicy Turkey
This recipe uses a few simple but brilliant professional techniques that guarantee a flawless, impressive result.
- Pat it DRY!: The number one secret to a crispy skin is a dry skin. Before you apply your oil, you must pat your thawed turkey completely dry with paper towels, both inside and out. Moisture is the enemy of crispiness!
- The “High-Heat Start” Method: The key to a turkey that is both juicy on the inside and crispy on the outside is the brilliant two-stage roasting method. The initial, 45-minute blast of very high heat ($450^{\circ}F$) is the secret that kick-starts the rendering of the fat and creates that beautiful, deep golden-brown, and crispy skin.
- The “Tent and Lower” Cook: After the initial high-heat sear, you will tent the bird with foil and lower the temperature. This is the key that protects the delicate breast meat from overcooking while the rest of the bird gently cooks through to a perfectly safe and juicy temperature.
- Trust Your Thermometer, NOT the Clock!: This is the single most important, non-negotiable tool for a perfect turkey. The only 100% foolproof way to guarantee that your turkey is perfectly cooked (and safe to eat!) is to use an instant-read meat thermometer. The turkey is done when the thermometer registers $165^{\circ}F$ in the thickest part of the thigh, making sure not to touch the bone.
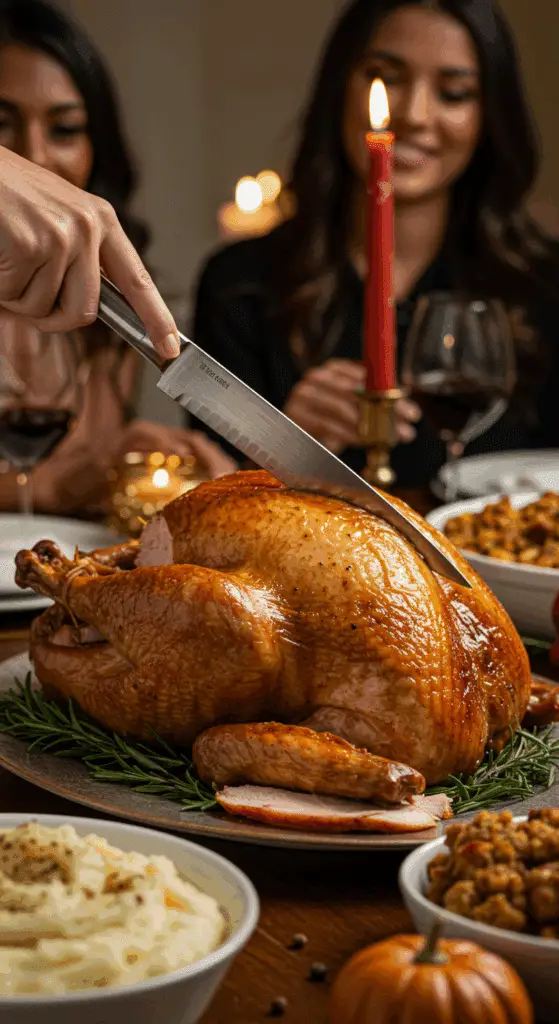
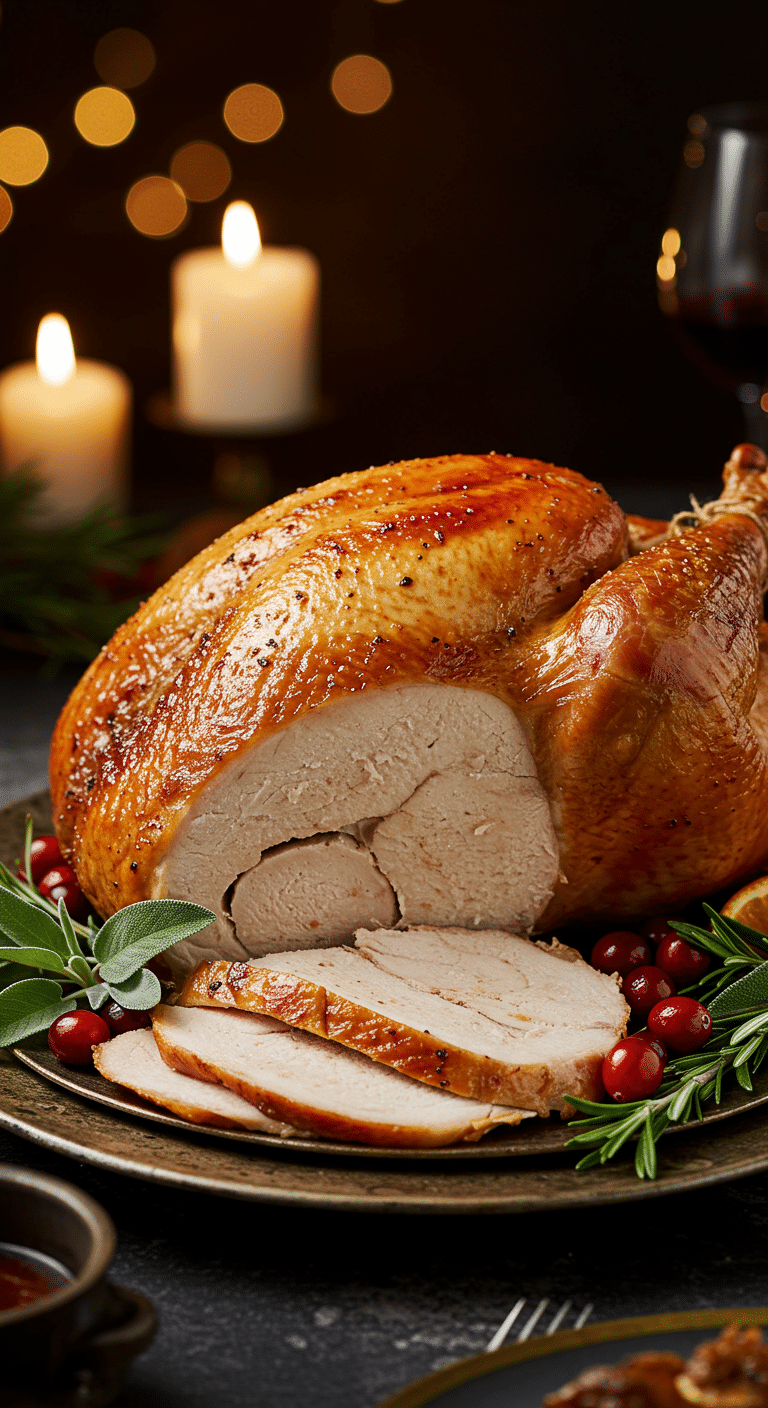
- Rest, Rest, Rest!: You must let your finished turkey rest for at least 30 minutes before you carve it. This crucial, patient step allows the hot, delicious juices, which have been pushed to the center of the bird during cooking, to relax and redistribute throughout the meat. This is the ultimate secret to a juicy, not dry, slice of turkey.

Step-by-Step to the Best Classic Roast Turkey
This impressive culinary project is a joy to prepare.
Part 1: The Art of Preparing the Bird
Step 1: One to two hours before you plan to cook, remove your turkey from the refrigerator and allow it to come to room temperature on a pan on your counter.
Step 2: Preheat your oven to 450°F ($232^{\circ}C$). Place an oven rack in the lower third of the oven. Place a roasting rack in a large, foil-lined roasting pan.
Step 3: Prepare your turkey. Remove any giblets from the neck and breast cavities (you can save these to make a delicious broth for your gravy!). Pat the entire bird completely dry with paper towels.
Step 4 (The Flavor Secret!): Liberally salt and pepper the inside of the turkey cavity. Stuff the cavity with your aromatics: the quartered onion, halved head of garlic, and your fresh herbs and bay leaves.
Step 5: Tie the ends of the legs together with kitchen twine and tuck the wing tips under the body of the turkey. Place the turkey, breast-side up, on your roasting rack. Brush the entire outside of the turkey generously with olive oil and then sprinkle it with salt and pepper.
Part 2: The Two-Stage Roast and Final Rest
Step 1: Roast the turkey in the lower third of the oven for 45 minutes.
Step 2: Loosely cover the turkey with aluminum foil and reduce the oven temperature to 350°F ($175^{\circ}C$).
Step 3: Continue to roast for another 1 1/2 to 2 hours.
Step 4 (The Most Important Step!): Start checking the internal temperature. You will know the turkey is perfectly done when an instant-read thermometer inserted into the thickest part of the thigh registers $165^{\circ}F$.
Step 5: Transfer the turkey to a cutting board, cover it loosely with foil, and let it rest for at least 30 minutes before you carve it. Don’t throw away those delicious pan drippings!

Classic Roast Turkey (A Simple, Foolproof Recipe!)
A classic and straightforward recipe for a ‘Simple Roasted Turkey,’ a perfect centerpiece for a holiday meal like Thanksgiving. The turkey is simply prepared by patting it dry, seasoning generously with salt and pepper, and stuffing the cavity with aromatics like onion, garlic, and bay leaves. It’s roasted using a two-temperature method—starting at high heat to brown the skin, then finishing at a lower temperature until perfectly cooked through. The pan drippings are reserved for making a delicious gravy.
Ingredients
- 1 (14- to 16-lb.) whole turkey, thawed if frozen, giblets and neck reserved
- 2 Tbsp. kosher salt
- 1 Tbsp. black pepper
- 1 large (12 oz.) yellow onion, quartered
- 3 bay leaves
- 1 head garlic, halved crosswise
- 2 Tbsp. olive oil
- Kitchen twine
Instructions
- Preheat the oven to 450°F with the oven rack in the lower third. Place a roasting rack in a large, foil-lined roasting pan.
- Pat the turkey completely dry with paper towels.
- Season the turkey on all sides with the salt and pepper. Place the quartered onion, bay leaves, and halved garlic head into the turkey’s cavity.
- Tie the ends of the legs together with kitchen twine and tuck the wing tips under the body.
- Place the turkey, breast side up, on the rack in the prepared pan and brush it all over with olive oil.
- Bake in the lower third of the oven for 45 minutes.
- Loosely cover the turkey with aluminum foil and reduce the oven temperature to 350°F.
- Continue baking for 1 1/2 to 2 hours, until a meat thermometer inserted into the thickest portion of the thigh registers 165°F.
- Transfer the turkey to a cutting board, tent it with foil, and let it rest for 30 minutes before carving.
- Pour the pan drippings through a fine-mesh strainer into a bowl to reserve for gravy.
Notes
- This is a quintessential main course for a holiday feast, especially Thanksgiving.
- The recipe uses a two-temperature roasting method—starting high and then finishing low—to achieve a golden-brown skin while keeping the meat juicy.
- Patting the turkey skin completely dry before brushing it with oil is a crucial step for achieving a crispy, golden-brown skin.
- Resting the turkey for a full 30 minutes before carving is essential for the juices to redistribute, ensuring the meat is moist and tender when sliced.
- The reserved pan drippings are perfect for making a homemade turkey gravy.
What to Serve With Your Roast Turkey
This show-stopping turkey is the perfect centerpiece for a classic holiday dinner. It pairs beautifully with all your Thanksgiving favorites.
- Potatoes: A creamy mashed or a crispy roasted potato is an absolute must-have.
- Classic Sides: A classic stuffing or dressing, a green bean casserole, and a tangy cranberry sauce are the quintessential accompaniments.
- The Gravy: Don’t forget to use the delicious, flavorful pan drippings from your roast to make an incredible, from-scratch turkey gravy.
For more recipe follow my pinterest account
Storage and Leftover Ideas
- Storage: Store any leftover turkey, well-wrapped, in the refrigerator for up to 4 days.
- The Best Leftovers: Leftover turkey is a true holiday treasure! It makes the absolute best sandwiches, is fantastic in a turkey noodle soup, or can be used to make a creamy turkey pot pie. The carcass also makes a wonderful, rich stock.
Frequently Asked questions (FAQs)
Q1: Why is my turkey always dry?
The number one culprit is almost always overcooking. The only way to prevent this is to use a reliable meat thermometer. The old trick of waiting for the “juices to run clear” is notoriously unreliable and often leads to a dry breast.
Q2: Do I need to brine my turkey for this recipe?
No! The beauty of this simple method is that it is designed to keep the turkey moist and flavorful without the extra, messy step of brining.
Q3: How much turkey do I need per person?
A good rule of thumb is to plan for about 1 1/2 pounds of turkey per person. This will ensure you have plenty for dinner and for some delicious leftovers!
Q4: How do I get super crispy skin?
The two most important secrets are a very dry skin to start with, and the initial high-heat blast in the oven. For an even crispier result, you can even leave your raw, salted turkey uncovered in the refrigerator overnight. This will thoroughly dry out the skin.
Q5: How do I know when my turkey is properly thawed?
A frozen turkey needs to thaw slowly and safely in the refrigerator. A good rule of thumb is to allow at least 24 hours of thawing time for every 4 to 5 pounds of turkey.


