Are you dreaming of a tropical getaway? What if you could capture the luscious flavors of a piña colada—sweet pineapple and creamy coconut—and give it a surprisingly delicious, modern twist? Get ready to be transported to paradise with this unique and refreshing frozen treat.
This recipe for Cocoa Colada Ice Pops is your ticket to a healthy, sophisticated, and incredibly flavorful summer dessert. We blend a creamy coconut milk base with fresh, juicy pineapple, then stir in chewy bits of more pineapple and the secret ingredient: crunchy, intensely chocolatey cacao nibs. It’s a delightful combination of sweet, tart, creamy, and crunchy in every single bite.
What makes this recipe so special is its unique flavor profile and its wholesome, dairy-free ingredients. These Cocoa Colada Ice Pops are simple to make, requiring just a blender and some popsicle molds. This guide will walk you through creating a perfect batch of Cocoa Colada Ice Pops that are as delicious as they are beautiful.
Table of Contents
Table of Contents
What Are Cacao Nibs (And Why You’ll Love Them Here)?
The “Cocoa” in these Cocoa Colada Ice Pops comes from cacao nibs, and they are a true superfood game-changer. Cacao nibs are small pieces of crushed, roasted cacao beans—the very essence of pure, unsweetened chocolate.
- Flavor: They have a deep, intensely chocolatey flavor that is slightly bitter and nutty, almost like a very dark roast coffee bean. This bitterness is the perfect counterpoint to the sweet pineapple and rich coconut milk.
- Texture: Unlike chocolate chips which can be waxy when frozen, cacao nibs have a firm, satisfying crunch that holds up perfectly in an ice pop.
- Health Benefits: They are packed with antioxidants, fiber, and minerals, adding a healthy boost to this already wholesome treat.
How to Pick the Perfect Pineapple
The flavor of your Cocoa Colada Ice Pops depends on a perfectly ripe, sweet, and juicy pineapple. Here’s how to choose a great one at the store:
- Check the Color: Look for a pineapple that is mostly golden-yellow, not mostly green. A golden color indicates ripeness.
- Smell the Base: A ripe pineapple will have a distinctly sweet and fragrant tropical smell at its base. If it doesn’t smell like anything, it’s not ripe.
- Give a Gentle Squeeze: It should have a very slight give when you squeeze it gently. A rock-hard pineapple is underripe.
- Check the Leaves: A folk-wisdom tip that often works is to try pulling one of the inner leaves from the crown. If it comes out easily, the pineapple is likely ripe.
The Key Ingredients for Your Tropical Pops
Each ingredient in these Cocoa Colada Ice Pops is chosen to build a refreshing and complex flavor profile.
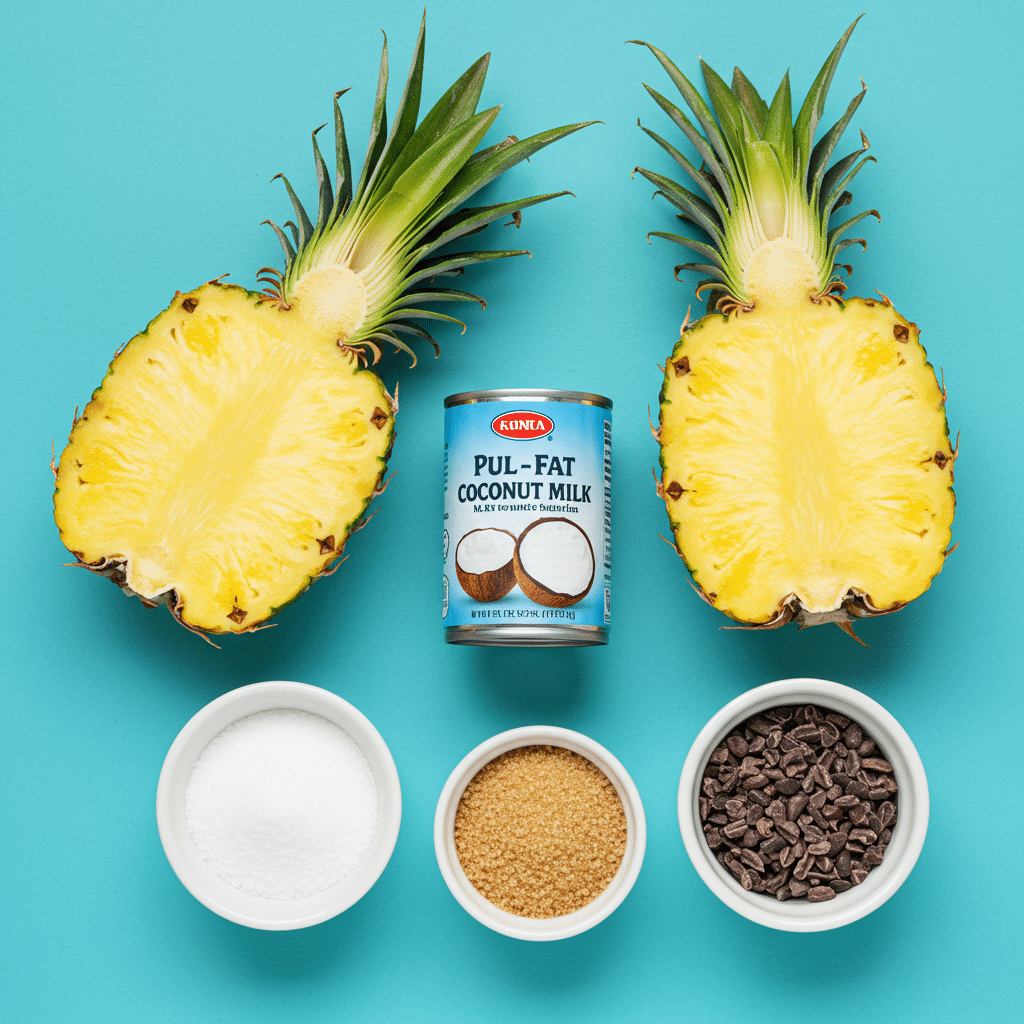
- Fresh Pineapple: Provides the sweet, tart, and juicy tropical base for the pops. We use it in two ways—pureed for the base and diced for chewy, textural bites.
- Full-Fat Coconut Milk: This is essential for a creamy, rich “colada” flavor and a smooth, less-icy texture. Use the canned variety.
- Cacao Nibs: The crunchy, chocolatey, and slightly bitter star of the show. They provide the perfect textural and flavor contrast.
- Sugar and Salt: A little sugar sweetens the coconut milk base, while a pinch of salt enhances all the flavors and makes the pineapple taste even sweeter.

Step-by-Step Guide to Your Cocoa Colada Ice Pops
Follow these simple instructions to create a flawless batch of these refreshing treats.
Part 1: Prepare the Components
- Make the Sweet Coconut Base: In a small saucepan, combine the coconut milk, sugar, and a pinch of salt. Cook over medium heat, stirring occasionally, just until the sugar has completely dissolved, which should take about 5 minutes.
- Cool the Base Completely: Remove the pan from the heat and let the mixture cool completely at room temperature. This will take at least 30 minutes. It’s important that the base is cool before you blend it with the fresh pineapple to maintain a bright, fresh flavor.
- Prepare the Pineapple: While the base cools, prepare your pineapple. Roughly chop about three-quarters of the pineapple half (you should have about 2 heaping cups). Finely dice the remaining quarter of the pineapple into small 1/3-inch pieces (about the size of a corn kernel) and set these aside.
Part 2: Assemble and Freeze Your Ice Pops
- Blend the Base: In a blender, combine the cooled coconut milk mixture and the roughly chopped pineapple. Blend until the mixture is completely smooth. You may need to scrape down the sides of the blender once or twice.
- Add the Mix-Ins: Transfer the smooth puree to a large liquid measuring cup or a bowl with a pouring spout. Stir in the finely diced pineapple pieces and the cacao nibs. This is the finished base for your Cocoa Colada Ice Pops.
- Fill the Molds: Stir the mixture well to ensure the mix-ins are evenly distributed, then carefully pour it into your ice pop molds. Be sure to leave about a 1/4-inch of space at the top of each mold to allow the liquid to expand as it freezes.
- Insert Sticks and Freeze: Insert the ice pop sticks into the molds. Place the molds on a level surface in your freezer.
- Freeze Until Solid: Let your Cocoa Colada Ice Pops freeze for at least 5 hours, or overnight, until they are completely solid. To serve, you can run the outside of the molds under warm water for a few seconds for an easy release.

Refreshing Cocoa Colada Ice Pops: A Tropical Escape on a Stick
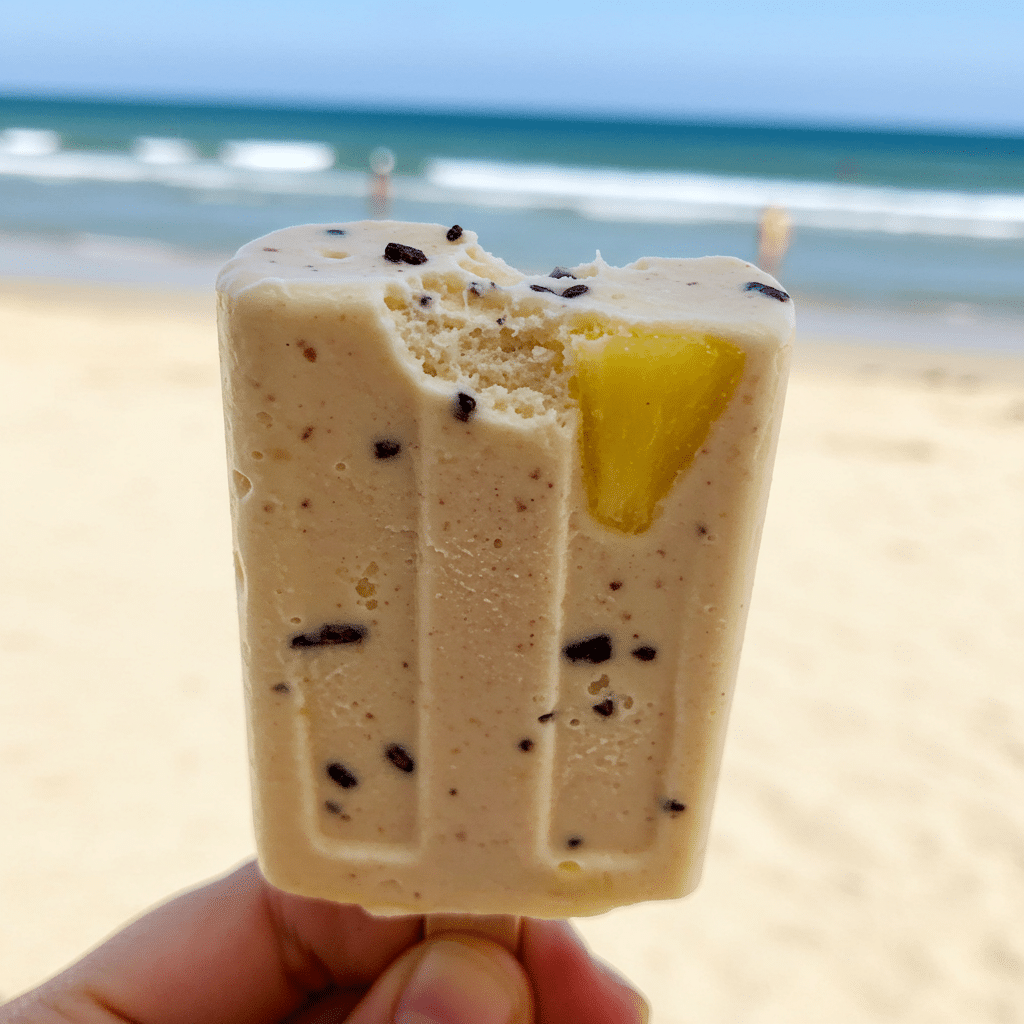
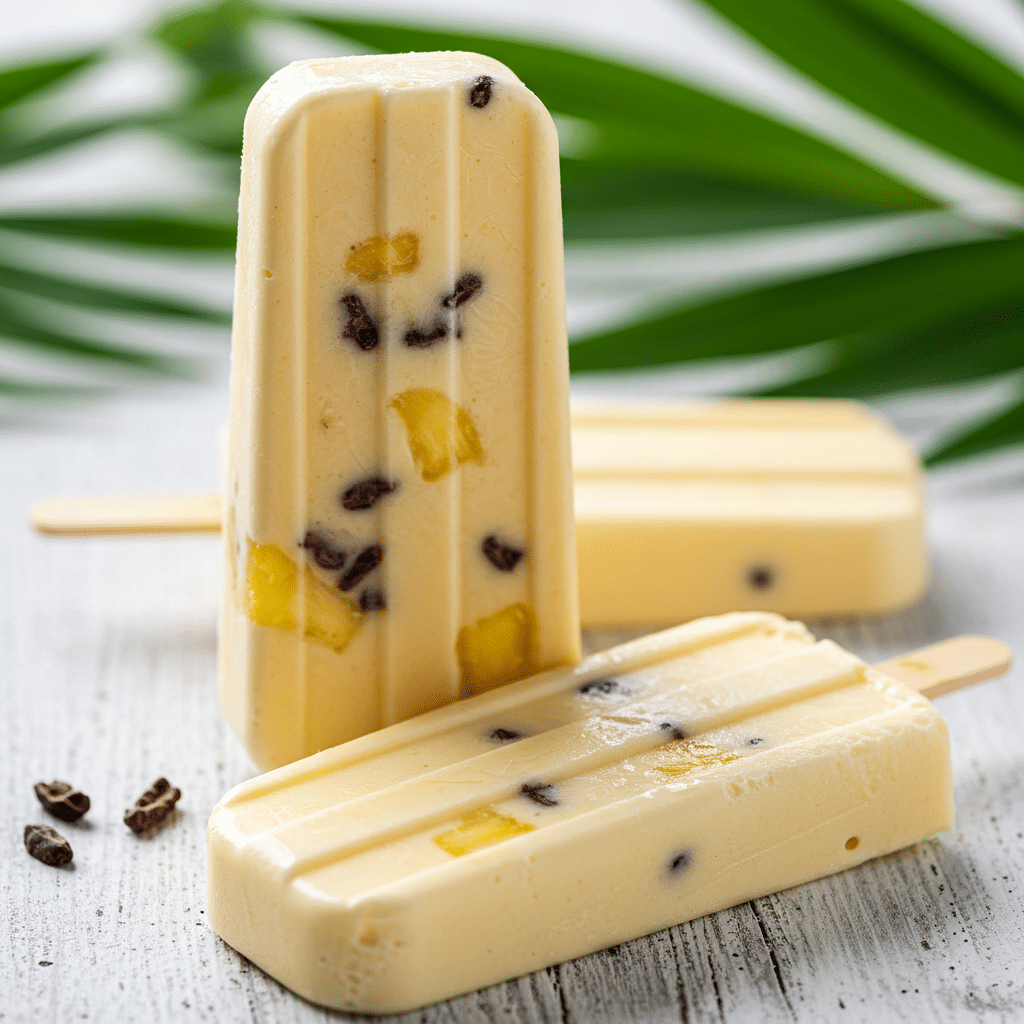
A tropical-inspired frozen treat, these Cocoa Colada Ice Pops feature a creamy base of pureed fresh pineapple and a sweetened coconut milk syrup. For a delightful texture and a hint of bitter chocolate, finely chopped pineapple pieces and crunchy cocoa nibs are stirred into the mixture before it’s frozen in molds.
- Prep Time: 45 minutes (includes cooling time)
- Cook Time: 5 minutes
- Total Time: 5 hours 50 minutes (includes freezing time)
- Yield: 6-8 pops
- Category: Dessert
- Method: Blending, Freezing
- Cuisine: International
- Diet: Vegan
Ingredients
- 1/2 cup coconut milk
- 1/3 cup sugar
- Kosher salt
- 1/2 a 4-pound pineapple, peeled and cored
- 2 tablespoons cocoa nibs
Instructions
- In a small saucepan, cook the coconut milk, sugar, and a pinch of salt over medium heat, stirring occasionally, until the sugar completely dissolves, about 5 minutes. Let the mixture cool completely at room temperature for at least 30 minutes.
- Meanwhile, roughly chop about three-quarters of the pineapple half (to yield a heaping 2 cups). Finely dice the remaining quarter of the pineapple into 1/3-inch pieces.
- In a blender, puree the cooled coconut milk mixture with the roughly chopped pineapple until completely smooth.
- Transfer the pureed mixture to a large liquid measuring cup or bowl. Stir in the finely diced pineapple pieces and the cocoa nibs.
- Pour the mixture into ice pop molds, leaving about 1/4 inch of space at the top to allow for expansion.
- Insert the ice pop sticks.
- Freeze until solid, for at least 5 hours or overnight.
- Unmold the pops from the molds and serve immediately.
Notes
- This recipe requires ice pop molds and sticks.
- Ensure the coconut milk syrup is completely cooled before blending with the pineapple for the best texture.
Storage Information
Store your homemade Cocoa Colada Ice Pops in the freezer. For best results, you can unmold them and store them in a freezer-safe airtight container or bag, separated by layers of wax paper. They are best enjoyed within two to three weeks.
Creative Recipe Variations
This tropical ice pop recipe is a wonderful template for other delicious flavor experiments.
| Flavor Variation | How to Adapt the Recipe | The Delicious Result |
|---|---|---|
| Spicy “Cocoa Colada” Pops | Add 1/4 teaspoon of chili powder or a pinch of cayenne pepper to the blender with the pineapple and coconut milk for a surprising kick of heat. | A delicious sweet and spicy combination that is very popular in tropical regions. |
| Creamy Banana “Cocoa Colada” | Add one ripe banana to the blender along with the pineapple. This will create an even creamier, smoothie-like texture for your Cocoa Colada Ice Pops. | A richer, creamier version that tastes like a complete tropical smoothie on a stick. |
| “Boozy” Colada Pops (for adults) | Add 1/4 cup (about 2 ounces) of a good-quality white or dark rum to the blender with the other ingredients. | A fun, cocktail-inspired version perfect for an adults-only pool party. Note that the alcohol will make the pops slightly softer. |
For more recipe follow my Pinterest account
Conclusion: A Refreshing Taste of the Tropics
These Cocoa Colada Ice Pops are a perfect way to bring the taste of a tropical vacation to your own home. They are a healthy, refreshing, and incredibly flavorful treat that beautifully balances sweet, tart, creamy, and crunchy elements. The surprising pop of bitter chocolate from the cacao nibs makes them a truly unique and sophisticated dessert. We hope you enjoy every delicious bite of your homemade Cocoa Colada Ice Pops!
Frequently Asked Questions (FAQs)
My ice pops are a little icy. How can I make them creamier?
The creaminess comes from the fat in the full-fat coconut milk. Make sure you are not using “light” coconut milk. For an even creamier result, you can add half a ripe banana or a tablespoon of a neutral oil (like refined coconut oil) to the blender base.
Where can I find cacao nibs?
Cacao nibs are typically found in the health food aisle, baking aisle, or bulk section of most major grocery stores. They are sometimes located near the nuts and seeds.
Can I use chocolate chips instead of cacao nibs?
You can, but the experience will be different. Chocolate chips will add sweetness instead of a bitter contrast, and they will be hard and waxy when frozen, whereas cacao nibs provide a more pleasant, nutty crunch. If using chocolate chips, opt for mini semi-sweet or dark chocolate chips for the best result in your Cocoa Colada Ice Pops.


