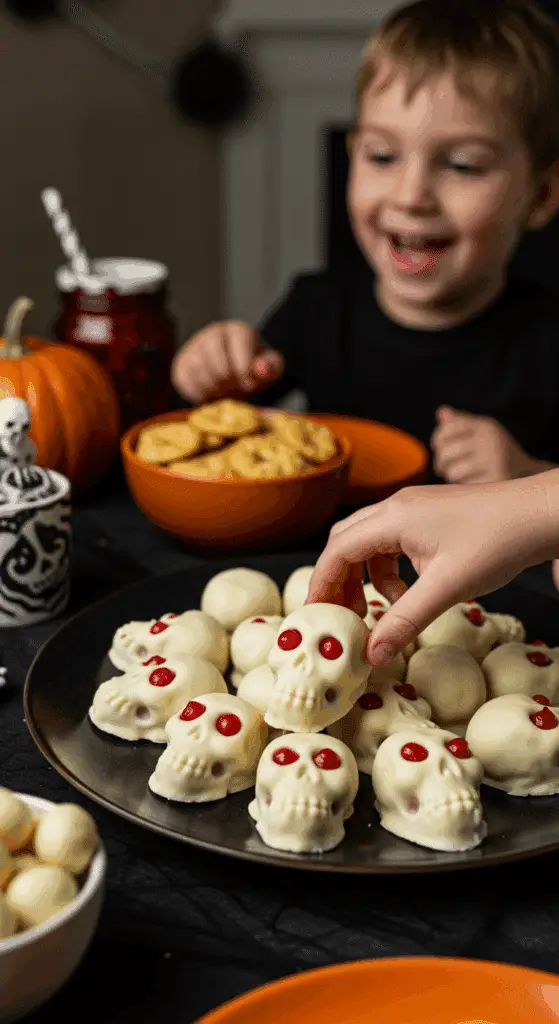
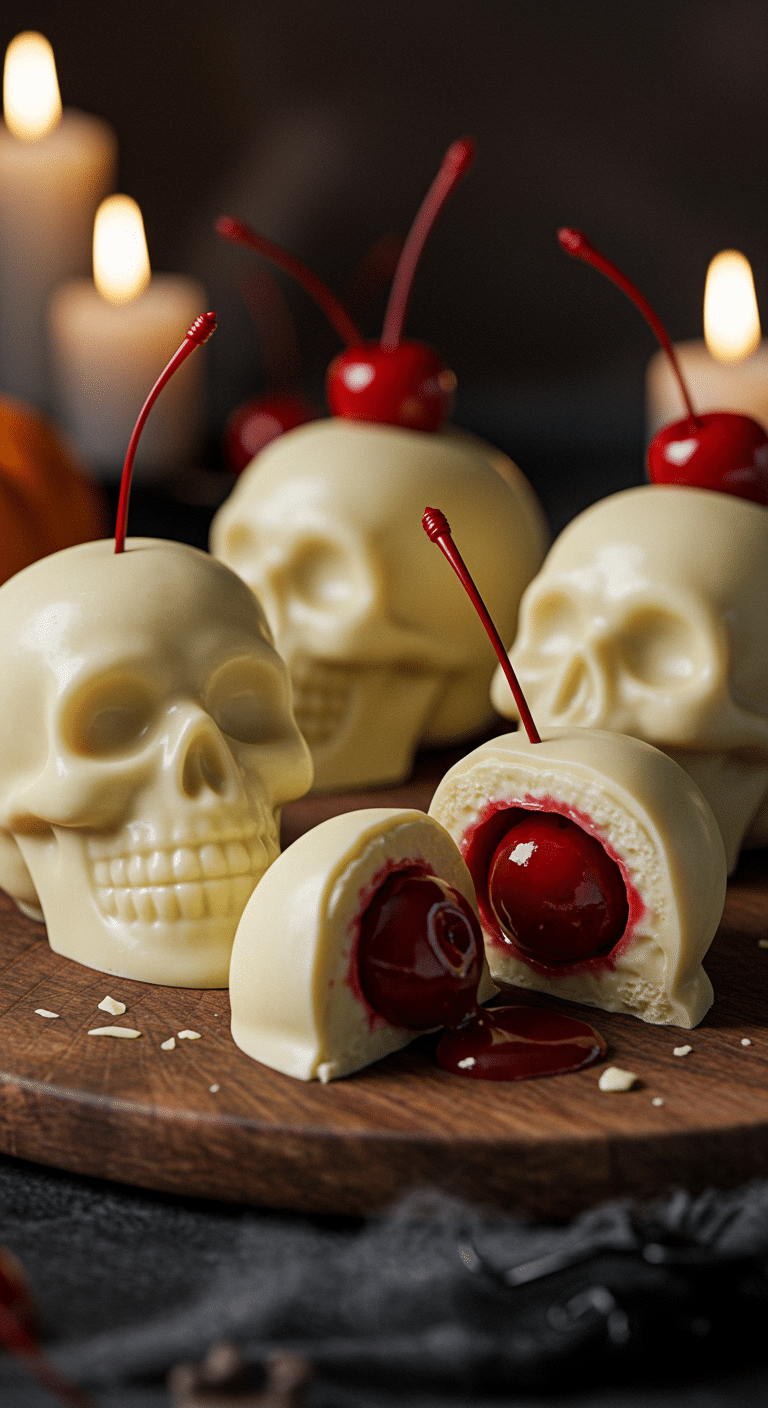
Are you looking for the ultimate cute, spooky, and unbelievably easy treat for your next Halloween party? A fun, no-bake project that is perfect to make with your kids and takes just minutes to whip up? These incredible, super-easy White Chocolate Cherry Skulls are that perfect festive candy! We’re talking a sweet, creamy white chocolate skull with a surprise, juicy maraschino cherry hidden inside, complete with a stem for a spooky little handle.
This isn’t just a recipe; it’s a guide to your new favorite Halloween edible craft. We’ll show you how to use just a handful of simple, store-bought ingredients to create a stunning, from-scratch-tasting treat that is perfect for a Halloween party, a fun lunchbox surprise, or a festive bake sale. They are a guaranteed, crowd-pleasing hit that is as fun to make as they are to eat!
Recipe Overview: The Ultimate Cute & Spooky Halloween Treat
What makes these White Chocolate Cherry Skulls so spectacularly fun is their brilliant, easy-to-make design and their classic, crowd-pleasing sweet-and-fruity flavor. This recipe is a masterpiece of festive simplicity. A rich and creamy, melted white chocolate is poured into a spooky silicone skull mold. The center of each skull is then filled with a surprise: a sweet and juicy maraschino cherry with its stem left on. The cherry is then sealed inside with another layer of chocolate. Once chilled, these perfect little skulls pop right out, ready to delight your guests.
| Metric | Time / Level |
| Total Time | 1 hour 15 minutes (includes chilling) |
| Active Prep Time | 15 minutes |
| Difficulty Level | Easy |
| Servings | 10 skulls |
The Candy Maker’s Workshop: The Essential Ingredients & Tools
This iconic party treat uses just a handful of smart shortcuts and pantry staples to create its signature spooky look and delicious flavor.
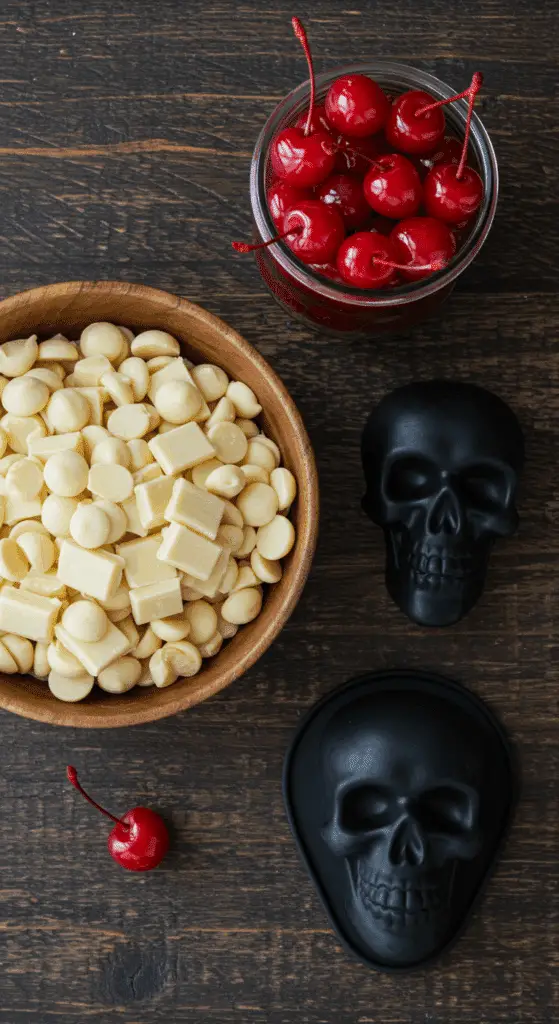
- The White Chocolate:
- Real White Chocolate vs. Candy Melts: This recipe works beautifully with either! If you use a high-quality bar of real white chocolate, be sure to chop it finely and melt it very gently in the microwave in short intervals to prevent it from seizing. For an even easier, more foolproof option, you can use white candy melts (or candy wafers), which are a type of confectionary coating that is specifically designed to melt beautifully and to set up with a hard, shiny finish with no complicated “tempering” required.
- The “Brain” Filling:
- Maraschino Cherries: A jar of classic, sweet maraschino cherries with their stems intact is the perfect, vibrant red, surprise filling for our spooky white skulls. The stems also make a fantastic, built-in “handle”!
- The Key Equipment: A flexible, 10-cavity silicone skull mold is the essential tool for this recipe. You can easily find these online or in the seasonal section of most major craft stores, especially around Halloween.
The Candy Crafting Masterclass: The Secret to Perfect Melted Chocolate
Working with melted chocolate, especially white chocolate, is incredibly easy if you follow one simple rule: use low, gentle heat and avoid any contact with water.
- The Microwave Method: The easiest method! Place your chopped chocolate or candy melts in a microwave-safe bowl. Heat on a lower power setting (like 50%) in very short, 30-second intervals. It is crucial to stir the chocolate well after each interval, even if it doesn’t look completely melted. The residual heat will continue to melt it, and stirring will ensure it melts evenly without scorching.
- Keep it Dry!: Even a single, tiny drop of water can cause your melted chocolate to “seize” up and become a thick, grainy, and unusable paste. Be sure that all your bowls, spoons, spatulas, and especially your cherries, are completely dry.
Step-by-Step to the Best White Chocolate Cherry Skulls
This fun and festive treat is incredibly simple to prepare.

Step 1: Prepare Your Cherries and Melt the Chocolate
Step 1: Gently pat your 10 maraschino cherries completely dry with a paper towel. This is a crucial step to prevent your chocolate from seizing. Set them aside.
Step 2: Finely chop your 6 ounces of white chocolate. Place it in a medium, microwave-safe bowl.
Step 3: Microwave the chopped white chocolate in 30-second intervals at 50% power, stirring well between each one, until the chocolate is completely melted and smooth.
Part 2: Fill the Molds and Chill to Perfection
Step 1 (The Fun Part!): Use a small spoon to fill each of the 10 indentations of your silicone skull mold almost to the top with your melted white chocolate.
Step 2: Gently press one of your dried maraschino cherries into the middle of each cavity, ensuring that the stem sticks straight out of the top of each skull.
Step 3: Use a little more of your melted chocolate to cover just the back of the cherries, sealing them inside the skulls.
Step 4: Place the mold in the refrigerator and let the chocolate chill until it has completely hardened, which will take about 1 hour.
Once the skulls are firm, you can simply and carefully pop them out of the flexible molds.

White Chocolate Cherry Skulls (A Fun Halloween Treat!)
A very simple, 2-ingredient recipe for ‘White Chocolate Cherry Skulls,’ a spooky and elegant Halloween-themed candy. This easy, no-bake treat is created by filling a silicone skull mold with melted white chocolate. A whole maraschino cherry with its stem is then pressed into the center of each chocolate-filled cavity, with the stem sticking out to create a handle. The skulls are then chilled in the refrigerator until the chocolate is firm and can be easily popped out of the mold.
Ingredients
- 10 maraschino cherries with stems
- 6 ounces white chocolate, finely chopped
Instructions
- Special Equipment: You will need a 10-cavity silicone skull mold.
- Gently pat the maraschino cherries dry with a paper towel and set them aside.
- Place the chopped white chocolate in a medium microwave-safe bowl. Microwave in 30-second intervals, stirring between each, until the chocolate is melted and smooth.
- Use a small spoon to fill each cavity of the silicone skull mold almost to the top with the melted white chocolate.
- Press one maraschino cherry into the middle of each cavity, ensuring the stem sticks out of the top to create a ‘handle’ for each skull.
- If needed, cover the back of the cherries with a little more melted chocolate to fully enclose them.
- Refrigerate for about 1 hour, or until the chocolate has completely hardened.
- Once set, gently pop the skulls out of the molds. Keep them refrigerated in an airtight container until ready to serve.
Notes
- This is an extremely simple and quick-to-assemble Halloween treat that relies on a special silicone mold for its creative shape.
- It is important to pat the maraschino cherries dry before use, as any excess moisture can cause the chocolate to seize.
- These candies should be stored in the refrigerator to prevent the white chocolate from softening.
Storage and Make-Ahead Tips
These White Chocolate Cherry Skulls are the ultimate make-ahead party treat!
- Make-Ahead: You can prepare these festive treats up to 5 days in advance.
- Storage: Store the finished chocolate skulls in a single layer in an airtight container in the refrigerator.
For more recipe follow my pinterest account
Frequently Asked Questions (FAQs)
Q1: What is the absolute, number one secret to melting white chocolate so it doesn’t get thick, grainy, or “seize up”?
There are two main secrets! First, and most importantly, you must keep it completely dry. Even a tiny drop of water will cause it to seize. This is why it’s so important to pat your maraschino cherries completely dry. Second, you must use low, gentle heat. The microwave method, using 50% power and short, 30-second bursts, is a fantastic and foolproof way to melt it gently without it overheating.
Q2: Can I make these chocolate skulls ahead of time for a party?
Yes, absolutely! This is a perfect make-ahead treat. You can prepare the entire recipe up to 5 days in advance and keep them stored in an airtight container in the refrigerator until your party.
Q3: Can I use a different kind of chocolate?
Of course! This simple and fun technique would also be fantastic with a classic semisweet or a dark chocolate.
Q4: Can I make these with a different kind of filling?
Yes! If you’re not a fan of maraschino cherries, you could easily fill the center of your chocolate skulls with a small dollop of a thick caramel or a peanut butter, a single raspberry, or even a small, round truffle.
Q5: Can I add a color to my white chocolate skulls?
Yes! To make colorful skulls, it is best to use white candy melts and a high-quality, oil-based food coloring. Regular, water-based food coloring will cause your melted candy to seize up. You can create all sorts of spooky colors, like a ghoulish green, a spooky purple, or a pumpkin orange!


