Are you searching for the ultimate, jaw-dropping centerpiece for your Christmas appetizer spread? A savory creation so stunning, so creative, and so unbelievably delicious, it will be the talk of your entire holiday season? This incredible, from-scratch Cheese-Filled Edible Gift Box is that perfect recipe. We’re talking a crispy, cheesy, and savory cracker “box,” filled to the brim with a creamy, spicy pepper jack cheese spread, and beautifully tied with an elegant chive “ribbon.”
This isn’t just a recipe; it’s a guide to your new favorite holiday edible craft project. While it looks like a masterpiece from a fine pastry shop, we’ll show you the simple but brilliant secrets to constructing this stunning savory bake at home. This is a guaranteed, crowd-pleasing hit that is as fun to build as it is to devour.
Table of Contents
Table of Contents
Recipe Overview: The Ultimate Savory & Festive Holiday Centerpiece
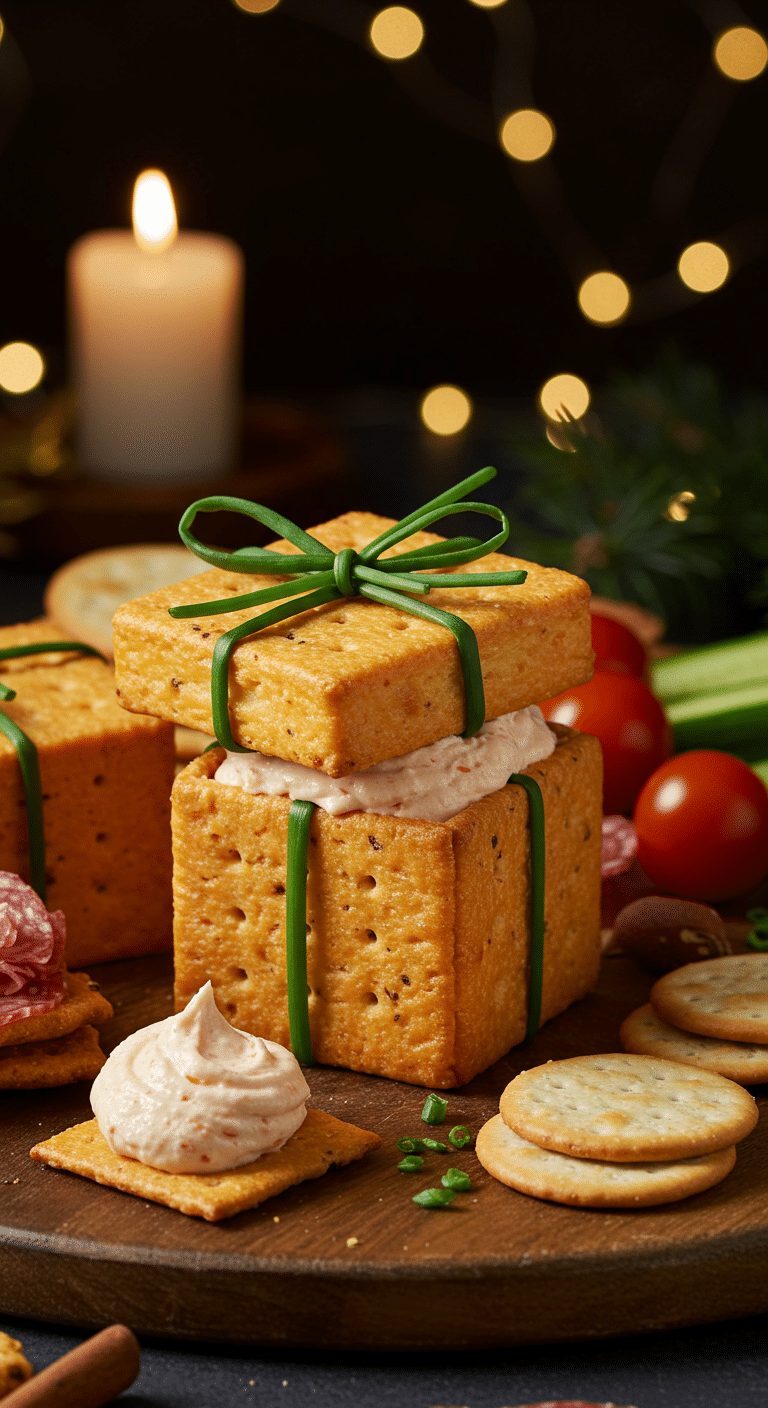
What makes this Edible Gift Box so spectacularly fun is its brilliant, sculptural design and its incredible, cheesy and spicy flavor. This recipe is a masterpiece of festive creativity. The “gift box” itself is a sturdy, from-scratch pepper jack cheese cracker, which is baked in flat panels and then “glued” together. The “glue” and the delicious filling are one and the same: a rich and creamy, whipped pepper jack cheese spread. The final, show-stopping touch is a beautiful, vibrant green “ribbon and bow,” made from a single, blanched fresh chive.
| Metric | Time / Level |
| Total Time | 3 hours (includes chilling) |
| Active Prep Time | 1 hour |
| Difficulty Level | Intermediate |
| Servings | 2 gift boxes (serves 8-10) |
The Baker’s Workshop: The Essential Ingredients & Tools
This iconic party treat uses a handful of high-quality ingredients and a few key techniques to create its signature festive look and delicious flavor.
- The Cracker “Box” (The Savory Structure!):
- The Dough: This is essentially a savory, cheesy shortcrust dough, or pâte brisée. It gets its incredible flavor from a combination of pepper jack cheese spread, salty Parmesan, and a blend of savory spices.
- The Chilling Secret: The number one, non-negotiable secret to cracker panels that are perfectly straight and don’t warp or spread in the oven is to chill the dough at multiple stages.
- The Filling & “Mortar” (The Cheesy Glue!):
- Pepper Jack Cheese Spread: The brilliant, dual-purpose secret to this recipe! A simple, store-bought pepper jack cheese spread is whipped until light and fluffy. It’s used both as the delicious, creamy filling for the boxes and as the sturdy, edible “mortar” to glue the cracker panels together.
- The Chive “Ribbon” (The Elegant Finish!):
- Fresh Chives: A simple but brilliant trick! By briefly blanching long, fresh chives in boiling water, you are making them pliable and a vibrant green, which is the key that allows you to tie them into a beautiful, delicate bow without them breaking.
- The Key Equipment: A ruler is essential for cutting your precise box panels! A piping bag is also highly recommended for applying the cheese “mortar” neatly and professionally.
The Edible Architecture Masterclass: The Secret to a Sturdy Gift Box
This recipe is all about the fun, creative construction. Here are a few simple but crucial techniques that guarantee a flawless, impressive result.
- A Sturdy, No-Spread Dough: The key to a box that fits together perfectly is a dough that doesn’t spread. Chilling your dough after mixing, after rolling, and again after cutting the panels is the foolproof, professional secret that will solidify the butter and guarantee your panels bake up with sharp, straight edges.
- The Cheese “Mortar”: Using the thick, whipped cheese spread as your “glue” is a fantastic trick. Using a piping bag will allow you to apply it with precision.
- Build & Support: The most crucial step of assembly! To prevent your beautiful box from collapsing, you must build the four walls and let them set before you add the lid. Using small, heavy cans or jars to prop up the walls on the inside and the outside while the cheese “mortar” firms up is a brilliant and essential trick.

Step-by-Step to the Best Edible Christmas Gift Box
This fun and festive project is a joy to prepare.
Part 1: The Savory Pepper Jack Cracker Dough
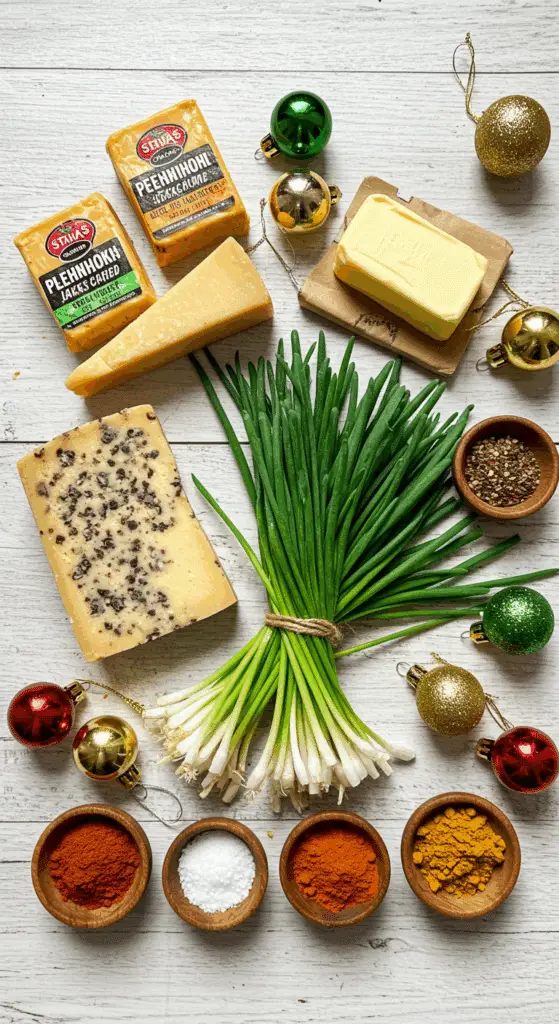
Step 1: In a food processor, pulse together your 2 1/2 cups of flour, 1 1/2 teaspoons of salt, and all your spices (dry mustard, paprika, and turmeric).
Step 2: Add your 8-ounce package of pepper jack cheese spread, the 1 1/2 sticks of cold butter, and the 1/2 cup of Parmesan. Pulse until the butter is completely broken up.
Step 3: In a small bowl, whisk together 2 tablespoons of apple cider vinegar, 2 large egg whites, and 3 tablespoons of water. Add this to the food processor and pulse until the dough comes together in a ball.
Step 4 (The Most Important Step!): Wrap the dough in plastic and refrigerate it for at least 1 hour, until it is chilled and firm.
Part 2: The Art of the Edible Box Panels
Step 1: Cut your chilled dough in half. Roll out each half between two sheets of parchment paper until it is about 1/8-inch thick. Chill these rolled sheets of dough until they are very firm, for about 30 minutes.Step 2: Preheat your oven to 350°F (175°C). Line two baking sheets with parchment.Step 3: Use a ruler and a sharp knife to measure and cut the panels for your two boxes from the chilled dough sheets. For each box, you will need two 4-inch squares (for the top and bottom) and four side panels (two 4×2-inch and two 3 1/2×2-inch).Step 4: Arrange the panels on your prepared baking sheets, cover them, and refrigerate them one last time until they are firm again, for about 15 minutes.Step 5: Prick the dough panels all over with a fork. Brush them with a simple egg yolk wash. Bake for about 25 minutes, until the crackers are a beautiful golden brown. Let them cool completely.
Part 3: The Festive Assembly
Step 1: In a stand mixer, beat your two 8-ounce packages of pepper jack cheese spread until it is lightened and smooth. Transfer this to a piping bag.Step 2: To make your chive “ribbons,” briefly blanch your 6 long fresh chives in boiling water for about 30 seconds, and then immediately transfer them to an ice bath. Pat them dry and tie a bow on two of your 4-inch square “lid” panels.Step 3 (The Fun Part!): To build a box, take one of your 4-inch square “bottom” panels and pipe your cheese “glue” around the perimeter. One by one, press your four side panels into the glue, using cans to prop them up. Pipe more cheese glue up the four inside corners to secure the walls.Step 4: Fill your finished boxes with your remaining pepper jack cheese spread. Place your decorated “lids” on top.
Serve your incredible Edible Gift Boxes with an assortment of your favorite meats, vegetables, and crackers.

Edible Christmas Gift Box (A Cheesy Showstopper!)
An elaborate and creative recipe for a savory, edible ‘Pepper Jack Cheese Cracker’ gift box, perfect as a showstopper for a holiday party. The recipe involves making a from-scratch, savory cracker dough flavored with pepper jack cheese and spices. The dough is rolled, cut into panels, and baked to form the walls and lid of a small box. The edible box is then assembled using a whipped pepper jack cheese spread as ‘glue,’ filled with more of the spread, and decorated with a blanched chive ‘ribbon’ to look like a wrapped present.
Ingredients
- For the Pepper Jack Cheese Cracker:
- 2 1/2 cups all-purpose flour, plus more for dusting
- 1 1/2 teaspoons kosher salt
- 1 teaspoon dry mustard
- 1 teaspoon paprika
- 1/2 teaspoon turmeric
- One 8-ounce package pepper jack cheese spread
- 12 tablespoons (1 1/2 sticks) unsalted butter, cut into small pieces
- 1/2 cup grated Parmesan
- 2 tablespoons apple cider vinegar
- 2 large eggs, separated
- For Assembling and Decorating:
- 6 long fresh chives
- Two 8-ounce packages pepper jack cheese spread
- Assorted meats, vegetables, and crackers, for serving
Instructions
- Make the Cracker Dough: In a food processor, pulse the flour, salt, mustard, paprika, and turmeric. Add the pepper jack cheese spread, butter, and Parmesan and pulse until the butter is broken up.
- In a small bowl, whisk together the vinegar, egg whites, and 3 tablespoons of water. Add this to the food processor and pulse until a dough forms. Wrap the dough in plastic and refrigerate for 1 hour to firm up.
- Cut and Bake the Crackers: Preheat the oven to 350°F. Line 2 baking sheets with parchment.
- Cut the dough in half. Roll out one piece between two sheets of floured parchment to 1/8-inch thickness and chill for 30 minutes. Repeat with the second piece.
- From the chilled dough, cut out panels to create two boxes: four 4-inch squares (for tops/bottoms), four 4-by-2-inch rectangles (long sides), and four 3.5-by-2-inch rectangles (short sides).
- Arrange the panels on the baking sheets and refrigerate for 15 more minutes. Prick the dough with a fork, then brush with a reserved egg yolk wash (yolks whisked with 2 tsp water).
- Bake for about 25 minutes, rotating the pans halfway through, until golden brown. Let cool completely.
- Assemble the Boxes: Blanch the chives in boiling water for 30 seconds, then transfer to an ice bath to cool. Pat them dry.
- In a stand mixer, beat the two packages of pepper jack cheese spread until light and smooth. Transfer to a pastry bag.
- To build a box, take one 4-inch square cracker for the base. Pipe the cheese spread around the perimeter. Attach the four side panels to the base, using more cheese spread in the corners to ‘glue’ them together. Repeat to form the second box.
- Tie a blanched chive into a bow on each of the remaining 4-inch square panels to create the ‘lids.’
- Fill the boxes with the remaining cheese spread, smooth the top, and place the decorated lids on top. Serve with assorted crackers, meats, and vegetables.
Notes
- Special Equipment: This project requires a food processor and a pastry bag.
- This is a multi-step, showstopper appetizer that is perfect for a special occasion like a Christmas party.
- The cracker dough requires multiple chilling steps. This is a crucial part of the process that makes the dough manageable and helps the crackers hold their shape.
- Blanching the chives makes them pliable enough to be tied into a decorative bow without breaking.
- The article references a ‘Cook’s Note’ that is not provided in the text.
Storage and Make-Ahead Tips
This is the ultimate make-ahead party appetizer!
- Make-Ahead: You can get a huge head start by preparing all your individual components up to 3 days in advance. The cracker panels can be baked and stored in an airtight container at room temperature. The cheese spread can also be made and stored in the refrigerator.
- Storage: For the best and freshest result, it is a great idea to assemble the boxes on the day of your party.
For more recipe follow my pinterest account
Frequently Asked Questions (FAQs)
Q1: What is the absolute, number one secret to my cracker box falling apart?
The two most important secrets are straight cracker panels and a sturdy “glue.” Chilling your dough at every stage is the key to panels that don’t warp and will fit together perfectly. For the glue, it is a great idea to use your cheese spread straight from the refrigerator so it is cold and firm, and to be patient, letting your walls set up before you try to fill them.
Q2: Can I make this ahead of time for a Christmas party?
Yes, this is a perfect make-ahead centerpiece! You can bake your cracker panels and make your filling several days in advance. Then, the fun assembly can be done on the morning of your party.
Q3: Can I make this with a different kind of cheese?
Yes! This recipe is wonderfully versatile. You could use a classic cheddar or a Gruyère in the cracker dough, and a whipped Boursin® or even a simple, herbed cream cheese for the filling and the “mortar.”
Q4: Do I have to use a food processor to make the cracker dough?
If you don’t have a food processor, you can absolutely make the dough by hand! You can use a pastry blender or two knives to cut the cold butter into your dry ingredients, and then use a wooden spoon to mix in the wet ingredients until a dough forms.
Q5: What should I serve with my edible gift boxes?
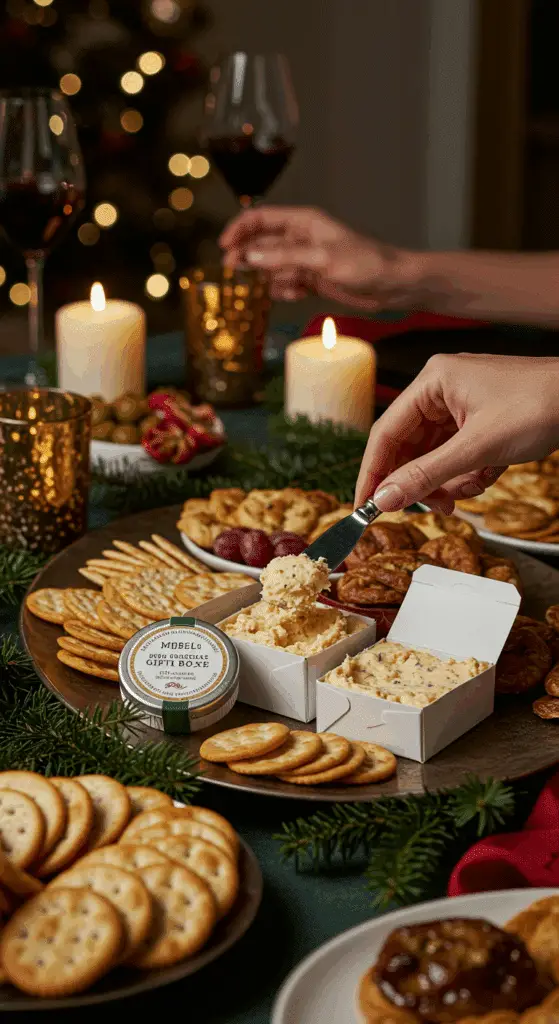
These beautiful, self-contained cheese dips are a fantastic centerpiece for a larger charcuterie board. They are perfect served with a variety of crackers, pretzels, cured meats like salami and prosciutto, and fresh, crunchy vegetables like carrots, celery, and radishes.


