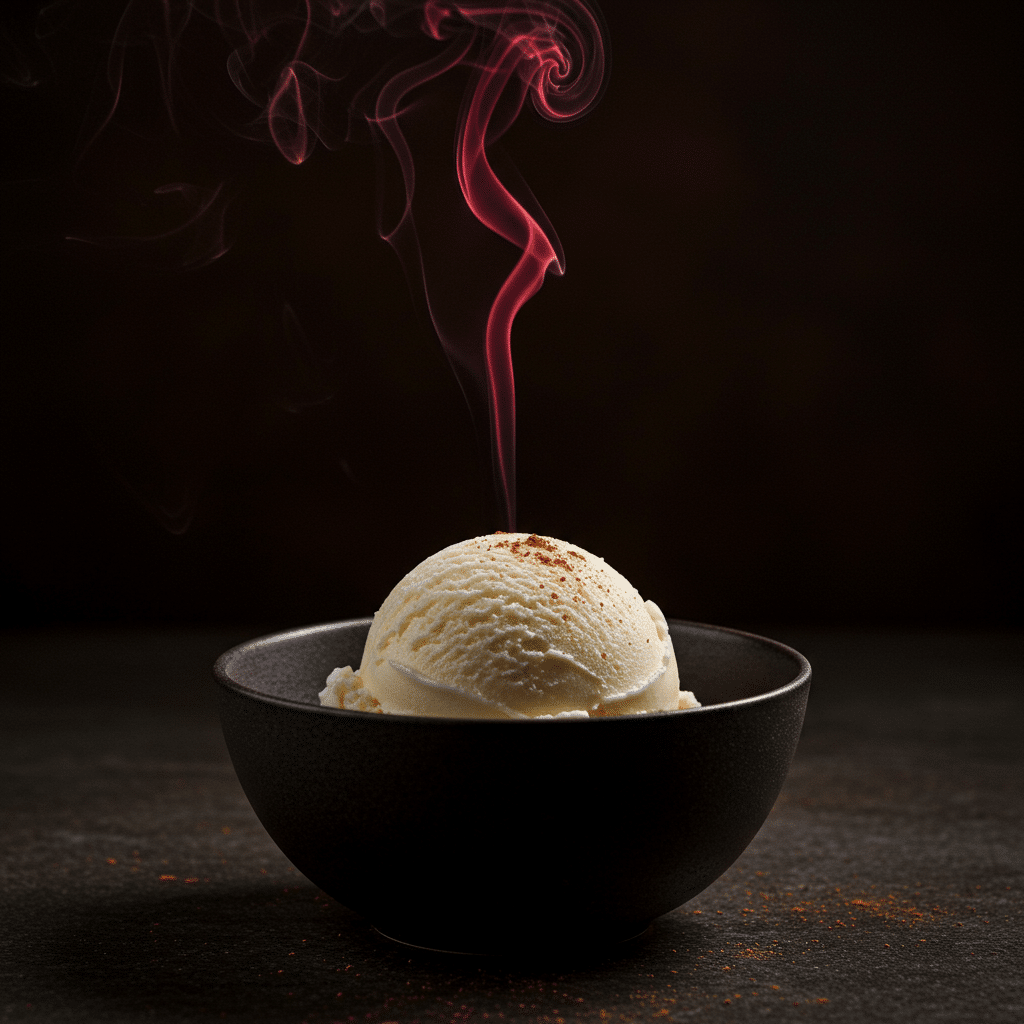
Are you ready for a dessert experience that is truly unforgettable? A treat that plays with your senses, delivering an exhilarating contrast of cooling creaminess and a surprising, spicy warmth? Prepare yourself for the thrilling flavor journey of Fire and Ice Cream.
This recipe is your guide to creating a sophisticated, artisanal ice cream that perfectly balances two opposing sensations. The “ice” is a luxuriously smooth, Philadelphia-style cream base, while the “fire” comes from the intense, spicy heat of pure cinnamon. This is not the gentle, cozy cinnamon of a morning bun; this is a bold, exciting, and deeply aromatic Fire and Ice Cream.
What makes this recipe so special is its incredible simplicity and its profoundly unique flavor profile. With just a handful of ingredients and an ice cream maker, you can create a gourmet dessert that is a fantastic conversation starter and a true delight for adventurous palates. This guide will show you just how easy it is to create your own Fire and Ice Cream.
Table of Contents
Table of Contents
The Science of Sensation: What Puts the “Fire” in Fire and Ice Cream?
The magic of this Fire and Ice Cream comes from the potent power of cinnamon. The sensation of “heat” or “fire” in cinnamon comes from a naturally occurring compound called cinnamaldehyde. This compound activates the same sensory receptors on our tongue that detect temperature heat, tricking our brain into feeling a pleasant, spicy warmth, even in a frozen dessert!
It’s this exhilarating contrast—the physical cold of the ice cream followed by the perceived warmth of the cinnamon spice—that makes every spoonful so exciting and complex.
The Art of Cinnamon Flavor: Oil vs. Extract
The key to achieving the true “fire” in this recipe is understanding your cinnamon flavoring.
- Cinnamon Oil: This is what the recipe recommends for the most authentic “fire” experience. Cinnamon oil is extremely potent, pure, and highly concentrated. It delivers a sharp, spicy, and intensely aromatic heat similar to a classic cinnamon candy. A little goes a very long way! If you are sensitive to spice, it’s best to start with even less than the recipe calls for.
- Cinnamon Extract: This is a much milder, more common alternative. It’s a solution of cinnamon oil in an alcohol base. It provides a warmer, more familiar “baking spice” flavor rather than a fiery heat. If you substitute with extract, you will need to use significantly more to get a pronounced flavor (a good starting point is 1 teaspoon of extract for every 1/8 teaspoon of oil).
The Key Ingredients for Your Flavor Adventure
The beauty of this Fire and Ice Cream lies in its simple, high-quality ingredients that create a clean canvas for the star flavor.
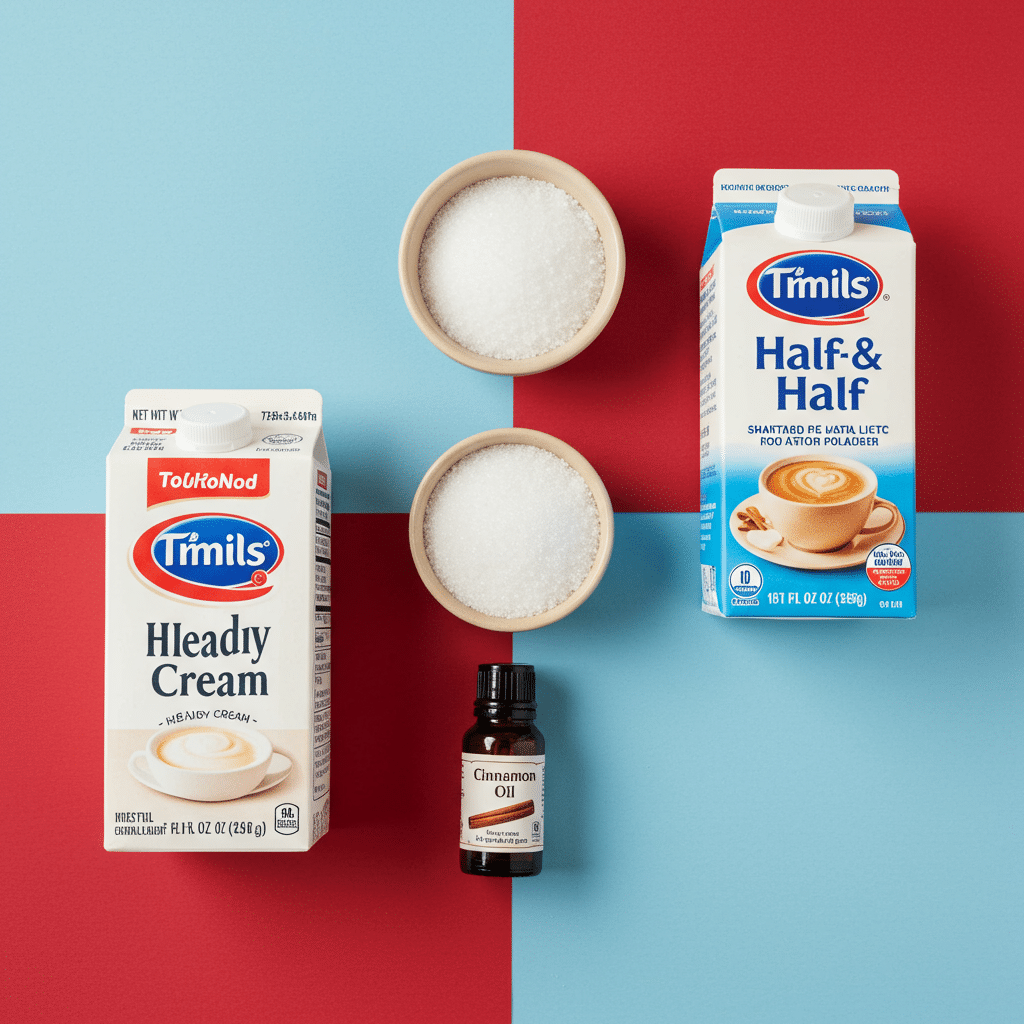
- Heavy Cream & Half-and-Half: This combination provides the perfect dairy fat content for a rich, creamy, and smooth Philadelphia-style (eggless) ice cream base. Using full-fat dairy is essential for the best texture.
- Sugar & Salt: The sugar provides the necessary sweetness to balance the dairy and the spice, while a pinch of kosher salt enhances all the flavors and makes the sweetness and spice pop even more.
- Vanilla Extract: A touch of pure vanilla extract rounds out the flavor profile and adds a layer of fragrant warmth that complements the cinnamon beautifully.
- Cinnamon Oil or Extract: The “fire” element that makes this ice cream so unique and delicious.

Step-by-Step Guide to Your Fire and Ice Cream
This simple, uncooked base is incredibly easy to prepare. The most important step is allowing the base to chill completely before churning.
- Combine and Dissolve: In a large bowl or pitcher, combine the heavy cream, half-and-half, sugar, and kosher salt. Whisk everything together thoroughly for 2 to 3 minutes, until you are certain the sugar has completely dissolved. You shouldn’t feel any grit at the bottom of the bowl.
- Add the Flavors: Stir in the pure vanilla extract and the cinnamon oil (or extract). If using cinnamon oil, it’s best to start with a smaller amount (like 1/8 teaspoon), stir it in, and taste the base. You can always add more, but you can’t take it away!
- Chill Completely (The Most Important Step): Cover the bowl with your Fire and Ice Cream base and place it in the refrigerator to chill until it is very cold. This will take at least 4 hours, but chilling it overnight is highly recommended. An ice-cold base is the number one secret to the creamiest possible homemade ice cream.
- Churn the Ice Cream: Pour your thoroughly chilled base into your ice cream maker and churn according to the manufacturer’s directions. The ice cream will churn into a thick, creamy, soft-serve consistency.
- Harden and Store: You can enjoy your Fire and Ice Cream immediately as a soft-serve treat. For a firmer, scoopable ice cream, transfer it to an airtight, freezer-safe container. Press a piece of parchment paper directly on the surface to prevent ice crystals, then seal and freeze for at least 2 to 4 hours, or until firm.

Fire and Ice Cream: The Ultimate Cinnamon Dessert Adventure
A simple, no-cook (Philadelphia-style) ice cream recipe with a ‘fire’ and ‘ice’ theme. The base is created by whisking together whipping cream, half-and-half, sugar, and salt until the sugar dissolves. This creamy mixture is then flavored with vanilla extract and cinnamon oil, which provides a warming ‘fire’ sensation. The base is then churned in an ice cream maker and frozen until firm.
- Prep Time: 5 minutes
- Cook Time: 0 minutes
- Total Time: 2 hours 30 minutes (includes churning and freezing time)
- Yield: Approximately 1.5 quarts
- Category: Dessert
- Method: No-Cook, Churning, Freezing
- Cuisine: American
- Diet: Gluten Free
Ingredients
- 2 cups whipping cream
- 2 cups half-and-half
- 1 cup sugar
- 1/4 teaspoon kosher salt
- 1 1/2 teaspoons vanilla extract
- 1/4 teaspoon cinnamon oil or cinnamon extract
Instructions
- In a large bowl, whisk the whipping cream, half-and-half, sugar, and salt until the sugar is completely dissolved.
- Stir in the vanilla extract and cinnamon oil (or extract).
- Pour the mixture into an ice cream maker and churn according to the manufacturer’s instructions.
- Once churned, transfer the ice cream to an airtight container.
- Freeze until firm, for at least 2 hours, before serving.
Notes
- An ice cream maker is required for this recipe.
- This is an eggless, no-cook ice cream base, which makes it quicker to prepare than custard-style ice creams.
Serving and Pairing Suggestions
This unique Fire and Ice Cream pairs wonderfully with other bold flavors.
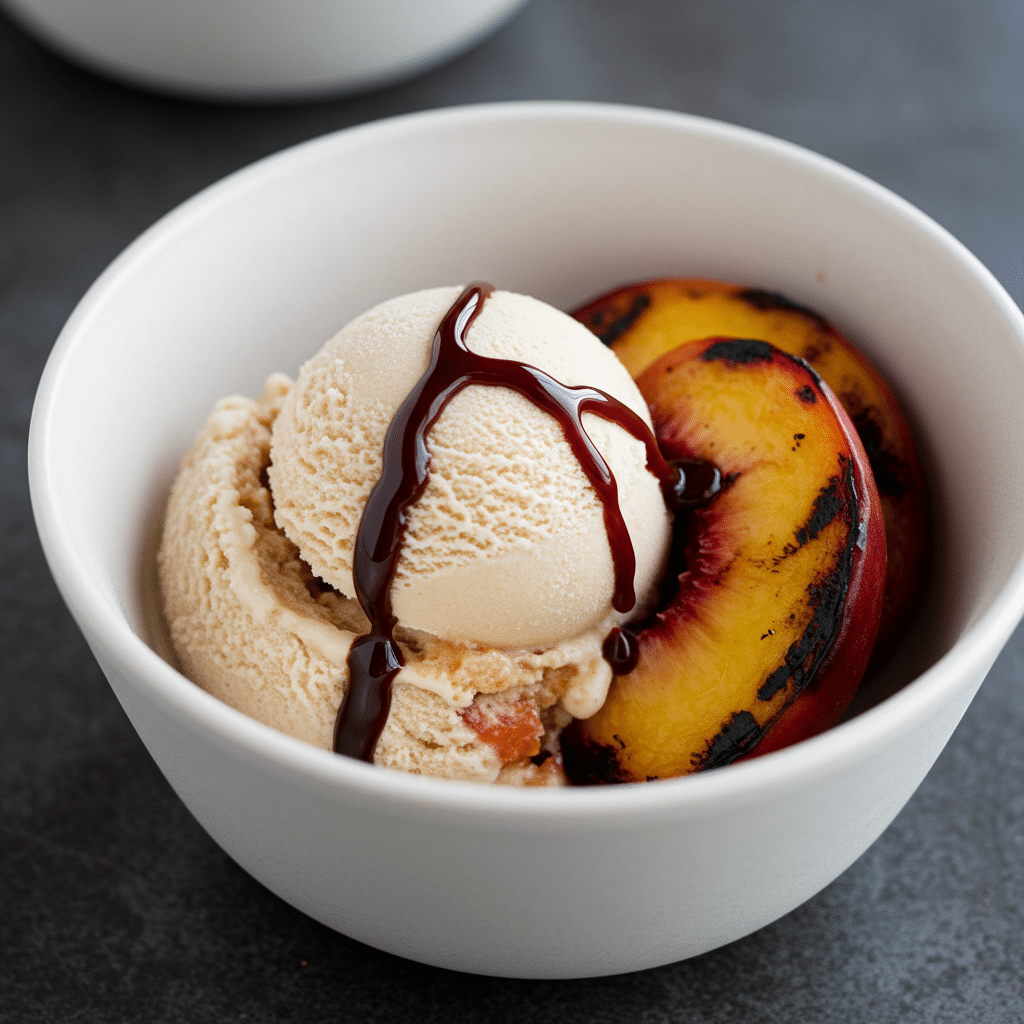
- With Grilled Fruit: Serve a scoop alongside warm, smoky grilled peaches or pineapple for an incredible hot-cold, smoky-spicy dessert.
- With Dark Chocolate: The bitterness of a rich hot fudge sauce or dark chocolate shavings is a perfect complement to the spicy cinnamon.
- As an Affogato: Pour a hot shot of strong espresso over a scoop of the Fire and Ice Cream for an amazing, multi-layered experience.
Storage Information
Store your homemade Fire and Ice Cream in an airtight container in the coldest part of your freezer. It is best enjoyed within two weeks for the most vibrant flavor and creamiest texture.
Creative “Fire and Ice” Variations
Use this simple base as a template to explore other exciting flavor contrasts.
| Flavor Variation | How to Adapt the Recipe | The Delicious Result |
|---|---|---|
| “Ginger Fire” Ice Cream | Replace the cinnamon oil with 1 to 2 tablespoons of freshly grated ginger juice or 1/4 teaspoon of food-grade ginger oil. | A fiery, zesty, and aromatic ice cream with a different kind of spicy kick. |
| “Chili Chocolate Fire” Ice Cream | Start with a from-scratch chocolate ice cream base. Whisk in 1/4 teaspoon of ancho chili powder or a tiny pinch of cayenne pepper before chilling. | The classic combination of rich chocolate and spicy chili in a cool, creamy form. |
| “Fire and Ice Cream” Sandwiches | Sandwich a scoop of the finished Fire and Ice Cream between two soft, chewy molasses-ginger cookies for the ultimate spicy, comforting treat. | A chewy, spicy, and creamy dessert that is perfect for autumn and the holidays. |
For more recipe follow my Pinterest account
Conclusion: A Dessert That Dares to Be Different
This Fire and Ice Cream is a true adventure in a bowl. It’s a simple recipe that proves homemade ice cream can be more than just sweet—it can be exciting, complex, and thought-provoking. The thrilling contrast of cool cream and warm spice is a delightful surprise that is sure to wow anyone who tries it. We hope you enjoy this unique and delicious journey into the world of Fire and Ice Cream.
Frequently Asked Questions (FAQs)
My ice cream is incredibly spicy! What did I do wrong?
You likely used a bit too much cinnamon oil. This ingredient is extremely potent, far more so than extract. When making the recipe for the first time, it’s always best to start with a very small amount, taste the liquid base, and then add more if needed.
Why is my ice cream icy instead of creamy? This almost al
Why is my ice cream icy instead of creamy?
This almost always comes down to temperature. For the creamiest Philadelphia-style (eggless) ice cream, it is crucial that your ice cream base is chilled overnight and that your ice cream maker’s freezer bowl is frozen completely solid (usually for a full 24 hours).
Can I make this Fire and Ice Cream without an ice cream maker?
An ice cream maker is highly recommended for the best texture. If you want to try a no-churn method, pour the chilled base into a shallow, freezer-safe pan. Freeze for 45 minutes, then scrape and stir vigorously with a fork. Repeat this scraping process every 30-45 minutes for 3-4 hours. The result will be icier and less smooth than the churned version, but still flavorful.


