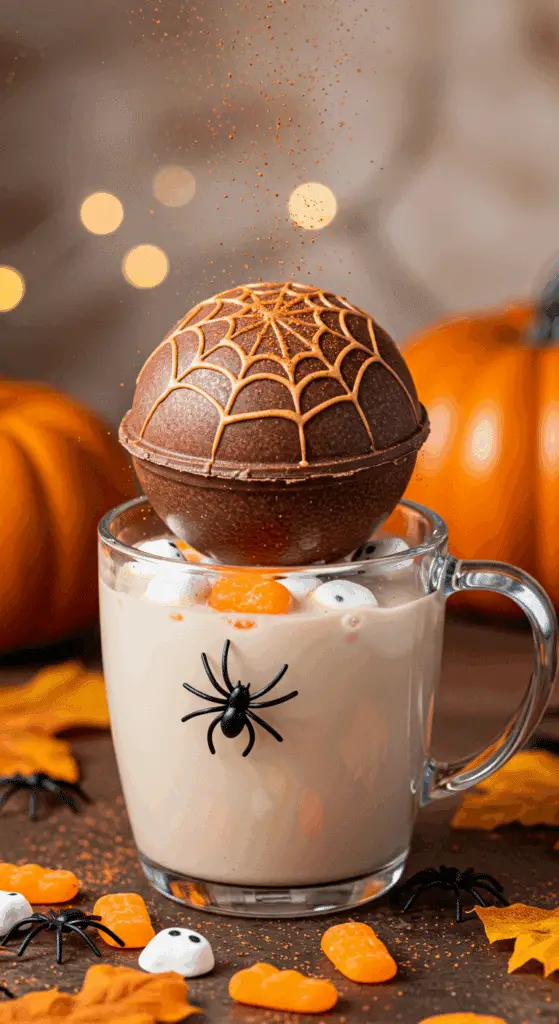
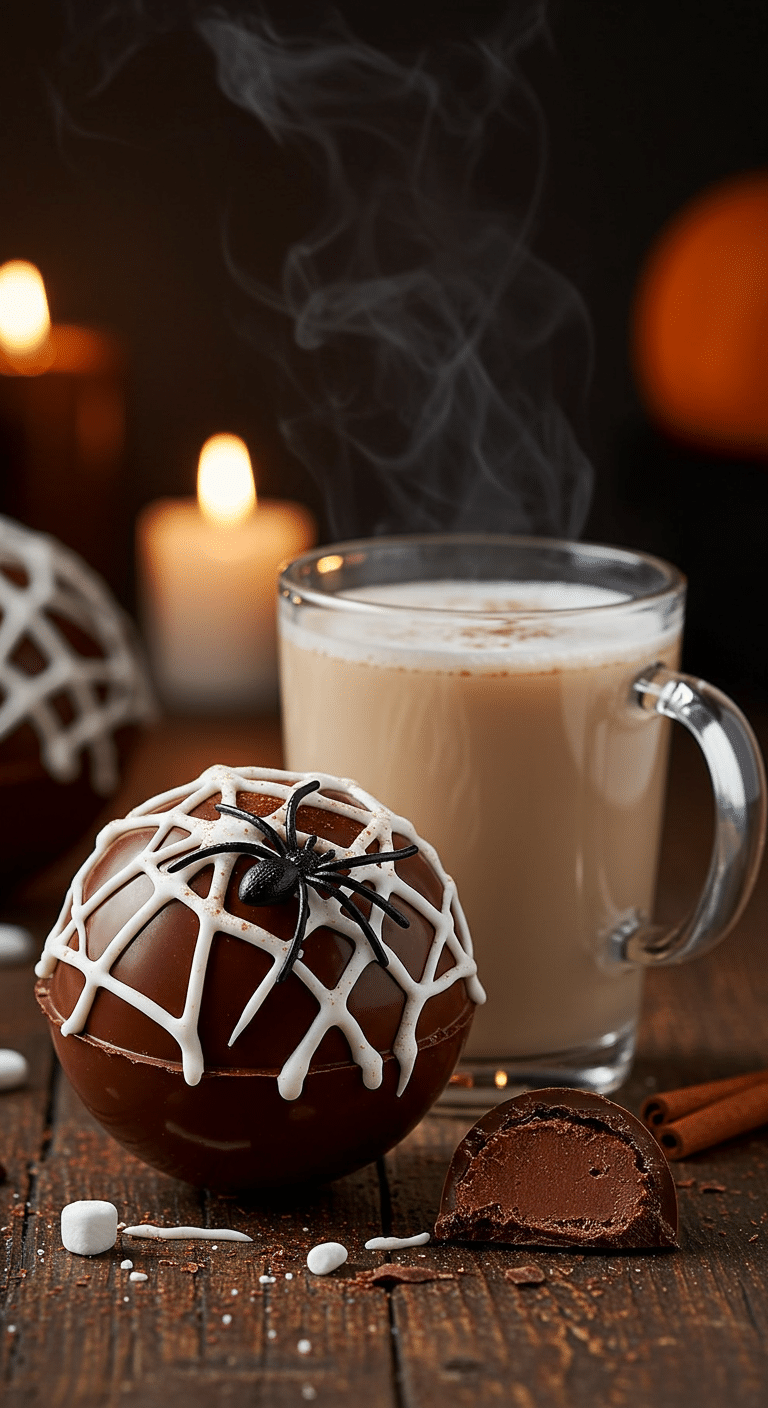
Ready to brew up the most magical, impressive, and ghoulishly delicious treat for a chilly Halloween night? A candy so creative and fun, it’s a spooky science experiment that ends with the best cup of hot cocoa you’ve ever had? These incredible, from-scratch Halloween Hot Cocoa Bombs are the ultimate festive creation! We’re talking a beautiful, shiny chocolate sphere, decorated with a creepy marshmallow spiderweb, that magically “explodes” when dropped into hot milk, revealing a treasure trove of cocoa, pumpkin spice marshmallows, and spooky candy spiders and ghosts.
This isn’t just a recipe; it’s a guide to your new favorite edible Halloween project. We’ll show you the simple but crucial secrets to a perfect, glossy chocolate shell and the brilliant, easy trick to creating that amazing, edible spiderweb decoration. This is a show-stopping, interactive treat that is as fun to make as it is to drink!
Table of Contents
Table of Contents
Recipe Overview: The Ultimate Spooky & Magical Halloween Treat
What makes these Halloween Hot Cocoa Bombs so spectacularly fun is their incredible, interactive “explosion” and their delicious, rich chocolate flavor. This recipe is a masterpiece of festive creativity. The “bomb” is a hollow sphere of rich, bittersweet chocolate, created using a simple silicone mold. The real magic, however, is what’s hidden inside. Each bomb is filled with a delicious payload of hot cocoa mix, pumpkin spice marshmallows, and a spooky surprise of candy ghosts and spiders. The final, show-stopping touch is a ghoulishly gorgeous, sticky, and stretchy marshmallow “spiderweb” that is draped all over the finished bomb. When you drop your creation into a mug of hot milk, the chocolate shell dramatically melts and releases all the spooky goodies from within!
| Metric | Time / Level |
| Total Time | 2 hours (includes setting) |
| Active Prep Time | 45 minutes |
| Difficulty Level | Intermediate |
| Servings | 6 hot cocoa bombs |
The Alchemist’s Laboratory: The Essential Ingredients & Tools
This iconic party treat uses a handful of high-quality ingredients and a few brilliant techniques to create its signature spooky look.
- The Chocolate Shell:
- High-Quality Bittersweet Chocolate: The secret to a truly decadent and delicious hot cocoa is to use a high-quality chocolate for the shell. A good bittersweet chocolate will provide a rich, deep flavor that isn’t overly sweet.
- Tempering vs. Candy Melts: For a truly professional, shiny, and snappy chocolate shell that won’t melt in your hands, tempering the chocolate is key. This recipe uses a simple “seeding” method that is very approachable. For an even easier, completely foolproof option (perfect for making with kids!), you can substitute the bittersweet chocolate with an equal amount of dark cocoa candy melts.
- The Spooky Filling & Decorations:
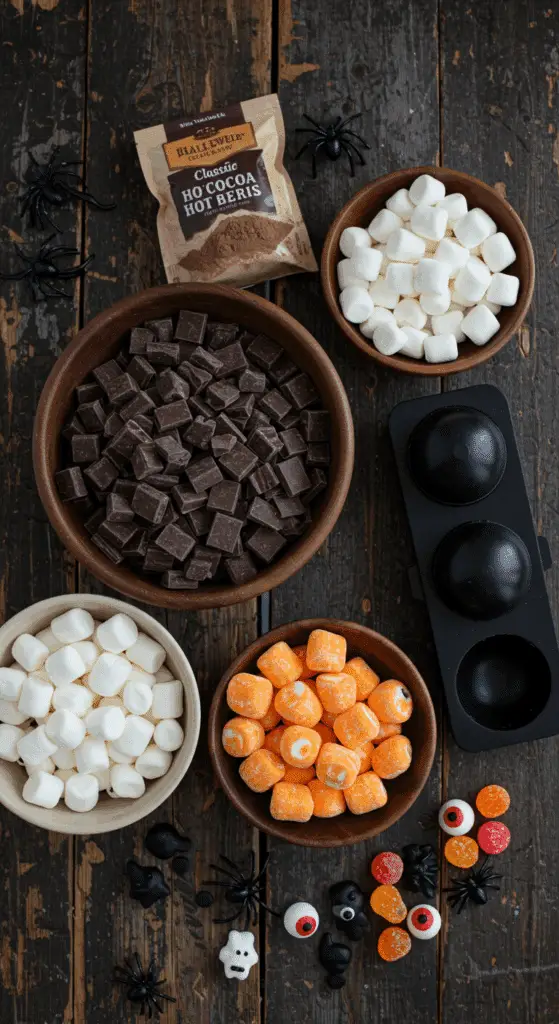
- The Filling: A classic combination of your favorite hot cocoa mix and some festive, seasonal pumpkin spice marshmallows. A few small candy ghosts and spiders are the perfect, hidden surprise!
- The Marshmallow Web: This is the brilliant and easy hack that makes these so spectacular! A handful of classic, regular-sized marshmallows, melted in the microwave, is the secret to the spooky decoration.
- The Key Equipment: A silicone hot chocolate bomb mold (with 2 1/2-inch half-sphere cavities) is the essential tool for this recipe.

Step-by-Step to the Best Halloween Hot Cocoa Bombs
This fun and festive project is a joy to prepare.
Part 1: The Art of the Chocolate Shells
Step 1: To temper your chocolate, place about two-thirds (8 ounces) of your finely chopped bittersweet chocolate in a double boiler or a heatproof bowl set over a saucepan of gently simmering water. Heat, stirring, until the chocolate is almost completely melted.
Step 2: Remove the bowl from the heat and add the remaining one-third (4 ounces) of your chopped chocolate. Stir continuously until all the chocolate has melted and the mixture is completely smooth.
Step 3: Divide the melted chocolate among your two silicone hot chocolate bomb molds (12 cavities in total). Use a small, food-safe brush or the back of a small spoon to evenly coat the inside of each mold. Make sure the sides are thick enough all the way to the edge.
Step 4: Let the molds sit at room temperature for 20 to 30 minutes, or until the chocolate shells are completely set and hardened.
Part 2: Fill, Seal, and Decorate Your Bombs
Step 1: Wearing gloves to prevent fingerprints, gently remove your 12 chocolate half-spheres from the molds. Step 2: Divide the hot cocoa mix, the pumpkin marshmallows, the candy ghosts, the candy spiders, and the chocolate sprinkles among 6 of the half-spheres. Step 3 (The Sealing Trick!): Warm a small, nonstick skillet over a very low heat. Take one of your empty half-spheres and place it, open-side down, on the skillet for just a second or two to gently melt the rim. Step 4: Immediately place the warmed half-sphere on top of one of your filled half-spheres to seal them together and create a perfect sphere. Repeat this process with your remaining half-spheres. Let them sit for a few minutes until the seam has hardened. Step 5 (The Marshmallow Web!): Place your 6 regular marshmallows in a small, microwave-safe bowl. Microwave for 10 to 15 seconds, until the marshmallows inflate and soften. Let them cool for a few minutes until they are safe to touch. With gloved and greased hands, pull up a little bit of the marshmallow and stretch it between your fingers to create thin, web-like strands. Stretch and drape this webbing all over your finished bombs. Step 6: Add two candy eyes or a final candy spider to the outside of each of your web-covered bombs.
To serve, simply drop one of your Halloween Hot Cocoa Bombs into a large mug of very hot milk and watch the magic happen!

Halloween Hot Cocoa Bombs (with Marshmallow Webs!)
A festive recipe for making homemade, Halloween-themed hot cocoa bombs. This fun project involves creating hollow spheres from tempered bittersweet chocolate using silicone molds. These chocolate shells are then filled with hot cocoa mix, pumpkin spice marshmallows, and other small Halloween candies like ghosts and spiders. The spheres are sealed together and decorated with a spooky ‘web’ made from stretched, melted marshmallows. To serve, the bomb is placed in a mug, and hot milk is poured over it, causing it to dramatically melt and release the fillings.
Ingredients
- 12 ounces high-quality bittersweet chocolate, finely chopped
- Two 1.38-ounce packages hot cocoa mix (without marshmallows)
- 18 to 24 pumpkin spice marshmallows
- 6 small candy ghosts
- 6 small candy spiders
- 1 to 2 tablespoons chocolate sprinkles
- 6 regular marshmallows
- 12 candy eyes or 6 additional candy spiders, for decoration (optional)
- Milk, for serving
Instructions
- Temper the Chocolate: Melt 8 ounces of the chopped chocolate in a double boiler over low heat until it reaches about 100°F. Remove from the heat and stir in the remaining 4 ounces of chocolate in additions until the mixture is smooth and has cooled to about 90°F.
- Create the Shells: Divide the tempered chocolate among two 6-cavity (2.5-inch diameter) silicone molds. Use a small brush to evenly coat the inside of each cavity, ensuring a thick, even layer. Let the shells sit at room temperature for 20 to 30 minutes to set completely.
- Fill the Bombs: Wearing gloves, gently remove the 12 chocolate half-spheres from the molds.
- Divide the hot cocoa mix, pumpkin spice marshmallows, candy ghosts, candy spiders, and sprinkles among 6 of the half-spheres.
- Seal the Bombs: Warm a small nonstick skillet over very low heat. Briefly place the rim of an empty half-sphere on the skillet to melt the edge, then immediately place it on top of a filled half-sphere to seal it. Repeat with the remaining spheres. Let the sealed bombs sit for about 5 minutes to harden.
- Decorate: Microwave the 6 regular marshmallows in a small bowl for 10-15 seconds until they puff up. Let them cool slightly. With gloved hands, pull and stretch the melted marshmallow into thin strands, wrapping them around the bombs to create a webbing effect.
- Decorate with candy eyes or spiders.
- To Serve: Place one bomb in a mug and pour 6 to 8 ounces of very hot milk over it. Stir to melt and enjoy.
Notes
- Special Equipment: The recipe requires an instant-read thermometer, two 6-cavity silicone hot chocolate bomb molds, a small food-safe brush, and latex gloves.
- Tempering the chocolate is a key step that ensures the final chocolate shells are shiny and snap cleanly.
- Wearing gloves when handling the chocolate spheres prevents fingerprints and smudges.
- Stretching the melted marshmallow is a fun, messy, and creative way to achieve a spooky spiderweb effect.
Storage and Make-Ahead Tips
These Halloween Hot Cocoa Bombs are the ultimate make-ahead party favor or treat!
- Make-Ahead: You can prepare these festive treats up to 2 weeks in advance.
- Storage: Store the finished hot cocoa bombs in a single layer in an airtight container in a cool, dry place at room temperature.
For more recipe follow my pinterest account
Frequently Asked Questions (FAQs)
Q1: What is the easiest way to temper chocolate at home?
The “seeding” method used in this recipe is a fantastic and very approachable way to do it. By melting most of your chocolate and then stirring in the remaining, un-melted chocolate off the heat, you are using the stable crystal structure of the solid chocolate to “seed” and stabilize the melted chocolate. For an even easier, foolproof option, you can always use candy melts, which do not require any tempering.
Q2: Can I make these hot cocoa bombs ahead of time for a party?
Yes, absolutely! This is a perfect make-ahead treat. You can prepare the entire recipe up to two weeks in advance and keep them stored in an airtight container at room temperature until your party. They make fantastic party favors!
Q3: How do I keep my chocolate shells from breaking when I am taking them out of the mold?
The secret is to make sure your chocolate shell is thick enough, especially around the rim. When you are painting the chocolate into the molds, it is a great idea to do a second coat after the first one has set to reinforce the shell.
Q4: Can I make this recipe with different kinds of chocolate or fillings?
Of course! This fun technique would also be fantastic with a classic milk chocolate, a dark chocolate, or even a colorful, white chocolate-based shell. You can also get creative with your fillings! A spoonful of caramel, some peanut butter powder, or some different flavored mini marshmallows would all be delicious additions.
Q5: Can I make this recipe dairy-free?
Yes! To make this recipe completely dairy-free, simply be sure to use a high-quality dairy-free bittersweet or dark chocolate, a dairy-free hot cocoa mix, and serve it with your favorite hot, plant-based milk (like an oat or an almond milk).


