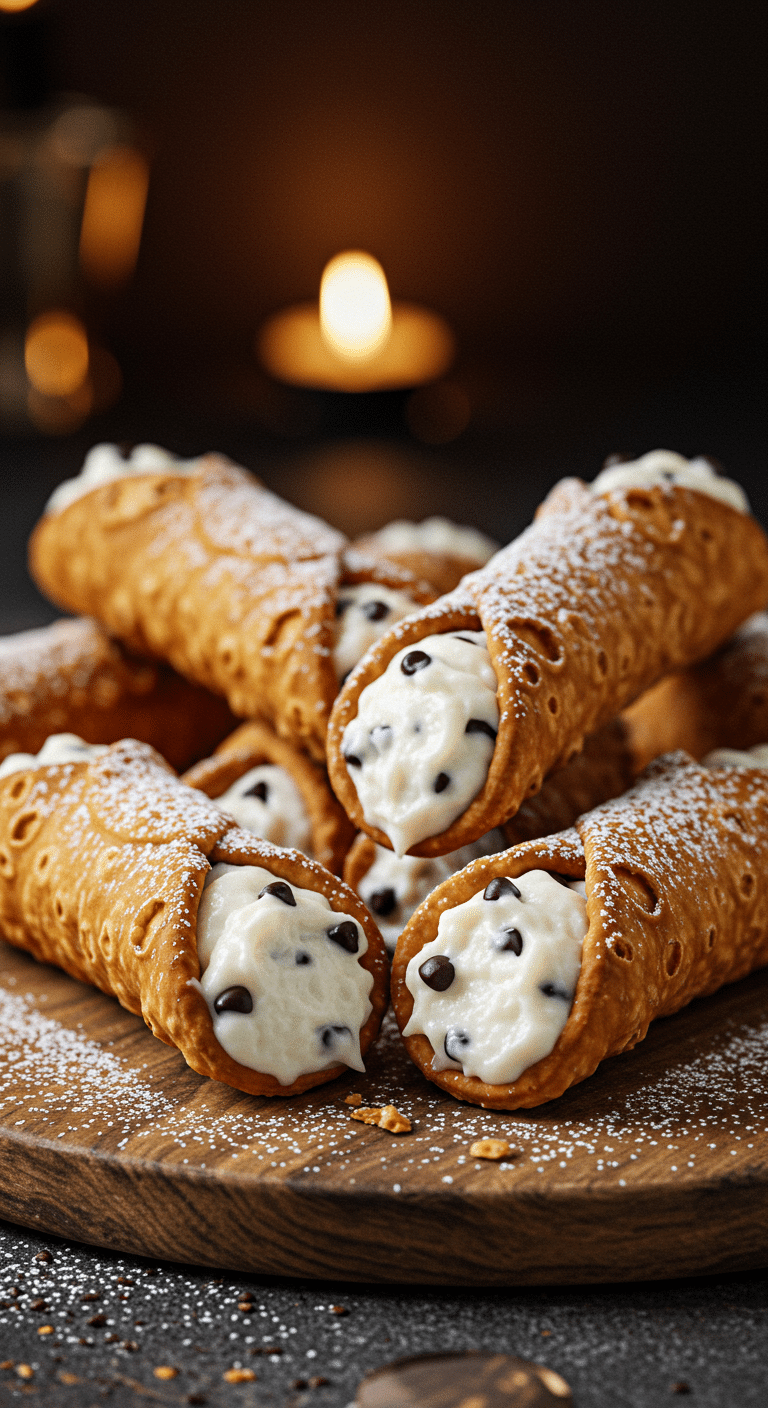
Are you ready to create the ultimate, iconic Italian dessert right in your own kitchen? A festive, from-scratch treat so special, it will transport you straight to a bustling Sicilian pastry shop? This incredible, step-by-step guide to classic Homemade Cannoli is the only recipe you’ll ever need. We’re talking shatteringly crisp, bubbly, golden-brown pastry shells, filled with a luscious, creamy, and perfectly sweet ricotta filling, studded with miniature chocolate chips.
This isn’t just a recipe; it’s a guide to mastering a beloved culinary tradition. While making cannoli from scratch may seem like a project reserved for the pros, we’ll break down the entire process into simple, manageable steps. We’ll show you the crucial secrets to a flawless, non-watery filling and a perfectly bubbly, crispy shell that will make you feel like a true pastry chef. This is a satisfying and deeply impressive dessert that is destined to become a new family tradition for holidays and special occasions.
Table of Contents
Table of Contents
Recipe Overview: The Ultimate Festive & Traditional Italian Pastry
What makes these Homemade Cannoli so spectacularly delicious is their incredible contrast of textures and their perfectly balanced, sweet and creamy flavor, all achieved with classic, from-scratch techniques. This recipe is a masterpiece of traditional Italian baking. The star of the show is the homemade cannoli shell, a simple but magical dough made with flour and white wine, which is rolled paper-thin and deep-fried to create its signature bubbly, crisp texture. The filling is a classic, rich, and luscious ricotta cream, made from whole milk ricotta, lightened with a cloud of homemade whipped cream, and studded with miniature chocolate chips and bright lemon zest. The final, crucial step is to fill the crisp shells just before serving for the perfect, unforgettable bite.
| Metric | Time / Level |
| Total Time | 3 hours (includes resting & chilling) |
| Active Prep Time | 1 hour 30 minutes |
| Difficulty Level | Intermediate |
| Servings | About 24 cannoli |
The Pasticceria Pantry: The Essential Ingredients & Tools
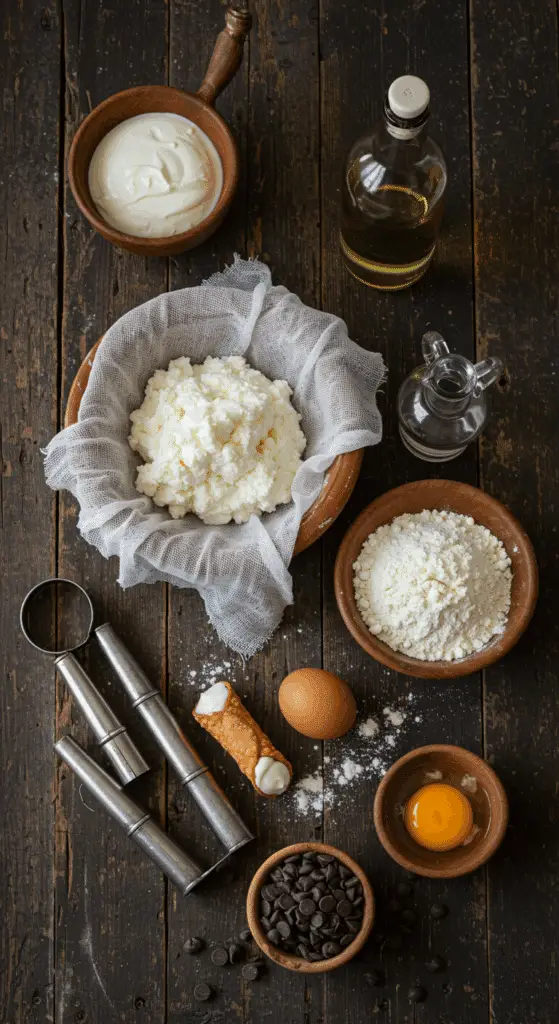
This iconic dish uses a handful of high-quality, authentic ingredients and a few key pieces of equipment to create its signature flavor and texture.
- The Creamy Ricotta Filling (The Heart of the Cannoli!):
- Whole Milk Ricotta: For the richest, most authentic flavor and the creamiest texture, it is essential to use a high-quality, whole milk ricotta cheese.
- The Draining Secret!: This is the single most important, non-negotiable secret to a perfect, thick, and non-watery cannoli filling. You must drain your ricotta cheese, preferably overnight. Simply place it in a fine-mesh sieve lined with cheesecloth set over a bowl in the refrigerator. This will allow all the excess whey to drain away, resulting in a thick, luscious, and stable cream.
- Whipped Cream: The professional secret to a light and airy, not dense and pasty, ricotta filling is to gently fold in a generous amount of homemade sweetened whipped cream.
- The Crispy, Bubbly Shell:
- The Wine: The addition of a dry white wine to the dough is a classic, brilliant trick! The acid in the wine helps to tenderize the gluten, which is the key to a delicate, flaky, and blistered crust.
- The Key Equipment:
- Cannoli Molds: For the classic, tubular shape, a set of metal cannoli forms or molds is absolutely essential.
- A Candy/Fry Thermometer: For perfect, golden-brown, and safely fried shells, a deep-frying thermometer is your non-negotiable best friend. It is the only way to ensure your oil is at the perfect temperature.

Step-by-Step to the Best Homemade Cannoli
This rewarding culinary project is a joy to prepare.
Phase 1: The Secret to a Perfect, Non-Watery Ricotta Filling (Start the Day Before!)
Step 1: The day before you plan to make your cannoli, place your 2 cups of whole milk ricotta cheese in a fine-mesh sieve that has been lined with a few layers of cheesecloth. Set the sieve over a bowl, cover it, and place it in the refrigerator to drain for at least 8 hours, or preferably overnight.
Step 2: When you are ready to make the filling, in a medium bowl, whisk your drained ricotta until it is smooth. Sift in the 3/4 cup of powdered sugar, the 1 teaspoon of ground cinnamon, and the 1/4 teaspoon of allspice and mix to blend.
Step 3: In a separate bowl, beat your 1/4 cup of heavy cream until it holds fairly stiff peaks. Gently fold the whipped cream into the ricotta mixture. Stir in the 1/4 cup of small semisweet chocolate chips and the zest of 1 lemon.
Step 4: Cover the filling and refrigerate it for at least one hour to allow the flavors to meld.
Phase 2: The Art of the Crispy, Bubbly Cannoli Shell
Step 1: In a medium bowl, sift together the 2 cups of all-purpose flour, the 1 tablespoon of granulated sugar, and the 1/4 teaspoon of kosher salt. Use your fingers to work the 1 tablespoon of butter pieces into the flour until the mixture is coarse and sandy.
Step 2: Add the 1 egg yolk and the 1/2 cup of dry white wine and mix until a smooth dough forms. Wrap the dough in plastic wrap and let it rest in the refrigerator for at least 30 minutes.
Step 3: In a medium, heavy-bottomed pot, heat about 3-4 inches of canola oil to 360∘F (182∘C).
Step 4: On a lightly floured surface, roll your dough until it is very thin, about 1/8-inch thick. Use a 3- to 4-inch round cookie cutter to cut out about 24 circles.
Step 5: Wrap each circle of dough around a cannoli mold, using a little bit of a beaten egg to seal the overlapping edge.
Step 6: Working in small batches, use a pair of tongs to carefully submerge and fry the shells in the hot oil for 2 to 3 minutes, until they are golden brown and crispy.
Step 7: Carefully remove the shell from the oil and let it drain on a wire rack. While it is still hot, use a kitchen towel to gently grip the shell and carefully slide it off the mold. Let the shells cool completely.
Phase 3: The Final, Perfect Fill
Just before you are ready to serve, transfer your chilled ricotta filling to a pastry bag. Pipe the filling into your cooled cannoli shells, filling them from both ends to ensure the cream runs all the way through the middle.
Dust the filled cannoli generously with powdered sugar and serve immediately for the best, crispiest result.

Homemade Cannoli (An Authentic, Crispy Recipe!)
A classic, from-scratch recipe for homemade Italian cannoli. The process involves making a simple dough with flour and white wine, which is then rolled thin, cut into circles, and wrapped around cannoli molds before being deep-fried until golden and bubbly. The crispy shells are then filled with a sweet, creamy ricotta cheese filling, flavored with cinnamon and lemon zest and studded with mini chocolate chips. The cannolis are filled just before serving and dusted with powdered sugar for a professional bakery touch.
Ingredients
- For the Shells:
- 2 cups all-purpose flour
- 1 tablespoon granulated sugar
- 1/4 teaspoon kosher salt
- 1 tablespoon plus 2 teaspoons unsalted butter, cut into small pieces
- 1 egg yolk
- 1/2 cup dry white wine
- 1 quart canola oil, for frying
- 1 egg, lightly beaten, for egg wash
- For the Filling:
- 2 cups whole milk ricotta cheese
- 3/4 cup powdered sugar
- 1 teaspoon ground cinnamon
- 1/4 teaspoon allspice
- 1/4 cup heavy cream
- 1/4 cup small semisweet chocolate chips
- 1 lemon, for zest
- Powdered sugar, for dusting
Instructions
- Make the Shell Dough: In a medium bowl, sift together the flour, granulated sugar, and salt. Work the butter into the flour with your fingers until the mixture is coarse. Add the egg yolk and the white wine and mix until a smooth dough forms. Wrap the dough in plastic and let it rest in the refrigerator for at least 30 minutes.
- Make the Filling: While the dough rests, whisk the ricotta in a medium bowl until smooth. Sift in the powdered sugar, cinnamon, and allspice and mix to blend. In a separate bowl, beat the heavy cream until fairly stiff peaks form. Gently fold the whipped cream into the ricotta mixture. Stir in the chocolate chips and the lemon zest. Refrigerate the filling for at least 30 minutes to an hour to firm up.
- Roll and Fry the Shells: In a medium, heavy-bottomed pot, heat the canola oil to 360°F.
- On a floured surface, roll the dough until it is very thin (about 1/8-inch thick). Use a 3-to-4-inch round cutter to cut out about 24 circles.
- Wrap each circle around a cannoli mold. Brush a little egg wash on the edge to seal it shut.
- Carefully submerge and fry the shells in the hot oil for 2 to 3 minutes, until crispy and golden. Using tongs, remove the mold from the oil and carefully slide the hot shell off onto a paper towel-lined plate to cool. Repeat with all the dough circles.
- Fill the Cannolis: Just before serving, transfer the chilled ricotta filling to a pastry bag. Pipe the filling into the cooled cannoli shells from both ends to ensure they are filled completely.
- Dust the filled cannolis with powdered sugar and serve immediately.
Notes
- Special Equipment: You will need metal cannoli molds for shaping and frying the shells.
- Resting the dough is an important step that allows the gluten to relax, making it easier to roll out thinly.
- For the crispiest shells, it’s crucial to fill the cannolis just before serving. If filled too far in advance, the shells will become soft.
- The dough needs to be rolled very thin to achieve the classic bubbly, crispy texture when fried.
Storage and Make-Ahead Tips
- Make-Ahead: This is the perfect make-ahead holiday dessert! You can prepare the drained ricotta filling and the fried, empty cannoli shells up to 3 days in advance.
- Storage: Store the unfilled cannoli shells in an airtight container at room temperature.1 Store the ricotta filling in a separate, airtight container in the refrigerator. Do not fill the cannoli until you are ready to serve them!
For more recipe follow my pinterest account
Frequently Asked Questions (FAQs)
Q1: What is the absolute, number one secret to a cannoli shell that is still crispy?
The most important rule of cannoli is to fill them just before you serve them. A filled cannoli will begin to get soft and soggy in as little as 20 to 30 minutes. For that perfect, signature, shatteringly crisp bite, you must assemble them at the last minute.
Q2: My ricotta filling is runny and watery. What did I do wrong?
You likely did not drain your ricotta cheese. This is the most crucial, non-negotiable step for a thick, creamy, and luscious filling. Draining the ricotta overnight removes all the excess water (whey), which is the number one culprit behind a runny filling.
Q3: Can I make these without the special, metal cannoli molds?
Unfortunately, the cannoli molds are an essential piece of equipment for this recipe. They are the key that creates the classic, hollow, tubular shape of the shell. You can find them easily and inexpensively online or at most specialty kitchen stores.
Q4: Can I bake the cannoli shells instead of frying them?
You can, but the final result will be a very different dessert. Baking the shells will create a cracker-like pastry, but you will not get the signature, light, bubbly, and blistered texture that is the hallmark of a true, classic cannoli.
Q5: What are some other classic fillings or toppings for cannoli?
For a beautiful, classic, pastry shop-style finish, you can dip the ends of your filled cannoli in a variety of delicious toppings! Some fantastic choices include more miniature chocolate chips, finely chopped pistachios, or some chopped, candied orange peel.


