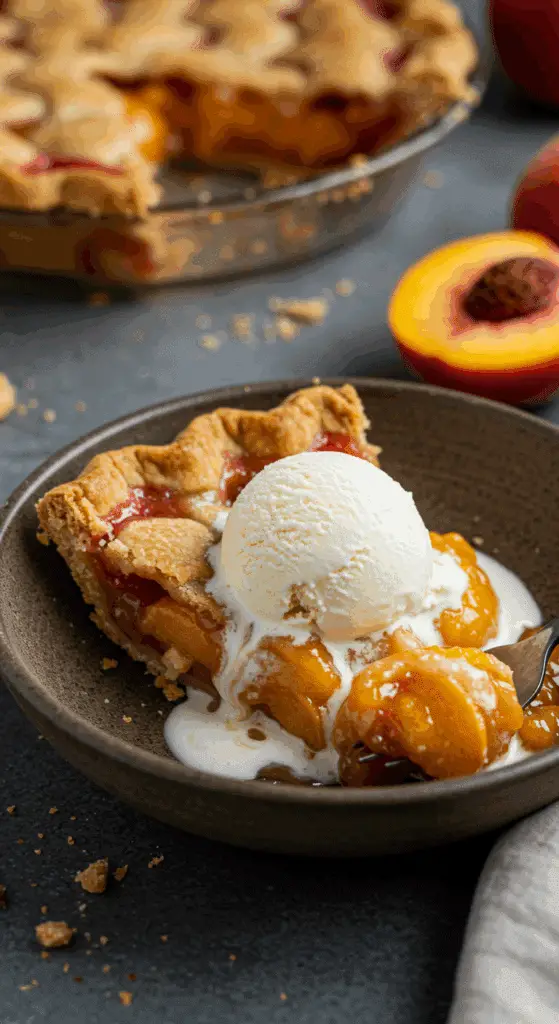
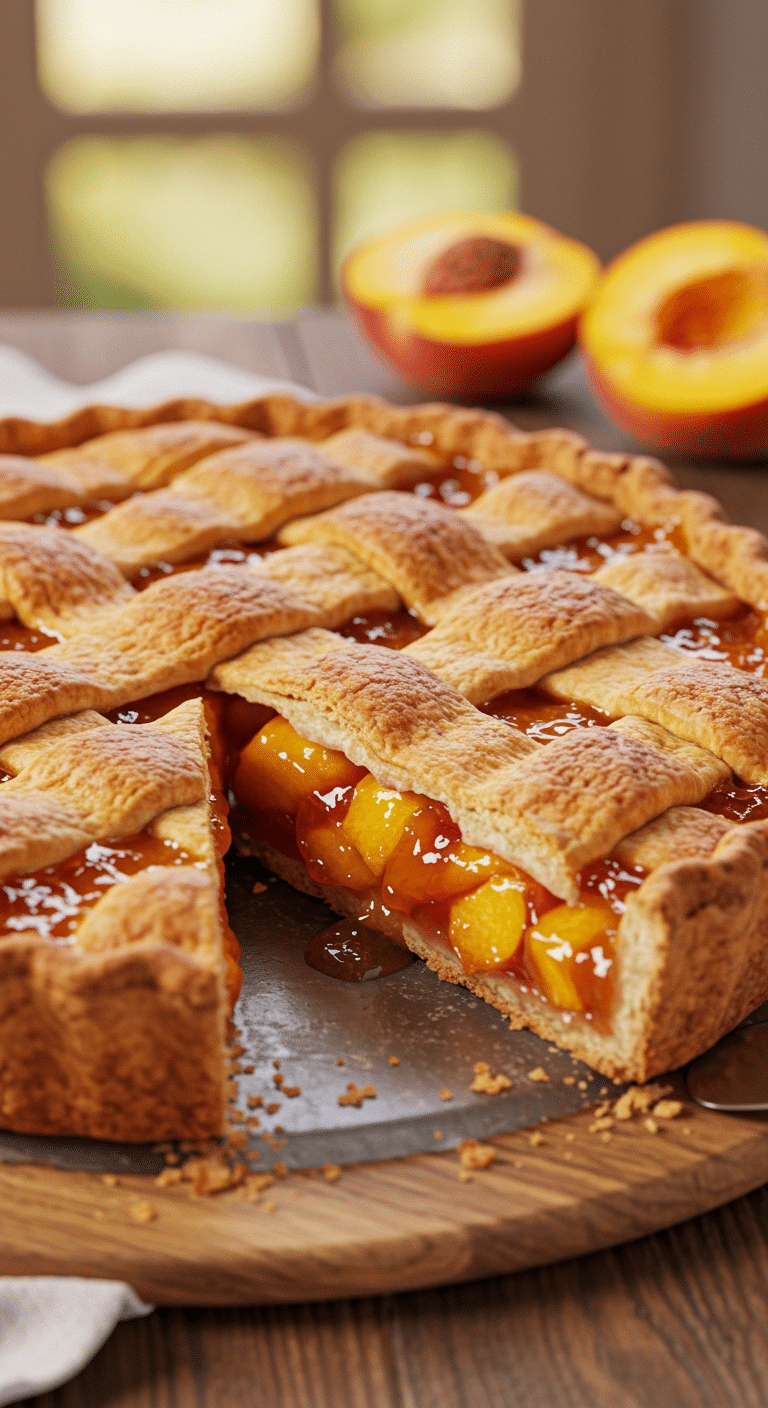
Have you ever dreamed of baking a truly picture-perfect Peach Pie, with a stunning, golden, flaky lattice crust and a thick, rich, and jammy filling that never, ever makes the bottom crust soggy? If you’ve ever been disappointed by a watery fruit pie, get ready, because this ingenious recipe from Chef John is the answer to all your pie-making prayers.
This isn’t just another peach pie recipe; it’s your ultimate guide to mastering a timeless American classic. The secret is a brilliant, yet simple, professional technique that concentrates the peach flavor and guarantees a perfect, non-soggy slice every single time. We’ll walk you through everything, from choosing the perfect peaches to weaving a beautiful lattice top. This is the only peach pie recipe you will ever need.
Table of Contents
Table of Contents
Recipe Overview: The Secret to a Perfect, No-Soggy-Bottom Pie
What makes this Peach Pie recipe the absolute “best” is its foolproof method for the filling. Instead of just tossing raw peaches with a thickener and hoping for the best, we first draw out their natural juices. Then, we drain that liquid, boil it down into a rich, intensely flavorful syrup, and add it back to the fruit. This simple extra step is a complete game-changer: it removes excess water (the enemy of a crisp crust) and turbo-charges the filling with pure, concentrated peach flavor.
| Metric | Time / Level |
| Total Time | 2 hours 30 minutes (plus cooling) |
| Active Prep Time | 45 minutes |
| Difficulty Level | Intermediate |
| Servings | 10 |
The Essential Ingredients for a Perfect Peach Pie
This recipe uses a handful of classic, high-quality ingredients to let the flavor of the fresh peaches shine.
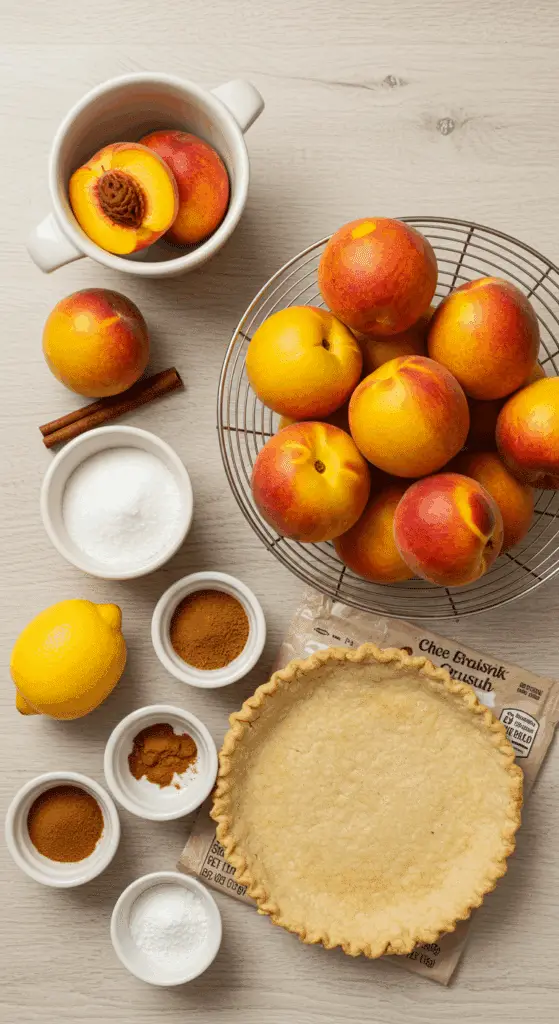
- Fresh Freestone Peaches: The undisputed star of the show. For the best pie, you must use fresh, ripe, yet firm freestone peaches.
- Why Freestone?: Freestone peaches have pits that easily pull away from the flesh, making them a breeze to slice.
- Why Ripe but Firm?: Ripe peaches have the best, sweetest flavor, but they need to be firm enough to hold their shape during baking and not turn to mush.
- The Thickeners (Flour & Cornstarch): This recipe smartly uses a combination of both all-purpose flour and cornstarch. The flour provides a classic, velvety thickness, while the cornstarch helps to create a beautiful, glossy, clear gel, resulting in a perfect, jammy filling.
- The Spices (Cayenne & Cinnamon): A tiny, secret pinch of cayenne pepper doesn’t make the pie spicy; it works in the background to subtly amplify the sweetness of the peaches. A pinch of cinnamon adds a classic, warm spice note.
- Double-Crust Pie Pastry: To hold our glorious filling, you’ll need a pastry for a 9- or 10-inch double-crust pie. You can use a high-quality store-bought, thawed pie pastry for a fantastic and convenient shortcut, or your favorite homemade all-butter recipe.
- The Finishing Touches (Butter, Cream & Sugar): A few small pieces of butter dotted over the filling before the top crust goes on adds a wonderful richness. A final brush of heavy cream and a sprinkle of sugar on the lattice top is the secret to a beautiful, shiny, golden-brown, and slightly crunchy finish.

Step-by-Step to the Ultimate Peach Pie
This recipe is a rewarding baking project. Follow these detailed steps for a perfect result every time.
Part 1: The “No-Soggy-Bottom” Peach Filling
Step 1: First, preheat your oven to 350°F (175°C). Prepare your peaches by peeling, pitting, and slicing them. In a large bowl, stir together the sliced peaches, 1/2 cup of the white sugar, and the salt until the peaches are evenly coated.
Step 2: Let the peach mixture sit at room temperature for 20 to 30 minutes. This process, called macerating, will draw a significant amount of juice out of the peaches.
Step 3: Strain the peaches through a colander set over a saucepan, catching all of that beautiful, accumulated peach juice. Return the strained peaches to their now-empty bowl.
Step 4: Bring the peach juices in the saucepan to a boil. Reduce the heat to medium-high and let the juice cook and reduce until it has thickened into a beautiful, fragrant syrup. This will take about 5 to 10 minutes.
Step 5: While the syrup is reducing, prepare the rest of the filling. In a medium bowl, whisk together the remaining 1/2 cup of sugar, the all-purpose flour, and the cornstarch.
Step 6: Add the lemon juice, cayenne pepper, and cinnamon to the bowl with the strained peaches and toss to coat. Sprinkle the flour and sugar mixture over the peaches and toss again until they are evenly coated.
Step 7: Pour the hot, reduced peach syrup over the peach mixture and stir everything together. Your perfect, no-soggy-bottom pie filling is now ready!
Part 2: Assembling the Pie and Weaving the Lattice
Step 1: On a lightly floured surface, roll out one of your pastry discs into a 12-inch circle. Carefully press the pastry into the bottom and up the sides of a 10-inch pie plate.
Step 2: Pour the prepared peach filling into the crust. Gently tap the pie plate against the counter to settle the filling. Dot the top of the filling with the small pieces of butter.
Step 3: Roll the remaining pastry disc into an 11-inch circle. Using a pastry wheel or a sharp paring knife, cut the pastry into even, 1-inch wide strips.
Step 4 (How to Weave a Lattice):
- Lay 5 parallel strips evenly over the top of the pie, leaving about an inch of space between them.
- Fold back every other strip (the 1st, 3rd, and 5th strips).
- Place one of the remaining long strips perpendicular across the unfolded strips (the 2nd and 4th).
- Unfold the 1st, 3rd, and 5th strips back over the new perpendicular strip.
- Now, fold back the other set of strips (the 2nd and 4th).
- Place a second perpendicular strip across the pie. Unfold the 2nd and 4th strips.
- Repeat this process until you have a beautiful woven lattice top.
Step 5: Fold the ends of the lattice strips under the edge of the bottom crust. Crimp the entire edge of the pie with your fingers or a fork to seal it.
Step 6: Brush the surface of the lattice top with the heavy whipping cream and sprinkle it evenly with the 1 tablespoon of white sugar.
Part 3: Baking to Golden, Bubbly Perfection
Step 1: Place your assembled pie on a larger, rimmed baking sheet to catch any drips.
Step 2: Bake in the preheated oven for about 1 hour and 15 minutes. Your pie is perfectly done when the crust is a deep golden brown and the filling is thick and bubbling vigorously through the lattice.
Step 3 (The Most Important Step!): You must let the pie cool completely on a wire rack before slicing. This will take at least 2-3 hours. This crucial resting period allows the hot, molten filling to cool down and set up properly. If you cut into it while it’s still warm, the filling will be runny.

The Best Foolproof Homemade Peach Pie Recipe
A classic recipe for a double-crust peach pie with a juicy, thick filling. The method involves macerating fresh, sliced peaches with sugar to draw out their natural juices. These juices are then strained off and cooked down into a rich syrup, which is later combined back with the peaches and a flour-cornstarch mixture to ensure a thick, not watery, filling. The pie is assembled in a 10-inch pie plate with a beautiful lattice top, brushed with cream, and baked until the crust is golden and the filling is bubbly.
- Prep Time: 1 hour
- Cook Time: 1 hour 25 minutes
- Total Time: 5 hours 25 minutes (includes cooling time)
- Yield: 10 servings
- Category: Dessert
- Method: Baking
- Cuisine: American
- Diet: Vegetarian
Ingredients
- 3 pounds fresh freestone peaches, peeled and sliced
- 1 cup white sugar, divided
- 1 tiny pinch salt
- ¼ cup all-purpose flour
- 1 tablespoon cornstarch
- 1 teaspoon lemon juice
- 1 pinch cayenne pepper
- 1 pinch ground cinnamon
- 1 (14.1 ounce) package double-crust pie pastry, thawed
- 1 ½ tablespoons butter, cut into tiny pieces
- 1 tablespoon heavy whipping cream
- 1 tablespoon white sugar, for sprinkling
Instructions
- Preheat the oven to 350°F (175°C).
- Prepare the Filling: In a large bowl, stir together the sliced peaches, 1/2 cup of sugar, and a pinch of salt. Let the mixture sit for 20 to 30 minutes to release its juices.
- Strain the accumulated juices into a saucepan and return the strained peaches to the bowl.
- Bring the juices in the saucepan to a boil, then reduce the heat and cook for 5 to 10 minutes, until the mixture has thickened to a syrup.
- In a separate medium bowl, whisk together the remaining 1/2 cup of sugar, the flour, and the cornstarch.
- Stir the lemon juice, cayenne pepper, and cinnamon into the peaches in the large bowl. Sprinkle the flour mixture over the peaches and toss to coat.
- Pour the hot peach syrup over the peach mixture and stir to combine.
- Assemble the Pie: Roll out one half of the pie pastry into a 12-inch circle and press it into a 10-inch pie plate.
- Pour the prepared peach filling into the crust and dot the top with small pieces of butter.
- Roll the remaining pastry into an 11-inch circle and cut it into 1-inch strips. Weave the strips over the filling to create a lattice top.
- Fold the ends of the lattice strips under the bottom crust and crimp the edges to seal.
- Brush the lattice top with heavy cream and sprinkle with 1 tablespoon of sugar.
- Bake: Bake in the preheated oven for about 1 hour and 15 minutes, until the crust is browned and the filling is bubbly.
- Cool the pie completely on a wire rack before slicing to allow the filling to set.
Notes
- A key technique in this recipe is macerating the peaches and then cooking down their juices into a syrup. This prevents a soggy bottom crust and creates a richer filling.
- Using a lattice top is a classic and decorative finish for a fruit pie.
- It is crucial to let the pie cool completely before slicing, which can take several hours, to ensure the filling is properly set.
Storage and Make-Ahead Tips
A homemade peach pie is a wonderful treat to have on hand.
- Make-Ahead: You can prepare the pie dough and keep it, well-wrapped, in the refrigerator for up to 2 days or in the freezer for up to 3 months. You can also prepare the entire fruit filling (through Part 1, Step 7) and store it in an airtight container in the refrigerator for up to 24 hours before assembling and baking the pie.
- Storage: Store any leftover pie, covered loosely with a clean kitchen towel or foil, at room temperature for up to 2 days. For longer storage, you can keep it in the refrigerator for up to 4-5 days.
- Reheating: You can enjoy the pie at room temperature, or reheat individual slices in the microwave or a low oven until just warm.
For more recipe follow my Pinterest account
Creative Recipe Variations
This classic peach pie is a perfect base for your own delicious twists.
- Classic Peach-Blueberry Pie: For a beautiful color and a classic flavor combination, you can gently fold in 1 cup of fresh or frozen blueberries to the peach filling mixture just before you pour it into the crust.
- Add a Different Spice: For a different warm spice note that is also wonderful with peaches, you can swap the cinnamon and cayenne for a 1/4 teaspoon of ground cardamom or a 1/4 teaspoon of ground ginger.
- Make a Crumble Top: If you’re not in the mood to weave a lattice, you can top the pie with a simple crumble topping instead. Mix together 1 cup of flour, 1/2 cup of brown sugar, 1/2 cup of rolled oats, a pinch of cinnamon, and 1/2 cup of cold, cubed butter until crumbly. Sprinkle this over the fruit before baking.
Enjoy The Perfect Slice of Summer!
You’ve just created a truly perfect, classic American dessert that is the absolute best way to celebrate peak-season peaches. This foolproof recipe, with its incredible no-soggy-bottom technique and beautiful lattice crust, is a rewarding project that will make you feel like a true baking champion. It’s the kind of pie that creates memories.
We hope you and your loved ones enjoy every last, perfect, jammy, and flaky bite!
If you enjoyed making this recipe, please leave a comment below or share it with a friend who loves to bake!
Frequently Asked Questions (FAQs)
Q1: What is the secret to a non-soggy fruit pie?
The secret is the brilliant technique used in this recipe: macerating the fruit to draw out its water, and then reducing that juice into a syrup. This removes a significant amount of excess liquid from the filling before it ever goes into the oven, which is the number one cause of a soggy bottom crust. It also results in a much more intensely flavored filling.
Q2: What are the best peaches to use for making a pie?
The best peaches for pie are ripe for flavor, but still firm to the touch. You don’t want to use overly soft, mushy peaches, as they will break down too much during the long baking time. Freestone yellow peaches are the ideal choice because their pits are very easy to remove, making them simple to slice.
Q3: Do I absolutely have to make a lattice top?
No, you don’t! While a lattice top is beautiful and classic, you can also simply place the second full pie crust over the top of the filling. Just be sure to cut several slits in the top crust with a knife to allow steam to escape as the pie bakes.
Q4: How do I know for sure when my peach pie is done baking?
There are two key visual cues for a perfectly baked fruit pie. First, the crust should be a deep, rich golden brown all over, not pale. Second, and most importantly, the filling should be thick and bubbling vigorously up through the vents in your lattice or the slits in your top crust. Seeing that thick, bubbly filling is the sign that the starches have activated and your pie will set up perfectly as it cools.
Q5: Why does my pie need to cool completely before I slice it?
This is the most important rule of fruit pie baking! The filling is like molten lava when it comes out of the oven. The thickeners (flour and cornstarch) need several hours in the cooler, room-temperature air to fully set up and create a firm, sliceable, jammy filling. If you cut into a warm pie, all that delicious filling will come pouring out in a runny mess. Patience is key!


