Are you ready to embark on a truly special and rewarding culinary adventure? To create a pasta dish from scratch that is the very essence of autumn on a plate, and so much more delicious than anything you can buy? This incredible, Homemade Pumpkin Pasta with a classic, nutty Brown Butter and Sage Sauce is that perfect fall project.
This isn’t just a recipe; it’s a guide to the beautiful, meditative, and surprisingly simple process of making fresh pasta at home. We’ll show you how to transform a can of pumpkin purée and a scoop of flour into beautiful, vibrant orange, and unbelievably tender pasta. Tossed in a simple yet sophisticated sauce of browned butter and crispy sage, this is a stunning, restaurant-quality meal that will truly wow your family and friends.
Table of Contents
Table of Contents
Recipe Overview: The Ultimate Fall Pasta Project
What makes this Pumpkin Pasta so spectacular is the incredible flavor and delicate texture that can only come from making pasta from scratch. This is a simple, eggless pasta dough that gets its beautiful color, subtle sweetness, and moisture from pure pumpkin purée. The process of kneading, rolling, and cutting your own pasta is a fun and rewarding experience. The finished pasta is then tossed in one of Italy’s most classic and elegant sauces: burro e salvia, or brown butter and sage. It’s a perfect harmony of flavors and a true celebration of the fall season.
| Metric | Time / Level |
| Total Time | 2 hours (includes dough resting time) |
| Active Prep Time | 45 minutes |
| Difficulty Level | Intermediate |
| Servings | 4-6 |
The Essential Ingredients for This Elegant Pasta
This recipe uses a handful of simple, high-quality ingredients where technique makes all the difference.
- The Homemade Pumpkin Pasta Dough:
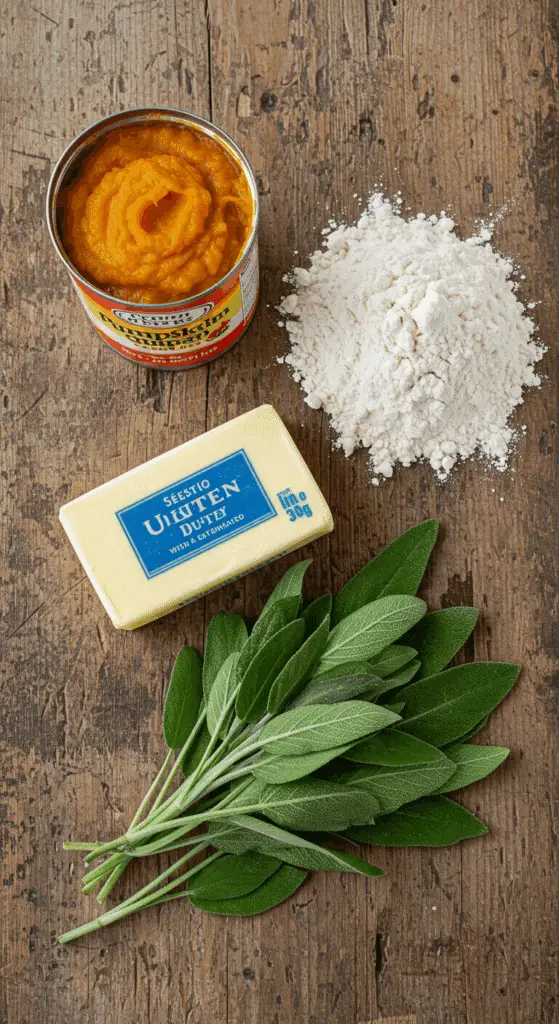
- Pure Pumpkin Purée: It is absolutely essential to use 100% pure pumpkin purée, not pumpkin pie filling. For the best, most workable dough, you want a purée that is thick, not watery. If your purée seems very loose, you can spread it on a paper-towel-lined plate to blot out some excess moisture.
- All-Purpose Flour: A simple, all-purpose flour provides the perfect structure and a tender bite for this fresh pasta.
- The Brown Butter and Sage Sauce (Burro e Salvia): This is a classic, simple, yet unbelievably flavorful Italian sauce.
- Unsalted Butter: The star of the sauce. We will cook the butter until the milk solids toast and turn a nutty brown, creating a sauce known as beurre noisette that has an incredible, deep, and toasty flavor.
- Fresh Sage Leaves: It is crucial to use fresh sage leaves. As they fry gently in the butter, they become wonderfully crispy and infuse the butter with their fragrant, earthy, and pine-like aroma.

Step-by-Step to Perfect Homemade Pumpkin Pasta
Making fresh pasta from scratch is a fun and rewarding process. Let’s break it down into simple, manageable parts.
Part 1: Making and Kneading the Fresh Pumpkin Pasta Dough
Step 1: In the bowl of a food processor, add the 4 cups of all-purpose flour and the 1 cup of pumpkin purée. Pulse in short bursts for about 1 minute, until the mixture comes together and a rough dough forms.
Step 2: Turn the dough out onto a lightly floured work surface. Now, we need to knead the dough. Kneading is a crucial step that develops the gluten and gives fresh pasta its signature, satisfyingly chewy bite.
Step 3 (How to Knead): Use the heel of your hand to push the dough down and away from you. Then, fold the dough over on itself, give it a quarter turn, and repeat the process. Continue to knead the dough for about 8-10 minutes, until it is smooth, elastic, and no longer sticky.
Part 2: Resting the Dough (The Most Important Step!)
Form the kneaded dough into a smooth ball. Wrap it tightly in plastic wrap and let it rest at room temperature for at least 30 minutes, or up to 2 hours.
Crucial Pro Tip: Do not skip this resting step! This allows the gluten that you have just developed to relax. A rested dough will be much, much easier to roll out thinly and will not spring back on you.
Part 3: Rolling and Cutting Your Pasta (By Hand or with a Machine)
Step 1: Unwrap your rested dough and divide it into 4 equal pieces. Work with one piece at a time, keeping the other pieces wrapped so they don’t dry out.
Step 2 (With a Pasta Machine): Lightly flour your first piece of dough and flatten it into a rectangle. Set your pasta machine to its widest setting and pass the dough through it. Fold the dough into thirds, like a letter, and pass it through the widest setting again. Repeat this process 2-3 more times. Then, begin to pass the dough through the machine, narrowing the setting one notch at a time, until you have a long, thin, and beautiful sheet of pasta. You can then use the cutting attachment of your machine to cut the sheet into fettuccine or pappardelle, or you can cut it by hand.
Step 3 (By Hand): On a large, well-floured surface, use a rolling pin to roll the dough out into a large, very thin sheet. Try to get it as thin as you can, until you can almost see the shadow of your hand through it. Dust the sheet with flour, loosely roll it up into a log, and use a sharp knife to cut the log into ribbons of your desired width.
Step 4: As you cut your pasta, transfer it to a lightly floured baking sheet and sprinkle it with a little more flour to keep the pieces from sticking together. You can cover the cut pasta with plastic wrap for up to 4 hours.
Part 4: The Classic Brown Butter and Sage Sauce & Final Assembly
Step 1: Bring a large pot of heavily salted water to a boil.
Step 2: While the water is heating, melt the 1 stick of butter in a large skillet over medium heat. Add the 6 fresh sage leaves and cook, stirring occasionally. The butter will foam up, and then the foam will subside. Continue to cook until the leaves are crispy and the butter has turned a beautiful, nutty golden brown with a wonderful aroma. Sprinkle in 1 teaspoon of salt.
Step 3: Add your fresh pasta to the pot of boiling water. Fresh pasta cooks very quickly! It will only need about 2 to 5 minutes, depending on its thickness. It is done when it is tender but still has a pleasant, al dente bite. Drain the pasta thoroughly.
Step 4: Add the hot, drained pasta directly to the skillet with the brown butter and sage. Toss everything vigorously to coat the pasta in the beautiful sauce. Season generously with salt and pepper to your taste.
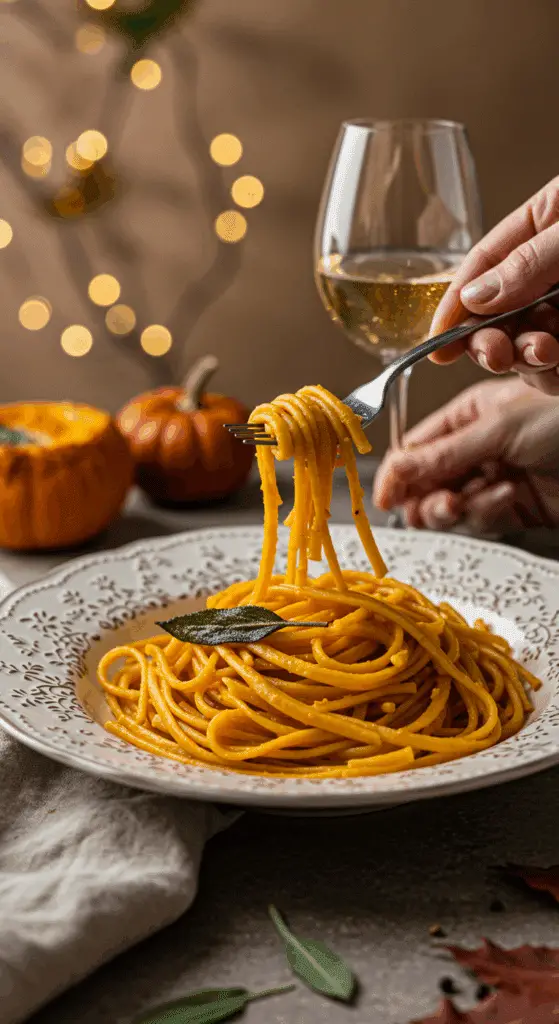
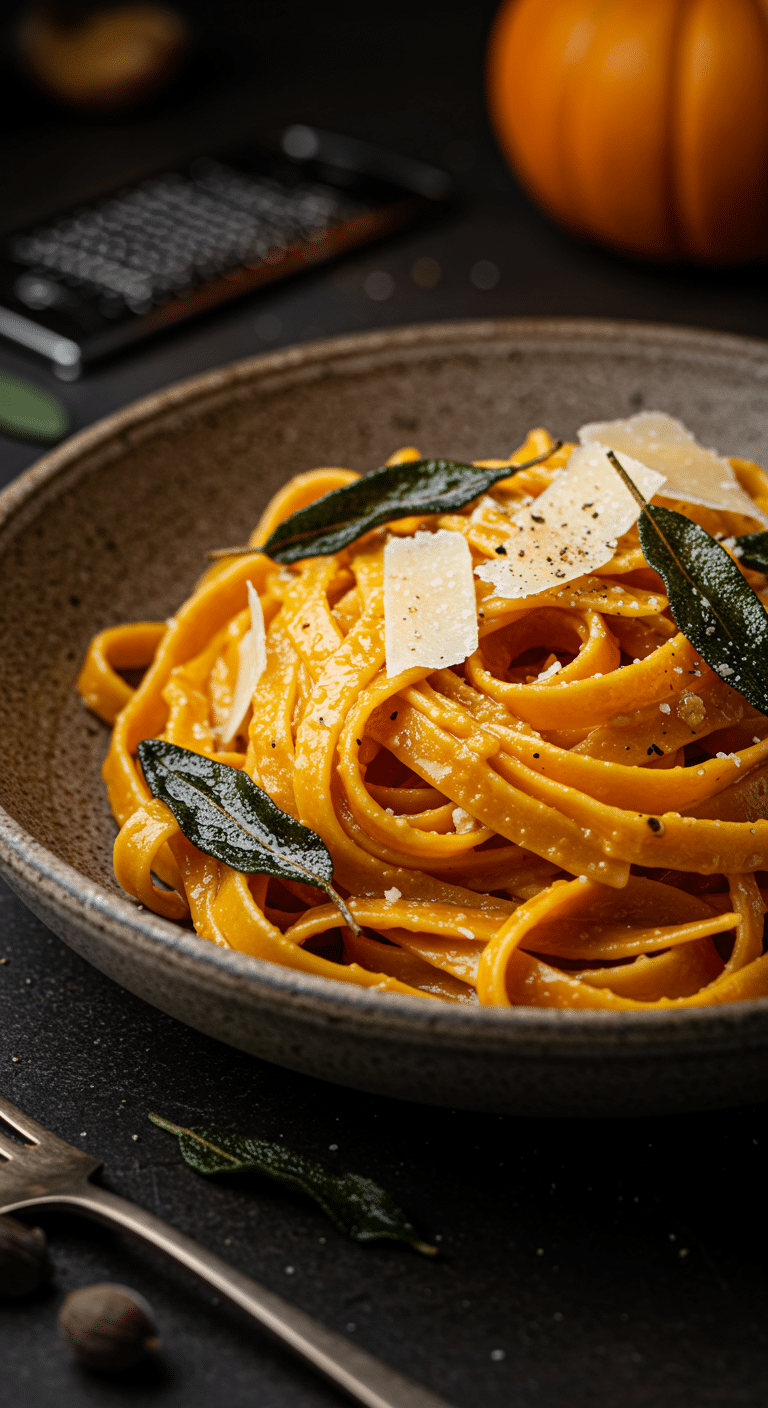
Serve the pasta immediately in warm, shallow bowls, garnished with the crispy sage leaves and a generous amount of freshly grated Parmesan cheese, if desired.

The Best Homemade Pumpkin Pasta (with Brown Butter & Sage)
A classic comfort food recipe for Stuffed Green Peppers. The bell peppers are first steamed until tender and pliable, making them perfect for stuffing. A hearty filling is then prepared by combining browned ground beef with sautéed onions, fire-roasted tomatoes, cooked rice, parsley, and mozzarella cheese, all bound together with breadcrumbs and eggs. The tender peppers are generously filled with this mixture, topped with more cheese, and then baked in a 9×13-inch dish until hot and bubbly.
Ingredients
- 6 medium green bell peppers, tops and seeds removed
- 2 tablespoons vegetable oil
- 1 large onion, finely chopped
- Kosher salt
- 1 pound ground beef
- 2 large cloves garlic, finely chopped
- Freshly ground black pepper
- One 28-ounce can diced fire-roasted tomatoes
- 2 cups cooked rice
- 1 cup loosely packed fresh parsley leaves, roughly chopped
- 1 1/2 cups shredded mozzarella
- 1/2 cup plain dry breadcrumbs
- 2 large eggs, lightly beaten
- 4 teaspoons Worcestershire sauce
Instructions
- Preheat the oven to 350°F.
- Bring about 2 inches of water to a simmer in a large pot fitted with a steamer insert. Arrange the peppers in the steamer, cover, and cook for about 25 minutes, rotating as needed, until they are very tender. Remove the peppers and drain them upside-down on paper towels.
- Make the Filling: While the peppers steam, heat the oil and a pinch of salt in a large skillet over medium heat. Cook the onions for about 8 minutes, until soft.
- Raise the heat to medium-high. Add the ground beef, garlic, 2 teaspoons of salt, and a few grinds of pepper. Cook, breaking up the beef, for about 5 minutes until browned. Add the tomatoes, bring to a simmer, then remove from the heat and let cool for at least 10 minutes.
- Transfer the cooled meat mixture to a large bowl. Add the cooked rice, parsley, 1 cup of the mozzarella, the breadcrumbs, eggs, and Worcestershire sauce. Mix to combine.
- Assemble and Bake: Stand the steamed peppers up in a 9-by-13 inch baking dish. If they fall over, slice a small piece off the bottom to create a flat surface.
- Generously fill and pack each pepper with the meat and rice mixture. Top with the remaining 1/2 cup of mozzarella.
- Add just enough water to the bottom of the pan to cover it. Loosely cover the dish with foil.
- Bake for 30 minutes, until the peppers are tender and the filling is heated through.
- Remove the foil and continue to bake for 10 more minutes.
Notes
- Steaming the peppers before stuffing them is a key step that ensures they will be perfectly tender after baking.
- It is important to let the cooked meat mixture cool for at least 10 minutes before adding the eggs and cheese to prevent them from scrambling or clumping.
- Adding a small amount of water to the bottom of the baking dish helps to create steam and keep the peppers moist as they bake.
Storage and Make-Ahead Tips
- Make-Ahead: You can make the uncooked pasta dough up to 2 days in advance and store it, well-wrapped, in the refrigerator.
- Storing Uncooked Pasta: You can let the cut, fresh pasta air-dry on the baking sheet for about an hour, and then store it in an airtight container in the refrigerator for up to 2 days.
- Freezing Uncooked Pasta: For longer storage, you can freeze the fresh pasta. Let it air-dry for about 30 minutes, then dust it well with flour and form it into small “nests.” Freeze the nests on a baking sheet until solid, then transfer them to a freezer-safe bag. You can cook the pasta directly from frozen, adding a minute or two to the cooking time.
For more recipe follow my Pinterest account
Creative Recipe Variations
- Add a Nutty Garnish: For a wonderful textural contrast and an extra layer of nutty flavor, you can finish the dish with a generous sprinkle of toasted, chopped walnuts or hazelnuts.
- Add a Touch of Creaminess: For a richer, more decadent sauce, you can stir in about 1/4 cup of the starchy pasta water and 1/2 cup of freshly grated Parmesan cheese to the skillet along with the pasta. This will create a beautiful, creamy, emulsified sauce.
- Use a Different Winter Squash: If you don’t have pumpkin purée, this beautiful pasta dough is also absolutely fantastic when made with an equal amount of a thick, smooth purée from a roasted butternut squash or a sweet potato.
Enjoy Your Ultimate Fall Pasta Project!
You’ve just created a truly special dish that is a perfect harmony of sophisticated, restaurant-quality flavor and cozy, comforting textures. This homemade Pumpkin Pasta is a testament to the power of a simple, from-scratch meal to create something truly extraordinary. It’s a rewarding and deeply satisfying recipe that is sure to become a new fall favorite.
We hope you enjoy every last, delicious bite!
If you enjoyed making this recipe, please leave a comment below or share it with a friend who loves an impressive pasta dish!
Frequently Asked Questions (FAQs)
Q1: Do I absolutely need a pasta machine to make fresh pasta?
No, you do not! While a pasta machine makes the process of rolling the dough very fast and easy and helps you to get a very thin, uniform sheet, you can absolutely make beautiful, rustic pasta by hand with just a good, sturdy rolling pin and a little bit of muscle.
Q2: What is the absolute secret to a good fresh pasta dough?
The two most important secrets are to knead the dough thoroughly and to let it rest. Kneading is what develops the gluten and gives the pasta its signature, satisfying, chewy bite. Resting the dough is a crucial, non-negotiable step that allows that gluten to relax, which is what makes the dough easy to roll out without it constantly shrinking back on you.
Q3: How do I keep my fresh pasta from sticking together?
The key is to use plenty of flour. Be sure to dust your work surface, your rolling pin or pasta machine, and the finished, cut pasta itself with a light but generous coating of all-purpose or semolina flour.
Q4: Can I make this pasta ahead of time?
Yes! As described in the “Make-Ahead Tips” section above, you can make the dough and keep it in the refrigerator for a couple of days, or you can cut the pasta and either refrigerate it for a day or two or freeze it for several months, which makes it perfect for a quick, impressive weeknight meal.
Q5: What does it mean to “brown” the butter, and how do I do it without burning it?
Browning butter (or beurre noisette) is a classic French technique of simply cooking butter until the milk solids toast and turn a nutty brown color. The secret is to use a light-colored skillet so you can see the color changing, and to swirl the pan over a medium heat. The butter will melt, then it will foam up, and then, as the foam subsides, you will begin to see little, brown specks forming on the bottom of the pan and it will smell incredibly nutty and fragrant. At that point, it is ready!


