Introduction & Inspiration
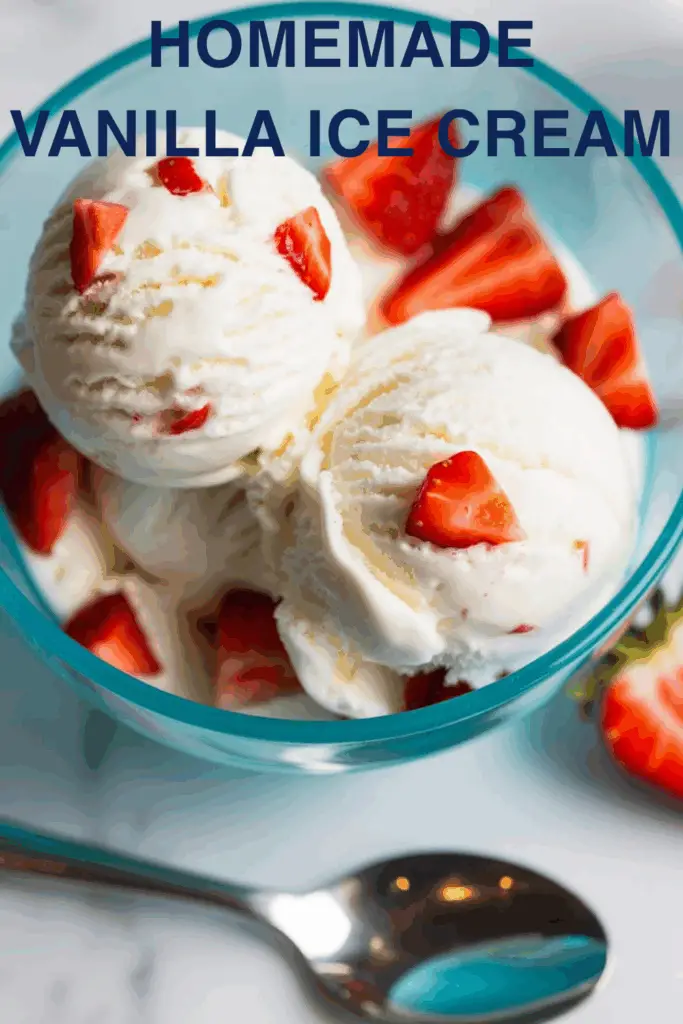
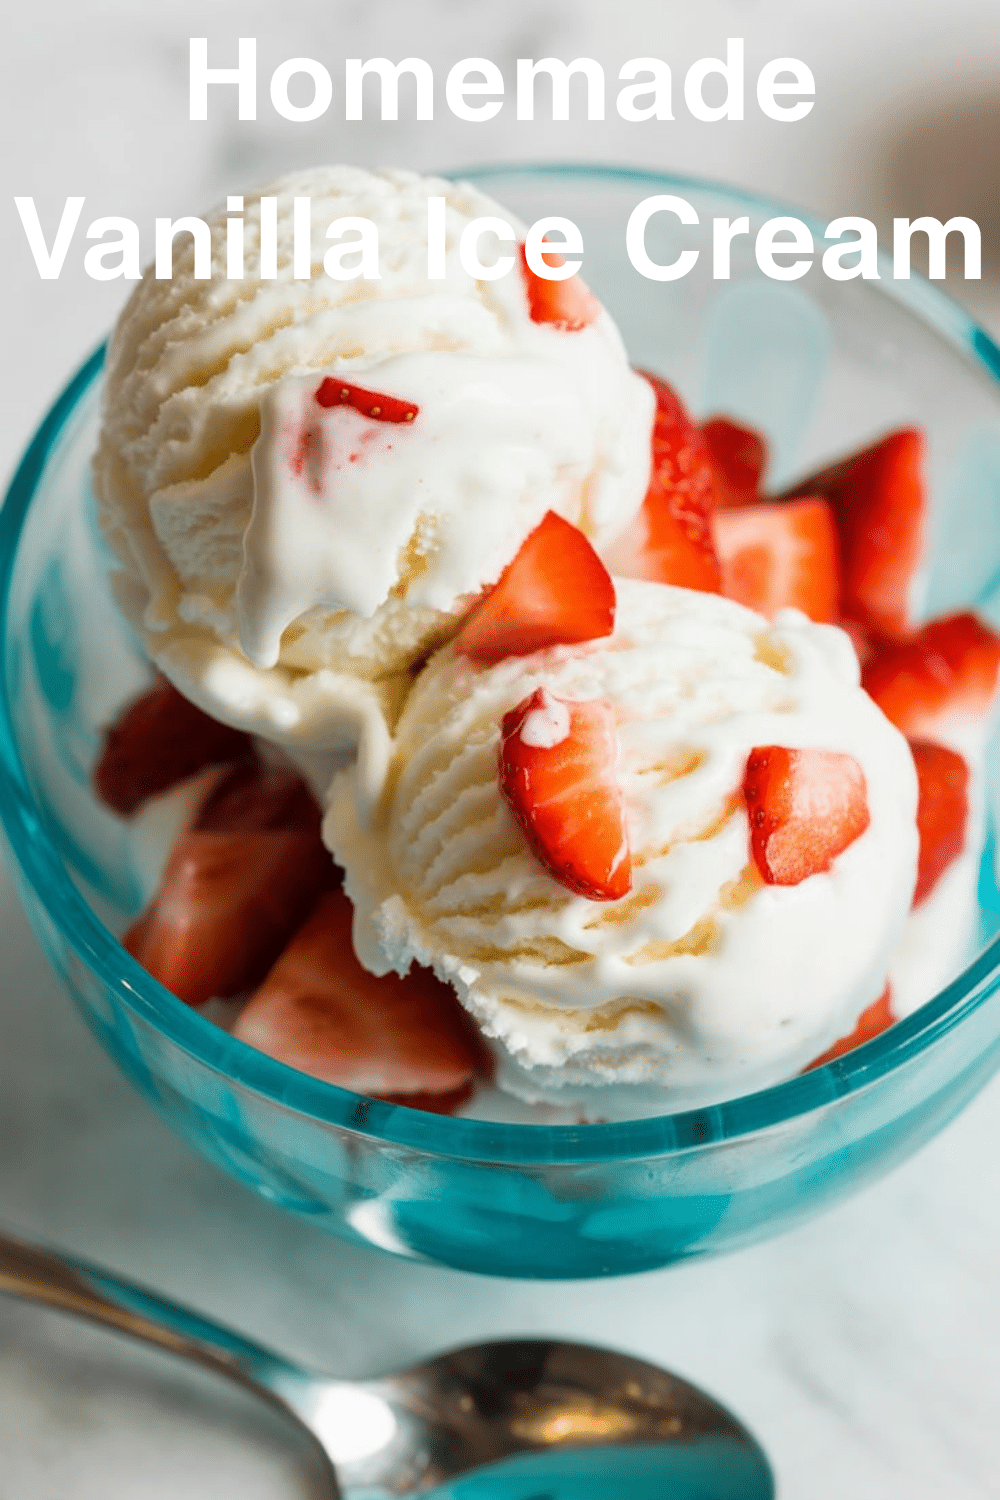
There’s something undeniably magical about homemade ice cream, and a truly perfect Homemade Vanilla Ice Cream is the quintessential frozen treat. This recipe immediately caught my attention because it promises that pure, creamy, classic vanilla flavor using a simple, eggless (Philadelphia-style) base. It involves gently warming cream, milk, sugar, vanilla, and a touch of salt to dissolve the sugar, then chilling and churning it to perfection. It sounded like the ideal way to achieve incredibly fresh and delicious vanilla ice cream at home.
My inspiration for diving into this recipe came from wanting a go-to vanilla ice cream that was both straightforward to make and delivered an authentic, high-quality taste. Philadelphia-style ice creams are wonderful because they let the pure flavor of the dairy and vanilla shine through without the richness (or extra steps) of an egg custard base.
My goal is to guide you through making this wonderfully simple and satisfying homemade ice cream. We’ll cover the easy preparation of the ice cream base, the importance of proper chilling, and the churning process that transforms it into a creamy, dreamy dessert. Whether you enjoy it on its own, with toppings, or alongside your favorite pie, homemade vanilla ice cream is always a special treat.
Let’s get ready to churn up some pure vanilla bliss!
Nostalgic Appeal / Comfort Food Connection
Homemade Vanilla Ice Cream is a dessert steeped in nostalgic comfort and happy memories for so many. It evokes images of summer days, old-fashioned ice cream makers cranking on the porch, birthday parties, and the simple joy of a cold, creamy treat. Vanilla, in its pure simplicity, is often the first ice cream flavor we fall in love with.
This recipe, with its straightforward approach and focus on quality ingredients like heavy cream, whole milk, and real vanilla extract, taps directly into that comforting tradition of homemade goodness. It’s reminiscent of simpler times when treats were made with care from basic, wholesome ingredients.
The process of making ice cream at home, from warming the base to watching it churn and freeze, is a satisfying ritual. The anticipation of that first scoop of freshly churned, creamy vanilla ice cream is a joy in itself.
Making and enjoying this homemade vanilla ice cream feels like creating a timeless classic, a pure and simple comfort food that brings delight to every spoonful.
Homemade Focus (Simple Base, Fresh Flavor)
This Homemade Vanilla Ice Cream recipe is a fantastic example of how simple, from-scratch preparation can yield incredibly delicious results that far surpass most store-bought options. The focus is on using quality dairy and pure vanilla to create an eggless (Philadelphia-style) ice cream base that is clean-tasting, creamy, and allows the vanilla flavor to shine.
I love recipes that prove homemade doesn’t have to be complicated. This ice cream base comes together on the stovetop in minutes. You’re simply warming heavy cream, whole milk, cane sugar, vanilla extract, and a pinch of sea salt just until the sugar dissolves. There’s no tempering of eggs or complex custard-making involved. This homemade approach ensures a fresh, pure dairy flavor.
The crucial homemade steps are thorough chilling of the base (which is vital for a creamy texture when churned) and then churning it in your ice cream maker according to its specific instructions. The final “hardening” step in the freezer develops that perfectly scoopable ice cream texture.
From gently warming the base to churning it into creamy perfection, this recipe emphasizes simple homemade techniques for a truly superior vanilla ice cream experience.
Flavor Goal
The primary flavor goal of this Homemade Vanilla Ice Cream is a pure, clean, and pronounced vanilla flavor with a rich, smooth, and creamy texture, balanced by a perfect level of sweetness and a hint of salt to enhance the overall taste. It aims for the quintessential classic vanilla ice cream experience.
The combination of heavy cream and whole milk provides the ideal fat content for a rich, creamy mouthfeel without being overly heavy or greasy.
Cane sugar offers a clean sweetness that complements the dairy and vanilla. Dissolving it completely in the warm base prevents grittiness.
Pure vanilla extract is the star flavoring, providing its signature warm, aromatic, and complex notes. The quality of the vanilla extract will significantly impact the final flavor.
A tiny pinch of sea salt is crucial – it doesn’t make the ice cream salty, but rather enhances the sweetness and the vanilla flavor, making all the notes pop. The overall effect should be a perfectly balanced, intensely vanilla, luxuriously creamy, and scoopable homemade ice cream.
Ingredient Insights
Let’s explore the simple yet crucial ingredients for this classic ice cream:
- Heavy cream: Essential for richness and creamy texture. Provides the necessary fat content for good ice cream structure.
- Whole milk: Complements the heavy cream, contributing to the liquid base and overall creaminess without making it too heavy.
- Cane sugar: Provides sweetness. Granulated sugar also works perfectly well. The warming step ensures it dissolves completely.
- Vanilla extract: The star flavor! Use pure vanilla extract, not imitation, for the best taste. Vanilla bean paste or a scraped vanilla bean (steeped in the warm base) would offer even more intense flavor.
- Sea salt: A tiny pinch enhances the sweetness and vanilla flavor, providing balance. Fine sea salt dissolves easily.
The quality of your cream, milk, and especially the vanilla extract will significantly impact the final taste.
Essential Equipment
To make this homemade ice cream, you’ll primarily need:
- An Ice Cream Maker: Essential for this recipe. This could be a model with a freezable canister (which needs to be frozen solid, usually for 24 hours, beforehand) or a compressor model.
- A Medium saucepan: For gently warming the ice cream base ingredients to dissolve the sugar.
- A Heatproof bowl or Container: For chilling the ice cream base thoroughly in the refrigerator. Ensure it can be covered.
- A Whisk: For dissolving the sugar and later for whisking the chilled base before churning.
- Measuring cups and spoons.
- An Airtight freezer-safe container: For storing the churned ice cream and allowing it to harden further in the freezer. Shallow, flat containers help it freeze faster.
Ensure your ice cream maker’s canister is fully frozen according to its instructions before you start!
List of Ingredients with Measurements
Here’s the complete list of ingredients, with precise measurements:
- 1 ½ cups heavy cream
- 1 ½ cups whole milk
- ⅔ cup cane sugar (or granulated sugar)
- 2 teaspoons pure vanilla extract
- ⅛ teaspoon sea salt (fine)
These quantities yield a standard batch of homemade ice cream, typically about 1 to 1.5 quarts.
Use high-quality vanilla for the best flavor.

Step-by-Step Instructions (Churning Up Vanilla Perfection!)
Let’s create this delicious homemade vanilla ice cream:
1. Prepare the Ice Cream Base:
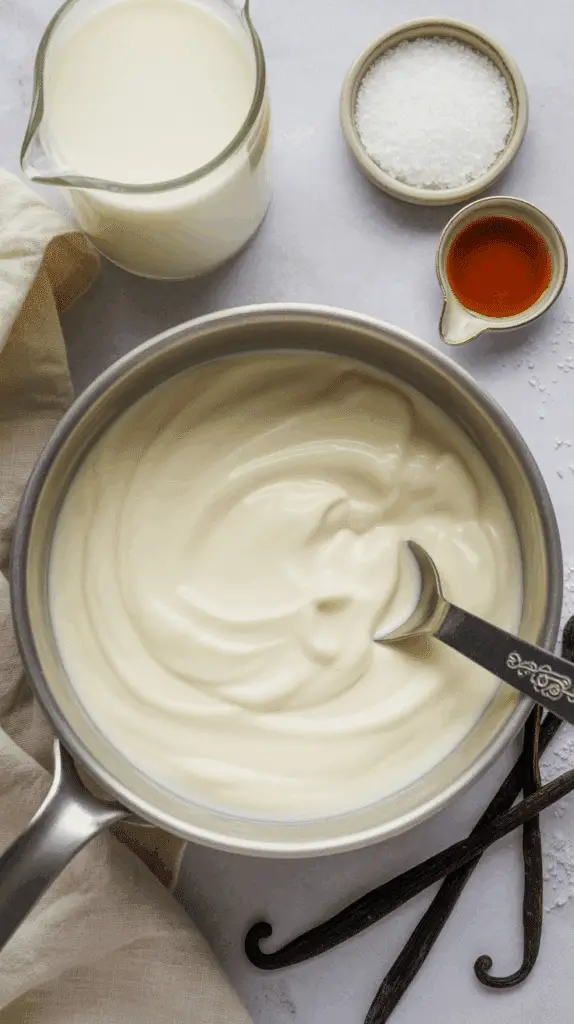
- In a medium saucepan, combine the heavy cream, whole milk, cane sugar, pure vanilla extract, and sea salt.
- Place the saucepan over medium-low heat.
- Warm the mixture gently, whisking frequently, for about 5 minutes. Continue whisking until the sugar is completely dissolved and the mixture is warmed through. Do not let the mixture boil or simmer vigorously; you’re just warming it enough to dissolve the sugar and meld the flavors.
2. Chill the Ice Cream Base (Crucial Step!):
- Pour the warmed cream mixture into a heatproof bowl or an airtight container.
- Cover the surface of the mixture directly with plastic wrap (to prevent a skin from forming) or cover the container tightly.
- Chill the ice cream base thoroughly in the refrigerator for at least 2 hours, but preferably overnight (or up to 24 hours). The base must be very cold (ideally below 40°F/4°C) for optimal churning.
3. Churn the Ice Cream:
- Once the ice cream base is thoroughly chilled, remove it from the refrigerator. Give it a good whisk to ensure it’s well combined again.
- Pour the chilled base into your ice cream maker (ensure the freezer bowl is completely frozen if using that type).
- Churn according to the manufacturer’s instructions for your specific ice cream maker, typically for 20 to 30 minutes.
- The ice cream is done churning when it has thickened to the consistency of soft-serve ice cream.
4. Harden the Ice Cream (For Scoopable Texture):
- The ice cream will be quite soft immediately after churning. For a firmer, scoopable consistency, transfer the churned ice cream to an airtight freezer-safe container.
- Press a piece of plastic wrap or parchment paper directly onto the surface of the ice cream to prevent ice crystals from forming. Cover the container tightly.
- Freeze for at least 2 to 4 hours, or until the ice cream is firm enough to scoop easily.
5. Serve and Store:
- To serve, if the ice cream is very hard straight from the freezer, let it sit at room temperature for a few minutes to soften slightly for easier scooping.
- Store leftover homemade ice cream in an airtight container in the freezer for up to 1-2 weeks for best quality (though this recipe says up to a month, homemade often develops ice crystals faster than commercial).
Thorough chilling of the base before churning is key!

Troubleshooting
Homemade ice cream can sometimes be tricky:
- Problem: Ice cream is icy, not creamy.
- Solution: The base might not have been chilled thoroughly enough before churning. Ensure it’s very cold. The fat content from heavy cream and whole milk helps prevent iciness; ensure correct proportions. Over-churning can sometimes incorporate too much air initially, then lead to iciness if not hardened properly. Churn just until soft-serve consistency. Ensure your ice cream maker’s freezer bowl was frozen solid.
- Problem: Ice cream didn’t thicken much in the churner / is too soft.
- Solution: Base wasn’t cold enough. Freezer bowl wasn’t frozen enough (needs to be rock solid, usually 24 hours). Don’t overfill the churner beyond its capacity.
- Problem: Ice cream is too hard to scoop.
- Solution: This is common with homemade ice cream as it often lacks the stabilizers of commercial versions. Let it sit at room temperature for 5-10 minutes to soften before scooping. Storing it in a shallower container can also help it soften slightly faster.
- Problem: Sugar feels gritty in the ice cream.
- Solution: Ensure the sugar was completely dissolved in the warm milk/cream mixture in Step 1. Whisk until you can no longer feel or see sugar granules.
Proper chilling of the base and freezer bowl are critical.
Tips and Variations
Let’s customize this classic vanilla ice cream:
- Tip: For the most intense vanilla flavor, use 1 whole vanilla bean (split and scraped, add pod and seeds to the warming milk/cream, then remove pod before chilling) in addition to or instead of some of the vanilla extract. Vanilla bean paste (1-2 tsp) is also excellent.
- Variation: Add other extracts along with or instead of vanilla, like 1/2 teaspoon of almond extract, peppermint extract, or a citrus extract for a different flavor profile.
- Tip: Ensure your ice cream maker’s freezer bowl is frozen completely solid according to its instructions (usually at least 24 hours in a cold freezer).
- Variation (Mix-Ins!): After churning, when the ice cream is at a soft-serve consistency, gently fold in your favorite mix-ins by hand before transferring to the freezer to harden. Ideas include:
- Mini chocolate chips or chopped chocolate
- Crushed cookies (Oreos, chocolate chip cookies)
- Chopped nuts (pecans, walnuts, almonds)
- Swirls of caramel, chocolate fudge, or fruit puree/jam
- Chopped candy bars
- Tip: Store homemade ice cream in a shallow, flat, airtight container for faster hardening and easier scooping. Pressing plastic wrap directly on the surface helps prevent ice crystals.
- Variation (Richer Base): For an even richer ice cream, you can slightly increase the ratio of heavy cream to whole milk (e.g., 2 cups cream, 1 cup milk), but be aware it will be denser.
The perfect canvas for countless flavor combinations and mix-ins!
Serving and Pairing Suggestions
Homemade Vanilla Ice Cream is a delightful treat on its own or as an accompaniment.
Serving: Serve scooped into bowls or cones.
Classic Pairings:
- A La Mode: The absolute perfect topping for warm apple pie, peach cobbler, brownies, or chocolate lava cakes.
- Sundaes: Top with hot fudge, caramel sauce, whipped cream, sprinkles, nuts, and a cherry!
- Root Beer Floats: A classic!
- With Fresh Fruit: Serve alongside fresh berries or sliced peaches.
- Affogato: Pour a shot of hot espresso over a scoop for a simple Italian dessert.
Its pure flavor complements almost any dessert.
Nutritional Information
This is a rich, creamy dessert made with full-fat dairy and sugar. Nutritional info is approximate (per 1/2 cup serving, assuming recipe makes about 1-1.5 quarts or 4-6 cups total):
- Calories: 200-280+
- Fat: 15-22+ grams
- Saturated Fat: 10-15+ grams (High from heavy cream and whole milk)
- Cholesterol: 50-80+ mg
- Sodium: 50-80+ mg (from salt)
- Total Carbs.: 15-20+ grams
- Dietary Fiber: 0 grams
- Sugars: 15-20+ grams (from cane sugar)
- Protein: 2-4 grams
Definitely an indulgent treat, high in fat (especially saturated) and sugar.
PrintHomemade Vanilla Ice Cream
Make simple Homemade Vanilla Ice Cream! This easy eggless (Philadelphia-style) recipe uses cream, milk, sugar, and vanilla for a rich, creamy frozen dessert.
Ingredients
Here’s the complete list of ingredients, with precise measurements:
- 1 ½ cups heavy cream
- 1 ½ cups whole milk
- ⅔ cup cane sugar (or granulated sugar)
- 2 teaspoons pure vanilla extract
- ⅛ teaspoon sea salt (fine)
These quantities yield a standard batch of homemade ice cream, typically about 1 to 1.5 quarts.
Use high-quality vanilla for the best flavor.
Instructions
Let’s create this delicious homemade vanilla ice cream:
1. Prepare the Ice Cream Base:
- In a medium saucepan, combine the heavy cream, whole milk, cane sugar, pure vanilla extract, and sea salt.
- Place the saucepan over medium-low heat.
- Warm the mixture gently, whisking frequently, for about 5 minutes. Continue whisking until the sugar is completely dissolved and the mixture is warmed through. Do not let the mixture boil or simmer vigorously; you’re just warming it enough to dissolve the sugar and meld the flavors.
2. Chill the Ice Cream Base (Crucial Step!):
- Pour the warmed cream mixture into a heatproof bowl or an airtight container.
- Cover the surface of the mixture directly with plastic wrap (to prevent a skin from forming) or cover the container tightly.
- Chill the ice cream base thoroughly in the refrigerator for at least 2 hours, but preferably overnight (or up to 24 hours). The base must be very cold (ideally below 40°F/4°C) for optimal churning.
3. Churn the Ice Cream:
- Once the ice cream base is thoroughly chilled, remove it from the refrigerator. Give it a good whisk to ensure it’s well combined again.
- Pour the chilled base into your ice cream maker (ensure the freezer bowl is completely frozen if using that type).
- Churn according to the manufacturer’s instructions for your specific ice cream maker, typically for 20 to 30 minutes.
- The ice cream is done churning when it has thickened to the consistency of soft-serve ice cream.
4. Harden the Ice Cream (For Scoopable Texture):
- The ice cream will be quite soft immediately after churning. For a firmer, scoopable consistency, transfer the churned ice cream to an airtight freezer-safe container.
- Press a piece of plastic wrap or parchment paper directly onto the surface of the ice cream to prevent ice crystals from forming. Cover the container tightly.
- Freeze for at least 2 to 4 hours, or until the ice cream is firm enough to scoop easily.
5. Serve and Store:
- To serve, if the ice cream is very hard straight from the freezer, let it sit at room temperature for a few minutes to soften slightly for easier scooping.
- Store leftover homemade ice cream in an airtight container in the freezer for up to 1-2 weeks for best quality (though this recipe says up to a month, homemade often develops ice crystals faster than commercial).
Thorough chilling of the base before churning is key
Recipe Summary and Q&A
Let’s conclude with a summary and common questions:
Recipe Summary:
Homemade Vanilla Ice Cream (Philadelphia Style) is an eggless ice cream made by gently warming heavy cream, whole milk, cane sugar, pure vanilla extract, and sea salt together until the sugar dissolves. This base is then thoroughly chilled (2 hours or overnight) before being churned in an ice cream maker according to manufacturer’s instructions until it reaches a soft-serve consistency. For a firmer, scoopable ice cream, it’s then transferred to an airtight container and frozen for several hours.
Q&A:
Q: Can I make this without an ice cream maker? A: Achieving a truly creamy texture without an ice cream maker is challenging, but “no-churn” methods exist. They often involve folding sweetened condensed milk into whipped cream and freezing, or using a food processor to break up ice crystals in a frozen base periodically. This specific recipe is designed for an ice cream maker.
Q: How long does homemade ice cream last in the freezer? A: For best quality and to avoid excessive ice crystal formation, homemade ice cream is typically best enjoyed within 1-2 weeks, though this recipe notes it can last up to a month if stored properly in an airtight container with plastic wrap pressed onto the surface.
Q: Why does my homemade ice cream get so hard in the freezer? A: Homemade ice cream lacks the commercial stabilizers and high overrun (air incorporation) of store-bought versions, so it tends to freeze harder. Let it sit at room temperature for 5-10 minutes before scooping to soften.
Q: Can I use low-fat milk or cream? A: You can, but the fat content is crucial for a creamy texture and preventing iciness. Using lower-fat dairy will result in a much icier, less rich ice cream. Full-fat heavy cream and whole milk are highly recommended for this recipe.
Q: How do I know when the sugar is fully dissolved in the base? A: Whisk continuously while warming. After a few minutes, rub a little of the mixture between your fingers (careful if hot). If you no longer feel any sugar granules, it’s dissolved.
Did Our Recipe Hit The Spot?
There are no reviews yet. Be the first one to write one.


