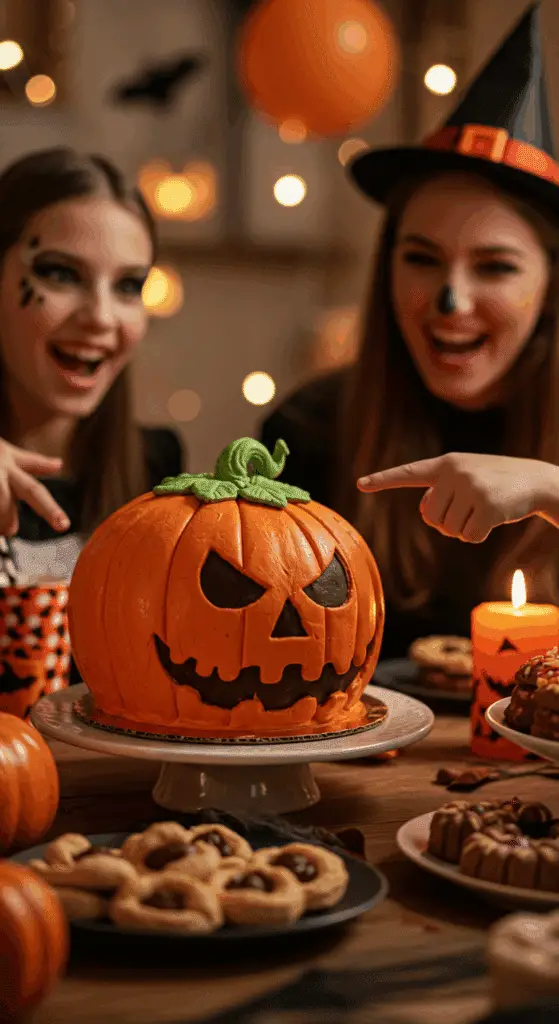
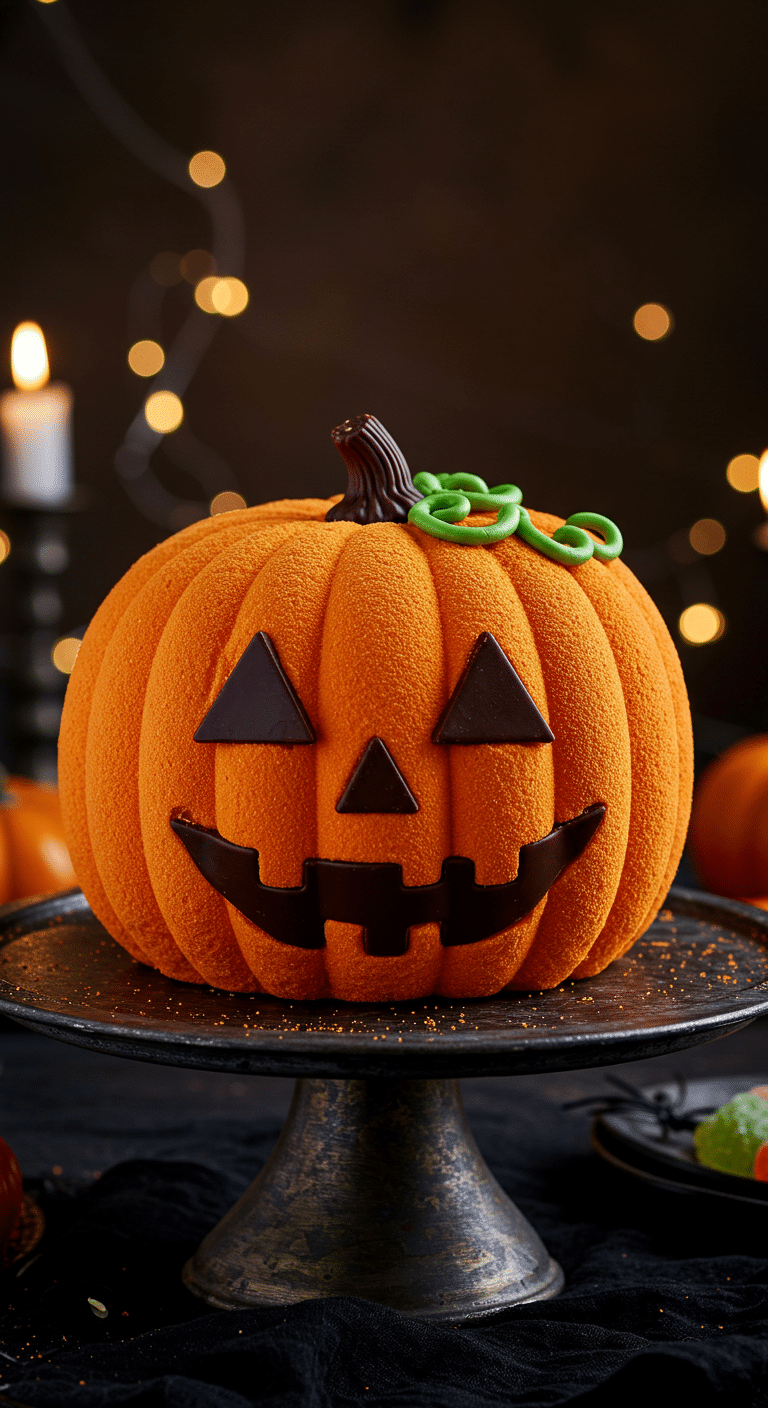
Ready to create the ultimate show-stopping, edible centerpiece for your next Halloween party? A cake so fun, so festive, and so unbelievably delicious, it will have all your little goblins grinning from ear to ear? This incredible, “Easy” Jack O’ Lantern Cake is that perfect recipe! We’re talking a super moist, pumpkin-spiced cake, cleverly shaped into a perfect pumpkin, frosted with a fluffy orange marshmallow buttercream, and decorated with a spooky, chocolatey grin.
This isn’t just a recipe; it’s a guide to your new favorite Halloween project. It looks like it came from a professional bakery, but it’s made with a few simple, brilliant shortcuts that make it surprisingly easy to assemble. This is a show-stopping, crowd-pleasing dessert that is as fun to make as it is to eat!
Table of Contents
Table of Contents
Recipe Overview: The Ultimate Spooky & Fun Halloween Cake
What makes this Jack O’ Lantern Cake so spectacularly fun is its brilliant, 3D pumpkin shape and its delicious, cozy fall flavor. This recipe is a masterpiece of festive creativity, made simple with a few smart shortcuts. The cake itself is a “doctored” cake mix masterpiece—a simple yellow cake mix is elevated with a box of pumpkin spice instant pudding, which is the secret to an unbelievably moist, tender, and flavorful crumb. The frosting is a unique and fluffy marshmallow buttercream. The true magic, however, is in the assembly. Two simple, 8-inch round cakes are cleverly cut and arranged to create a stunning pumpkin silhouette. The final, show-stopping touch is a spooky, hand-piped chocolate Jack O’ Lantern face, which is chilled until hard and then simply pressed onto the finished cake for a perfect, clean look.
| Metric | Time / Level |
| Total Time | 2 hours 30 minutes (plus cooling) |
| Active Prep Time | 45 minutes |
| Difficulty Level | Intermediate |
| Servings | 12-16 slices |
The Spooky Bakeshop: The Essential Ingredients & Tools
This iconic party treat uses a handful of smart shortcuts and a few key techniques to create its signature spooky look.
- The Doctored Cake Mix:
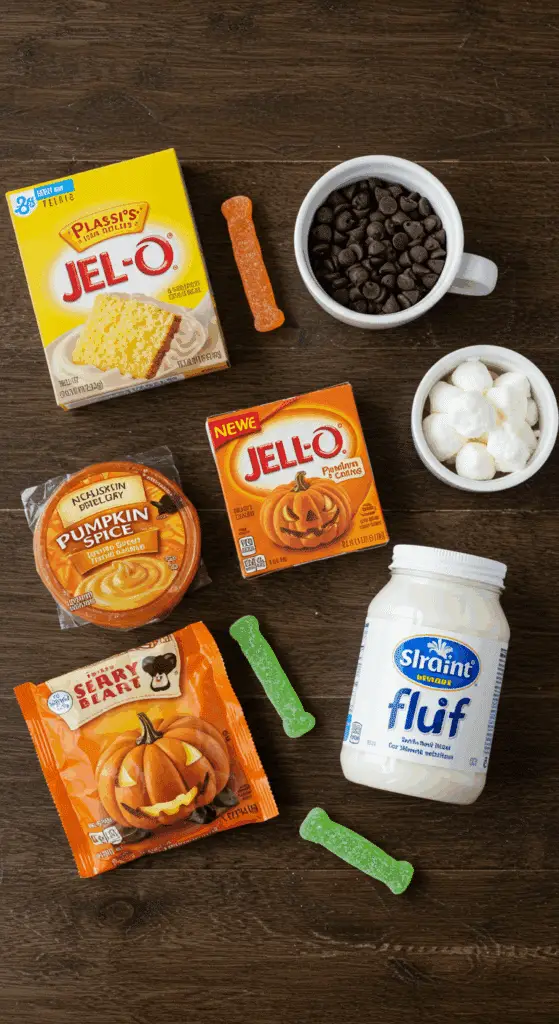
- Yellow Cake Mix & Pumpkin Spice Pudding: This is the brilliant shortcut that makes this cake so easy and so delicious! Adding a box of instant pudding mix to a standard cake mix is a classic baker’s secret. It is the key that guarantees an incredibly moist, tender, and flavorful cake with a perfect, foolproof texture every single time.
- The Marshmallow Frosting: A unique, super-fluffy, and delightfully sweet frosting made from a base of marshmallow cream (or Fluff), softened butter, and confectioners’ sugar. It’s the perfect, easy-to-spread frosting for this fun cake.
- The Shaping & Decorating:
- The “Pumpkin” Shape: The brilliant, 3D pumpkin shape is created with nothing more than two, 8-inch round cakes and a sharp knife.
- The Chocolate Face: The secret to a perfect, clean, and professional-looking Jack O’ Lantern face is to pipe the chocolate shapes onto parchment paper and chill them until they are hard. This allows you to simply place the finished, solid chocolate pieces onto your frosted cake, with no risk of smudging or messing up your piping.

Step-by-Step to the Best Jack O’ Lantern Cake
This fun and festive project is a joy to prepare.
Part 1: Bake the Pumpkin Spice Cakes
Step 1: First, preheat your oven to 350°F (175°C). Generously grease two 8-inch round cake pans and line them with parchment paper.
Step 2: In a large bowl, whisk together the 1 box of yellow cake mix, the 1 box of pumpkin spice instant pudding mix, the 1/2 cup of vegetable oil, the 4 large eggs, and 1 1/2 cups of water until the batter is smooth.
Step 3: Divide the batter evenly between your two prepared cake pans.
Step 4: Bake for 25 to 30 minutes, until the tops are lightly browned and a toothpick inserted into the middle of the cakes comes out clean.
Step 5: Let the cakes cool completely on a wire rack.
Part 2: Whip Up the Frosting & Create the Chocolate Face
Step 1: To make the frosting, in the bowl of a stand mixer, beat the 2 cups of marshmallow cream and the 1 1/4 sticks of room temperature butter until fluffy. Gradually add the 3 cups of confectioners’ sugar, 1 cup at a time, and beat until the frosting is very smooth. Add the 2 teaspoons each of red and yellow food coloring and beat until the frosting is a nice, bright orange. Step 2: To make the face, melt your 1/2 cup of dark chocolate chips. Transfer the melted chocolate to a piping bag or a small ziptop bag and snip off a tiny corner. Step 3: On a small tray that has been lined with parchment paper, pipe two triangle “eyes” and one spooky, toothy “mouth.” Step 4: Refrigerate the chocolate pieces for about 10 minutes, until they have hardened completely.
Part 3: The Art of Shaping and Decorating Your Jack O’ Lantern
Step 1: Place one of your cooled, round cakes in the center of a large cutting board or a decorative tray. Step 2: Use a 4 1/2-inch bowl as a guide to cut a round out of the center of your second cake. Cut this small, center round in half to make two half-moon shapes. Then, cut the remaining, outer cake ring in half to create two crescent shapes. Step 3: Place one of the cake crescents—with the cut side in—on either side of your whole cake to create the classic, round pumpkin shape. Step 4: Cut the pointy bottom off of one of your half-moon shapes to create a “stem.” Step 5: Use your orange frosting to generously cover the entire assembled pumpkin cake, smoothing out any of the sharp cuts or edges. Step 6: Place your chilled, hardened chocolate “eyes” and “mouth” onto the cake. Step 7: Add the cake “stem” to the top of the cake and swirl the green sour belt candy next to it to create a “vine.”

Jack O’ Lantern Cake (A Fun Halloween Cake Recipe!)
An easy and creative recipe for a Jack O’ Lantern cake, perfect for a Halloween party. This festive dessert starts with a convenient yellow cake mix, which is enhanced with pumpkin spice instant pudding for a seasonal flavor. Two round cakes are baked, then one is cleverly cut and rearranged to form a pumpkin shape. The cake is covered in a bright orange marshmallow buttercream frosting. The final touches are a jack-o’-lantern face and stem made from melted chocolate, and a green sour belt candy for the vine.
Ingredients
- For the Cake:
- Nonstick cooking spray
- One 15.25-ounce box yellow cake mix
- One 3.4-ounce box pumpkin spice instant pudding mix
- 1/2 cup vegetable oil
- 4 large eggs
- 1 1/2 cups water
- For the Frosting:
- 2 cups marshmallow cream
- 10 tablespoons (1 1/4 sticks) unsalted butter, at room temperature
- 3 cups confectioners’ sugar
- 2 teaspoons red food coloring
- 2 teaspoons yellow food coloring
- For the Decoration:
- 1/2 cup dark or bittersweet chocolate chips
- 1 long green sour belt candy
Instructions
- Make the Cake Layers: Preheat the oven to 350°F. Grease two 8-inch round cake pans.
- In a large bowl, whisk together the cake mix, pudding mix, oil, eggs, and 1 1/2 cups of water until smooth. Divide the batter between the prepared pans.
- Bake for 25 to 30 minutes, until a toothpick inserted in the middle comes out clean. Let the cakes cool completely on a wire rack.
- Make the Frosting: In a stand mixer, beat the marshmallow cream and butter until fluffy. Add the confectioners’ sugar one cup at a time until smooth. Add the red and yellow food coloring and beat until the frosting is a bright orange.
- Prepare the Decorations: Melt the chocolate chips in a double boiler or the microwave. Transfer the melted chocolate to a piping bag. On a parchment-lined tray, pipe two triangle eyes and a mouth. Refrigerate for about 10 minutes until hardened.
- Assemble the Cake: Place one of the cooled cakes on a large cutting board. Cut a 4 1/2-inch round out of the center of the second cake. Cut this small round in half to make two half-moons. Cut the remaining cake ring in half to make two crescent shapes.
- Place a cake crescent on either side of the whole cake to create a pumpkin shape. Cut the bottom off one of the half-moon shapes to create a stem.
- Coat the stem piece with the remaining melted chocolate and chill for 10 minutes to harden.
- Frost the entire pumpkin-shaped cake with the orange frosting, smoothing the seams. Create vertical stripes to mimic a pumpkin’s texture.
- Place the chilled chocolate eyes and mouth onto the cake. Add the chocolate-covered stem to the top and place the sour belt candy next to it as a vine.
Notes
- This recipe uses several convenient shortcuts, including a boxed cake mix and instant pudding, to focus on the fun decorating aspect.
- The unique method of cutting and rearranging a round cake layer is a clever way to create a pumpkin shape without a special pan.
- The jack-o’-lantern’s facial features are made separately from chocolate and chilled, making them easy to place on the finished cake.
- The article references a ‘Cook’s Note’ that is not provided in the text.
For more recipe follow my pinterest account
Storage and Make-Ahead Tips
- Make-Ahead: For a super-fast and impressive party day, you can get a head start by preparing all your components in advance. The cake layers can be baked, the frosting can be made, and the chocolate face can be piped up to 2 days ahead of time. Store everything in separate, airtight containers.
- Storage: Store the finished, decorated cake, loosely covered, at room temperature for up to 3 days.
Frequently Asked Questions (FAQs)
Q1: What is the absolute, number one secret to a super moist cake that starts with a box mix?
The secret is to add a box of instant pudding mix! The starches and the gelatin in the pudding mix are a brilliant, foolproof trick that will make your final cake unbelievably moist, soft, and tender, and will also add a huge boost of extra flavor.
Q2: How do I cut and assemble the cake to get that perfect pumpkin shape?
The key is to use one of your 8-inch round cakes as the center “body” of the pumpkin. The second 8-inch round cake is then cut up to create the “sides” and the “stem.” By cutting the center out of the second cake, you will be left with a large, outer ring. When you cut this ring in half, you will have two perfect, crescent shapes that you can then “glue” onto the sides of your whole cake with a little bit of frosting.
Q3: Can I make this Halloween cake ahead of time for a party?
Yes, this is a perfect make-ahead cake! You can bake the cake layers and make the frosting and the chocolate face a day or two in advance. For the freshest and most impressive result, it is a great idea to assemble and decorate the cake on the day of your party.
Q4: Can I make this recipe with a different flavor of cake or frosting?
Yes, absolutely! This fun decorating technique would also be fantastic with a classic spice cake mix or even a rich, dark chocolate cake mix for a spooky, “dark-of-night” pumpkin. A classic, orange-colored cream cheese frosting would also be a delicious alternative to the marshmallow frosting.
Q5: What is the best way to melt chocolate so that it doesn’t burn or seize up?
The most foolproof method is to use a double boiler, or a simple heatproof bowl set over a saucepan of gently simmering water, as this recipe directs. This ensures that the chocolate melts with a gentle, indirect heat, which is the key that prevents it from scorching.


