Ever wished you could recreate that sophisticated, vibrant green tea ice cream from your favorite high-end restaurant or dessert bar right in your own kitchen—without any fancy, expensive equipment? You’re in luck! This unbelievably easy, 4-ingredient No-Churn Matcha Ice Cream recipe is your ticket to gourmet-quality dessert, made effortlessly in your own freezer.
This isn’t just a recipe; it’s a revelation. Discover the unique, complex flavor of authentic Japanese matcha, perfectly balanced in a sweet, impossibly creamy ice cream base. The no-churn method is a game-changer, allowing you to create a luxuriously smooth frozen treat with just a hand mixer and a few minutes of prep. Get ready to impress yourself and your guests with this stunning and delicious homemade ice cream.
Table of Contents
Table of Contents
Recipe Overview: Gourmet Made Simple
What makes this No-Churn Matcha Ice Cream so exceptional is its ability to deliver a truly sophisticated, gourmet flavor with a method that is accessible to absolutely everyone. The beauty of this recipe lies in its minimalism. Four simple ingredients transform into a serene, beautifully green ice cream with a complex flavor profile that is earthy, sweet, and utterly refreshing. It’s the perfect, elegant dessert for a special occasion or a quiet, indulgent evening.
| Metric | Time / Level |
| Total Time | 8 hours 10 minutes (includes freezing) |
| Active Prep Time | 10 minutes |
| Difficulty Level | Easy |
| Servings | 8-10 |
The Essential Ingredients for Perfect Matcha Ice Cream
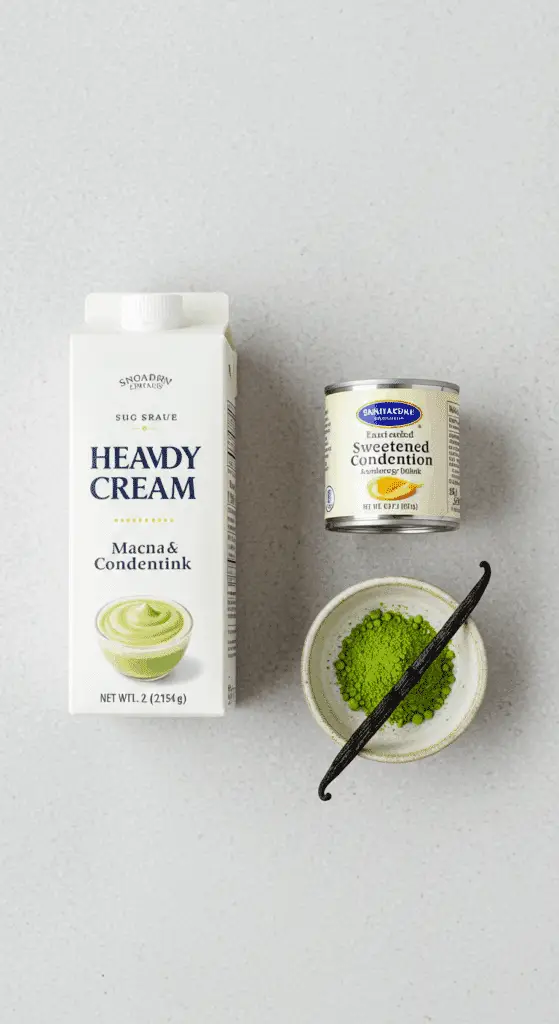
This recipe uses just four simple, powerhouse ingredients to create its magical flavor and texture.
- Matcha Powder: This is the heart and soul of our ice cream, providing its signature flavor and color.
- What is Matcha? Matcha is a finely ground powder of specially grown and processed green tea leaves, originating from Japan. Unlike regular green tea where you steep the leaves, with matcha, you are consuming the entire leaf, which gives it a more potent flavor and higher concentration of nutrients.
- Culinary vs. Ceremonial Grade: For this recipe, a high-quality culinary grade matcha is perfect. It has a strong, robust flavor that is designed to stand up to the other ingredients like milk and sugar. Ceremonial grade is the highest quality, designed for drinking as traditional tea, and its delicate, nuanced flavors would be lost in this recipe.
- Heavy Whipping Cream: This is the key to the ice cream’s light and airy texture. It’s crucial to use cold, full-fat heavy whipping cream. When we whip it to stiff peaks, we are incorporating millions of tiny air bubbles into the base, which is what prevents the ice cream from becoming a dense, icy block.
- Sweetened Condensed Milk: This is the magic ingredient in all great no-churn ice cream recipes. This thick, sweet, canned milk provides the perfect amount of sweetness, but more importantly, its high sugar content lowers the freezing point of the mixture. This is the secret that prevents large ice crystals from forming, ensuring your finished ice cream is incredibly smooth and creamy.
- Vanilla Extract: A touch of pure vanilla extract beautifully complements and enhances the natural vanilla-like notes in the matcha, creating a more rounded and delicious final flavor.

Step-by-Step to the Creamiest Matcha Ice Cream
This recipe is incredibly simple. The most important tips are to use cold ingredients and to be gentle when folding the mixtures together.
Step 1: Sift the Matcha and Whip the Cream
First, it’s a great idea to chill your large mixing bowl and the whisk attachments from your electric mixer in the freezer for 10-15 minutes. This will help your cream whip up faster and with more volume.
Pro Tip: Sift your matcha powder through a small, fine-mesh sieve before you begin. Matcha powder is very fine and can be prone to clumping. Sifting it ensures you won’t have any bitter clumps in your finished ice cream and that it will dissolve smoothly into the cream.
In your chilled bowl, add the cold heavy cream, the sifted matcha powder, and the vanilla extract.
Using an electric hand mixer, beat the mixture on medium-high speed. Continue to beat until the cream is thick, has increased in volume, and holds firm peaks. “Firm peaks” (or stiff peaks) means that when you lift the beaters out of the cream, the peak that forms will stand up straight and not curl over. The mixture should be a beautiful, uniform lilac color.
Step 2: Fold in the Condensed Milk
Now, slowly drizzle the entire can of sweetened condensed milk into the bowl with the green, matcha-flavored whipped cream.
Using a rubber spatula, gently fold the condensed milk into the whipped cream until no streaks remain and the mixture is uniform in color and texture. Be careful not to stir or beat the mixture, as you don’t want to deflate all the beautiful air you just whipped into the cream. The gentle folding motion is key to a light and airy ice cream.
Step 3: Freeze to Perfection
Pour the beautiful, light green ice cream mixture into a loaf pan or another freezer-safe container (a 9×5 inch loaf pan is the perfect size). Smooth the top with your spatula.
Cover the container tightly. For the best results, press a piece of plastic wrap or parchment paper directly onto the surface of the ice cream mixture before putting the lid on. This simple trick helps to prevent ice crystals from forming on the top.
Place the container in the freezer and freeze for at least 6 hours, or preferably overnight, until the ice cream is completely firm.
Step 4: Scoop and Serve
When you are ready to serve, remove the ice cream from the freezer.
Pro Tip: Homemade ice cream freezes quite hard. For the easiest scooping, let the container sit out at room temperature for about 5-10 minutes to soften slightly. It’s also very helpful to run your ice cream scooper under hot water and then pat it dry before each scoop.
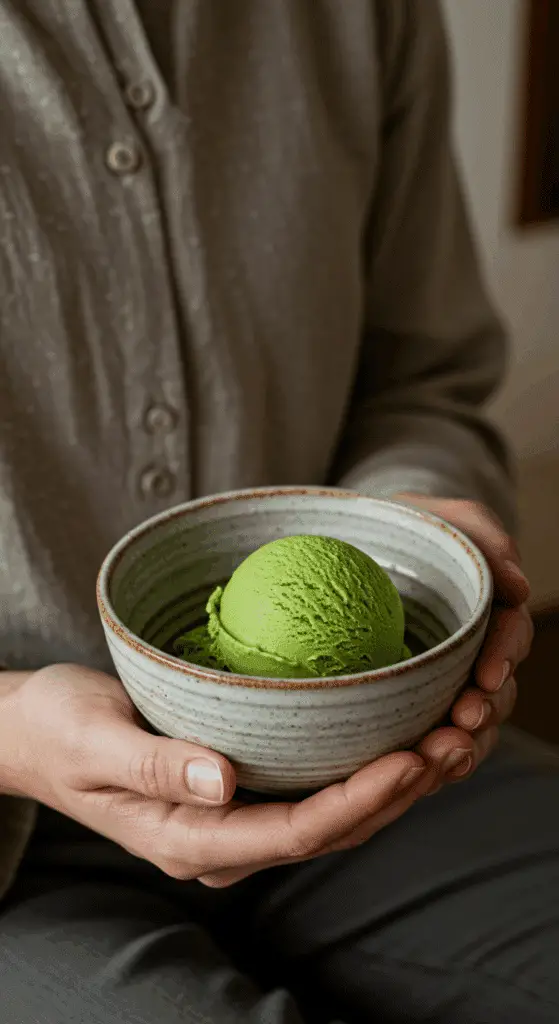
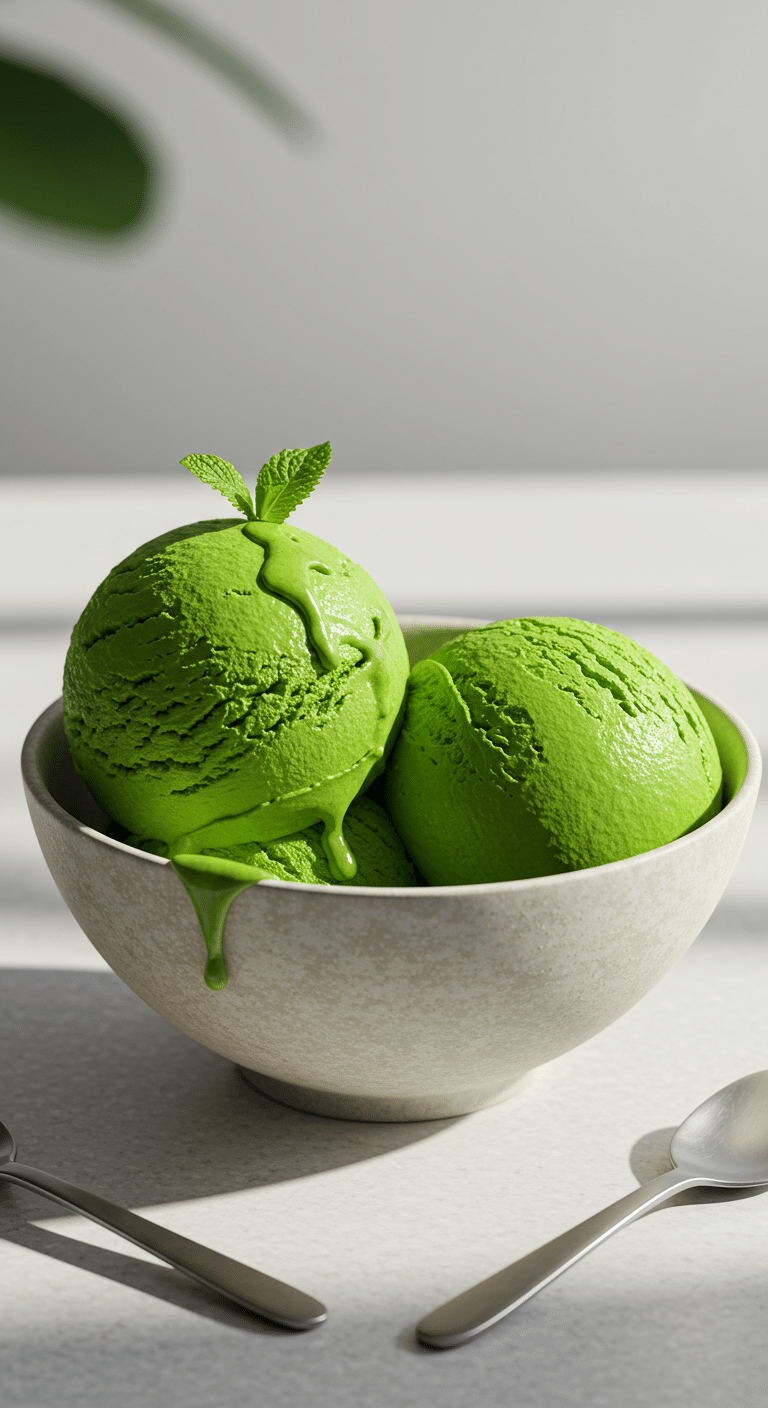
Scoop the beautiful green ice cream into bowls or cones. You can serve it as is, or top it with some traditional Japanese dango mochi (sweet rice dumplings) for a truly authentic treat.

Gourmet-at-Home No-Churn Matcha Ice Cream
An extremely simple, 4-ingredient recipe for a vibrant and flavorful no-churn Matcha (green tea) ice cream. The method involves whipping cold heavy cream with culinary-grade matcha powder and vanilla extract until stiff peaks form. Sweetened condensed milk is then gently folded into the whipped cream mixture. The resulting airy base is frozen in a loaf pan for at least 6 hours until firm and scoopable.
- Prep Time: 10 minutes
- Cook Time: 0 minutes
- Total Time: 6 hours 10 minutes (includes freezing time)
- Yield: 8-10 servings
- Category: Dessert
- Method: No-Churn, Freezing
- Cuisine: Japanese
- Diet: Gluten Free
Ingredients
- 600 mL (about 2 ½ cups) whipping cream, cold
- 4 tablespoons culinary grade matcha powder
- 1 tablespoon vanilla extract
- 300 mL (one can) sweetened condensed milk
- Dango mochi, for topping (optional)
Instructions
- In a large mixing bowl, combine the cold whipping cream, matcha powder, and vanilla extract.
- Use an electric mixer with a whisk attachment to whip the mixture until it forms firm peaks.
- Slowly drizzle the condensed milk into the whipped cream while gently folding it in with a silicone spatula. Fold until just combined and no streaks of condensed milk remain, being careful not to overmix.
- Pour the mixture into a loaf pan or another freezer-safe container.
- Cover with plastic wrap, pressing it gently against the surface to prevent ice crystals.
- Freeze for at least 6 hours, or preferably overnight, until solid.
- To serve, run an ice cream scooper under hot water and wipe it dry before scooping.
- Serve as is or with optional toppings like dango mochi.
Notes
- This is a no-churn recipe, so no ice cream maker is needed.
- Using cold whipping cream and a chilled bowl will help the cream whip up faster and create more stable peaks.
- Be careful not to overmix when folding in the condensed milk, as this can cause the whipped cream to lose its airy texture.
- Running the scoop under hot water makes it much easier to get clean scoops of the hard-frozen ice cream.
Storage and Make-Ahead Tips
This No-Churn Matcha Ice Cream is the perfect make-ahead dessert.
- Storage: Store the ice cream in a freezer-safe, airtight container in the back of your freezer where the temperature is most consistent.
- Preventing Ice Crystals: To keep your ice cream at its creamiest, always press a piece of plastic wrap or parchment paper directly onto the surface of the ice cream before securing the lid.
- Longevity: Your homemade ice cream will have the best, creamiest texture within the first 1-2 weeks of being made. After that, it is still delicious but may start to develop some small ice crystals.
For more recipe follow my Pinterest account
Creative Recipe Variations
This delicious and unique matcha ice cream is a fantastic base for all sorts of creative and flavorful additions.
- Toasted Black Sesame & Matcha Swirl: This is a classic, sophisticated Japanese flavor pairing. In a small bowl, mix 3 tablespoons of toasted black sesame paste with 2-3 tablespoons of the sweetened condensed milk until smooth. After you pour the matcha ice cream base into your loaf pan, dollop the black sesame mixture over the top and use a knife to gently swirl it through for a beautiful and nutty contrast.
- Adzuki Red Bean Matcha Ice Cream: Another beloved classic pairing in Japanese desserts. Gently fold in 1/2 to 3/4 of a cup of sweetened, cooked adzuki red beans (available in cans at most Asian markets, be sure to drain them) into the finished ice cream base just before you pour it into the pan to freeze.
- Matcha “Latte” Ice Cream: For a deeper, more roasty flavor that mimics a matcha latte from your favorite coffee shop, you can dissolve 1 teaspoon of instant espresso powder into the sweetened condensed milk before you fold it into the whipped cream.
Enjoy Your Sophisticated Homemade Treat!
You’ve just created a truly special, gourmet-quality ice cream that is sure to stun and delight your friends and family. This Homemade No-Churn Matcha Ice cream is a beautiful, delicious, and fun introduction to the wonderful world of Japanese-inspired desserts. It’s a simple recipe that proves you don’t need any fancy equipment to make an incredible, unforgettable frozen treat.
We hope you love every last, creamy, and serene spoonful!
If you enjoyed making this recipe, please leave a comment below or share it with a friend who loves matcha!
Frequently Asked Questions (FAQs)
Q1: What does matcha ice cream taste like?
Matcha has a very unique and complex flavor. It is not just “green tea.” A good matcha ice cream is a perfect balance of flavors: it has a distinct earthy and slightly grassy note, a subtle, underlying sweetness, a very slight and pleasant bitterness (similar to dark chocolate), and a smooth, nutty and almost vanilla-like finish.
Q2: Is matcha good for you?
Yes, matcha is renowned for its health benefits. Because you are consuming the whole tea leaf, it is incredibly rich in antioxidants called catechins. It also contains L-theanine, an amino acid that is known to promote a state of calm alertness, which is why it has been used by Zen monks for centuries.
Q3: How do I store homemade ice cream to keep it fresh and prevent freezer burn?
The best way to store homemade ice cream is in an airtight, freezer-safe container. The key is to minimize its exposure to air. The best trick is to press a piece of plastic wrap or parchment paper directly onto the entire surface of the ice cream before you put the lid on. Store it in the coldest part of your freezer (usually the back).
Q4: Can I reduce the amount of sugar in this recipe?
Unfortunately, you cannot significantly reduce the sugar in this specific no-churn recipe. The sweetened condensed milk is crucial not only for sweetness but for the final texture of the ice cream. Its high sugar content is what prevents the ice cream from freezing into a solid, icy block.
Q5: My whipped cream turned grainy and separated. What happened?
It sounds like your whipped cream was over-whipped. After cream reaches the “stiff peaks” stage, if you continue to beat it, the fat globules will start to clump together and separate from the liquid (the buttermilk). If you keep going, you will eventually make butter! For this recipe, stop beating as soon as you reach firm, stiff peaks.


