Are you ready to dive into a world of whimsical, magical, and incredibly delicious dessert-making? If you’re looking for the perfect centerpiece for a mermaid-themed birthday party or just a fun summer activity with the kids, then look no further than this spectacular Mermaid Ice Cream.
This is your ultimate guide to creating a stunning, no-churn ice cream that captures the vibrant, sparkling magic of an undersea kingdom. We’ll show you how to create beautiful, creamy waves of neon pink, purple, and blue ice cream, all without an ice cream maker. It’s a simple, foolproof recipe that results in a truly show-stopping Mermaid Ice Cream.
What makes this recipe so special is its incredible ease and its show-stopping visual appeal. Using a classic no-churn method, you can create a premium-quality ice cream that is as fun to make as it is to eat. Get ready to make a splash with the ultimate Mermaid Ice Cream.
Table of Contents
Table of Contents
The Magic of No-Churn Ice Cream
The secret to this incredibly easy and creamy Mermaid Ice Cream lies in the simple, two-ingredient no-churn base. This method is foolproof and creates a luxurious texture without any special machines.
- Sweetened Condensed Milk: This is the magic ingredient that provides all the sugar and milk solids needed for a smooth, sweet base. Its unique composition prevents the formation of large, crunchy ice crystals.
- Whipped Heavy Cream: By whipping cold heavy cream to stiff peaks, we manually fold air into the ice cream. This creates the light, scoopable, and creamy texture that we all love, doing the job that an ice cream machine would normally do.
Creating the Perfect Mermaid Effect
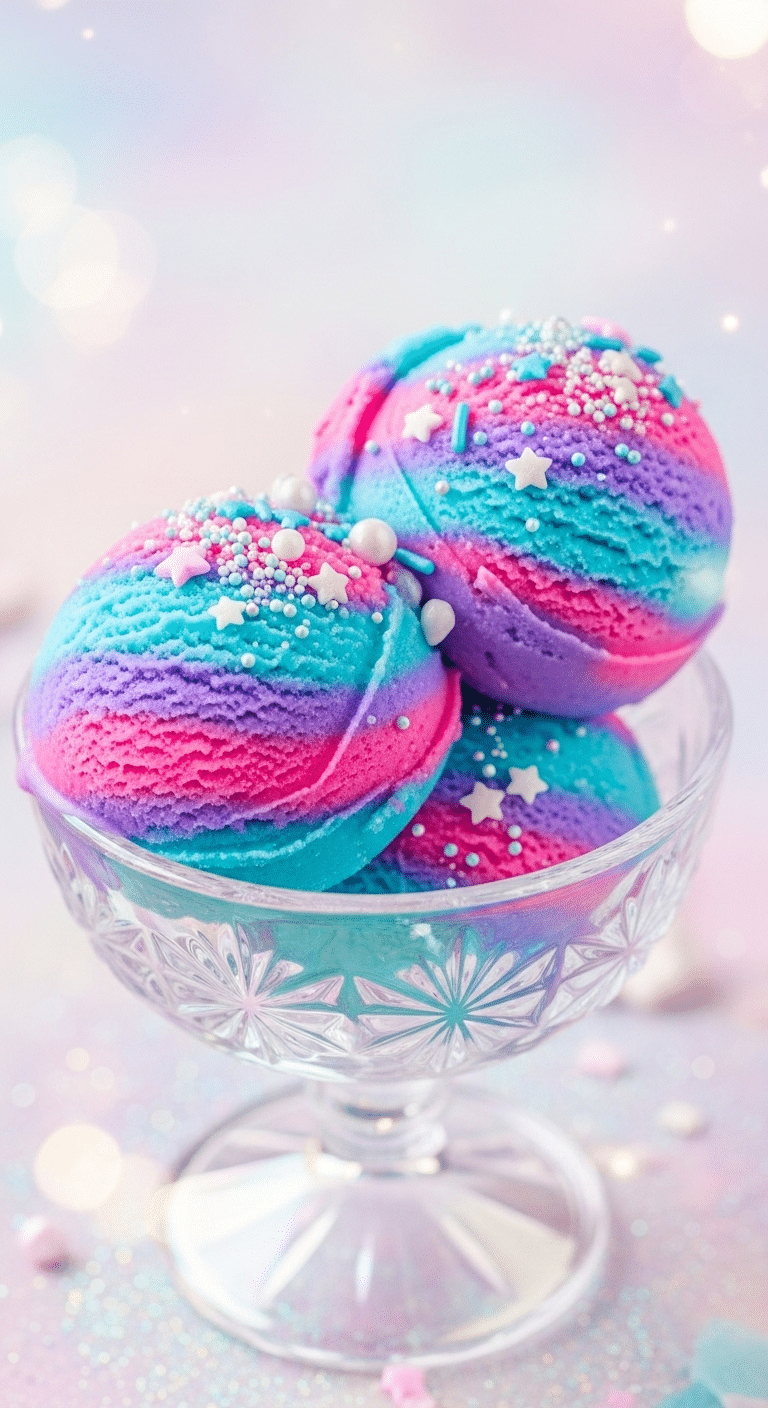
The key to a truly magical Mermaid Ice Cream is achieving that beautiful, iridescent, multi-colored swirl.
- Use Gel Food Coloring: For the most vibrant, electric colors, neon gel food coloring is a must. Unlike liquid food coloring, gel color is highly concentrated, so you only need a tiny amount, and it won’t add extra water to your ice cream base.
- Layer Randomly: The recipe wisely says there is “no rhyme or reason” to the layering. The best way to get an organic, ocean-wave look is to drop spoonfuls of the different colors into your loaf pan in a random, patchy pattern.
- Don’t Over-Swirl! This is the most important rule. Use a skewer or a butter knife to gently drag through the colors just once or twice. If you over-swirl, the beautiful pink, purple, and blue will all blend into a single, muddy color. A light touch is the secret to distinct, beautiful ribbons of color.
- Add the “Bling”: The final touch is the sprinkles! Use a fun mix of neon-colored sprinkles, and be sure to add some edible gold and silver pearls to mimic the look of undersea treasures and bubbles.
The Key Ingredients for Your Magical Ice Cream
This recipe for Mermaid Ice Cream uses simple, easy-to-find ingredients to create a truly spectacular result.
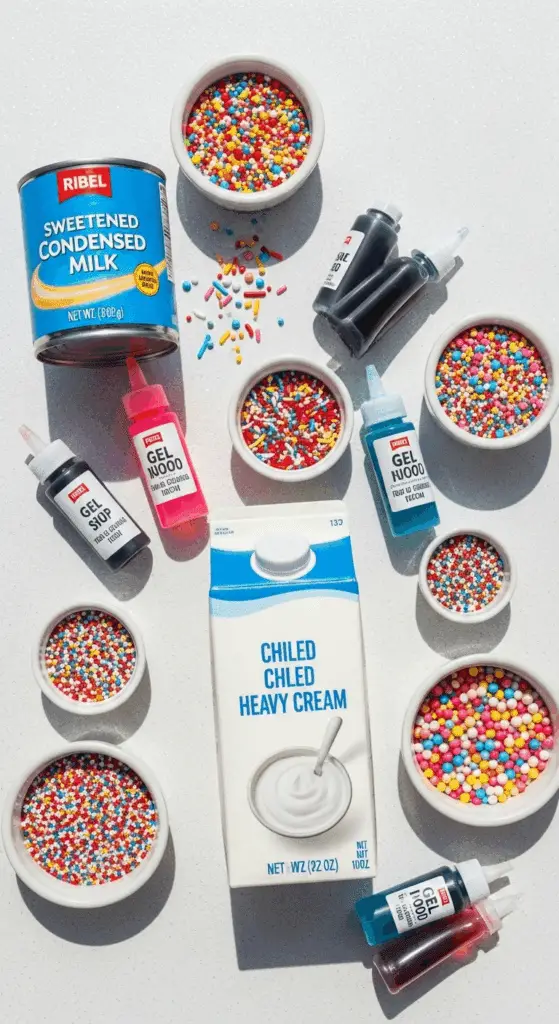
- Heavy Cream & Sweetened Condensed Milk: The foolproof duo for our rich and creamy no-churn ice cream base.
- Powdered Sugar: Using powdered sugar (or confectioners’ sugar) is a smart choice as it dissolves instantly into the cold cream and contains a little cornstarch, which helps to create an even smoother texture.
- Clear Vanilla Extract: For a pure white base that allows the neon colors to be as bright and true as possible, clear vanilla extract is recommended. Regular vanilla extract will work, but it will give the white portion a slightly beige tint.
- Neon Gel Food Coloring: Essential for achieving those vibrant, magical mermaid colors.
- Assorted Sprinkles: The “treasure” for your ice cream! A mix of neon sprinkles and metallic pearls creates the perfect finishing touch.

Step-by-Step Guide to Your Mermaid Ice Cream
This recipe is all about fun, colorful assembly. Follow these simple steps for a perfect result.
- Prepare Your Pan: Place a 9-by-5-by-3-inch metal loaf pan in the freezer for at least 30 minutes to get it very cold. A chilled pan will help your ice cream set up faster.
- Make the Whipped Cream: In a large, chilled bowl, add the cold heavy cream, the powdered sugar, and the clear vanilla extract. Using an electric mixer with a whisk attachment, whip the cream until it holds stiff peaks. This should take about 2 minutes.
- Create the Ice Cream Base: Gently pour the sweetened condensed milk into the bowl with the whipped cream. Using a rubber spatula, carefully fold the two mixtures together until they are just combined and no streaks remain. Be careful not to overmix and deflate the air you just whipped into the cream.
- Divide and Color: Divide the white ice cream base evenly among 3 separate bowls. Add the neon blue food coloring to the first bowl, the neon purple to the second, and the neon pink to the third. Stir each bowl gently until the color is uniform.
- Layer the Colors: Remove your chilled loaf pan from the freezer. Drop large spoonfuls of the three different colored ice cream bases into the pan, alternating the colors randomly until all the base has been used.
- Create the Swirl: Take a skewer or a butter knife and gently drag it through the mixture once or twice from end to end to create a beautiful swirl. Do not overmix!
- Add the Sprinkles: Sprinkle a generous assortment of your fun sprinkles over the top of the ice cream.
- Freeze Until Solid: Lightly cover the loaf pan with plastic wrap and place it on a level surface in your freezer. Freeze your Mermaid Ice Cream overnight, or for at least 5 hours, until it is completely solid and scoopable.
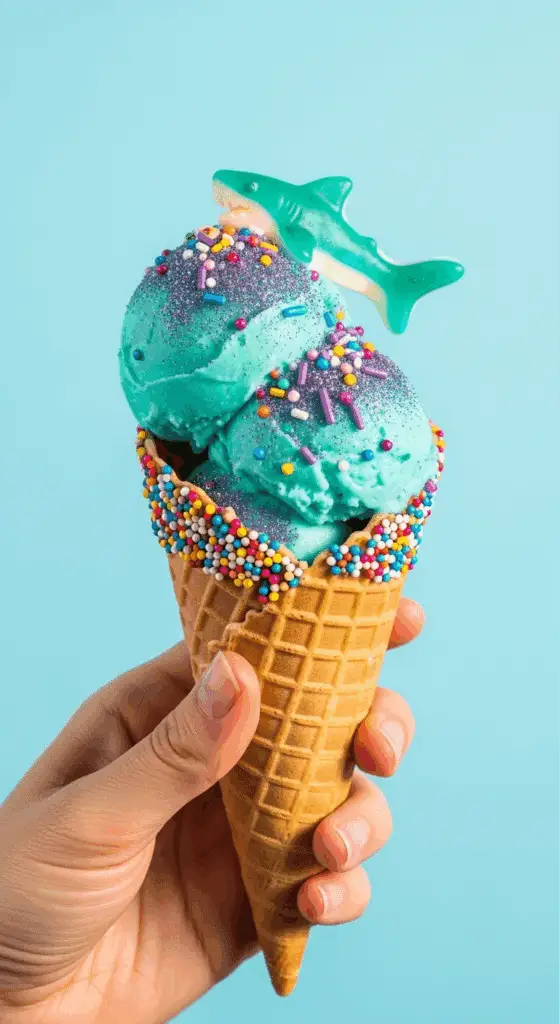
- Serve and Enjoy: Scoop your magical Mermaid Ice Cream into bowls or cones and top with even more sprinkles and, of course, a few gummy sharks to complete the ocean theme!

The Ultimate No-Churn Mermaid Ice Cream: A Magical Party Treat
A vibrant and whimsical no-churn ice cream with a ‘mermaid’ theme. The simple base is created by whipping heavy cream and folding it into sweetened condensed milk. The mixture is then divided and colored with neon blue, purple, and pink food colorings. These colorful bases are layered and swirled together in a loaf pan and topped with a variety of fun sprinkles, creating a magical-looking frozen dessert without an ice cream maker.
- Prep Time: 20 minutes
- Cook Time: 0 minutes
- Total Time: 8 hours 20 minutes (includes overnight freezing)
- Yield: Approximately 1.5 quarts (12 servings)
- Category: Dessert
- Method: No-Churn, Whipping, Freezing
- Cuisine: American
- Diet: Vegetarian
Ingredients
- 2 1/2 cups heavy cream
- 1/4 cup powdered sugar
- 1 tablespoon clear vanilla extract
- One 14-ounce can sweetened condensed milk
- 1/4 teaspoon neon blue gel food coloring
- 1/4 teaspoon neon purple gel food coloring
- 1/4 teaspoon neon pink gel food coloring
- Assorted neon sprinkles, gold and silver pearls, and other fun sprinkle additions, for topping
Instructions
- Place a 9-inch loaf pan in the freezer to chill.
- In the bowl of an electric mixer with a whisk attachment, whip the heavy cream, powdered sugar, and vanilla extract until stiff peaks form.
- Using a rubber spatula, gently fold the sweetened condensed milk into the whipped cream until just combined.
- Divide the mixture evenly among 3 separate bowls.
- Add the neon blue food coloring to one bowl, the neon purple to the second, and the neon pink to the third. Stir each until the color is uniform.
- Layer the different colored ice cream bases into the chilled loaf pan, adding a couple of spoonfuls of each color at a time in a random pattern.
- Once all the base has been added to the pan, use a skewer or a butter knife to gently swirl the colors together.
- Sprinkle an assortment of sprinkles over the top.
- Wrap the pan lightly with plastic wrap and freeze overnight, or for at least 8 hours, until firm.
- To serve, scoop the ice cream into individual glasses or bowls and top with additional sprinkles.
Notes
- An electric mixer is recommended for whipping the cream.
- Using a pre-chilled loaf pan helps the ice cream set faster.
- Be careful not to overmix when folding in the condensed milk or swirling the colors to maintain a light texture and distinct color patterns.
- Ingredient substitutions are noted as being available on the source website.
Storage Information
Store your homemade Mermaid Ice Cream in an airtight container in the freezer. Pressing a piece of plastic wrap directly onto the surface before sealing the lid will help prevent ice crystals. It will keep well for up to two weeks.
Creative “Magical” Ice Cream Variations
This fun, multi-colored technique is perfect for creating other whimsical ice cream themes!
| Flavor Variation | How to Adapt the Recipe | The Delicious Result |
| “Unicorn” Ice Cream | Use pastel pink, purple, and blue gel food colorings instead of neon. Top with a generous amount of rainbow sprinkles and edible glitter for a truly magical unicorn theme. | A beautiful, pastel-colored version perfect for a unicorn-themed party. |
| “Galaxy” Ice Cream | Use black, navy blue, and purple gel food colorings. After swirling, sprinkle heavily with edible silver star sprinkles and silver edible glitter to create a stunning, starry night sky effect. | A dramatic and mysterious deep-space version of your Mermaid Ice Cream. |
| “Rainbow” Ice Cream | Divide the base into 5 or 6 small bowls and color each one a different color of the rainbow (red, orange, yellow, green, blue, purple). Layer them carefully into the loaf pan for a vibrant rainbow look. | A cheerful and colorful treat that is a guaranteed hit at any celebration. |
For more recipe follow my Pinterest account
Conclusion: A Dive into Delicious Fun
This Mermaid Ice Cream is a perfect example of how a simple recipe can be transformed into something truly magical and memorable. It’s a fun, creative, and easy project that results in a spectacular dessert that will delight anyone who sees it. The beautiful swirls of color, the fun sprinkles, and the creamy, delicious ice cream come together to create a treat that is pure joy. We hope you have a blast creating this whimsical Mermaid Ice Cream.
Frequently Asked Questions (FAQs)
Why did my colors blend into one muddy color?
This is the most common issue, and it comes from over-swirling. To keep the colors distinct, you only want to drag a skewer through the layered scoops one or two times. Any more than that, and the beautiful ribbons of color will blend together.
My ice cream is a little icy. What can I do to make it creamier?
The key to creamy no-churn ice cream is the fat in the heavy cream and the unique properties of the sweetened condensed milk. Make sure you are using full-fat heavy cream and whipping it to stiff peaks. Under-whipping the cream can result in a denser, icier final texture.
Where can I find neon gel food coloring and fun sprinkles?
Gel food coloring and a wide variety of fun, themed sprinkles (like pearls and edible glitter) can be found in the baking aisle of most major grocery stores, at craft stores like Michaels or Jo-Ann, or from online baking suppliers.


