Looking for the most adorable, delicious, and unbelievably easy treat for your fall celebration or Halloween party? A festive snack that is so much fun to make, it’s the perfect project to do with your kids? These incredible, super-easy Mini Pretzel Pumpkins are the ultimate spooky-season sweet! We’re using a simple bag of pretzels and some colorful candy melts to create the cutest, sweet-and-salty pumpkins you’ve ever seen.
This isn’t just a recipe; it’s a guide to your new favorite Halloween tradition. We’ll show you the simple secrets to perfectly melting your candy and how to transform three simple ingredients into a stunning, edible work of art. These little bites of sweet and salty perfection are guaranteed to be the star of any festive gathering and will disappear from the plate in a flash.
Table of Contents
Table of Contents
Recipe Overview: The Ultimate Easy & Adorable Halloween Treat
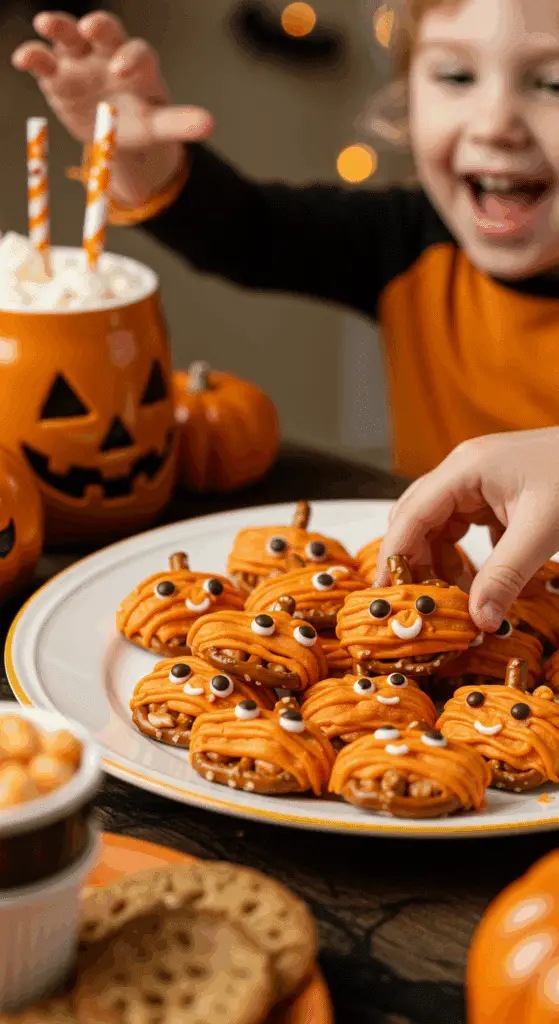
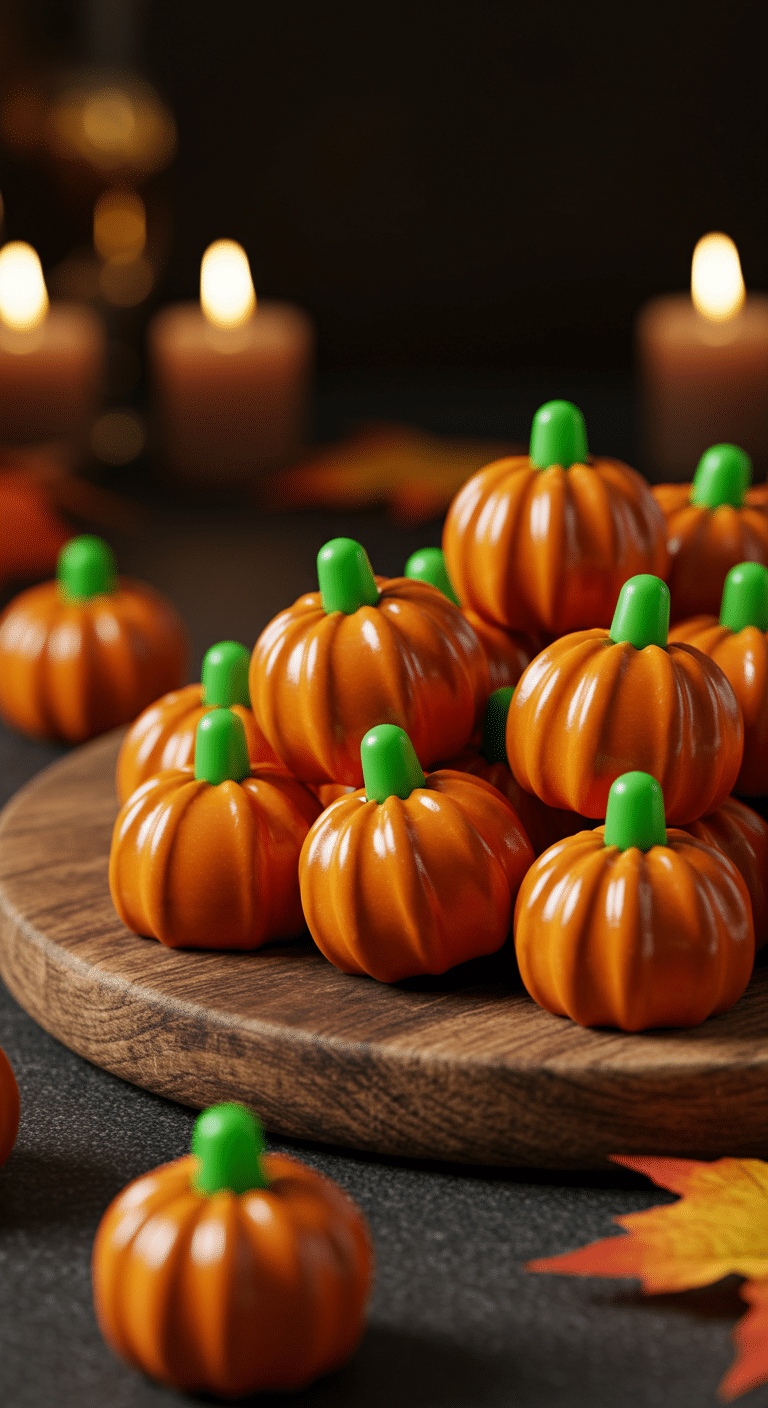
What makes these Mini Pretzel Pumpkins so spectacularly fun is their brilliant, easy-to-make design and their classic, crowd-pleasing flavor. This recipe is a masterpiece of festive simplicity. The “pumpkin” shape is cleverly created by filling the holes of a classic mini pretzel with a vibrant, orange-colored candy melt. This creates the perfect, bite-sized canvas. The final, magical touches are a few piped-on lines to create the pumpkin’s ridges and a tiny piece of a green candy sour straw for a cute and curly stem. It’s a completely no-bake, foolproof recipe that is perfect for all skill levels.
| Metric | Time / Level |
| Total Time | 45 minutes |
| Active Prep Time | 30 minutes |
| Difficulty Level | Easy |
| Servings | 30 pumpkins |
The “Pumpkin Patch” Ingredients & Tools
This iconic party treat uses just a handful of simple, fun ingredients.
- The “Pumpkin”:
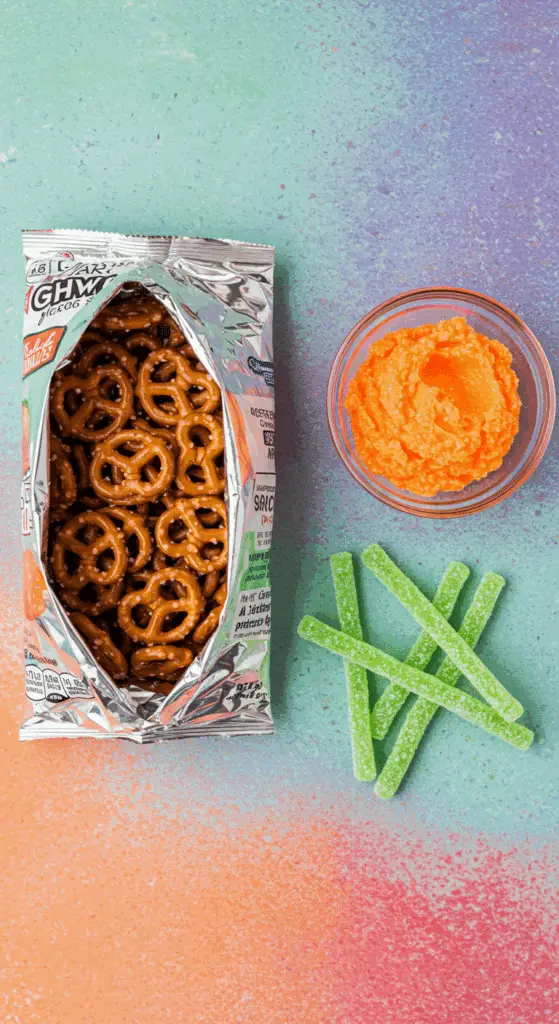
- Mini Pretzels: The classic, salty, and crunchy base of our treat! The iconic, twisted shape of a mini pretzel is the perfect, natural outline for our adorable little pumpkins.
- The “Pumpkin Flesh” & Decorations:
- Orange Candy Melting Wafers: This is the secret to an easy, foolproof, and brightly colored coating! Candy melts are a type of confectionery coating that is specifically designed to melt beautifully and set up quickly with a smooth, hard finish.
- Green Candy Sour Straws: A few of these tangy, green candy straws are the perfect, easy-to-cut material for creating the cute and curly pumpkin “stems.”
- The Key Equipment:
- A Double Boiler (or a microwave-safe bowl): For gently melting your candy wafers.
- A Piping Bag: This is a great tool for creating the neat, decorative ridges on the pumpkins. If you don’t have one, a simple zip-top bag with a tiny corner snipped off is a perfect substitute.
The Candy-Making Masterclass: How to Perfectly Melt Candy Wafers
This is the most important step for a smooth, beautiful result.
- The Double Boiler Method (Recommended): Place your candy wafers in the top of a double boiler (or in a heatproof bowl set over a saucepan of simmering water, making sure the bottom of the bowl does not touch the water). Cook, stirring occasionally, until the wafers are smooth and completely melted.
- The Microwave Method: Place your candy wafers in a microwave-safe bowl. Microwave in 30-second increments, stirring well after each one, until the wafers are completely melted and smooth. Be careful not to overheat them, as this can cause them to “seize” or become thick.
- Pro Tip (The Secret to a Smooth Melt!): If your melted candy seems too thick, or if it starts to reharden, you can stir in 1/2 to 1 teaspoon of coconut oil or vegetable shortening. This will make it wonderfully smooth and fluid again, which is perfect for filling and piping.

Step-by-Step to the Cutest Pretzel Pumpkins
This fun and festive project is incredibly simple to prepare.
Step 1: Melt the Candy and Create Your Pumpkin Base
Step 1: Line a large baking sheet with parchment paper. Lay your 30 mini pretzels out on the parchment, making sure to leave some space between each one.
Step 2: Place your 8 ounces of orange candy wafers in a small heatproof bowl and melt them according to one of the methods described in the masterclass above.
Step 3 (The Fun Part!): Use a small spoon to carefully fill the interior of each of your pretzels with the melted orange candy. You want to create a pumpkin-like shape that has a pretzel border all the way around it.
Pro Tip: If your candy starts to solidify at any point while you are working, simply reheat it gently over the simmering water until it is smooth and fluid again.
Part 2: Decorate the Pumpkins
Step 1: Once all the pretzels are filled, reheat the remaining orange candy if necessary and carefully transfer it to a piping bag that has been fitted with a very small, round tip.
Step 2: Pipe a single, thin line of the orange candy around the inside border of the orange interior to emphasize the beautiful pumpkin shape.
Step 3: Then, pipe a few thin, vertical lines from the top of the pretzel to the bottom to mimic the classic ridges of a pumpkin.
Step 4: Pipe a small, final dot of the melted candy where the arches of the pretzel meet at the top. Immediately and gently stick one of your 1/2-inch pieces of the green sour straw into the dot to create the “stem.”
Step 5: Let the pretzel pumpkins cool on the baking sheet until the candy has completely set. This will take about 30 minutes at room temperature, or you can speed up the process by placing them in the refrigerator for about 10 minutes.
Once they are firm, you can peel them off the parchment.

Storage and Make-Ahead Tips
These Pretzel Pumpkins are the perfect make-ahead party treat!
- Make-Ahead: You can make these festive pretzels up to 1 week in advance.
- Storage: Store the finished pretzel pumpkins in a single layer in an airtight container at room temperature. Be sure to keep them in a cool, dry place to prevent the candy from becoming soft.
For more recipe follow my pinterest account
Creative Recipe Variations (“Make it Your Own Potion!”)
- Make some Spooky “White Ghost” Pretzels: For a different but equally adorable Halloween treat, you can fill your pretzels with white candy melts. Once they have set, you can use a little bit of melted black candy or some black icing to pipe on two spooky eyes and a mouth to create some cute little ghosts!
- Add a Classic Fall Flavor: For a delicious, warm, and spicy flavor, you can stir about 1/4 teaspoon of your favorite pumpkin pie spice into your melted orange candy before you fill the pretzels.
- Use a Different Pretzel Shape: If you can’t find mini pretzels, this same technique is fantastic with the classic, round pretzel thins or the square, “waffle-style” pretzels.
Enjoy Your Ultimate Easy & Adorable Halloween Treat!
You’ve just created a truly special treat that is a perfect harmony of fun, classic ingredients and delicious, sweet and salty flavor. These classic Mini Pretzel Pumpkins are a testament to the power of a simple, creative idea to become an instant family favorite and a treasured holiday tradition. It’s a rewarding and deeply satisfying project that is sure to make your Halloween party a memorable one.
We hope you enjoy every last, perfect, and delicious bite!
If you enjoyed making this recipe, please leave a comment below or share it with a friend who loves an easy and impressive meal!
Frequently Asked Questions (FAQs)*
Q1: What is the absolute, number one secret to perfectly smooth, melted candy for this project?
The most important secret is to melt it gently and slowly, especially if you are using a microwave. The second secret is to make sure that no water comes into contact with your melted candy, as this will cause it to “seize” and become a thick, grainy, and unusable mess.
Q2: Why did my melted candy get thick and lumpy?
This is called “seizing,” and it is almost always caused by one of two things: either it came into contact with a small drop of water, or it was overheated. If it has just become a little too thick, you can often save it by stirring in a small amount of coconut oil or vegetable shortening until it is smooth again.
Q3: Can I make these Halloween pretzels ahead of time for a party?
Yes, this is a perfect make-ahead party treat! You can prepare them completely and store them in an airtight container at room temperature for up to a week before your party.
Q4: What can I use if I don’t have a piping bag to make the ridges on the pumpkin?
A simple, household zip-top plastic bag is a perfect substitute! Simply spoon your melted candy into the bag, push it down into one of the bottom corners, and then use a pair of scissors to snip off a very, very tiny piece of the corner.
Q5: Can I use real chocolate instead of candy melts?
You can, but it is a bit more challenging. To get that classic, shiny, and hard “snap,” real chocolate needs to be tempered, which is a more advanced process of heating and cooling it to specific temperatures. Candy melts are a fantastic shortcut that gives you a perfect result with no tempering required.

