Do you crave those unbelievably tender, succulent, fall-off-the-bone, restaurant-style baby back ribs, but think you need a giant, expensive smoker to make them at home? Think again! The secret to the most incredible, flavorful, and perfectly tender ribs of your life is waiting right inside your own kitchen oven.
This isn’t just a recipe; it’s the ultimate guide to mastering perfect, competition-worthy ribs with a foolproof, two-stage oven method. We’ll show you how to create a deep, smoky, and complex dry rub from scratch, and then walk you through the simple “low and slow” baking technique that guarantees a moist, melt-in-your-mouth result. Finished with a sticky, caramelized barbecue glaze, these are the ribs that will make you a legend.
Recipe Overview: The Ultimate Guide to Perfect Oven Ribs
What makes this Oven-Baked Baby Back Ribs recipe the absolute best is its foolproof, two-stage cooking process that mimics the results of a professional smoker. The first stage is a long, slow bake with the ribs tightly wrapped in foil. This steams and braises the meat, breaking down all the tough connective tissues and making it incredibly tender. The second stage is a higher-heat bake without the foil, where we repeatedly baste the ribs with barbecue sauce to create that thick, sticky, and beautifully caramelized glaze that everyone loves.
| Metric | Time / Level |
| Total Time | 3 hours 15 minutes |
| Active Prep Time | 20 minutes |
| Difficulty Level | Easy |
| Servings | 4 |
The Essential Ingredients for the Best Ribs
This recipe uses a powerful, homemade dry rub and a few simple ingredients to create a truly spectacular result.
- The Ribs (Baby Back Pork Ribs): The star of the show. Baby back ribs come from the upper part of the pig’s rib cage, near the loin. They are known for being leaner, smaller, and more tender than spare ribs, which makes them perfect for this recipe.
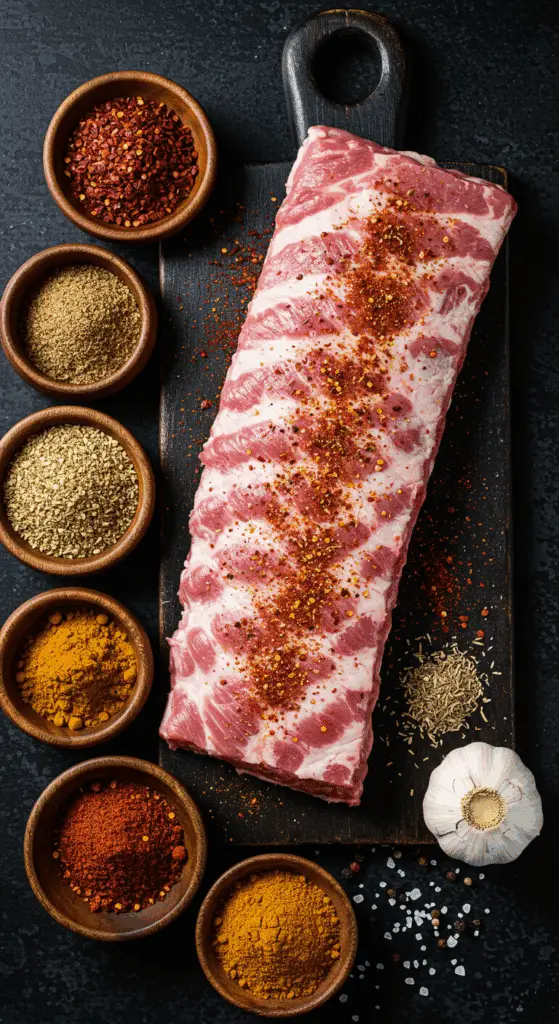
- The Smoky Dry Rub: This is where we build the foundational layer of deep, complex flavor. Our homemade rub is a perfect balance of:
- Sweet: A mix of white and brown sugar provides the sweetness and helps with caramelization.
- Smoky & Spicy: A trio of chili powders—ancho for a deep, smoky, raisin-like flavor; chipotle for a smoky heat; and cayenne for a sharp, clean kick—creates incredible complexity.
- Savory & Earthy: Salt, black pepper, cumin, and dry mustard provide the essential savory backbone.
- Your Favorite Barbecue Sauce: The final, glossy finish. This recipe is fantastic with your favorite store-bought brand, whether it’s sweet, smoky, or spicy. You can also easily make your own!
Pro Tutorial: The #1 Most Important Step for Tender Ribs
Before you do anything else, you must remove the silverskin membrane from the back of the ribs. This is a thin, tough, whitish membrane that runs along the bone-side of the rack. If you leave it on, it will cook into a tough, rubbery layer and will prevent the rub and smoke flavor from penetrating the meat.
- Slide: Use a small, dull knife (like a butter knife) to slide under the membrane at one end of the rack to loosen a corner.
- Grip: Use a paper towel to get a firm, non-slip grip on the loosened corner of the membrane.
- Pull: In one steady motion, pull the membrane up and away from the ribs. It should come off in one large sheet.

Step-by-Step to Fall-Off-the-Bone Perfection
Follow these simple, detailed steps to create the best ribs you’ve ever made.
Step 1: Mix and Apply the Smoky Dry Rub
First, preheat your oven to a low 250°F (120°C).
In a small bowl, mix together all the dry rub ingredients: the ancho chile powder, white sugar, brown sugar, salt, black pepper, cumin, dry mustard, cayenne pepper, and ground chipotle pepper, until they are thoroughly combined.
Place your rack of ribs, which has had the membrane removed, on a large sheet of heavy-duty aluminum foil. Generously apply a thick coating of the dry rub to all sides of the rack—top, bottom, and edges. Use your hands to press the rub into the meat.
Step 2: The “Low and Slow” Bake for Ultimate Tenderness
With the rib rack placed meat-side down on the foil, fold the foil tightly around the rack to create a completely sealed packet. This will trap the steam and moisture inside, which is the secret to tender, juicy ribs.
Place the foil-wrapped rack on a rimmed baking sheet and bake in the preheated oven for 2 hours.
After 2 hours, remove the ribs from the oven and let them cool in the foil for about 15 minutes.
Step 3: Glaze and Finish for a Sticky, Caramelized Bark
Increase your oven temperature to a higher 350°F (175°C).
Carefully open the foil packet. There will be a significant amount of accumulated juices and rendered fat in the bottom. Carefully drain and discard all of this liquid.
Using a basting brush, apply a layer of your favorite barbecue sauce to all sides of the rack.
Turn the rack on the foil so the meat is now facing up. Leave the foil packet open to expose the ribs.
Return the ribs to the hotter oven and bake for 10 minutes. After 10 minutes, remove the ribs from the oven and brush another layer of barbecue sauce on the meat side only.
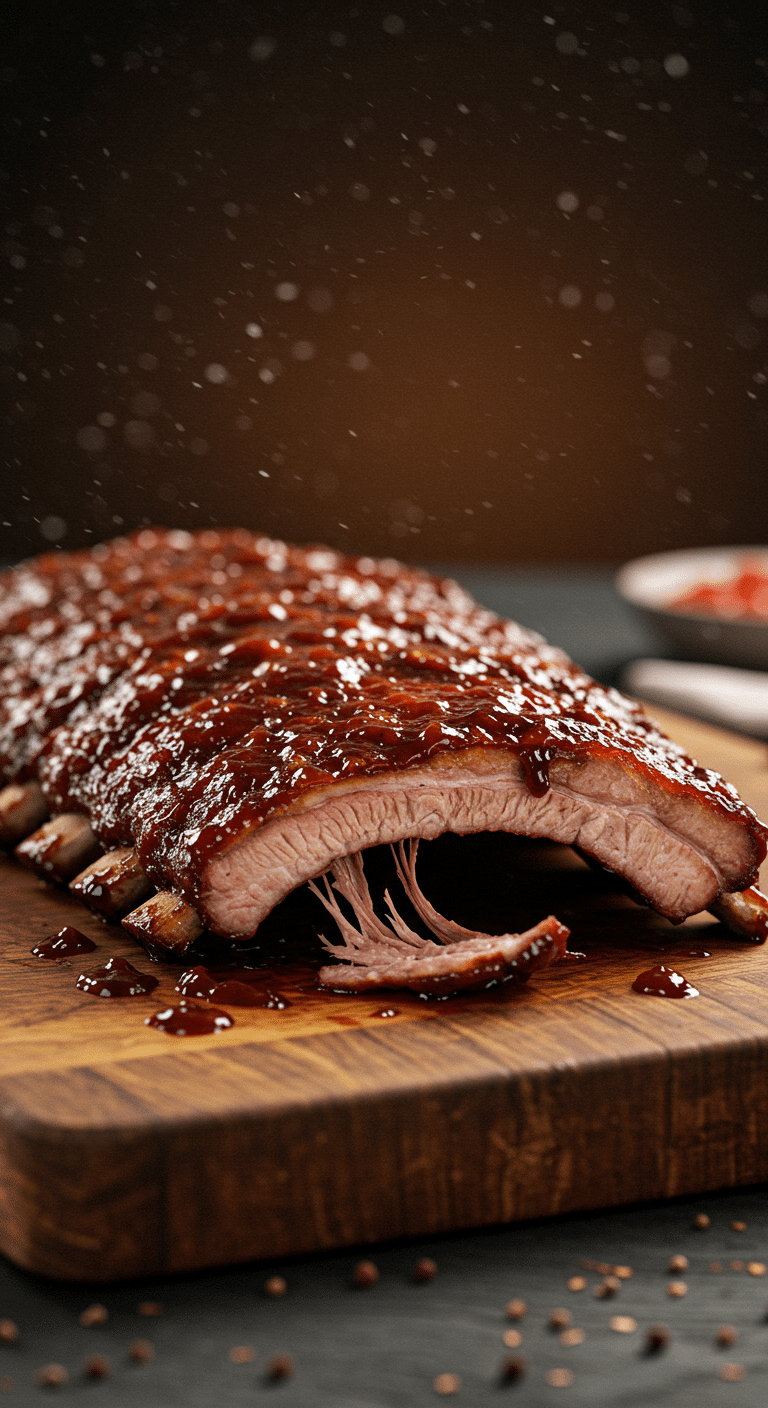
Repeat this process of baking for 10 minutes and then brushing with sauce four more times, for a total of 50 minutes of glazing and baking time. This repeated layering is what creates that thick, sticky, and beautifully caramelized barbecue glaze.
Step 4: Rest, Slice, and Serve
Once the ribs have a beautiful, dark, and sticky glaze, remove them from the oven. Let the rack rest for a few minutes before slicing.
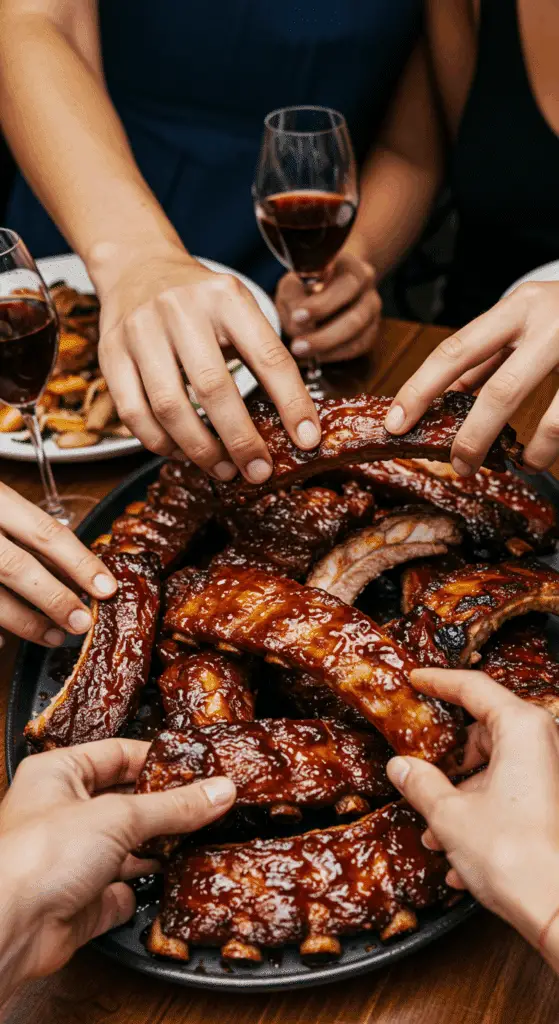
To serve, use a large, sharp knife to cut the rack between the bones into individual rib segments. Serve immediately with extra barbecue sauce on the side for dipping.

Perfect Fall-Off-The-Bone Oven-Baked Baby Back Ribs
A classic American comfort food recipe for Salisbury steak with a rich mushroom and onion gravy. The patties are made from seasoned ground beef, breadcrumbs, and egg, then chilled before being pan-seared until browned. A savory gravy is then made with sautéed mushrooms and onions, thickened with a flour roux, and enriched with beef broth. The seared patties are returned to the skillet to simmer in the gravy until cooked through.
- Prep Time: 20 minutes
- Cook Time: 30 minutes
- Total Time: 2 hours 50 minutes (includes chilling time)
- Yield: 4 servings
- Category: Main Course
- Method: Pan-Frying, Simmering
- Cuisine: American
Ingredients
- For the Steaks:
- 1 pound 85% lean ground beef
- ½ cup plain bread crumbs
- 1 large egg, beaten
- 2 tablespoons ketchup
- 1 tablespoon Worcestershire sauce
- 1 teaspoon dry mustard
- 1 teaspoon soy sauce
- ½ teaspoon freshly ground black pepper
- 1 pinch cayenne pepper, or to taste
- 2 tablespoons salted butter
- For the Gravy:
- 2 tablespoons salted butter
- 12 large white button mushrooms, sliced
- 1 cup diced onion
- Salt to taste
- 2 tablespoons all-purpose flour
- 3 cups high-quality, low-sodium beef broth
- 2 tablespoons ketchup
- 1 tablespoon Worcestershire sauce
Instructions
- Prepare the Steaks: In a mixing bowl, combine the ground beef, bread crumbs, egg, 2 tablespoons of ketchup, 1 tablespoon of Worcestershire sauce, mustard, soy sauce, black pepper, and cayenne pepper. Mix with your hands until just combined, being careful not to overmix. Cover and refrigerate for at least 2 hours or overnight.
- Make the Gravy: Melt 2 tablespoons of butter in a large nonstick skillet over high heat. Add the mushrooms, onion, and a pinch of salt. Sauté for 5 to 8 minutes, until nicely browned.
- Reduce the heat to medium, add the flour, and cook, stirring, for 3 minutes to make a roux.
- Stir in the beef broth, 2 tablespoons of ketchup, and 1 tablespoon of Worcestershire sauce. Increase the heat to high and bring to a simmer. Reduce the heat to medium and cook, stirring occasionally, for about 10 minutes until the gravy thickens slightly. Taste and adjust salt. Transfer the gravy to a separate container and clean the skillet.
- Cook the Steaks: Remove the meat mixture from the refrigerator and divide it into four equal portions. Moisten your hands and form each portion into a 1/2-inch-thick oval patty. Lightly season both sides with salt.
- Melt 2 tablespoons of butter in the clean skillet over medium-high heat. Add the patties and cook for 2 to 3 minutes per side, until browned.
- Pour the prepared gravy back into the skillet with the patties and bring to a simmer. Reduce the heat to medium and continue to cook for about 5 more minutes, until the gravy is hot and the steaks are cooked through (at least 160°F).
Notes
- Chilling the meat mixture for at least 2 hours helps the patties hold their shape and allows the flavors to meld.
- Don’t overmix the ground beef mixture, as this can result in tough patties.
- The recipe calls for making the gravy first, setting it aside, and then cooking the steaks in a clean pan before combining.
- An instant-read thermometer is the best way to ensure the steaks are cooked to a safe internal temperature of 160°F.
Storage and Make-Ahead Tips
These oven-baked ribs are fantastic for making ahead for a party or for enjoying as leftovers.
- Make-Ahead: You can complete the entire “low and slow” baking step (Part 2) up to a day in advance. Let the foil-wrapped ribs cool, then store them in the refrigerator. When you’re ready to eat, simply proceed with the final glazing and finishing step (Part 3).
- Storage: Store any leftover ribs, wrapped tightly, in the refrigerator for up to 4 days.
- Reheating: The best way to reheat ribs is low and slow. Wrap them in foil with a little extra barbecue sauce and warm them in a 300°F oven for about 20-25 minutes, until they are heated through.
For more recipe follow my Pinterest account
Creative Recipe Variations
This foolproof method is a wonderful base for your own creative barbecue flavors.
- Make it a Milder, Smoky-Sweet Rub: If you are sensitive to heat, you can simply omit the cayenne and chipotle peppers from the dry rub. For a smokier flavor, you can replace a tablespoon of the regular paprika (if using a substitute) with smoked paprika.
- Finish them on the Grill: For a true, authentic smoky char, you can perform the final glazing step on a preheated outdoor grill instead of in the oven. After the low and slow bake, simply place the sauced ribs on a medium-hot grill for a few minutes per side, basting them as you go, until the sauce is caramelized and has beautiful char marks.
- Try a Different Sauce: While classic barbecue sauce is fantastic, you can finish these ribs with other glazes. An Asian-style Hoisin or Teriyaki glaze would be delicious, as would a sweet and tangy apricot or peach glaze.
Enjoy Your Barbecue Masterpiece!
You’ve just created a truly spectacular rack of ribs that is every bit as tender, juicy, and delicious as those from a famous barbecue joint. This simple, oven-based method is a foolproof way to achieve fall-off-the-bone perfection every single time. It’s the ultimate, satisfying meal for a game day, a family gathering, or any time you’re craving a true taste of American barbecue.
We hope you enjoy every last, sticky, finger-licking good bite!
If you enjoyed making this recipe, please leave a comment below or share it with a friend who loves great ribs!
Frequently Asked Questions (FAQs)
Q1: Do I absolutely have to remove the membrane from the back of the ribs?
Yes, you absolutely should! This is the single most important prep step for tender ribs. The silverskin membrane is a tough, chewy piece of connective tissue that does not break down during cooking. Leaving it on will result in tough, hard-to-eat ribs and will prevent the delicious dry rub from properly seasoning the meat on that side.
Q2: What is the difference between baby back ribs and spare ribs?
Baby back ribs come from the upper part of the rib cage, near the backbone. They are shorter, more curved, and are leaner and more tender than spare ribs. Spare ribs come from the lower, belly side of the pig. They are larger, flatter, and have more fat and connective tissue, which makes them incredibly flavorful but requires a longer cooking time to become tender.
Q3: How do I know for sure when my ribs are done and perfectly tender?
The best way to test for doneness in ribs is the “bend test.” Using a pair of tongs, pick up the rack of ribs from the center. If they are perfectly tender, the rack will bend easily, almost to a 90-degree angle, and the meat will begin to crack and separate on the surface. This indicates that the connective tissue has fully broken down.
Q4: Can I make this recipe in a slow cooker?
Yes, you can adapt the first cooking stage for a slow cooker. After applying the dry rub, you can cut the rack into a few smaller sections to fit. Place them in the slow cooker and cook on Low for 6-8 hours or on High for 3-4 hours. There is no need to add any extra liquid. Then, proceed with the final glazing and finishing step in the oven or on the grill as directed.
Q5: What should I serve with these oven-baked ribs?
These ribs are the star of the show and are perfect with all the classic barbecue side dishes! Some fantastic pairings include creamy coleslaw, potato salad, baked beans, macaroni and cheese, and warm, buttery cornbread.


