Are you ready to unlock the simple secrets to a truly perfect, flaky, and buttery homemade pie crust? The kind that shatters delicately under your fork and melts in your mouth? If you’ve ever been intimidated by the thought of making pie dough from scratch, this foolproof recipe and step-by-step guide will give you the confidence to ditch the store-bought crust forever and master this essential baking skill.
This isn’t just a recipe; it’s a complete masterclass in the science of perfect pastry. We’ll show you why a combination of both butter and shortening is the secret to the best of both worlds—flavor and flakiness. With the speed of a food processor and a few crucial but simple techniques, you are just a few steps away from creating a crust that is worthy of your favorite fillings, from apple pie to chicken pot pie.
Table of Contents
Table of Contents
Recipe Overview: Your New Go-To Pie Dough
What makes this the “Perfect Pie Crust” is its foolproof nature and its incredibly tender, flaky result. This recipe uses a classic blend of butter (for that rich, delicious flavor) and vegetable shortening (for a super tender, melt-in-your-mouth texture). The food processor method is a brilliant shortcut that makes the process fast and keeps the ingredients perfectly cold, which is the number one secret to a flaky crust. This is the one and only, all-purpose pie dough recipe you will ever need.
| Metric | Time / Level |
| Total Time | 45 minutes (includes chilling) |
| Active Prep Time | 15 minutes |
| Difficulty Level | Easy |
| Servings | One 9-inch double-crust pie |
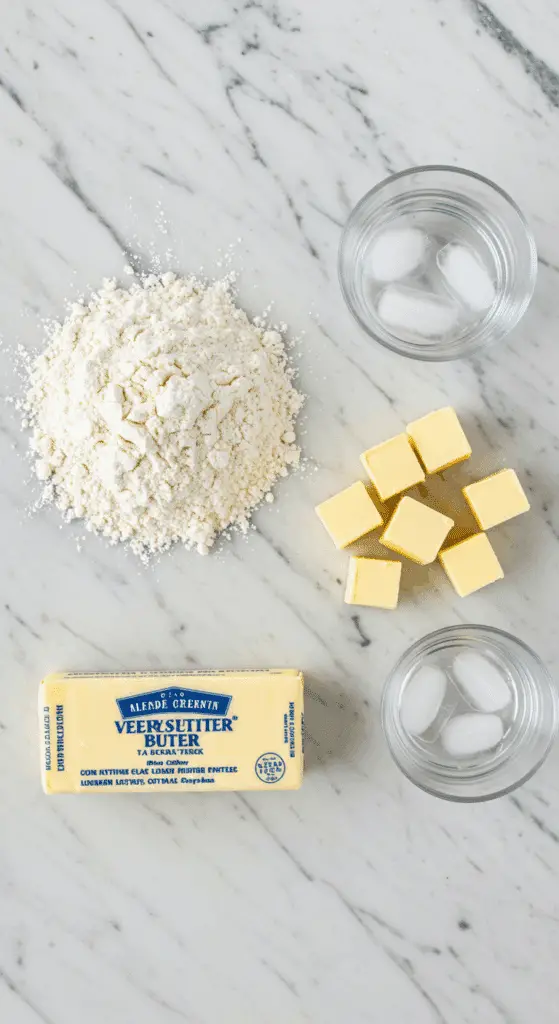
The Essential Ingredients for a Flaky Crust
The science of a perfect pie crust lies in a few simple ingredients and, most importantly, their temperature.
- The Fats (Butter & Shortening): This is the key to the ultimate texture and flavor.
- Very Cold Unsalted Butter: Butter provides a wonderful, rich, savory flavor that is unbeatable. It is crucial that your butter is very cold and cut into small pieces.
- Very Cold Vegetable Shortening: Shortening has a higher melting point than butter and contains no water. This is the secret weapon for a crust that is incredibly tender and flaky. Using a combination of both fats gives you the rich flavor of butter and the superior flaky texture of shortening.
- All-Purpose Flour: The structural foundation of our crust.
- The Liquid (Ice Water & an Egg):
- Ice Water: It is absolutely essential that the water you use is ice-cold. This keeps the small pieces of butter and shortening in the dough solid, which is the key to creating flaky layers.
- An Egg: An egg adds richness, flavor, and structure to the dough, making it a bit sturdier and easier to handle.
- Distilled White Vinegar (Optional but Recommended): A teaspoon of vinegar is a classic, old-fashioned trick that helps to tenderize the gluten in the flour, making the crust even more tender and flaky.
The #1 Rule of Pie Making: Keep Everything COLD!
The entire secret to a flaky pie crust lies in keeping the fats (the butter and shortening) as cold as possible. The goal is to have small, pea-sized pieces of solid fat suspended throughout the flour. When that cold dough hits the hot oven, the pieces of fat melt and create steam. This steam pushes the layers of dough apart, creating all those beautiful, separate, flaky layers.

Step-by-Step to the Perfect Pie Crust
This recipe uses a food processor for a quick and easy method. Instructions for making it by hand are also included below.
Step 1: Combine the Dry Ingredients
In the bowl of a food processor fitted with a steel blade, add the 3 cups of all-purpose flour, the 1 teaspoon of kosher salt, and the 1 tablespoon of sugar. Pulse the machine a few times just to combine the ingredients.
Step 2: Cut in the Cold Fats
Add the 12 tablespoons of very cold, diced butter and the 1/3 cup of very cold vegetable shortening to the food processor.
Pulse the machine 8 to 12 times, in short 1-second bursts. You are looking for the mixture to resemble coarse crumbs with some larger, pea-sized pieces of butter still visible. Do not over-process!
Step 3: Add the Ice Water
With the machine running on the pulse setting, pour the 6 to 8 tablespoons of ice water down the feed tube. Continue to pulse the machine just until the dough begins to come together and form a ball. Stop the machine immediately as soon as the dough comes together.
Step 4: The Crucial Chilling Step
Turn the crumbly dough out onto a lightly floured board and gently bring it together into a ball with your hands.
Divide the dough in half and form each half into a flattened, 1-inch thick disc. Wrap each disc tightly in plastic wrap.
Refrigerate the dough for at least 30 minutes, or up to 2 days.
Pro Tip: Do not skip this chilling step! This allows the gluten in the flour to relax (which prevents a tough crust), the fat to re-solidify (which creates flakiness), and the flour to fully hydrate.
Step 5: Roll Out and Shape the Dough
When you are ready to assemble your pie, take one disc of dough from the refrigerator. On a well-floured board, roll the dough out into a circle that is about 11 to 12 inches in diameter.
Pro Tip: To prevent the dough from sticking, roll from the center to the edge, and give the dough a quarter turn after each roll.
Gently fold the dough in half, place it in your 9-inch pie pan, and then unfold it to fit the pan. Repeat the rolling process with the second disc of dough for your top crust.

The Best Foolproof & Flaky Perfect Pie Crust Recipe
A classic recipe for a perfect, flaky pie crust made easily in a food processor. The dough uses a combination of very cold butter and vegetable shortening, which are pulsed into a flour, salt, and sugar mixture until they are the size of peas. Ice water is then added to bring the dough together. After a brief chill in the refrigerator, the dough is ready to be rolled out for a double-crust or two single-crust pies.
- Prep Time: 10 minutes
- Cook Time: 0 minutes
- Total Time: 40 minutes (includes chilling time)
- Yield: One double-crust 9-inch pie
- Category: Pastry
- Method: Food Processing, Chilling
- Cuisine: American
- Diet: Vegetarian
Ingredients
- 12 tablespoons (1 1/2 sticks) very cold unsalted butter, diced
- 3 cups all-purpose flour
- 1 teaspoon kosher salt
- 1 tablespoon sugar
- 1/3 cup very cold vegetable shortening
- 6 to 8 tablespoons (about 1/2 cup) ice water
Instructions
- Dice the butter and return it to the refrigerator to keep it very cold.
- In the bowl of a food processor fitted with a steel blade, add the flour, salt, and sugar. Pulse a few times to combine.
- Add the cold diced butter and the cold shortening to the food processor.
- Pulse 8 to 12 times, until the fats are the size of peas.
- With the machine running on low, pour the ice water down the feed tube and pulse just until the dough begins to form a ball. Do not over-process.
- Turn the dough out onto a floured board and gently press it into a ball.
- Wrap the dough in plastic wrap and refrigerate for at least 30 minutes.
- When ready to use, cut the dough in half. On a well-floured surface, roll each piece into a circle large enough for your pie pan.
Notes
- The key to a flaky pie crust is using very cold ingredients (butter, shortening, and ice water) and not overworking the dough.
- The recipe provides instructions for using a food processor, which makes the process quick and easy.
- Chilling the dough for at least 30 minutes is an essential step that allows the gluten to relax and the fat to firm up, resulting in a more tender and flaky crust.
- This recipe makes enough dough for one double-crust 9-inch pie or two single-crust pies.
Storage and Make-Ahead Tips
Pie dough is the ultimate make-ahead baking component, perfect for getting a head start on holiday preparations.
- Refrigerating: You can store the raw, wrapped discs of pie dough in the refrigerator for up to 3 days.
- Freezing (Best Method!): For longer storage, you can freeze the dough. Tightly wrap the discs in a double layer of plastic wrap and then place them in a freezer-safe bag. The dough will keep beautifully in the freezer for up to 3 months. Thaw it overnight in the refrigerator before you plan to roll it out.
For more recipe follow my Pinterest account
Creative Recipe Variations
This versatile, all-purpose pie crust is a wonderful base for both sweet and savory pies.
- Classic All-Butter Pie Crust: For the absolute best, richest flavor (though a slightly less flaky result), you can replace the 1/3 cup of vegetable shortening with an additional 5 1/3 tablespoons of very cold, cubed unsalted butter.
- Savory Herb Pie Crust: For a savory pie, like a chicken pot pie or a quiche, you can omit the sugar and add 1 to 2 tablespoons of finely chopped fresh herbs (like thyme, rosemary, or sage) to the flour mixture at the very beginning.
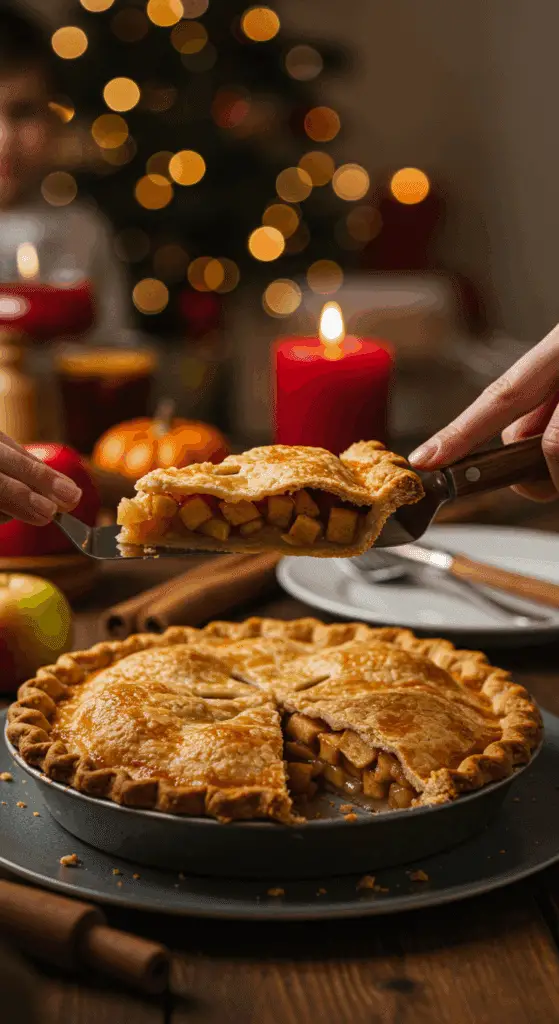
- Classic Cheddar Pie Crust: This is the perfect crust for an apple pie! Simply add 1 cup of finely shredded, sharp cheddar cheese to the flour mixture before you cut in the butter.
Enjoy Your Baking Masterpiece!
You’ve just learned the simple but crucial secrets to mastering a truly perfect, foundational recipe. This classic, foolproof pie crust is a testament to the idea that simple, well-executed techniques can transform basic ingredients into something truly spectacular. This is a skill that will serve you for a lifetime of delicious, homemade pies.
We hope you enjoy this recipe and all the wonderful creations you make with it!
If you enjoyed making this recipe, please leave a comment below or share it with a friend who is ready to master homemade pie crust!
Frequently Asked Questions (FAQs)
Q1: What is the absolute secret to a flaky, not tough, pie crust?
The two most important secrets are cold ingredients and not overworking the dough. Keeping your butter, shortening, and water ice-cold is essential for creating the flaky layers. Not over-mixing the dough after the water is added is crucial for preventing the development of too much gluten, which is what makes a pie crust tough and causes it to shrink.
Q2: Why did my pie crust shrink in the pan when I baked it?
A shrinking pie crust is almost always caused by a dough that was overworked or not allowed to rest and chill for long enough. When you work the dough, you develop the gluten strands. The crucial chilling period allows these gluten strands to relax, which prevents them from seizing up and shrinking in the heat of the oven.
Q3: Can I make this pie crust recipe by hand if I don’t have a food processor?
Yes, absolutely! The food processor is just a quick shortcut. To make the dough by hand, simply place your dry ingredients in a large bowl. Add the cold fats and use a pastry blender, two knives, or your fingertips to quickly cut the fat into the flour until it resembles coarse crumbs with some pea-sized pieces remaining. Then, sprinkle in the ice water and use a fork to gently bring the dough together.
Q4: Can I freeze my pie dough?
Yes! Pie dough is a perfect candidate for freezing. Prepare the dough through the end of Step 4, forming it into two tightly wrapped discs. You can place these wrapped discs in a freezer-safe bag and they will keep in the freezer for up to 3 months. When you are ready to use it, simply thaw it overnight in the refrigerator.
Q5: What does it mean to “blind bake” a pie crust, and do I need to do that with this recipe?
Blind baking is the process of pre-baking a pie shell before you add a filling that is either no-bake (like a cream pie) or has a shorter baking time than the crust. This recipe gives you the dough for a double-crust pie (like an apple pie), which would be filled and baked raw. However, this same dough is perfect for single-crust pies that do require blind baking, like a pumpkin pie or a quiche.


