Are you ready to master the art of the perfect, from-scratch pie crust? The kind of impossibly flaky, buttery, and tender crust that is the foundation of every legendary pie, from a classic Thanksgiving apple to a savory Christmas quiche? This incredible, foolproof Perfect Pie Crust recipe is your new secret weapon. We’re talking a classic, all-butter-and-shortening crust that is unbelievably easy to make (thanks to a modern food processor shortcut!) and delivers a shatteringly crisp and flavorful result every single time.
This isn’t just another recipe; it’s your definitive guide to banishing the fear of pie dough forever. Forget the tough, soggy, or crumbly crusts of years past. We’ll show you the simple but crucial professional secrets that guarantee a flawless result. This is a satisfying and deeply impressive recipe that will elevate all your future baking projects from homemade to absolutely heavenly.
Table of Contents
Table of Contents
Recipe Overview: The Ultimate Flaky & Buttery Foundation
What makes this Pie Crust so spectacularly “perfect” is its incredible texture and its rich, buttery flavor. This recipe is a masterpiece of classic American baking, using a combination of fats to achieve the best of both worlds. The dough itself is a classic pâte brisée, made brilliantly simple with the use of a food processor. The secret to its incredible texture is a combination of cold butter for flavor and flaky layers, and cold vegetable shortening for ultimate tenderness. A splash of vinegar is the final secret weapon that helps to create a dough that is easy to roll and bakes up unbelievably tender.
| Metric | Time / Level |
| Total Time | 1 hour 45 minutes (includes 1-hour chilling) |
| Active Prep Time | 15 minutes |
| Difficulty Level | Easy |
| Yields | One 9-inch double-crust pie or two 9-inch single-crust pies |
The Baker’s Pantry: The Essential Ingredients & Tools
The beauty of this classic recipe is in its simplicity, which means the quality of your ingredients and the proper technique are absolutely paramount.
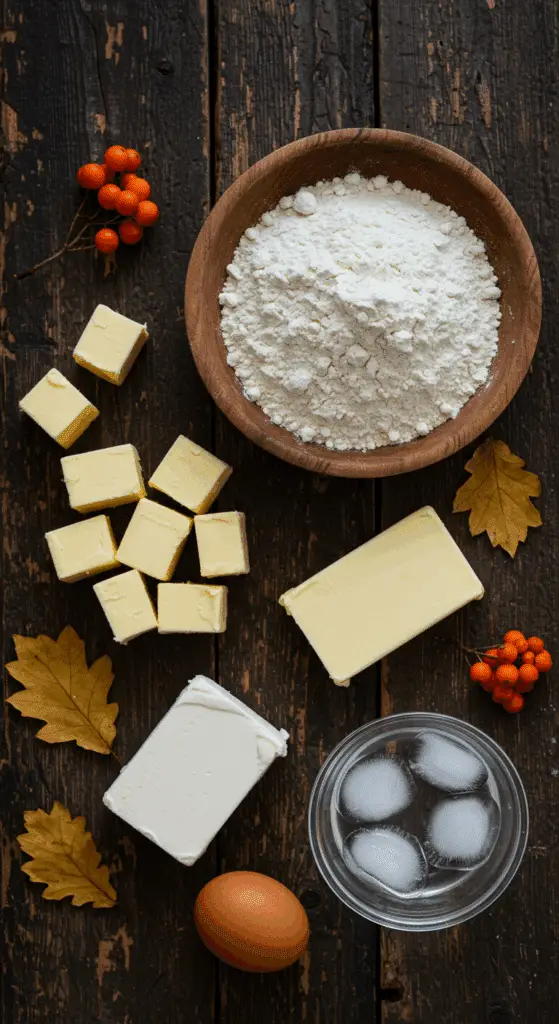
- The Fats (The Secret to Perfection!):
- Cold Unsalted Butter: The key to incredible flavor! The butter is what gives your crust that rich, delicious, bakery-quality taste.
- Cold Vegetable Shortening: The secret to tenderness! Shortening has a higher melting point than butter, which is the key that helps to create an incredibly tender and flaky crust that has a beautiful “short” texture and is less prone to becoming tough.
- The Liquid (The Binder!):
- Ice Water: The number one secret to a flaky crust is to keep your fats as cold as possible. Using ice-cold water is the key that prevents the butter from melting while you mix the dough.
- White Vinegar: A brilliant, old-fashioned trick! The small amount of acid in the vinegar helps to inhibit gluten development, which is the secret to a much more tender crust that is easier to roll out.
- The Key Equipment:
- A Food Processor: The modern, foolproof secret to a perfect pie crust in minutes! A food processor is the best tool for cutting the cold fats into the flour quickly and efficiently, without melting them with the heat of your hands.
The Baker’s Masterclass: The Secrets to a Shatteringly Flaky Crust
Making a perfect pie crust is a beautiful bit of kitchen science, and it’s surprisingly easy if you follow these three simple, non-negotiable rules.
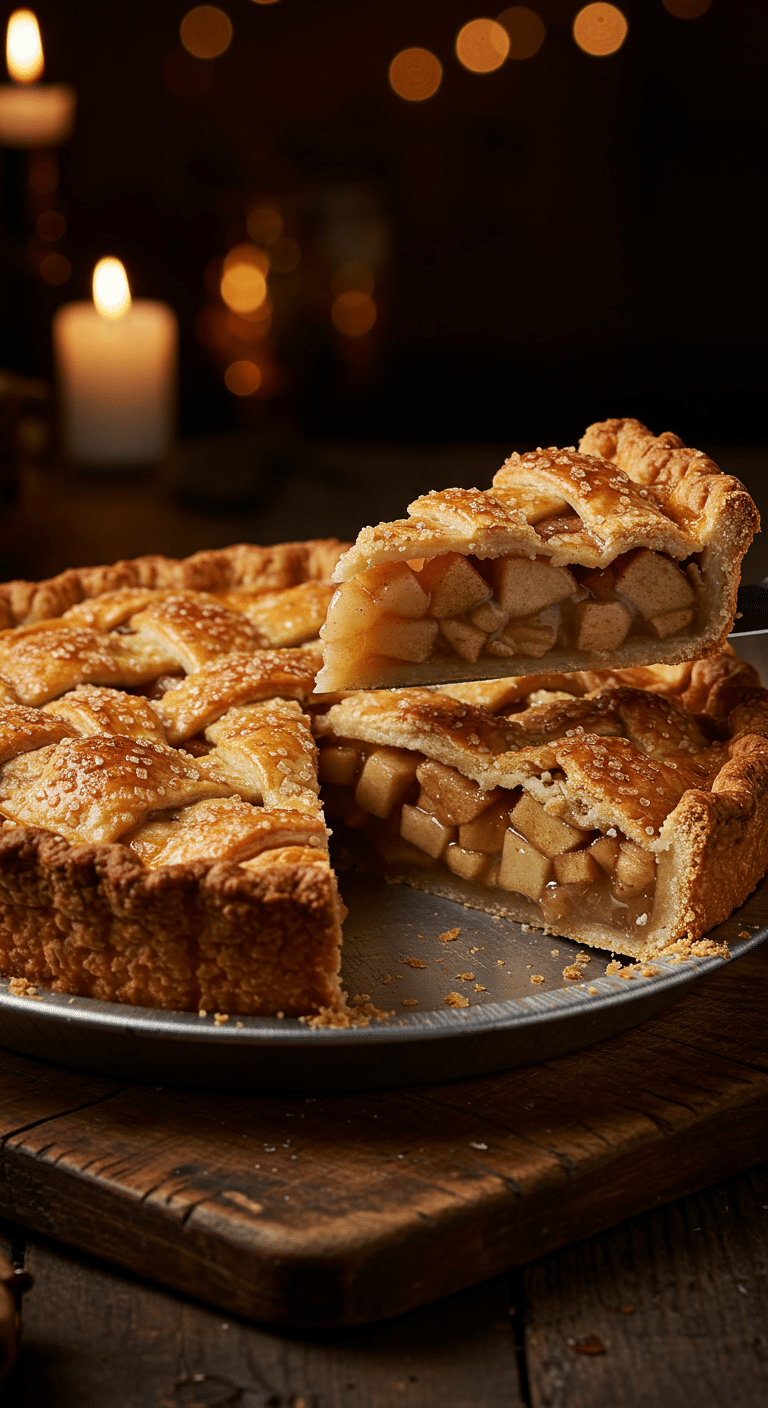
- COLD, COLD, COLD!: This is the golden rule of pie making. Your butter, shortening, and water must all be ice cold. The reason is simple: a flaky crust is made up of dozens of paper-thin layers of dough separated by pockets of fat. In the hot oven, these cold pockets of butter melt and release steam, which is the magic that pushes the layers of dough apart and creates that signature, shatteringly flaky texture.
- Don’t Overwork the Dough: The secret to a tender, not tough, crust is to not overwork the dough. When you are pulsing your fats into the flour, you want to stop when the butter is still the size of small peas. When you add your water, you want to pulse only until the dough just begins to come together. Overworking develops the gluten in the flour, which is the number one culprit behind a tough, chewy crust.
- Let it REST!: After you have made your dough, you must let it rest in the refrigerator for at least 30 minutes. This crucial, patient step does two important things: it allows the gluten to relax (which makes the dough more tender and much easier to roll out without shrinking), and it re-chills the fats, which is essential for that perfect, flaky result.

Step-by-Step to the Perfect Pie Crust
This impressive skill is a joy to master.
Part 1: The Food Processor Magic
Step 1: Dice your 1 1/2 sticks of very cold butter and return it to the refrigerator.
Step 2: In the bowl of a food processor, pulse together your 3 cups of all-purpose flour, the 1 teaspoon of kosher salt, and the 1 tablespoon of sugar.
Step 3: Add your cold, diced butter and the 1/3 cup of very cold vegetable shortening to the bowl. Pulse 8 to 12 times. You will know it is perfect when the butter is the size of small peas.
Step 4: With the machine running, pour your 6 to 8 tablespoons of ice water down the feed tube and pulse the machine just until the dough begins to form a ball.
Part 2: The Crucial Chill and the Perfect Roll-Out
Step 1: Dump the dough out onto a floured board and gently form it into a ball. Wrap it in plastic wrap and refrigerate for at least 30 minutes.
Step 2: Cut your chilled dough in half. On a well-floured board, roll one piece into a large circle, about 11 to 12 inches wide. The secret is to always roll from the center of the dough to the edge, and to turn and flour the dough frequently to make sure it doesn’t stick.
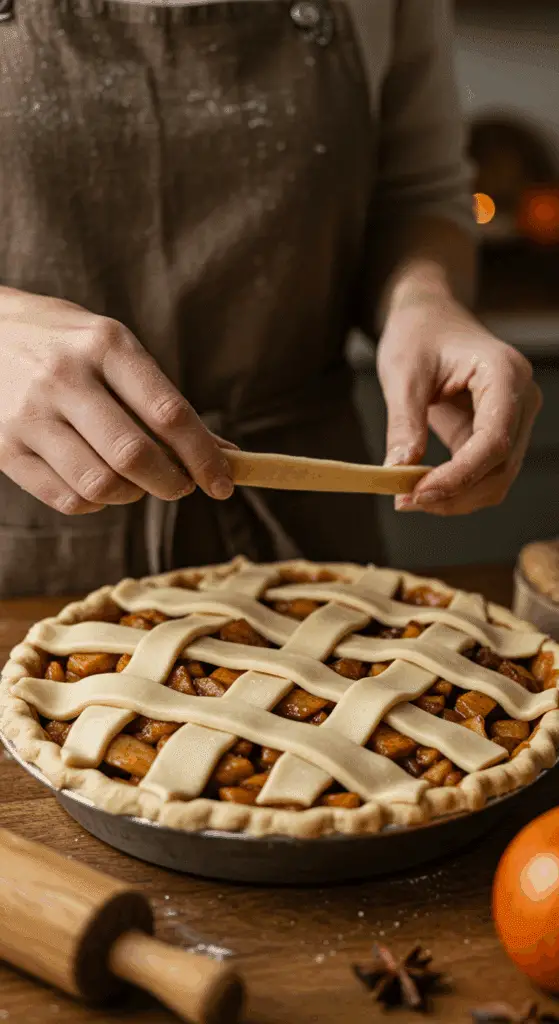
Step 3: To easily transfer the dough, gently fold it in half, place it in your pie pan, and then unfold it to fit the pan. Repeat this process with your top crust, if you are making one.

Only Perfect Pie Crust Recipe You’ll Ever Need (Flaky & Foolproof!)
A classic, from-scratch recipe for a ‘Perfect Pie Crust.’ This recipe uses a food processor for a quick and easy method to create a flaky, tender dough. A combination of very cold butter and vegetable shortening is cut into a flour, salt, and sugar mixture. Ice water is then added to bring the dough together. The recipe yields enough dough for one double-crust 9-inch pie, perfect for both sweet and savory fillings.
Ingredients
- 3 cups all-purpose flour
- 1 teaspoon kosher salt
- 1 tablespoon sugar
- 12 tablespoons (1 1/2 sticks) very cold unsalted butter, diced
- 1/3 cup very cold vegetable shortening
- 6 to 8 tablespoons (about 1/2 cup) ice water
Instructions
- Dice the butter and return it to the refrigerator to ensure it stays very cold.
- Place the flour, salt, and sugar in the bowl of a food processor fitted with a steel blade and pulse a few times to combine.
- Add the cold butter and shortening. Pulse 8 to 12 times, until the butter is the size of peas.
- With the machine running, pour the ice water down the feed tube and pulse just until the dough begins to form a ball. Do not over-process.
- Dump the dough out onto a floured board and gently form it into a ball. Wrap the dough in plastic wrap and refrigerate for at least 30 minutes to chill and rest the gluten.
- When ready to use, cut the dough in half. On a well-floured board, roll each half into a circle large enough to fit a 9-inch pie pan.
- Place one circle of dough into the pie pan for the bottom crust, and use the other for the top crust.
Notes
- This is a versatile pie crust that can be used for both sweet and savory pies.
- Using very cold butter, shortening, and ice water is the most crucial step for creating a flaky crust. The cold fat creates steam pockets as the pie bakes.
- A food processor makes this recipe very quick, but it can also be made by hand using a pastry blender or your fingers to cut in the fat.
- Do not overwork the dough, as this will develop the gluten and make the crust tough instead of tender and flaky.
- The recipe makes enough dough for a double-crust 9-inch pie.
Storage and Make-Ahead Tips
Pie dough is the ultimate make-ahead baking component!
- Make-Ahead: You can prepare your dough up to 3 days in advance and store it, well-wrapped, in the refrigerator.
- Storage: Store the raw dough, well-wrapped, in the refrigerator for up to 3 days.
- Freezing: This dough freezes beautifully! You can freeze the disk of dough, well-wrapped in a double layer of plastic wrap and then placed in a freezer-safe bag, for up to 3 months. Simply thaw it in the refrigerator overnight before you plan to use it.
For more recipe follow my pinterest account
Frequently Asked questions (FAQs)
Q1: Why is my pie crust tough?
The most common culprits are overworking the dough or not using cold enough ingredients. Be sure to stop pulsing your dough as soon as it comes together, and make sure your butter and water are ice cold!
Q2: Can I make this with all butter?
Yes, absolutely! An all-butter crust has a fantastic flavor. To make an all-butter version, simply substitute the 1/3 cup of shortening with an equal amount of cold, unsalted butter (about 5 1/3 tablespoons). An all-butter crust will be slightly less tender than one made with a combination of fats.
Q3: Can I make this by hand without a food processor?
Of course! This is the classic, old-fashioned method. Simply use a pastry blender or two knives to cut the cold fats into your flour mixture until you have the same, pea-sized pieces.
Q4: My crust shrunk in the pan when I baked it. What happened?
Shrinking is almost always because the dough was not allowed to rest for long enough. The chilling time is crucial for allowing the gluten in the dough to relax.
Q5: What is the best way to roll out my dough without it sticking?
The secret is to work on a well-floured surface, and to keep both your rolling pin and the surface of your dough lightly floured. It is also a great trick to rotate your dough a quarter turn after every few rolls to ensure it is not sticking.


