Are you on a quest for the holy grail of holiday baking—a from-scratch pie crust that is so shatteringly flaky, so impossibly tender, and so richly flavored that it practically melts in your mouth? It’s time to rediscover the time-honored secret that generations of expert bakers have sworn by for the absolute best pastry: lard. This is your ultimate guide to mastering that classic, old-fashioned secret for the most incredible pie crust you have ever made.
This isn’t just another pie dough recipe; it’s a complete masterclass in the science of perfect, flaky pastry. We’ll show you why the classic combination of both butter and lard is the key to a truly superior crust. Paired with a few clever, modern techniques like using a food processor and a spritz bottle, this foolproof, step-by-step guide will give you the confidence to create a crust that is worthy of your finest fillings.
Table of Contents
Table of Contents
Recipe Overview: The Old-Fashioned Secret to Flaky Perfection
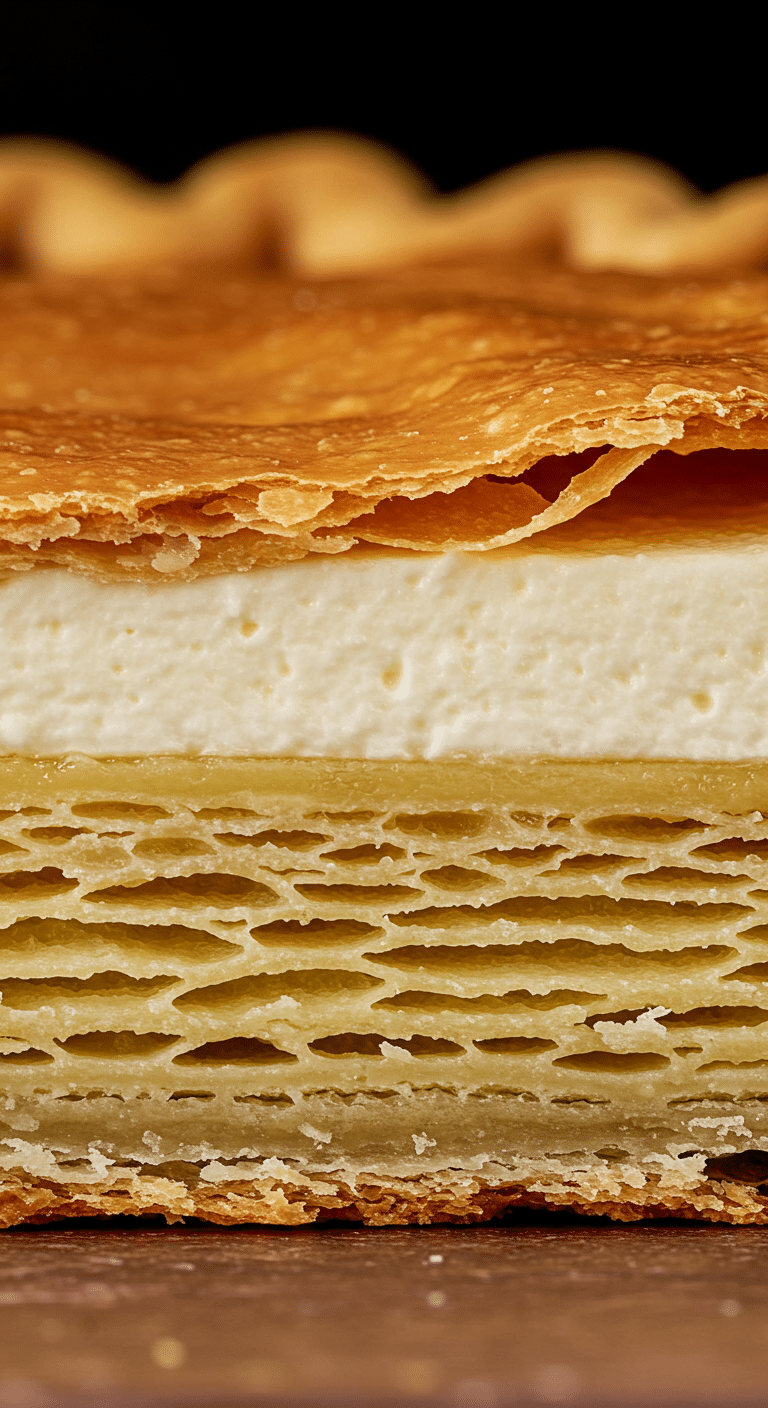
What makes this pie crust recipe so spectacularly flaky is its brilliant use of two different fats. We use butter for its unmatched, rich, and delicious flavor, and we use lard for its incredible power to create a supremely flaky and tender texture. This recipe guides you through a simple food processor method that keeps the fats perfectly cold—the number one rule of great pastry—and uses a unique spritz bottle hack for perfectly hydrating the dough. The result is a stunning, easy-to-work-with dough that bakes up into a crisp, golden-brown, and unbelievably flaky single crust, perfect for all your favorite custard and cream pies.
| Metric | Time / Level |
| Total Time | 2 hours (includes chilling) |
| Active Prep Time | 20 minutes |
| Difficulty Level | Intermediate |
| Servings | One 9-inch single-crust pie |
The Essential Ingredients for the Flakiest Crust
The science of a perfect pie crust lies in a few simple ingredients and, most importantly, their temperature.
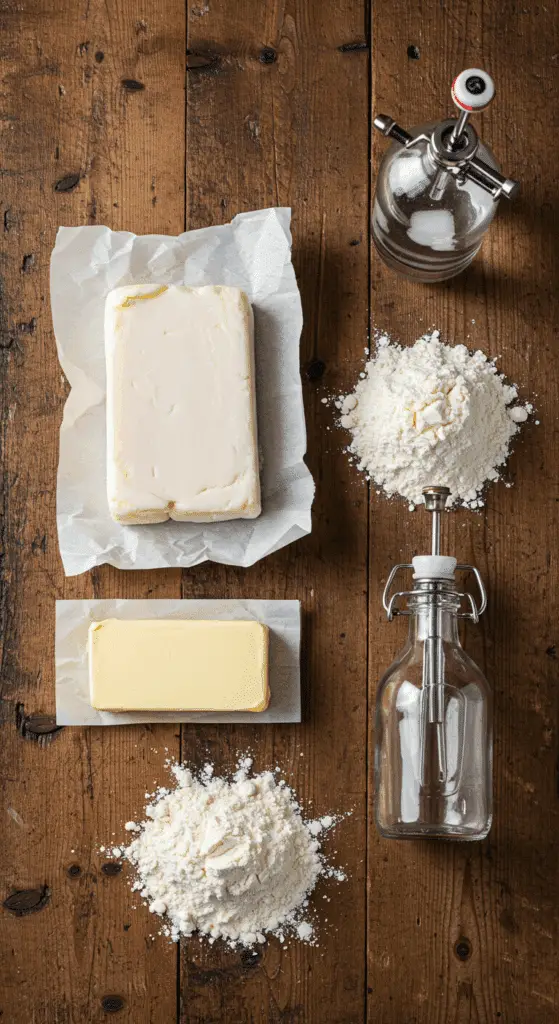
- The Fats (The Ultimate Flaky Duo): This is the key to the ultimate texture and flavor.
- Lard: This is the old-fashioned secret weapon. Lard has a unique crystal structure and a higher melting point than butter, which creates larger pockets of air as the crust bakes. This is what results in a crust that is exceptionally tender and flaky. Look for a high-quality, rendered leaf lard for the cleanest flavor.
- Cold Unsalted Butter: We use butter for its wonderful, rich, and savory flavor that lard alone cannot provide. Using a combination of both fats gives you the rich flavor of butter and the superior flaky texture of lard. It is crucial that both of your fats are very cold.
- The Liquid (Ice Water & a Spritz Bottle):
- Ice Water: It is absolutely essential that the water you use is ice-cold. This keeps the small pieces of butter and lard in the dough solid, which is the key to creating flaky layers.
- The Spritz Bottle Hack: This is a brilliant, modern technique! By adding the ice water with a spritz bottle, you can distribute the moisture in a very fine, even mist. This hydrates the flour perfectly without creating large wet spots, which can lead to the development of tough gluten.

Step-by-Step to the Perfect Pie Crust
This recipe uses a food processor for a quick and easy method that keeps your ingredients perfectly cold.
Step 1: Prepare the Dough
Step 1: First, place your cubed butter and lard in the freezer for 15 minutes to get them extra cold.
Step 2: In the bowl of a food processor, combine the 1 cup of all-purpose flour and the 1/2 teaspoon of table salt by pulsing 3 to 4 times.
Step 3: Add the very cold butter and pulse 5 to 6 times, until the texture looks mealy. Add the very cold lard and pulse another 3 to 4 times. You are looking for a coarse, sandy mixture with some small, pea-sized pieces of fat still visible.
Step 4: Now for the spritz bottle hack. Remove the lid of the food processor and thoroughly spritz the entire surface of the flour mixture with your ice water from the spritz bottle. Replace the lid and pulse 5 times.
Step 5: Repeat this process of spritzing and pulsing until the dough just begins to hold together when you squeeze a small amount in your hand.
Step 6: Place the crumbly mixture into a large zip-top bag. Squeeze the bag together until the dough forms a ball, and then press it into a flattened, rounded disc. Refrigerate the dough for at least 30 minutes.
Step 2: Roll and Shape the Crust
Step 1: Place two metal pie pans in the refrigerator to chill.
Step 2: Remove your chilled dough from the refrigerator. Cut along two sides of the plastic bag and open it up. Sprinkle both sides of the dough with a little bit of flour. Cover the dough again with the plastic and use a rolling pin to roll it out to a 10- to 11-inch circle.
Step 3: Now for the clever “double pan flip” transfer method. Open the plastic again and sprinkle the top of the dough with a little more flour. Remove one of your chilled pie pans from the refrigerator and set it upside down on top of the rolled-out dough.
Step 4: Place your hand on the bottom of the pie pan and, in one confident motion, turn everything upside down. Peel the plastic from the bottom of the dough (which is now facing up).
Step 5: Place the second chilled pie pan upside down on top of the dough and flip the entire stack over again. Remove the first pan from the top of the dough. Your dough should now be perfectly settled in your pie pan!
Step 6: Trim the edges if necessary, leaving a small edge. Poke holes in the bottom and sides of the dough with a fork and place the pie shell back in the refrigerator for 15 minutes to chill and rest.
Step 3: Blind Bake to Perfection
Step 1: Preheat your oven to 425°F (220°C).
Step 2: Place a large piece of parchment paper on top of your chilled dough and fill it with dry beans or pie weights. Be sure to press the beans into the edges of the dough.
Step 3: Bake the crust in the oven for 10 minutes.
Step 4: Carefully remove the parchment paper and the beans. Continue to bake the crust until it is a beautiful, even golden brown in color, which will take approximately 10 to 15 minutes longer.
Step 5: Remove the perfectly baked crust from the oven and place it on a cooling rack. Let the crust cool completely before you add your filling.

The Flakiest Pie Crust Recipe Ever (The Secret is Lard!)
A classic recipe for a single, flaky pie crust made with a combination of chilled butter and lard for optimal texture and flavor. The dough is quickly brought together in a food processor, using a unique method of spritzing ice water to control the hydration. The recipe includes detailed instructions for rolling out the dough, fitting it into a pie pan, and fully blind-baking it with pie weights to create a crisp, golden-brown shell ready for any filling.
- Prep Time: 10 minutes
- Cook Time: 25 minutes
- Total Time: 2 hours 20 minutes (includes chilling and cooling time)
- Yield: One 9-inch pie crust
- Category: Pastry
- Method: Baking
- Cuisine: American
Ingredients
- 3 ounces (6 tablespoons) butter, chilled
- 1 ounce (2 tablespoons) lard, chilled
- 1 cup all-purpose flour, plus extra for rolling
- 1/2 teaspoon table salt
- 1/4 cup ice water, in a spritz bottle
- Approximately 32 ounces of dried beans, for blind baking
Instructions
- Place the butter and lard in the freezer for 15 minutes. Once frozen, cut them into small pieces.
- In the bowl of a food processor, pulse the flour and salt 3 to 4 times to combine. Add the butter and pulse 5 to 6 times until the texture is mealy. Add the lard and pulse another 3 to 4 times.
- Spritz the surface of the flour mixture thoroughly with ice water from a spritz bottle. Replace the lid and pulse 5 times. Repeat with more water and pulsing until the mixture holds together when squeezed.
- Place the mixture in a large zip-top bag, squeeze it together to form a ball, then press it into a rounded disk. Refrigerate for 30 minutes.
- Preheat the oven to 425°F. Place two metal pie pans in the refrigerator to chill.
- Remove the dough from the refrigerator. Roll it out between floured plastic wrap to a 10 to 11-inch circle.
- Place one of the chilled pie pans on top of the dough, flip it over, and peel the plastic off. Gently fit the dough into the pan.
- Trim the edges, poke holes in the dough with a fork, and place it in the refrigerator for 15 minutes.
- Blind-Bake the Crust: Place a large piece of parchment paper on top of the chilled dough and fill it with dried beans or pie weights.
- Bake for 10 minutes. Carefully remove the parchment and beans.
- Continue baking for approximately 10 to 15 minutes longer, until the crust is golden in color.
- Remove the crust from the oven and let it cool completely on a wire rack before filling.
Notes
- The key to a flaky pie crust is using very cold ingredients (butter, lard, and ice water) and handling the dough as little as possible.
- This recipe makes enough dough for a single 9 or 10-inch pie crust.
- ‘Blind baking’ the crust with pie weights is essential to prevent the bottom from puffing up and to ensure it’s fully cooked and crisp.
Storage and Make-Ahead Tips
Pie dough is the ultimate make-ahead baking component, perfect for getting a head start on holiday preparations.
- Refrigerating: You can store the raw, wrapped disc of pie dough in the refrigerator for up to 3 days.
- Freezing (Best Method!): For longer storage, you can freeze the dough. Tightly wrap the disc in a double layer of plastic wrap and then place it in a freezer-safe bag. The dough will keep beautifully in the freezer for up to 3 months. Thaw it overnight in the refrigerator before you plan to roll it out.
For more recipe follow my Pinterest account
Creative Recipe Variations
This versatile and incredibly flaky pie crust is a wonderful base for both sweet and savory pies.
- Classic All-Butter Pie Crust: For the absolute best, richest flavor (though a slightly less flaky result), you can replace the 2 tablespoons of lard with an additional 2 tablespoons of very cold, cubed unsalted butter.
- Savory Herb Crust: For a savory pie, like a chicken pot pie or a quiche, you can add 1 to 2 tablespoons of finely chopped fresh herbs (like thyme, rosemary, or sage) to the flour mixture at the very beginning.
- Sweet, Spiced Crust: For a dessert pie, like a pumpkin or an apple pie, you can increase the sugar in the dough to 1 tablespoon and add 1/2 teaspoon of ground cinnamon to the flour.
Enjoy Your Baking Masterpiece!
You’ve just learned the simple but crucial secrets to mastering a truly perfect, foundational recipe. This classic, foolproof pie crust, with its incredible, old-fashioned flakiness from the lard, is a testament to the idea that simple, well-executed techniques can transform basic ingredients into something truly spectacular. This is a skill that will serve you for a lifetime of delicious, homemade pies.
We hope you enjoy this recipe and all the wonderful creations you make with it!
If you enjoyed making this recipe, please leave a comment below or share it with a friend who is ready to master homemade pie crust!
Frequently Asked Questions (FAQs)
Q1: What is lard, and why is it so good for a pie crust?
Lard is rendered pork fat. It is a traditional, old-fashioned baking fat that was used for generations before the invention of vegetable shortening. It is prized in pastry-making because its unique fat crystal structure creates a crust that is exceptionally tender and flaky. For the best, cleanest flavor, look for a high-quality, rendered leaf lard.
Q2: Do I absolutely have to use a spritz bottle for the water?
While you don’t have to, it is a brilliant and highly recommended trick! The goal when adding water to a pie crust is to hydrate the flour as evenly as possible, without creating any large wet spots (which can make the crust tough). A spritz bottle is the perfect tool for creating a very fine, even mist of water, which is the ideal way to hydrate the dough gently.
Q3: Can I make this pie crust by hand instead of in a food processor?
Yes, absolutely! The food processor is just a quick shortcut. To make the dough by hand, simply place your dry ingredients in a large bowl. Add the cold fats and use a pastry blender, two knives, or your fingertips to quickly cut the fat into the flour until it resembles coarse crumbs with some pea-sized pieces remaining. Then, add the ice water, a tablespoon at a time, and use a fork to gently bring the dough together.
Q4: What is the difference between blind-baking and par-baking?
The terms are often used interchangeably, but there is a subtle difference. Blind-baking or “fully blind-baking,” as we do in this recipe, means you are baking the crust until it is completely cooked through and a deep golden brown. This is necessary for pies with a no-bake filling, like a cream pie. Par-baking means you are only partially baking the crust, until it is set but still pale. This is done for pies with a very wet, custardy filling, like a quiche or a pumpkin pie.
Q5: What kinds of pies are best to make with this specific crust?
This recipe creates a single, fully blind-baked pie crust. This makes it the absolute perfect, sturdy, and crispy foundation for any kind of single-crust pie with a wet, no-bake, or pre-cooked filling. It is ideal for cream pies (like a banana cream or a chocolate cream pie), custard pies (like a lemon meringue pie), or a fresh fruit tart.


