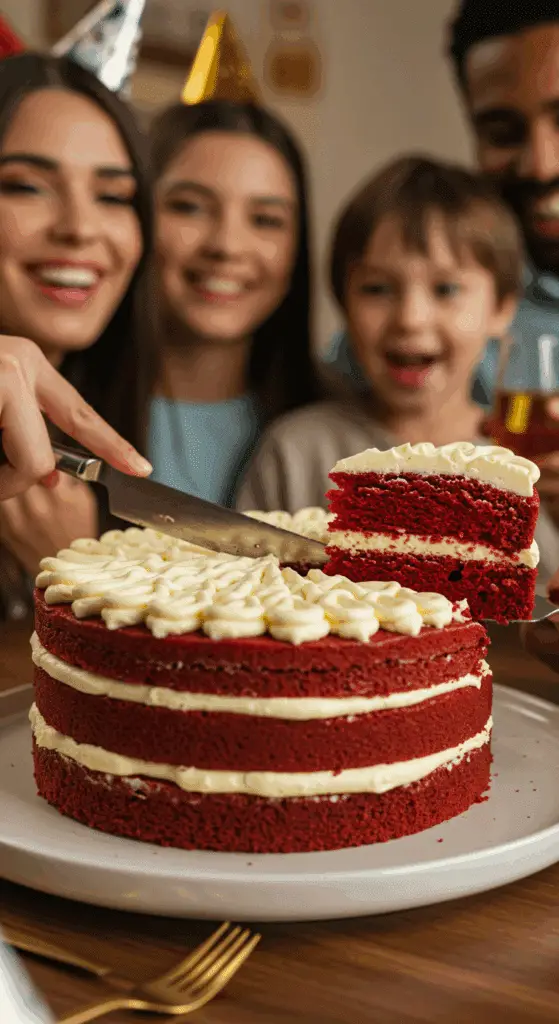
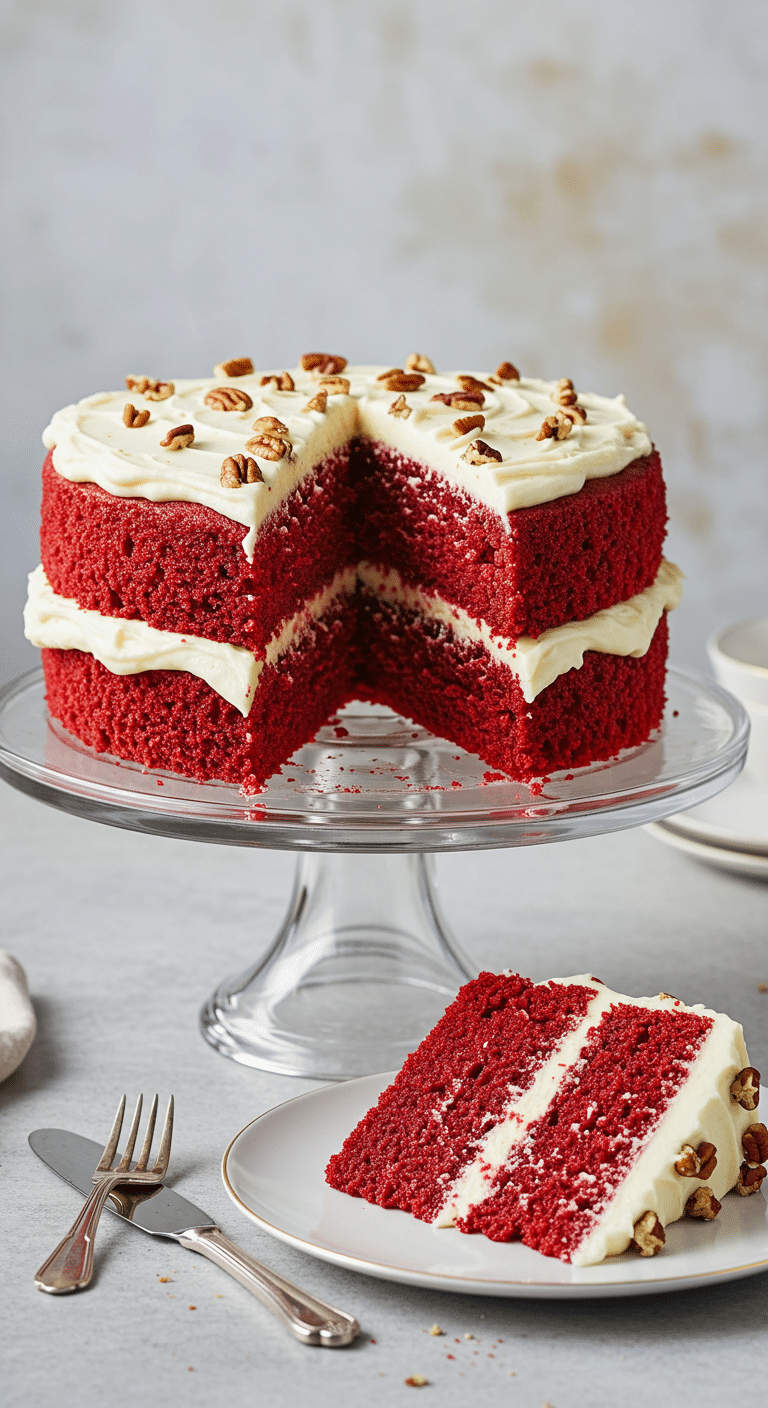
Is there any cake more dramatic, more stunning, or more universally beloved than a classic, from-scratch Southern Red Velvet Cake? That breathtaking contrast of a deep, vibrant crimson cake against pristine, snow-white cream cheese frosting is a true showstopper, promising a dessert experience that is as delicious as it is beautiful.
This isn’t just a recipe; it’s your ultimate guide to mastering this iconic Southern dessert. We’ll demystify the secrets behind its unique flavor and its signature “velvet” texture. From the perfectly moist, oil-based crumb to the rich, tangy, and impossibly smooth cream cheese frosting, this is the foolproof, step-by-step guide that will have you creating a spectacular, three-layer masterpiece worthy of any celebration.
Table of Contents
Table of Contents
Recipe Overview: A True Southern Showstopper
What makes this Red Velvet Cake recipe truly “the best” is its commitment to the classic techniques that create its signature texture and flavor. This is an oil-based cake, which is the secret to an incredibly moist and tender crumb that stays fresh for days. The unique flavor—a delicate dance between tangy buttermilk, a hint of cocoa, and sweet vanilla—is what makes red velvet so special. Paired with a generous amount of luxurious, tangy cream cheese frosting, this stunning three-layer cake is the ultimate centerpiece for birthdays, holidays, or any time you need a truly spectacular dessert.
| Metric | Time / Level |
| Total Time | 2 hours (plus cooling time) |
| Active Prep Time | 30 minutes |
| Difficulty Level | Easy |
| Servings | 12-16 |
The Essential Ingredients for a Classic Red Velvet Cake
This recipe is made from two perfect, from-scratch components.
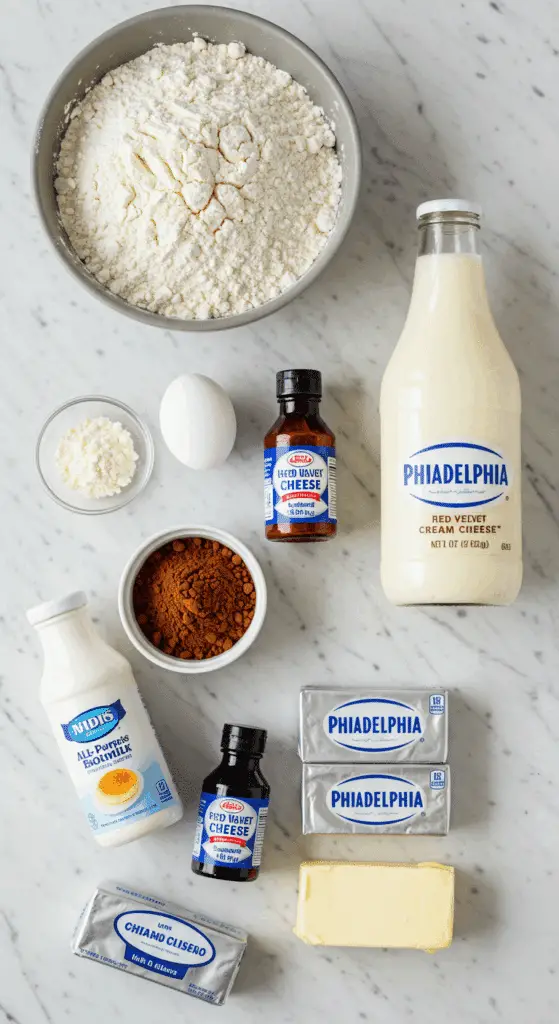
- The “Velvet” Cake: The secret to the signature texture and flavor lies in a few key ingredients.
- Vegetable Oil: Using a neutral oil instead of butter is the number one secret to an incredibly moist cake with a wonderfully tender crumb that will not dry out.
- Buttermilk & Vinegar: The combination of acidic buttermilk and white distilled vinegar is a classic Southern technique. It reacts with the baking soda to create an extra-tender, “velvet-like” texture.
- Cocoa Powder: A true Red Velvet Cake is not a chocolate cake! It has just a small amount of unsweetened cocoa powder to add a subtle depth of flavor and a traditional, reddish-brown starting point for the color.
- Red Food Coloring: To achieve that iconic, vibrant, and dramatic crimson color, a generous amount of red food coloring is essential.
- The Classic Cream Cheese Frosting: The rich, sweet, and tangy crown of our cake.
- Room Temperature Ingredients: This is the non-negotiable secret to a perfectly smooth, creamy, and lump-free cream cheese frosting. Your full-fat, block-style cream cheese and your unsalted butter must both be fully softened to room temperature before you begin.
- Confectioners’ Sugar: Also known as powdered sugar, this is used to sweeten and thicken the frosting. Sifting it first is a great way to ensure an ultra-smooth final texture.

Step-by-Step to the Best Red Velvet Cake
This is a rewarding baking project. Follow these detailed steps for a perfect, show-stopping result.
Part 1: Bake the Moist Red Velvet Cake Layers
Step 1: First, preheat your oven to 350°F (175°C). Generously oil and flour three 9-inch round cake pans.
Step 2: In a large bowl, sift together the 2 1/2 cups of all-purpose flour, the 1 1/2 cups of sugar, the 1 teaspoon of baking soda, the 1 teaspoon of fine salt, and the 1 teaspoon of cocoa powder.
Step 3: In another large bowl, whisk together the 1 1/2 cups of vegetable oil, the 1 cup of room temperature buttermilk, the 2 large room temperature eggs, the 2 tablespoons of red food coloring, the 1 teaspoon of white distilled vinegar, and the 1 teaspoon of vanilla extract.
Step 4: Using a standing mixer or a handheld electric mixer, mix the dry ingredients into the wet ingredients on a low speed until they are just combined and a smooth, vibrant red batter is formed.
Pro Tip: The secret to a tender, velvety cake is to not overmix the batter after the flour has been added.
Step 5: Divide the cake batter evenly among your three prepared cake pans. Bake for about 30 minutes, rotating the pans halfway through the cooking time. The cakes are perfectly done when they begin to pull away from the sides of the pans and a wooden skewer or a toothpick inserted into the center comes out clean.
Step 6: Let the cakes cool in the pans for about 10 minutes. Then, carefully run a knife around the edges and invert the cakes onto a wire rack to cool completely.
Part 2: Whip Up the Classic Cream Cheese Frosting
Step 1: In the large bowl of a stand mixer fitted with the paddle attachment, or in a large bowl with a hand-held mixer, beat the 1 pound of softened cream cheese, the 4 cups of sifted confectioners’ sugar, and the 2 sticks of softened unsalted butter on low speed until they are just incorporated.
Step 2: Increase the mixer’s speed to high and beat for about 5 minutes, until the frosting is very light and fluffy. Be sure to occasionally turn the mixer off and scrape down the sides of the bowl with a rubber spatula.
Step 3: Reduce the speed of the mixer back to low. Add the 1 teaspoon of vanilla extract, then raise the speed back to high and mix briefly until the frosting is fluffy and smooth.
Step 4: Store the frosting in the refrigerator until it is somewhat stiff before you use it.
Part 3: Assembling and Frosting Your Masterpiece
Step 1: Once your cake layers are completely cool, you can begin to frost your cake. Place one cake layer, with the rounded-side facing down, in the middle of a rotating cake stand or a serving platter.
Step 2: Using a palette knife or an offset spatula, spread a generous, even layer of the cream cheese frosting over the top of the first cake layer (about 1/4 to 1/2-inch thick).
Step 3: Carefully set the second cake layer on top, also with the rounded-side facing down, and repeat the process with another generous layer of frosting.
Step 4: Top the cake with the third and final layer. Cover the entire cake—the top and the sides—with the remaining frosting, using your spatula to create a beautiful, smooth, or rustic swirled finish.
Step 5: For a classic, decorative touch, you can sprinkle the top of the cake with crushed, toasted pecans.

The Best Classic Southern Red Velvet Cake (Moist & Fluffy!)
A classic recipe for a Southern Red Velvet Cake, featuring three moist, vibrant red layers with a hint of cocoa flavor. The cake is made with a buttermilk and oil base for a tender crumb. The recipe also includes instructions for a rich, from-scratch cream cheese frosting made with softened cream cheese and butter. The entire three-layer cake is generously frosted and garnished with a sprinkle of crushed pecans.
- Prep Time: 30 minutes
- Cook Time: 30 minutes
- Total Time: 3 hours 30 minutes (includes cooling and chilling time)
- Yield: 12-16 servings
- Category: Dessert
- Method: Baking
- Cuisine: American
- Diet: Vegetarian
Ingredients
- For the Cake:
- Vegetable oil for the pans
- 2 1/2 cups all-purpose flour
- 1 1/2 cups sugar
- 1 teaspoon baking soda
- 1 teaspoon fine salt
- 1 teaspoon cocoa powder
- 1 1/2 cups vegetable oil
- 1 cup buttermilk, at room temperature
- 2 large eggs, at room temperature
- 2 tablespoons (1 ounce) red food coloring
- 1 teaspoon white distilled vinegar
- 1 teaspoon vanilla extract
- For the Cream Cheese Frosting:
- 1 pound (two 8-ounce packages) cream cheese, softened
- 4 cups sifted confectioners’ sugar
- 2 sticks (1 cup) unsalted butter, softened
- 1 teaspoon vanilla extract
- Crushed pecans, for garnish
Instructions
- Make the Cake: Preheat the oven to 350°F. Lightly oil and flour three 9-inch round cake pans.
- In a large bowl, sift together the flour, sugar, baking soda, salt, and cocoa powder.
- In another large bowl, whisk together the oil, buttermilk, eggs, food coloring, vinegar, and vanilla.
- Using a standing mixer, mix the dry ingredients into the wet ingredients on low speed until just combined and a smooth batter is formed.
- Divide the batter evenly among the three prepared cake pans. Bake for about 30 minutes, rotating the pans halfway through, until a toothpick inserted in the center comes out clean.
- Let the cakes cool in the pans for a few minutes, then invert them onto a cooling rack to cool completely.
- Make the Frosting: In a standing mixer with a paddle attachment, mix the softened cream cheese, confectioners’ sugar, and softened butter on low speed until incorporated.
- Increase the speed to high and mix for about 5 minutes, until light and fluffy, scraping down the bowl as needed.
- Reduce the speed, add the vanilla, and then mix briefly on high until fluffy. Store the frosting in the refrigerator until somewhat stiff before using.
- Assemble the Cake: Place one cake layer on a rotating cake stand. Spread a 1/4 to 1/2-inch layer of frosting over the top.
- Carefully place the second layer on top and repeat. Top with the final layer.
- Cover the entire outside of the cake with the remaining frosting. Sprinkle the top with crushed pecans.
Notes
- Using room temperature ingredients (buttermilk, eggs) for the cake and softened ingredients (cream cheese, butter) for the frosting is key to a smooth, well-incorporated final product.
- Do not overmix the cake batter after adding the dry ingredients to ensure a tender cake.
- The frosting can be made up to 3 days in advance and stored in the refrigerator.
- The cake must be cooled completely before you attempt to frost it.
Storage and Make-Ahead Tips
A Red Velvet Cake is a fantastic dessert to make ahead for a party or a special celebration.
- Make-Ahead: You can bake the cake layers up to 2 days in advance. Let them cool completely, then wrap them tightly in plastic wrap and store them at room temperature. The cream cheese frosting can also be made up to a week in advance and stored in an airtight container in the refrigerator. Just be sure to let it soften at room temperature and give it a quick whip with your mixer to make it light and fluffy again before you frost the cake.
- Storage: The finished, frosted cake must be stored in the refrigerator because of the cream cheese frosting. It will stay fresh and delicious, covered, for up to 5 days. For the best flavor and texture, let the cake sit out at room temperature for about 30 minutes before serving.
For more recipe follow my Pinterest account
Creative Recipe Variations
This classic and delicious cake is a wonderful base for your own creative twists.
- Make it into Red Velvet Cupcakes: This recipe is perfect for making about 24 to 30 beautiful red velvet cupcakes. Simply line your muffin tins with paper liners and fill them about two-thirds of the way full with the batter. You will need to reduce the baking time to about 18-22 minutes.
- Add a “Naked Cake” Finish: For a beautiful, modern, and rustic look, you can make this a “naked cake.” Simply apply a generous amount of frosting between the layers, and then use your spatula to apply just a very thin, scraped layer of frosting on the outside of the cake, leaving the beautiful red layers peeking through.
- Use a Different Frosting: While cream cheese is the undisputed classic pairing, a traditional Southern “ermine” frosting (a cooked flour frosting) is another authentic and delicious choice that is a bit less sweet than a standard buttercream.
Enjoy This Iconic Southern Classic!
You’ve just created a truly special, show-stopping dessert that is the very definition of a celebration. This classic, from-scratch Southern Red Velvet Cake, with its moist, velvety crumb and its rich, tangy frosting, is a rewarding baking project that is guaranteed to impress. It’s a timeless treat that makes any occasion feel special.
We hope you enjoy every last, perfect, and delicious slice!
If you enjoyed making this recipe, please leave a comment below or share it with a friend who loves a good, classic cake!
Frequently Asked Questions (FAQs)
Q1: What does a classic Red Velvet Cake actually taste like?
A true, classic Red Velvet Cake is not a chocolate cake! Its flavor is unique and quite subtle. It is primarily a buttermilk cake, with a lovely, slight tanginess. It has just a hint of cocoa for a deep, savory background note, and a classic vanilla finish. The primary flavor that you taste when you eat a slice is the wonderful, rich, sweet, and tangy flavor of the cream cheese frosting.
Q2: What is the secret to a super moist red velvet cake that stays fresh?
The secret is using vegetable oil as the primary fat instead of butter. While butter provides a wonderful flavor, oil is 100% liquid fat. This results in a cake with a much moister, softer, and more tender crumb that stays incredibly fresh for several days after it has been baked.
Q3: How do I get my cream cheese frosting perfectly smooth and not runny?
The two most important secrets are to use room temperature, block-style cream cheese and butter, and to use sifted confectioners’ sugar. Cold cream cheese is the number one cause of lumpy frosting. A runny frosting is often caused by using the “cream cheese spread” that is sold in a tub, which has a higher water content.
Q4: Can I make this cake ahead of time for a party?
Yes! This is a perfect make-ahead cake. The best method is to prepare the components separately and store them as directed in the “Make-Ahead Tips” section above. Then, you can have a fun, easy, and stress-free assembly just before your party, which will give you the freshest-tasting result with a perfect frosting texture.
Q5: Why does a red velvet cake recipe have both buttermilk and vinegar in it?
This is a classic, scientific combination! Both the buttermilk and the vinegar are acids. They react with the baking soda (which is an alkali) to create a chemical reaction that produces carbon dioxide gas. This reaction is what gives the cake an extra lift and helps to create an incredibly soft, fine, and tender “velvet-like” crumb.


