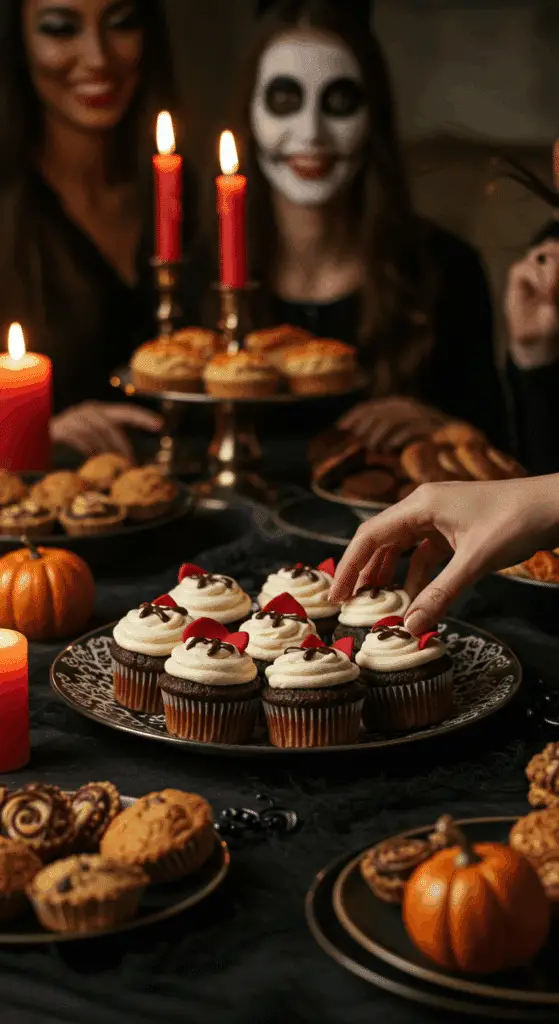
Ready to sink your fangs into the most elegant, delicious, and delightfully sinister treat for your next Halloween soiree? A dessert with a spooky secret and a taste to die for? This incredible, from-scratch Red Velvet “Vampire” Cupcake recipe is the ultimate festive bake! We’re talking a rich, moist, and “blood-red” velvet cupcake with a surprise, “bleeding” raspberry center, all topped with a luscious, tangy cream cheese frosting and a tell-tale set of vampire bite marks.
This isn’t just a recipe; it’s a guide to your new show-stopping, festive tradition. We’ll show you the simple but crucial secrets to the most tender, from-scratch red velvet cake and the brilliant, easy trick to creating the perfect, gory “bleeding” effect. This is a stunning, sophisticated dessert that is perfect for a grown-up Halloween party, yet fun enough for the kids to love.
Table of Contents
Table of Contents
Recipe Overview: The Ultimate Spooky & Chic Halloween Treat
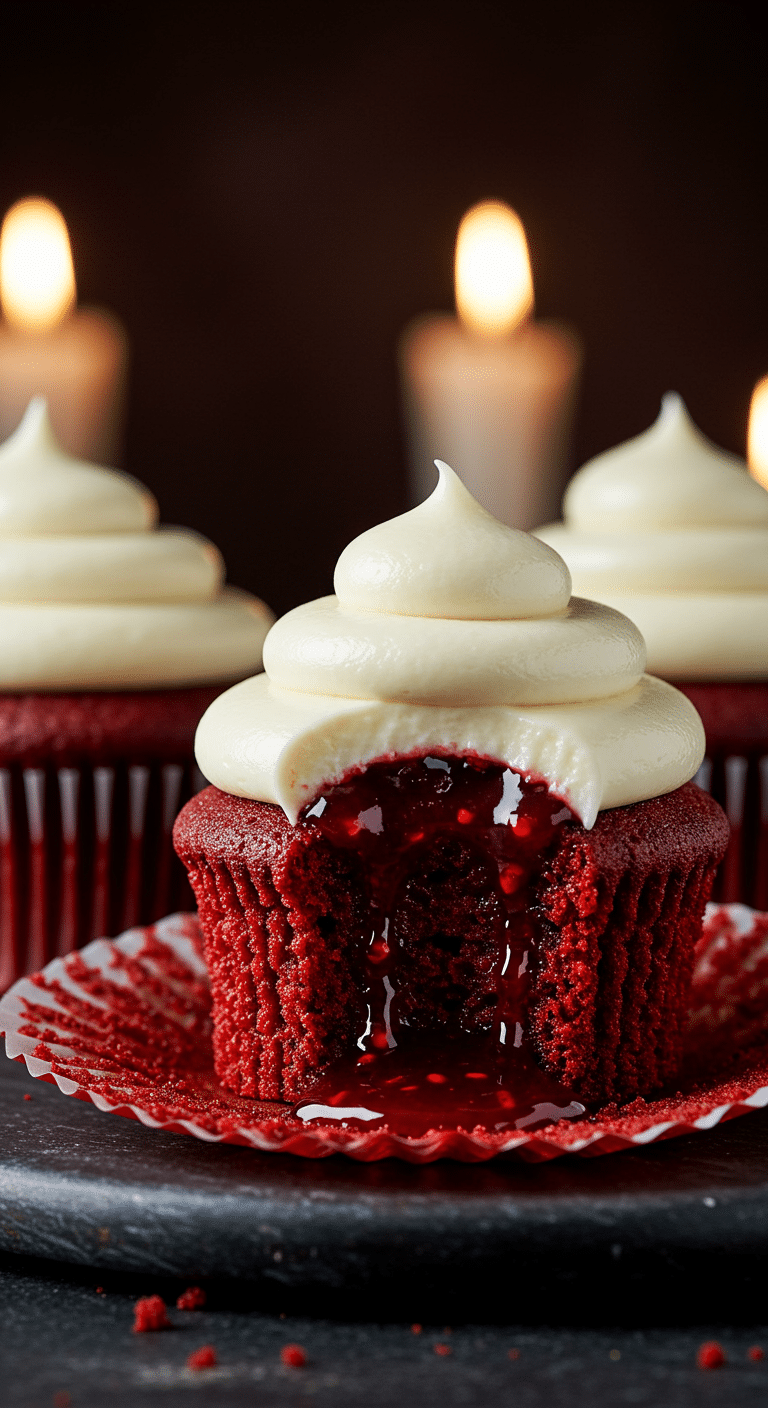
What makes these Vampire Cupcakes so spectacularly delicious is their incredible combination of a classic, gourmet-quality cupcake with a super fun, festive, and spooky decoration. The cupcake itself is a masterpiece of flavor and texture: a true, from-scratch red velvet cake with a tender, velvety crumb and a rich, tangy flavor. The surprise inside is a hidden pocket of gooey, sweet-tart raspberry jam. The entire cupcake is crowned with a classic, tangy cream cheese frosting. The final, brilliant touch is the two small holes poked in the frosting, with a little of the raspberry “blood” oozing out to create the perfect, creepy vampire bite.
| Metric | Time / Level |
| Total Time | 2 hours (includes cooling) |
| Active Prep Time | 45 minutes |
| Difficulty Level | Intermediate |
| Servings | 12 cupcakes |
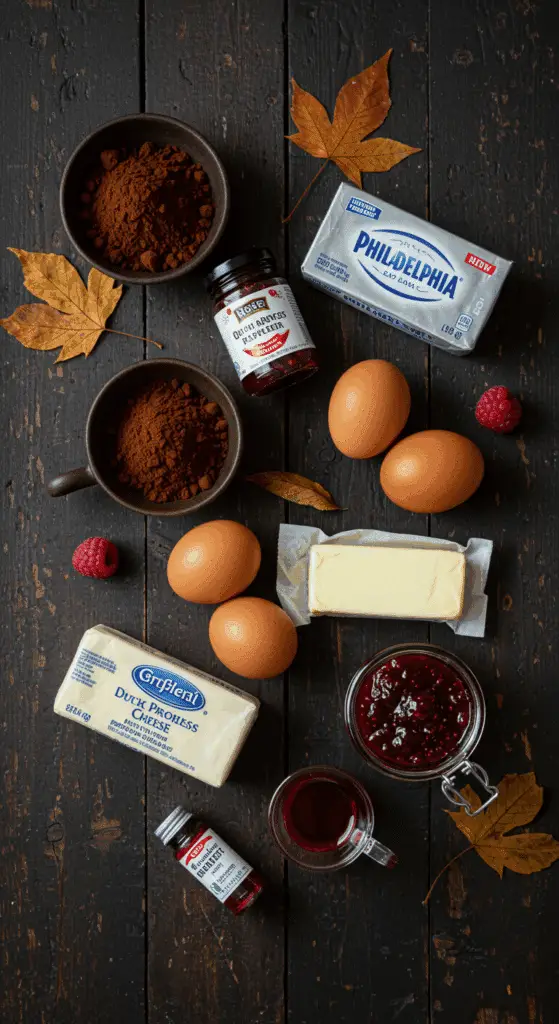
The Vampire’s Victim: The Essential Ingredients
This iconic party treat uses a handful of high-quality ingredients to create its signature rich and tangy flavor.
- The “Blood-Red” Velvet Cupcake:
- The Perfect Crumb: The secret to a super moist, tender, and authentic red velvet cake is the combination of acidic ingredients like buttermilk, sour cream, and cider vinegar. These react with the baking soda to create a wonderfully light and tender crumb. Cake flour, which is finer than all-purpose flour, also contributes to a delicate, velvety texture.
- Dutch-Process Cocoa Powder: A small amount of Dutch-process cocoa provides a deep, smooth, and complex chocolate flavor that is the signature of a true red velvet cake.
- The “Bleeding” Raspberry Filling:
- The Chocolate Barrier: This is a brilliant, professional technique! After you have cored your cupcakes, you will brush the inside of the hole with a layer of melted chocolate. This creates a waterproof barrier that is the number one secret to preventing your jam filling from making the delicate cake crumb soggy.
- The Cream Cheese Frosting: A classic and perfect pairing for red velvet cake, this simple, from-scratch frosting is made with room temperature cream cheese and butter for the smoothest, creamiest, and tangiest result.

Step-by-Step to the Best Vampire Cupcakes
This fun and festive project is a joy to prepare.
Part 1: Bake the Red Velvet Cupcakes
Step 1: First, preheat your oven to 350°F (175°C). Line a 12-cup muffin tin with paper liners.
Step 2: In a large bowl, sift together the 1 3/4 cups of cake flour, the 1 cup of granulated sugar, the 1/4 cup of Dutch process cocoa powder, the 3/4 teaspoon of baking soda, and the 1/2 teaspoon of fine salt.
Step 3: In a separate large bowl, whisk together the 1/2 cup of buttermilk, the 1/2 cup of vegetable oil, the 1/2 cup of sour cream, the 1 tablespoon of red food coloring, the 2 teaspoons of cider vinegar, the 1 teaspoon of pure vanilla extract, and the 1 beaten large egg.
Step 4: Add the wet buttermilk mixture to the dry flour mixture and stir until they are just incorporated.
Pro Tip: The number one secret to a tender, not tough, cupcake is to not overmix the batter. A few small lumps are perfectly okay!
Step 5: Divide the batter evenly among your cupcake liners. Bake for 16 to 18 minutes, until a toothpick inserted into the centers comes out with a few moist crumbs attached. Let the cupcakes cool completely on a wire rack.
Part 2: Prepare the “Blood” Filling and Cupcakes
Step 1: In a small microwave-safe bowl, microwave the 3-ounce semisweet chocolate bar and the 1 teaspoon of coconut oil together for about 1 minute. Stir, then continue to microwave in 15-second increments until the chocolate is completely smooth. Step 2: Use a small, sharp knife or an apple corer to carefully cut out and remove a plug from the center of each of your cooled cupcakes. Be sure not to go all the way to the bottom. Step 3: Use a small pastry brush to brush the inside of each of the cupcake holes with the melted chocolate. Place the cupcakes in the freezer for about 15 minutes, until the chocolate has hardened. Step 4: In a small bowl, whisk together the 1 cup of raspberry jam, 1 drop of red food coloring, and 1 tablespoon of water until the mixture is smooth. Step 5: Spoon about 1 tablespoon of the “bloody” jam into each of the chocolate-lined holes.
Part 3: Make the Frosting and Decorate
Step 1: While the cupcakes are chilling, prepare your frosting. In a large bowl, use an electric mixer on a high speed to beat the 8-ounce package of room temperature cream cheese until it is smooth and fluffy. Gradually beat in the 6 tablespoons of room temperature butter until the mixture is smooth. Step 2: With the mixer on a low speed, gradually add in the 1 cup of confectioners’ sugar and the 1/2 teaspoon of vanilla. Once the sugar has been added, increase the speed to high and continue to beat until the frosting is light and fluffy. Step 3: Transfer the frosting to a pastry bag that has been fitted with a large, round tip. Pipe a generous swirl of the frosting on top of each cupcake so that the jam-filled hole is completely covered. Step 4 (The Fun Part!): Use the end of a plastic straw to carefully poke two small holes, side-by-side, into the frosting on each cupcake to resemble vampire bite marks. Step 5: Drizzle a small amount of your remaining “bloody” jam into each of the holes, letting it ooze out slightly for a gruesome and delicious effect.

Red Velvet Vampire Cupcakes (The Perfect Halloween Treat!)
A festive and fun recipe for ‘Red Velvet Vampire Cupcakes,’ a perfect treat for a Halloween party. The dessert features a from-scratch, moist red velvet cupcake base. After baking, a hole is cored out of the center of each cupcake, which is then lined with a layer of melted chocolate and filled with a ‘bloody’ red raspberry jam surprise. The cupcakes are topped with a classic, tangy cream cheese frosting. The final ‘vampire bite’ effect is created by poking two small holes in the frosting and drizzling more of the red jam into them.
Ingredients
- For the Cupcakes:
- 1 3/4 cups cake flour
- 1 cup granulated sugar
- 1/4 cup Dutch process cocoa powder
- 3/4 teaspoon baking soda
- 1/2 teaspoon fine salt
- 1/2 cup buttermilk
- 1/2 cup vegetable oil
- 1/2 cup sour cream
- 1 tablespoon red food coloring, plus a drop for the filling
- 2 teaspoons cider vinegar
- 1 teaspoon pure vanilla extract
- 1 large egg, at room temperature
- One 3-ounce semisweet chocolate bar
- 1 teaspoon coconut oil
- 1 cup raspberry jam
- For the Cream Cheese Frosting:
- One 8-ounce package cream cheese, at room temperature
- 6 tablespoons unsalted butter, cubed, at room temperature
- 1 cup confectioners’ sugar
- 1/2 teaspoon pure vanilla extract
Instructions
- Make the Cupcakes: Preheat the oven to 350°F. Line a 12-cup muffin tin with paper liners.
- In a large bowl, sift the flour, granulated sugar, cocoa, baking soda, and salt. In another large bowl, whisk together the buttermilk, oil, sour cream, food coloring, vinegar, vanilla, and egg.
- Add the wet ingredients to the dry ingredients and stir until just incorporated. Divide the batter among the cupcake liners.
- Bake for 16 to 18 minutes, until a toothpick inserted in the center comes out with a few moist crumbs. Let the cupcakes cool completely on a wire rack.
- Fill the Cupcakes: Melt the chocolate and coconut oil together in the microwave. Use a small knife to cut a plug from the middle of each cupcake. Brush the inside of the holes with the melted chocolate and freeze for 15 minutes to harden.
- In a small bowl, whisk the raspberry jam with a drop of red food coloring and 1 tablespoon of water until smooth. Spoon 1 tablespoon of the jam into each of the chocolate-lined holes.
- Make the Frosting and Decorate: In a large bowl, beat the cream cheese with an electric mixer until smooth. Gradually beat in the butter, then the confectioners’ sugar and vanilla, until light and fluffy.
- Transfer the frosting to a pastry bag fitted with a large round tip. Pipe the frosting on top of the cupcakes to cover the jam-filled hole.
- To create the ‘vampire bites,’ use a plastic straw to poke two holes into the frosting on each cupcake.
- Drizzle the remaining red jam into the holes to resemble blood.
Notes
- Special Equipment: The recipe recommends a pastry bag fitted with a large round tip and a plastic straw for decorating.
- Lining the cored-out center of the cupcakes with melted chocolate is a key step that prevents the jam filling from making the cake soggy.
- It is crucial to let the cupcakes cool completely before frosting to prevent the cream cheese frosting from melting.
Storage and Make-Ahead Tips
- Make-Ahead: For a super-fast and impressive party dessert, you can get a head start by preparing all your components in advance. The cupcakes can be baked, cooled completely, and stored in an airtight container at room temperature for up to 2 days. The frosting and the jam filling can also be made and stored in airtight containers in the refrigerator.
- Storage: Store the finished, decorated cupcakes in an airtight container in the refrigerator (because of the cream cheese frosting) for up to 4 days.
For more recipe follow my pinterest account
Creative Recipe Variations (“Make it Your Own Potion!”)
- Use a Shortcut Cake Mix: If you’re short on time, you can absolutely use your favorite box red velvet cake mix as the base for this recipe.
- Make it a “Zombie” Cupcake: For a different but equally spooky look, you can use a rich, dark chocolate cupcake. Fill it with the raspberry “blood,” and then top it with a simple vanilla buttercream that has been tinted with a ghoulish green or grey food coloring. You can top this with a cute gummy brain!
- Use a Different “Blood”: If you’re not a fan of raspberry jam, you can easily substitute it with an equal amount of a seedless strawberry jam or even a rich, dark cherry pie filling.
Enjoy Your Ultimate Spooky & Chic Halloween Treat!
You’ve just created a truly special treat that is a perfect harmony of fun, classic ingredients and delicious, satisfying flavors. These classic “Vampire Cupcakes” are a testament to the power of a simple, creative idea to become an instant party favorite and a treasured holiday tradition. It’s a rewarding and deeply satisfying recipe that is sure to make your Halloween party a memorable one.
We hope you enjoy every last, perfect, and delicious bite!
If you enjoyed making this recipe, please leave a comment below or share it with a friend who loves an easy and impressive meal!
Frequently Asked Questions (FAQs)
Q1: What is the absolute, number one secret to a truly moist and tender red velvet cupcake?
The secret is the combination of acidic ingredients (like the buttermilk and the vinegar in this recipe) and a fine-textured flour, like cake flour. The acid reacts with the baking soda to create a wonderfully light and tender crumb, and it also provides the signature, subtle “tang” that is the hallmark of a true red velvet cake.
Q2: How do I fill a cupcake without it becoming soggy?
This recipe uses a brilliant, professional trick: the melted chocolate barrier. By brushing the inside of the cored-out cupcake with a thin layer of melted chocolate and letting it harden, you are creating a waterproof shell that will keep the moist jam filling from seeping into the delicate cake crumb.
Q3: Can I make these Halloween cupcakes ahead of time for a party?
Yes, this is a perfect make-ahead party dessert! You can bake the cupcakes and prepare the frosting and the filling up to 2 days in advance. It is best to assemble and decorate the cupcakes on the day of your party for the freshest and most impressive result.
Q4: What is the best way to get a smooth, not-too-sweet cream cheese frosting?
The two most important secrets are to use room temperature, softened cream cheese and butter, and to beat them together well until they are light and fluffy before you add the confectioners’ sugar. This will ensure your frosting is perfectly smooth and not lumpy.
Q5: What is cake flour, and can I make my own?
Cake flour is a finely milled, low-protein flour that creates a very tender and delicate crumb in cakes and cupcakes. If you don’t have any, you can make a simple substitute at home! For every 1 cup of all-purpose flour, simply remove 2 tablespoons of the flour, and then add in 2 tablespoons of cornstarch. Be sure to sift them together well before you use them.


