Are you searching for that perfect, nostalgic holiday cookie? The kind of soulful, “from-scratch” treat that tastes just like the ones grandma used to make—impossibly soft, perfectly puffy, and with a sweet, jewel-toned strawberry jam filling peeking out from the center? This incredible, “Grandma’s” Classic Strawberry-Filled Cookie is that perfect, timeless tradition. We’re talking a rich, buttery, and unbelievably tender cookie, with a soft, cake-like crumb that melts in your mouth.
This isn’t just another cookie recipe; it’s a guide to mastering a legendary, multi-generational secret. Forget the dry, hard, store-bought cookies. We’ll show you the simple but crucial “old-world” secrets to a flawless, foolproof, and easy-to-roll cookie that is the perfect, elegant addition to your holiday cookie platters and festive gift-giving.
Table of Contents
Table of Contents
Recipe Overview: The Ultimate “Soft & Puffy” Holiday Cookie
What makes this “Grandma’s” cookie so spectacularly delicious is its incredible, rich flavor and its wonderful, perfectly soft and cake-like texture. This recipe is a masterpiece of classic, old-fashioned baking. The star of the show is the dough itself, which gets its signature, old-fashioned, “melt-in-your-mouth” tenderness from a brilliant, “Grandma-approved” secret: using all shortening instead of butter. This is the key to a cookie that is unbelievably soft and bakes up perfectly puffy and tender. The dough is enriched with a homemade “sour milk” (a simple buttermilk substitute) and a hint of nutmeg, creating a wonderfully soft, tangy, and aromatic base for the sweet strawberry preserves filling.
| Metric | Time / Level |
| Total Time | 4 hours (includes 2+ hours chilling) |
| Active Prep Time | 40 minutes |
| Difficulty Level | Easy |
| Servings | About 3-4 dozen sandwich cookies |
The Baker’s Pantry: The Essential Ingredients
This iconic dish uses a handful of high-quality, simple ingredients to create its signature rich and comforting flavor.
- The Cookie Dough (The “Melt-in-your-Mouth” Secret!):
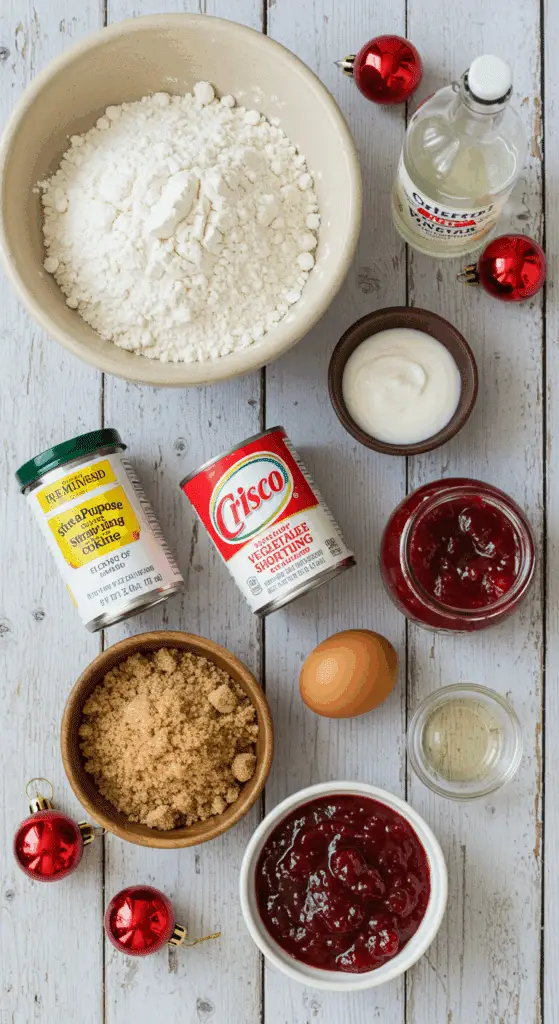
- Shortening: This is the number one, old-school “Grandma’s secret” to the most incredible texture! While butter provides flavor, vegetable shortening (like Crisco®) is the key that provides an incredibly tender, “short” texture and, most importantly, prevents the cookies from spreading in the oven, allowing them to bake up thick, puffy, and soft.
- “Sour Milk” (The “Magic” Leavener!): This is a brilliant, old-fashioned trick! By mixing a little vinegar into regular milk, you are creating an instant “soured milk” (a perfect buttermilk substitute). The acid in this mixture reacts with the baking soda to create a powerful leavening, which is the secret to the cookie’s soft, fluffy, and cake-like crumb.
- The “Jewel” Filling:
- Strawberry Preserves: The classic, sweet, and fruity filling! A thick, high-quality strawberry preserve is the perfect, bright-tasting counterpoint to the rich, tender cookie.
The Baker’s Masterclass: The Secrets to a Perfect Filled Cookie
This recipe is all about a few simple but brilliant techniques that guarantee a flawless, impressive result.
- The “All-Shortening” Secret is KEY!: This is the most important secret to this recipe’s unique, tender texture. By using all shortening, you are guaranteeing a cookie that will be incredibly soft, will rise high, and will not spread and flatten out like an all-butter cookie. This is the key to that classic, old-fashioned, “cake-like” softness.
- The “Long Chill” is NON-NEGOTIABLE!: This is the single most important, professional secret to a cut-out cookie that holds its shape. When you first mix the dough, it will be very soft. You must chill the dough for at least 2 hours (or overnight). This crucial, patient step is the key that solidifies the fat, which is the magic that will make the soft dough firm, easy to roll, and will prevent it from spreading in the oven.
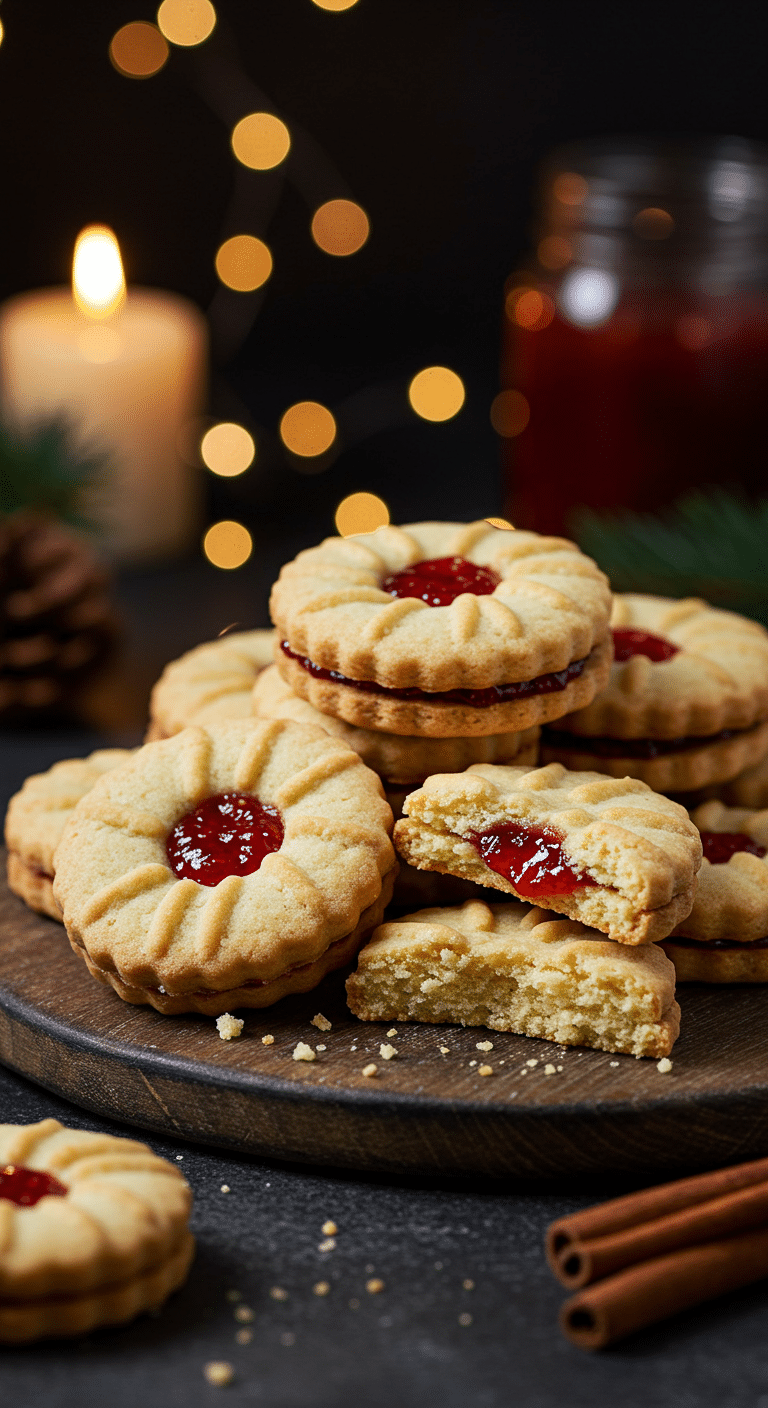
- The “Crimp and Vent”: The secret to a beautiful cookie (and a clean oven!) is to prevent the jam from leaking out. Be sure to use only 1 teaspoon of jam (a little goes a long way!), and to firmly press the edges with a fork to create a good, tight seal. The final criss-cross slits on top are not just for looks—they are crucial “vents” that allow steam from the hot jam to escape, preventing the cookies from exploding.

Step-by-Step to the Best “Grandma’s” Strawberry-Filled Cookies
This elegant, festive dessert is a joy to prepare.
Part 1: The Art of the “Old-Fashioned” Dough
Step 1: In a large bowl with an electric mixer, beat your 1 cup of white sugar, 1 cup of brown sugar, and 1 1/2 cups of shortening together until the mixture is creamy and smooth.
Step 2: In a small bowl, mix your 1/4 cup of milk and 1 teaspoon of vinegar together and let it stand for 5 minutes to create your “sour milk.”
Step 3: To your creamed shortening mixture, add the 2 eggs and 1 teaspoon of vanilla extract and beat well. Stir in your prepared “sour milk.”
Step 4: In a separate, large bowl, sift together your 3 1/2 cups of all-purpose flour, 1 teaspoon of baking powder, 1 teaspoon of baking soda, 1 teaspoon of salt, and 1 teaspoon of ground nutmeg.
Step 5: With your mixer on a low speed, gradually add the dry ingredients to the wet ingredients and mix only until the dough is just incorporated. The dough will be soft.
Step 6 (The Most Important Step!): Cover the dough and refrigerate it until it is firm, for at least 2 hours, or preferably overnight.
Part 2: The “Roll, Fill, and Seal” to Perfection
Step 1: When your dough is chilled, preheat your oven to 350°F ($175^{\circ}C$).
Step 2: On a lightly floured surface, roll your dough out to a 1/8-inch thickness.
Step 3 (The Fun Part!): Use a 2-inch round cookie cutter to cut out your cookies.
Step 4: Spoon about 1 teaspoon of your strawberry preserves into the center of half of the cookie rounds. Place one of the remaining cookie rounds on top of the jam.
Step 5: Use a fork to lightly press and seal the edges of the cookies. Use a small knife to cut small, criss-cross slits into the top of each cookie to create a vent.
Step 6: Arrange your cookies on an ungreased baking sheet, about 1 1/2 inches apart.
Part 3: The Perfect Bake
Bake for 13 to 15 minutes. You will know the cookies are perfectly done when they are puffy and the edges are a beautiful, light golden brown.
Let the cookies cool on the pan for a few minutes (they will be soft!) before you transfer them to a wire rack to cool completely.

Strawberry-Filled Cookies (A Soft & Chewy Classic!)
A classic, old-fashioned recipe for ‘Granny’s Strawberry Preserves-Filled Cookies.’ This is a sandwich-style cookie featuring a soft, spiced (nutmeg) dough made with shortening and a homemade ‘sour milk.’ The dough is chilled for at least two hours, rolled thin, and cut into rounds. Half the rounds are topped with a teaspoon of strawberry preserves and then sealed with another round, with the edges crimped with a fork before baking.
Ingredients
- 1 cup shortening
- 1 cup white sugar
- 1 cup brown sugar
- ¼ cup milk
- 1 teaspoon vinegar
- 2 large eggs
- 1 teaspoon vanilla extract
- 3 ½ cups all-purpose flour
- 1 teaspoon baking powder
- 1 teaspoon baking soda
- 1 teaspoon salt
- 1 teaspoon ground nutmeg
- 6 tablespoons strawberry preserves, or as needed
Instructions
- In a large bowl, beat the shortening, white sugar, and brown sugar together with an electric mixer until creamy and smooth.
- In a small bowl, mix the milk and vinegar together. Let it stand for 5 minutes to create ‘sour milk’.
- Stir the ‘sour milk’, eggs, and vanilla extract into the creamed shortening mixture.
- In a separate large bowl, sift together the flour, baking powder, baking soda, salt, and nutmeg.
- Gradually mix the flour mixture into the shortening mixture until a dough is incorporated.
- Cover the dough and refrigerate until fully chilled, for 2 hours or up to overnight.
- When ready to bake, preheat the oven to 350°F (175°C). Prepare ungreased baking sheets.
- On a floured surface, roll the chilled dough out to a 1/8-inch thickness.
- Cut the dough into 2-inch rounds using a cookie cutter.
- Spoon 1 teaspoon of strawberry preserves into the center of half of the cookie rounds.
- Cover the preserves with the remaining cookie rounds, creating a sandwich.
- Lightly press the edges of the cookies together with a fork to seal them.
- Use a knife to cut small criss-cross slits into the top of each cookie.
- Arrange the cookies on the ungreased baking sheets.
- Bake in the preheated oven for 13 to 15 minutes, until the cookies are golden.
- Let the cookies cool on the baking sheet briefly before removing them to a wire rack to cool completely.
Notes
- This is a classic icebox cookie recipe; the dough must be chilled for at least 2 hours or overnight to become firm enough to roll.
- The recipe uses a homemade ‘sour milk’ (a buttermilk substitute) by combining regular milk and vinegar.
- The cookies are assembled sandwich-style, with the preserves in the middle, and the edges are crimped with a fork before baking.
What to Serve With Your Jam-Filled Cookies
These beautiful and nostalgic cookies are a fantastic and essential part of any holiday celebration.
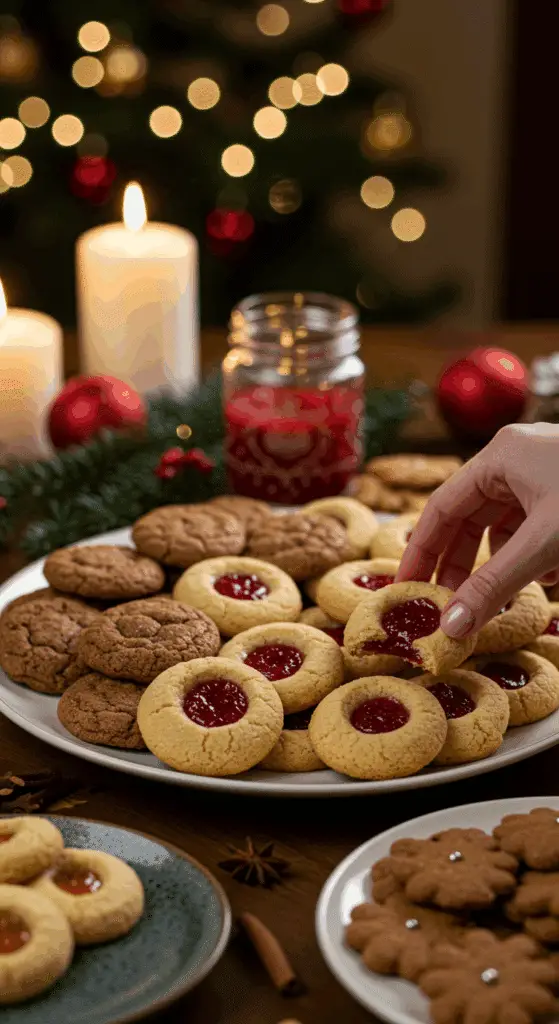
- The Perfect Pairing: They are absolutely perfect served on a holiday cookie platter alongside other classics like gingerbread, spritz, and “Grandma’s Snowball Cookies.”
- A Cozy Treat: They are the perfect, delicate bite to enjoy with a cup of hot coffee, a cup of tea, or a tall, cold glass of milk.
For more recipe follow my pinterest account
Storage and Make-Ahead Tips
These are the ultimate make-ahead holiday cookie!
- Make-Ahead: You can prepare the unbaked dough up to 3 days in advance and store it, well-wrapped, in the refrigerator.
- Storage: Store the finished, baked cookies in an airtight container at room temperature, with sheets of wax paper between the layers, for up to 1 week.
- Freezing: This dough freezes beautifully! You can freeze the unbaked dough disk (for up to 3 months), or the unbaked, assembled cookies.
Frequently Asked questions (FAQs)
Q1: Why did my cookies spread out and go flat?
The most common culprit is that your dough was not chilled for long enough. This dough is very soft, and the long chill is the non-negotiable secret that will solidify the shortening and guarantee your cookies hold their beautiful, puffy shape.
Q2: Why did my jam leak out?
The two most common culprits are using too much jam (a little 1/2 teaspoon goes a long way!) or forgetting to cut the steam vents in the top. The vents are crucial for letting the hot steam escape!
Q3: Do I really have to use shortening?
For this specific, “Grandma-style” recipe, yes, it is highly recommended. The all-shortening base is the non-negotiable secret to the classic, soft, tender, and cake-like texture that doesn’t spread.
Q4: Can I use a different kind of jam?
Yes, absolutely! This recipe is fantastic with any thick, high-quality preserve. Raspberry, apricot, or even a fig jam would all be delicious.
Q5: Can I make these nut-free?
Yes! This recipe is naturally nut-free.


