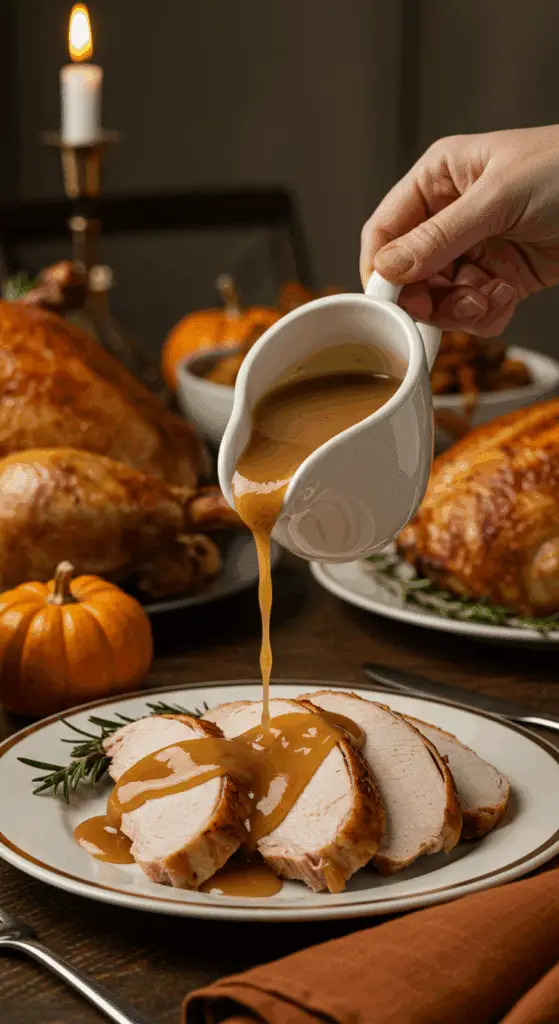
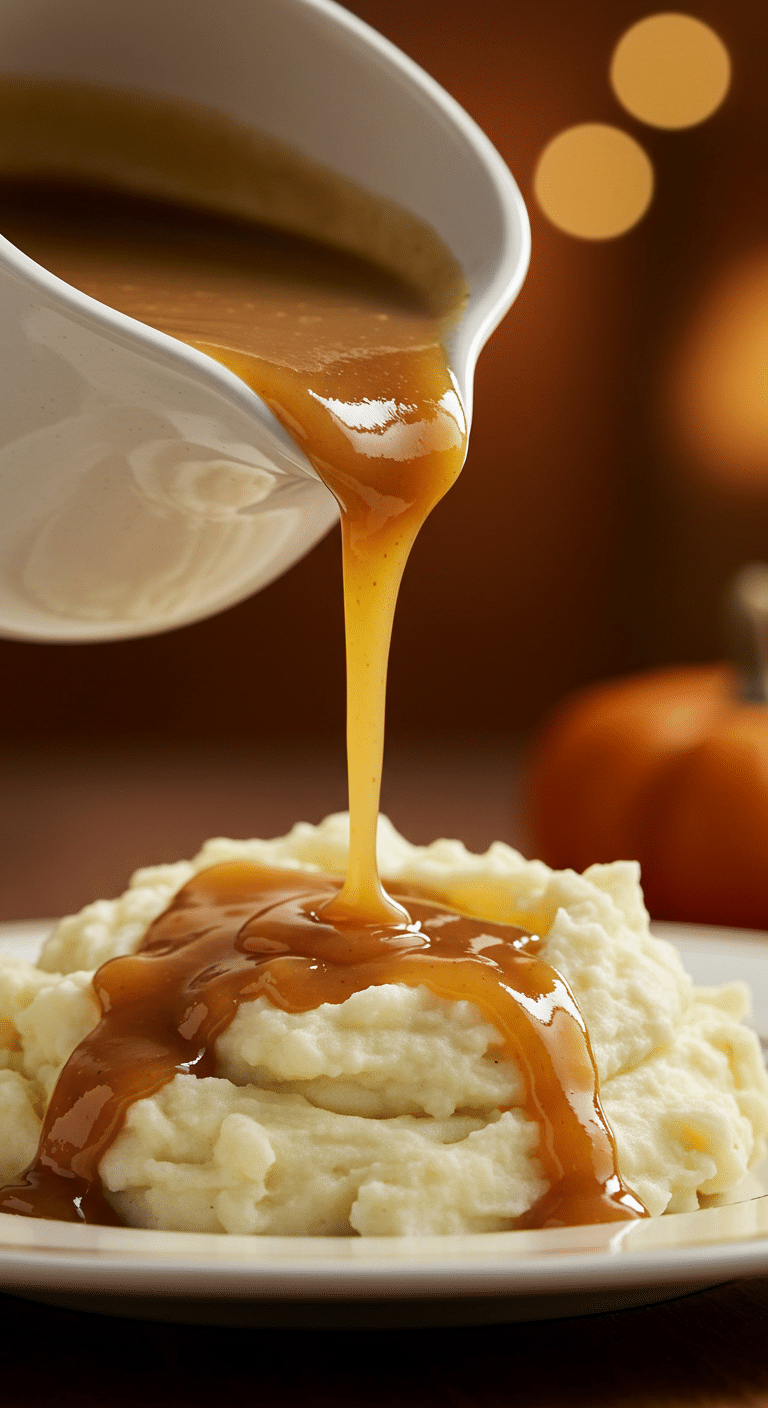
Are you ready to learn the secrets to making a truly perfect, show-stopping, and unbelievably flavorful homemade turkey gravy? The kind of rich, savory, and silky-smooth gravy that is the absolute crowning glory of any holiday feast? This classic, from-scratch recipe, inspired by the legendary Chef John, is your ultimate guide to transforming those precious turkey drippings into pure “liquid gold.”
Forget the packets, the jars, and the stress. This is a masterclass in building deep, layered flavor from the ground up, and it’s surprisingly simple. We’ll show you how to create a rich, homemade broth using the turkey neck and giblets while your turkey roasts. Then, we’ll walk you through the foolproof, classic method of using the pan drippings to create a perfect, lump-free roux-based gravy. This is the recipe that will make you a Thanksgiving legend.
Table of Contents
Table of Contents
Recipe Overview: The Crowning Glory of the Holiday Feast
What makes this Classic Turkey Gravy recipe the absolute best is its brilliant, two-part approach to building flavor. First, a simple, homemade broth simmers on the stovetop, extracting every bit of goodness from the turkey neck and giblets. Second, we capture all the intensely flavorful, caramelized drippings—the “fond”—from the bottom of your roasting pan. These two flavor powerhouses are then combined using a classic roux to create a gravy that is deeply savory, perfectly thick, and unbelievably delicious.
| Metric | Time / Level |
| Total Time | 2 hours 30 minutes |
| Active Prep Time | 20 minutes |
| Difficulty Level | Easy |
| Servings | 8-10 (makes about 4 cups) |
The Essential Ingredients for the Best Gravy
This recipe uses simple, classic ingredients to create a truly spectacular, from-scratch result.
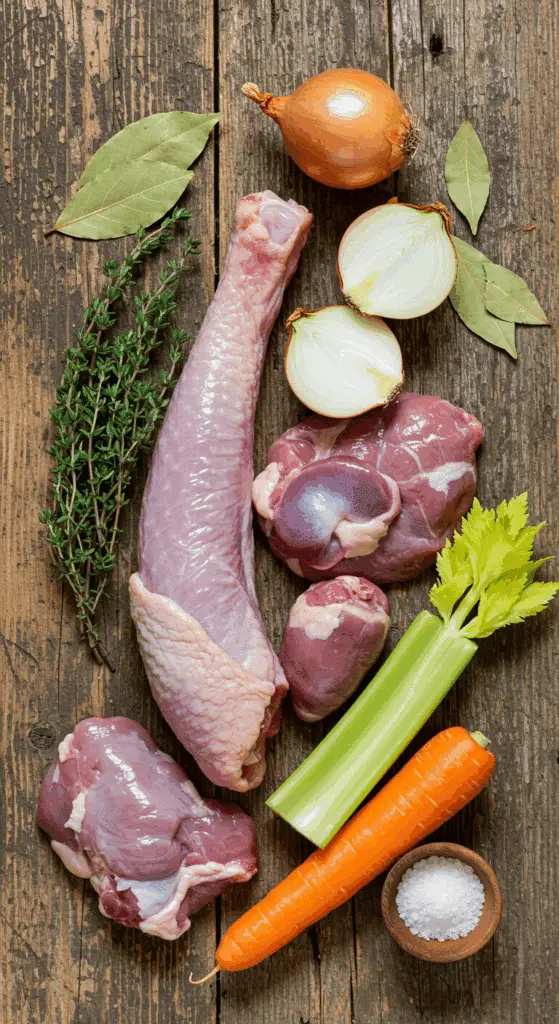
- The Turkey Trimmings (Neck & Giblets): Do not throw these away! The turkey neck and giblets (usually found in a small packet inside the turkey’s cavity) are a treasure trove of flavor. We simmer them with aromatics to transform a standard chicken broth into a rich, homemade turkey broth. Important: Be sure to discard the liver, as it can make your broth taste bitter.
- The Pan Drippings: This is the most important “ingredient” for any pan gravy. After you roast your turkey, the pan will contain two magical things:
- Rendered Turkey Fat: The golden, liquid fat that we will skim off and use to make our roux.
- The “Jus” and “Fond”: The dark, concentrated, meaty juices (jus) and the delicious, caramelized brown bits stuck to the bottom of the pan (fond). This is pure, unadulterated flavor.
- The Roux (Reserved Fat & Flour): A simple paste made from an equal amount of reserved turkey fat and all-purpose flour is the classic, foolproof thickener for a perfectly smooth and stable gravy.
- Chicken Broth: We use a low-sodium chicken broth as a base and then fortify it with the turkey trimmings to create a deep, homemade flavor.
- Aromatics: A simple blend of onion, shallots, or leeks, along with classic poultry herbs like thyme, parsley, rosemary, or sage, and a bay leaf build the aromatic foundation of our broth.

Step-by-Step to Perfect, Lump-Free Turkey Gravy
This recipe is a rewarding project that you can do right alongside your roasting turkey.
Part 1: The Rich, Homemade Turkey Broth
This part can be done on the stovetop while your main turkey is roasting in the oven.
Step 1: In a large saucepan, melt the 2 tablespoons of unsalted butter over medium-low heat. Add the sliced onion (or leek/shallots) and the turkey neck and giblets (remember to discard the liver!).
Step 2: Cook, stirring, for about 15 minutes, until the giblets are nicely browned.
Step 3: Add the 8 cups of low-sodium chicken broth, the fresh herb sprigs, and the bay leaf. Bring the mixture to a boil, then cover the pan, reduce the heat to low, and let it simmer gently for about 2 hours while your turkey roasts.
Step 4: Strain the finished broth through a fine-mesh sieve into a clean pot or a large bowl. Keep this broth warm. You can chop up the reserved giblets and neck meat to add to the finished gravy later, if you desire.
Part 2: Capturing the “Liquid Gold” Pan Drippings
Step 1: When your main turkey is done roasting, transfer it from the roasting pan to a cutting board to rest.
Step 2: Pour all the drippings from the roasting pan into a degreasing cup or a large, clear measuring cup.
Step 3: Now, let’s deglaze the pan. Add 1/2 cup of your prepared warm broth to the hot roasting pan. Use a wooden spoon or a flat-edged spatula to scrape up all the precious, caramelized browned bits from the bottom of the pan.
Pro Tip: If the bits are really stuck on, you can place the roasting pan safely over a low burner on your stovetop to help loosen them with the heat.
Step 4: Add this incredibly flavorful liquid to the degreasing cup with the rest of the drippings. Let the cup sit for a few minutes. The fat will naturally rise to the top.
Part 3: Making the Perfect Roux and Gravy
Step 1: Carefully spoon off 1/2 cup of the pure, rendered turkey fat from the top of the degreasing cup and transfer it to a large, heavy-bottomed saucepan over medium heat.
Step 2: Make the roux. Sprinkle the 1/2 cup of all-purpose flour into the hot fat in the pan. Cook, stirring or whisking constantly with a wooden spoon, for about 4 minutes. The roux should be smooth and should turn a light, golden-brown color. This step is crucial for cooking out the raw flour taste.
Step 3: Now, gradually and slowly, add the warm, homemade turkey broth to the roux, about one cup at a time, whisking constantly and vigorously to prevent any lumps from forming.
Step 4: Bring the gravy to a boil, then immediately reduce the heat to medium-low.
Step 5: Pour the dark, concentrated roasting juices (the jus) from the bottom of the degreasing cup into the gravy, leaving behind any remaining fat.
Step 6: Let the gravy simmer, whisking it occasionally, for about 10 minutes, until it has thickened to a perfect, luscious consistency that beautifully coats the back of a spoon.
Step 7: Stir in the dash of Worcestershire sauce and season the gravy with salt and pepper to your taste. For an extra rich, glossy finish, you can stir in the optional 2 tablespoons of cold flavored butter at the very end, off the heat.

The Best Easy & Perfect Turkey Gravy (From Drippings!)
A classic, from-scratch recipe for a rich and flavorful turkey gravy, perfect for Thanksgiving or any roast turkey dinner. The recipe starts by creating a fortified broth, simmering the turkey neck and giblets with aromatics and chicken broth. After the turkey is roasted, the valuable pan drippings are degreased. A portion of the rendered turkey fat is used to make a roux with flour, which then thickens the homemade broth and dark pan juices. The gravy is simmered until it reaches the perfect consistency.
- Prep Time: 10 minutes
- Cook Time: 2 hours 15 minutes
- Total Time: 2 hours 25 minutes
- Yield: 10-12 servings (approx. 6 cups)
- Category: Sauce
- Method: Simmering
- Cuisine: American
Ingredients
- For the Broth:
- 2 tablespoons unsalted butter
- 1 medium onion or leek, sliced
- Neck and giblets from a turkey (liver discarded)
- 8 cups low-sodium chicken broth
- 3 sprigs of fresh thyme, parsley, rosemary, and/or sage
- 1 bay leaf
- For the Gravy:
- Turkey drippings from a roasting pan
- 1/2 cup all-purpose flour
- Dash of Worcestershire sauce
- Kosher salt and freshly ground pepper
- 2 tablespoons cold Flavored Butter (optional)
Instructions
- Make the Broth: When you start roasting your turkey, melt the butter in a large saucepan over medium-low heat. Add the onion and the turkey neck and giblets. Cook, stirring, for about 15 minutes until the giblets are browned.
- Add the chicken broth, herb sprigs, and bay leaf. Cover and simmer for about 2 hours while the turkey roasts.
- Strain the broth through a fine-mesh sieve and keep it warm. The neck meat and giblets can be chopped and reserved, if desired.
- Prepare the Drippings: When the turkey is done roasting, transfer it to a cutting board. Pour all the pan drippings into a degreasing cup.
- Add 1/2 cup of the prepared warm broth to the roasting pan and use a wooden spoon to scrape up all the browned bits (the fond). Pour this liquid into the degreasing cup.
- Make the Gravy: Let the fat rise to the top of the degreasing cup. Spoon off 1/2 cup of the separated fat and transfer it to a large saucepan over medium heat.
- Make a roux by sprinkling the flour into the hot fat. Cook, stirring constantly with a wooden spoon, for about 4 minutes until the flour browns slightly.
- Gradually add the hot broth to the roux, whisking constantly to prevent lumps. Bring the mixture to a boil.
- Reduce the heat to medium-low. Pour the dark, defatted roasting juices from the degreasing cup into the gravy.
- If using, add the chopped giblets and shredded neck meat to the gravy.
- Simmer, whisking occasionally, for about 10 minutes, until the gravy has thickened.
- Stir in a dash of Worcestershire sauce and season with salt and pepper. If desired, stir in the optional flavored butter at the end.
Notes
- This recipe creates a deeply flavorful gravy by making a separate broth with the turkey neck and giblets while the main turkey roasts.
- Using a degreasing cup is the easiest way to separate the flavorful pan juices from the excess fat.
- Scraping up the browned bits (fond) from the bottom of the roasting pan is a key step that adds immense flavor to the gravy.
- The recipe for the optional ‘Flavored Butter’ is not included in the article.
Storage and Make-Ahead Tips
Making the gravy is often the last, most stressful step of a holiday meal. The great news is that this gravy can be almost entirely made in advance!
- Make-Ahead: You can make the homemade turkey broth up to 3 days in advance and store it in the refrigerator. You can even make the entire gravy (through Part 3, Step 7) a day or two before the big meal.
- Storing & Reheating: Store the finished gravy in an airtight container in the refrigerator for up to 5 days. Reheat it gently in a saucepan over low heat, whisking, until it is hot. You can whisk in the final pan drippings from your turkey on the day of serving for that final, fresh-roasted flavor.
- Freezing: This gravy freezes beautifully for up to 3 months.
For more recipe follow my Pinterest account
Creative Recipe Variations
This classic gravy is a perfect base for your own delicious twists.
- Rich Mushroom-Turkey Gravy: For a deep, earthy flavor, you can finely chop 8 ounces of cremini mushrooms and sauté them along with the onion and giblets at the beginning of the broth-making process.
- Add a Splash of Wine or Sherry: For an even deeper, more complex flavor, you can deglaze your roasting pan with a generous splash (about 1/2 cup) of a dry white wine or a dry sherry. Let it bubble and reduce by half before adding the broth.
- Make it Gluten-Free: For a simple gluten-free version, you can skip the roux. Instead, thicken your finished, simmering gravy at the end by whisking in a “slurry” made from 2 tablespoons of cornstarch mixed with 1/4 cup of cold water.
Enjoy The Crowning Glory of Your Feast!
You’ve just created the most important and most delicious component of any classic turkey dinner. This rich, savory, and perfectly smooth homemade Turkey Gravy is a testament to the incredible flavor you can create from simple, traditional techniques. It’s the finishing touch that brings the entire meal together and will have your guests singing your praises.
We hope you enjoy this taste of a true holiday classic!
If you enjoyed making this recipe, please leave a comment below or share it with a friend who is ready to master homemade gravy!
Frequently Asked Questions (FAQs)
Q1: What are “giblets” and do I really have to use them?
The giblets are the edible organs of the turkey, usually consisting of the heart, gizzard, and liver, which you’ll find in a small paper or plastic bag inside the turkey’s cavity. For the best flavor, you should use the heart and gizzard in your broth, but it is very important to discard the liver, as it can impart a bitter, metallic taste to your stock.
Q2: How do I fix a lumpy gravy?
Don’t panic! A lumpy gravy is an easy fix. The best way is to pour the entire gravy through a fine-mesh sieve into a clean pot. This will strain out any lumps of flour, leaving you with a perfectly smooth gravy. For a quicker fix, you can also use an immersion blender directly in the pot to blend out the lumps.
Q3: How do I make gravy if my turkey didn’t produce a lot of drippings?
If you have a very lean turkey, you may not get the full 1/2 cup of rendered fat. In this case, you can simply make up the difference by adding enough melted butter to your saucepan to reach 1/2 cup of total fat before you add the flour to make your roux. The gravy will still be delicious because most of the flavor comes from your rich, homemade broth and the jus at the bottom of the drippings.
Q4: Can I make this gravy without roasting a whole turkey?
Yes, you can make a delicious “mock” turkey gravy! You can often buy turkey wings or drumsticks from your butcher. Simply roast those on their own until they are deeply browned, and then use the drippings from that pan to make your gravy, along with the homemade broth from the neck and giblets.
Q5: What is a fat separator and do I need one?
A fat separator is a special type of measuring cup with a long, low spout. You pour your pan drippings into it, and as the fat rises to the top, the leaner, dark juices (jus) at the bottom can be easily poured out from the low spout, leaving the fat behind. It’s a very convenient tool, but you can achieve the same result by simply letting the drippings settle in a regular glass measuring cup and then carefully spooning the fat off the top.


