For anyone who loves ice cream but avoids dairy, the quest for a truly creamy, rich, and satisfying frozen dessert can be a challenge. So often, vegan ice creams are icy, hard, or have a strange aftertaste. But what if you could create a luxuriously smooth, deeply flavorful, and completely dairy-free Vegan Vanilla Ice Cream at home?
This recipe is your ultimate guide to achieving just that. We will walk you through a simple, cooked-base method that uses the power of full-fat coconut milk, a real vanilla bean, and a secret weapon—arrowroot powder—to create a texture so creamy, you won’t believe it’s vegan. This is more than just a recipe; it’s a master class in the fundamentals of making incredible Vegan Vanilla Ice Cream.
What makes this recipe so special is its focus on building a premium texture without any eggs or dairy. It’s a versatile and delicious base that proves you don’t need traditional ingredients to make an exceptional frozen dessert. Get ready to create the best homemade Vegan Vanilla Ice Cream you’ve ever had.
Table of Contents
Table of Contents
The Science of Creamy Vegan Ice Cream
Creating a creamy Vegan Vanilla Ice Cream is all about controlling ice crystals. In traditional ice cream, egg yolks and milk fats do a lot of the work to keep the texture smooth. In vegan ice cream, we need to be more strategic. This recipe uses a three-part system for success:
- High Fat Content: Full-fat coconut milk is non-negotiable. The high fat content is essential for a rich mouthfeel and helps prevent the formation of large ice crystals, which are the culprits behind an “icy” texture.
- The Right Sweetener: Using a liquid sweetener like pure maple syrup helps lower the freezing point of the base, resulting in a softer, more scoopable final product compared to granulated sugar.
- A Natural Stabilizer: Arrowroot powder is the secret weapon. When heated, this natural starch gelatinizes and thickens the base. It works by binding with water molecules, effectively trapping them so they can’t join together to form large ice crystals. This is the key to a smooth, scoopable Vegan Vanilla Ice Cream.
Don’t Have an Ice Cream Maker? A No-Churn Option
While an ice cream maker will give you the absolute creamiest result, you can still make a delicious Vegan Vanilla Ice Cream without one!
After your ice cream base is completely chilled (Step 2), pour it into a shallow, freezer-safe dish (like a loaf pan). Freeze for 45 minutes, then remove it and scrape and stir it vigorously with a fork, breaking up all the frozen bits. Return it to the freezer and repeat this scraping process every 30-45 minutes for 3-4 hours, or until it reaches a thick, frozen consistency. It won’t be quite as airy as the churned version, but it will still be delicious!
The Key Ingredients for Your Dairy-Free Dessert
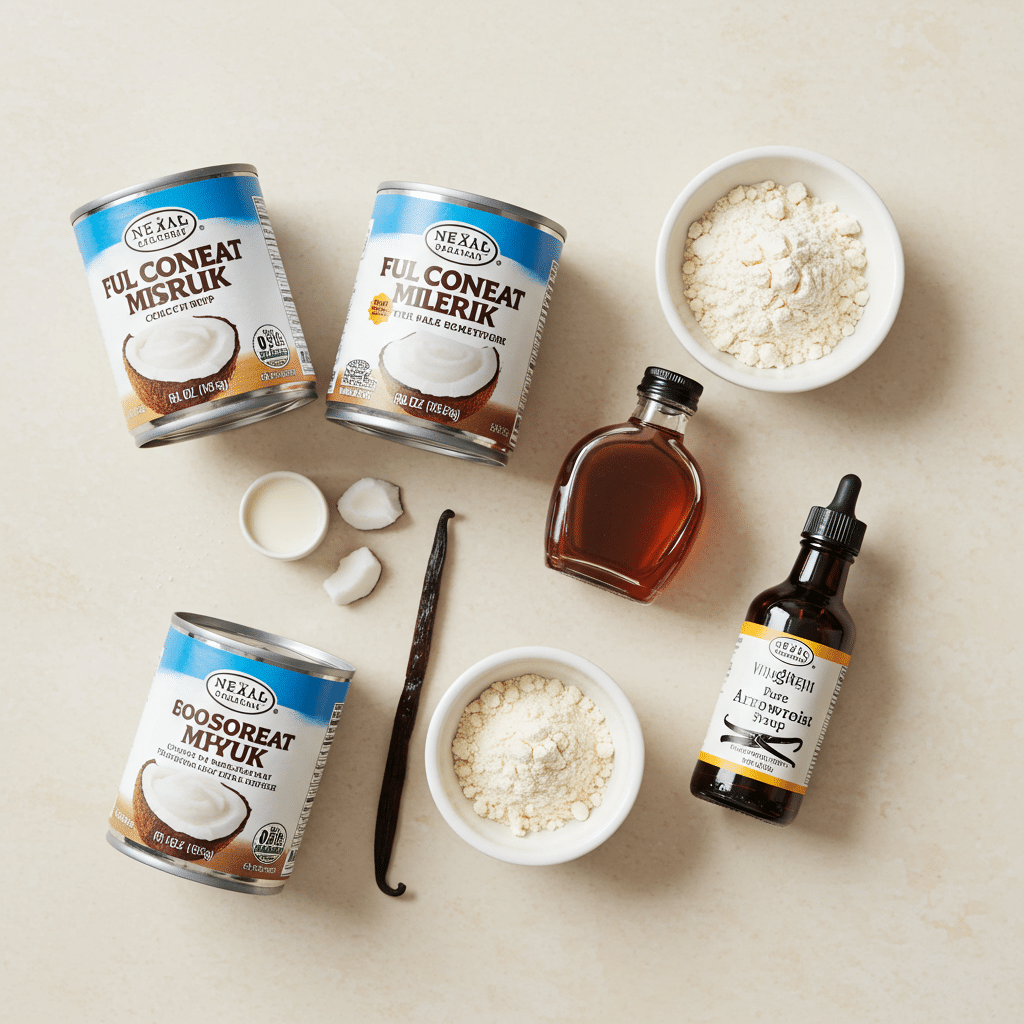
Each ingredient in this Vegan Vanilla Ice Cream is chosen to build a rich flavor and a luxuriously creamy texture.
- Full-Fat Coconut Milk: Use the canned, full-fat variety for the best results. The cream that solidifies at the top of the can is pure gold for creating a rich base.
- Pure Maple Syrup: Provides a clean, nuanced sweetness that perfectly complements the vanilla and coconut.
- A Whole Vanilla Bean: For a truly premium Vegan Vanilla Ice Cream, a real vanilla bean provides a depth of flavor and beautiful visual flecks that extract can’t match.
- Arrowroot Powder: Our essential thickener and stabilizer for an ultra-smooth texture. It can also be labeled as arrowroot starch or flour.
- Pure Vanilla Extract: We add a splash at the end to layer the vanilla flavor and add a bright top note.

Step-by-Step Guide to Your Vegan Vanilla Ice Cream
Follow these detailed instructions for a flawless, creamy result. Chilling the base completely is the most important step, so don’t rush it!
Part 1: Create and Chill the Ice Cream Base
- Prepare the Vanilla Bean: Using a small, sharp knife, split the vanilla bean in half lengthwise. Use the back of the knife to scrape out the thousands of tiny seeds inside.
- Heat the Base: In a medium pot, add the canned coconut milk (both the solid cream and the liquid), the maple syrup, and both the vanilla bean pod and the scraped seeds. Whisk everything together. Bring the mixture to a simmer over medium-high heat.
- Infuse the Flavor: Once simmering, cover the pot, reduce the heat to low, and let it gently simmer for 5 minutes. This step helps all the flavors meld together beautifully.
- Prepare the Arrowroot Slurry: While the base simmers, dissolve the 4 teaspoons of arrowroot powder in 1 tablespoon of cold water in a small bowl. Stir until it forms a smooth, milky liquid. This is your “slurry.”
- Thicken the Base: Slowly drizzle the arrowroot slurry into the hot coconut milk mixture while whisking constantly. This is crucial to prevent lumps. As soon as the mixture returns to a simmer and thickens slightly, remove it from the heat.
- Finish and Chill: Whisk in the pure vanilla extract. Remove the vanilla bean pod. Transfer the mixture to a shallow bowl or container and let it cool at room temperature until it stops steaming. Then, refrigerate the base until it is completely cold, at least 4 hours but preferably overnight. A very cold base is essential for making creamy Vegan Vanilla Ice Cream.
Part 2: Churn and Freeze
- Churn the Ice Cream: Pour your thoroughly chilled Vegan Vanilla Ice Cream base into your ice cream maker and churn according to the manufacturer’s instructions. This will typically take 20 to 30 minutes, or until the mixture is thick and has the consistency of soft-serve.
- Harden and Store: You can serve the ice cream immediately for a soft-serve texture. For a firmer, more scoopable ice cream, transfer it to an airtight, freezer-safe container. Press a piece of parchment paper on the surface to prevent ice crystals and freeze for at least 2-4 hours.

The Ultimate Creamy Vegan Vanilla Ice Cream (Easy Recipe)
A creamy, dairy-free vegan vanilla ice cream made with a base of full-fat coconut milk, sweetened with pure maple syrup, and flavored with a real vanilla bean and vanilla extract. The base is simmered and thickened with arrowroot powder before being churned into a smooth ice cream. The recipe also includes instructions for mint chocolate chip, strawberry, and almond butter swirl variations.
- Prep Time: 2 hours 10 minutes (includes chilling time)
- Cook Time: 10 minutes
- Total Time: 4 hours 45 minutes (includes churning and freezing)
- Yield: Approximately 1 to 1.5 quarts
- Category: Dessert
- Method: Simmering, Churning, Freezing
- Cuisine: International
- Diet: Vegan
Ingredients
- Vegan Vanilla Ice Cream:
- 2 cans full-fat coconut milk
- 6 tablespoons pure maple syrup
- 1 vanilla bean, split and seeds reserved
- 4 teaspoons arrowroot powder
- 1 tablespoon pure vanilla extract
- For Vegan Mint Chocolate Chip variation:
- 1/4 teaspoon peppermint extract
- 1/3 cup chopped dark chocolate
- For Vegan Strawberry variation:
- 2 cups fresh strawberries, chopped
- 2 teaspoons coconut sugar
- 2 teaspoons maple syrup
- For Vegan Almond Butter Swirl variation:
- 1/3 cup almond butter
Instructions
- Make the Ice Cream Base:
- Add the coconut milk, maple syrup, and the split vanilla bean pod and its seeds to a medium pot. Whisk to combine.
- Bring the mixture to a simmer over medium-high heat.
- Once simmering, cover the pot, reduce the heat to low, and continue to simmer for 5 minutes.
- In a small bowl, dissolve the arrowroot powder in 1 tablespoon of water to create a slurry.
- Slowly drizzle the arrowroot slurry into the simmering coconut milk mixture, whisking constantly.
- Once the mixture returns to a simmer, remove it from the heat.
- Whisk in the vanilla extract. Remove the vanilla bean pod.
- Transfer the mixture to a shallow bowl and let it cool until it stops steaming, then refrigerate until completely cool (at least 2-3 hours).
- Churn the Ice Cream:
- Pour the chilled mixture into an ice cream maker and churn according to the manufacturer’s instructions, typically for 20 to 30 minutes.
- Serve immediately for a soft-serve consistency, or transfer to an airtight container and freeze until firm, for up to 6 months.
- For Variations:
- Mint Chocolate Chip: During the last few minutes of churning, add 1/4 teaspoon peppermint extract. Once churned, add 1/3 cup chopped dark chocolate and continue churning just until combined.
- Strawberry: While the ice cream churns, combine 2 cups chopped strawberries with 2 teaspoons each of coconut sugar and maple syrup. Let macerate. Once the base ice cream is churned, pour in the strawberry mixture and churn until combined.
- Almond Butter Swirl: Once the ice cream is churned, drizzle in 1/3 cup of almond butter and churn for a few more seconds just to distribute.
Notes
- An ice cream maker is required for this recipe.
- Ensure the coconut milk base is completely cool before churning for the best results.
- The recipe provides instructions for several popular flavor variations.
Delicious Vegan Ice Cream Variations
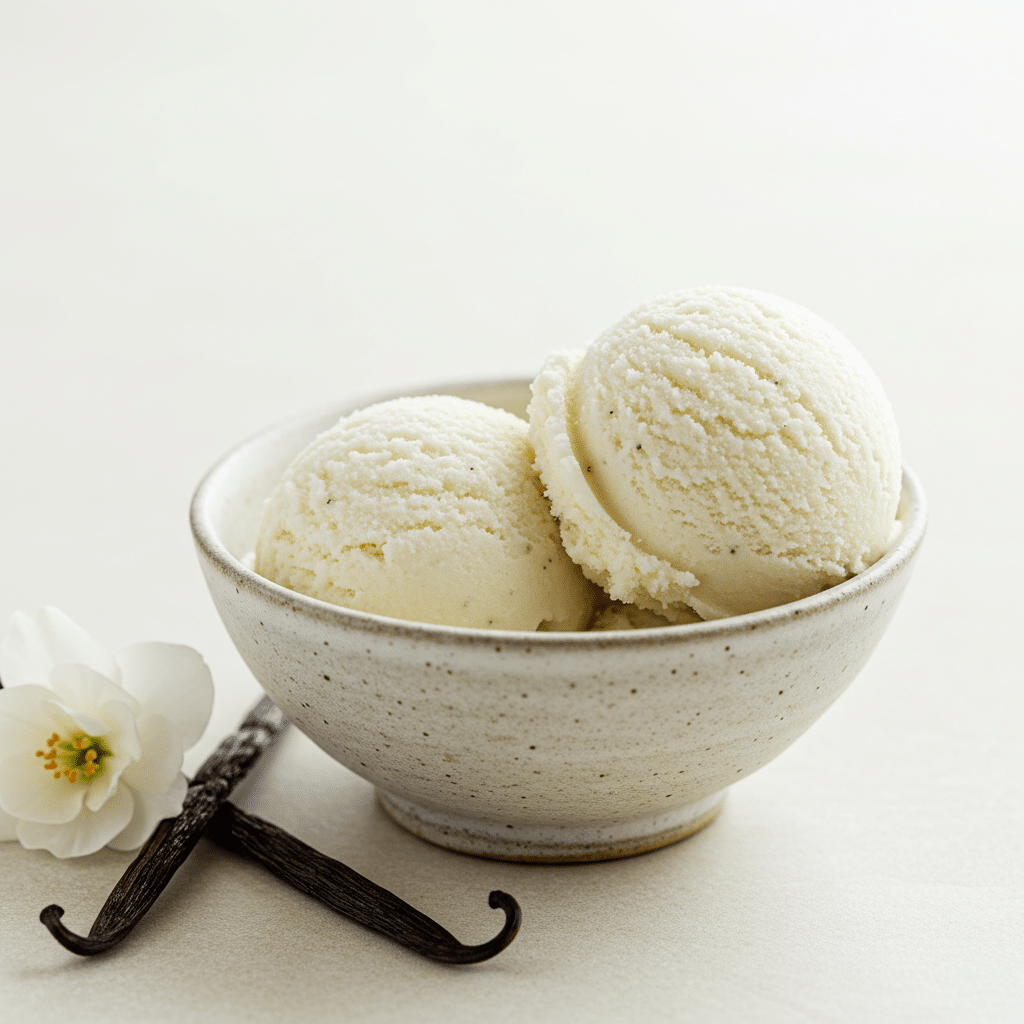
This Vegan Vanilla Ice Cream is the perfect canvas for other amazing flavors!
- Vegan Mint Chocolate Chip: During the last few minutes of churning, add 1/4 teaspoon of pure peppermint extract (or more, to taste). Once the ice cream is finished churning, fold in 1/3 cup of chopped vegan dark chocolate or mini chocolate chips.
- Vegan Strawberry Swirl: While the ice cream churns, prepare a simple strawberry sauce. Finely chop 2 cups of fresh strawberries and place them in a bowl with 2 teaspoons each of coconut sugar and maple syrup. Stir and let the mixture sit (or “macerate”). Once the ice cream is churned, gently fold or swirl in the strawberry mixture before the final freeze.
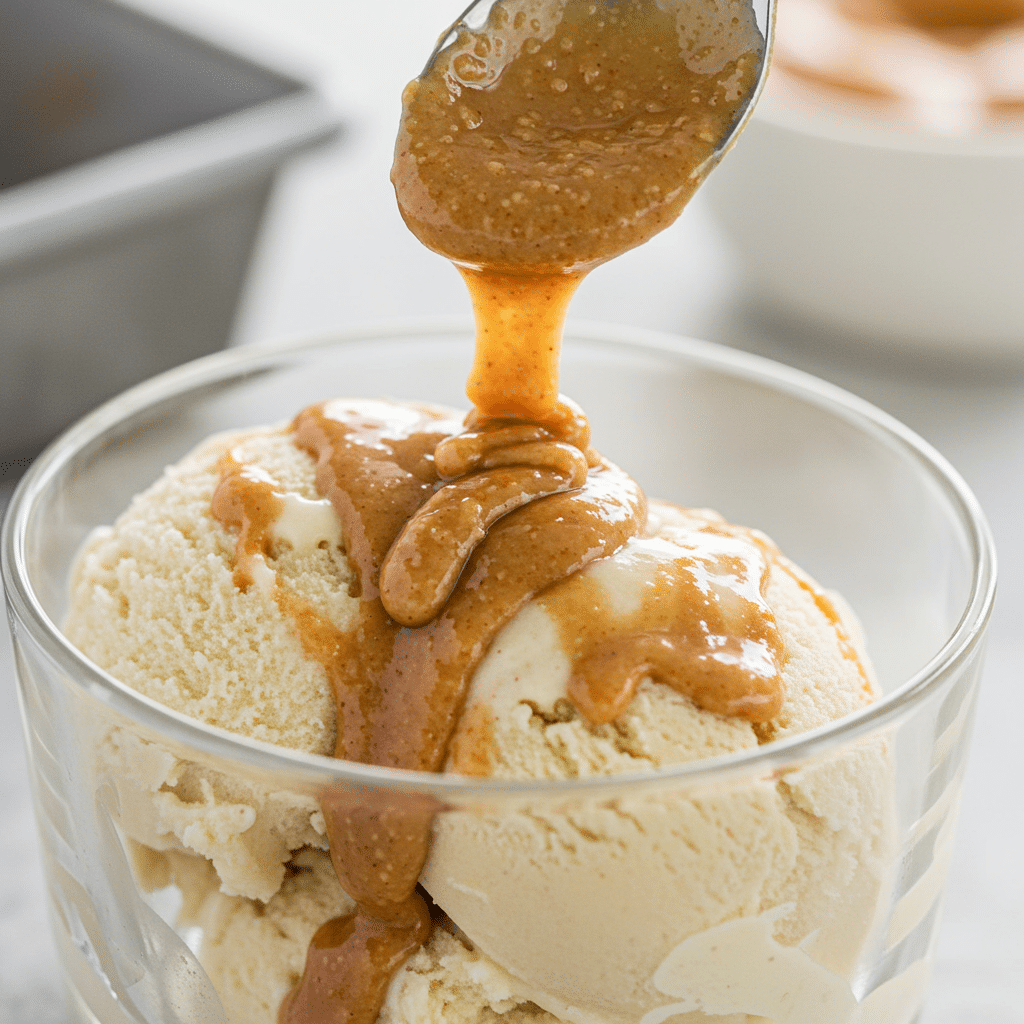
- Vegan Almond Butter Swirl: As soon as the ice cream is finished churning, transfer it to your freezer container. Drizzle 1/3 cup of creamy almond butter over the top and use a knife or spatula to gently swirl it into the ice cream just once or twice before freezing.
For more recipe follow my Pinterest account
Conclusion: Creamy, Dairy-Free Perfection
This recipe for Vegan Vanilla Ice Cream proves that you don’t need dairy or eggs to create a frozen dessert that is absolutely luxurious, creamy, and satisfying. By understanding the simple science behind building a great vegan base, you can unlock a world of delicious, homemade, dairy-free treats. Whether you enjoy it as a pure, elegant vanilla or use it as a base for other amazing flavors, this Vegan Vanilla Ice Cream is a recipe you’ll return to again and again.
Frequently Asked Questions (FAQs)
My ice cream tastes strongly of coconut. How can I avoid this?
The coconut flavor comes from the coconut milk base. Using a high-quality, real vanilla bean and pure vanilla extract helps to balance and complement the coconut flavor beautifully. If you are very sensitive to the taste, look for refined coconut oil in other recipes, or try making a base with a blend of full-fat coconut milk and homemade cashew cream.
Why is my finished Vegan Vanilla Ice Cream icy?
There are a few common culprits for an icy texture. The most likely are: using light coconut milk instead of full-fat, skipping the arrowroot powder stabilizer, or not chilling the base completely before churning. All three of these elements are essential for a creamy result.
How long will my homemade Vegan Vanilla Ice Cream last in the freezer?
The provided recipe says up to 6 months, but for the absolute best texture, homemade ice cream is best enjoyed within 1-2 weeks. After that, it can be more prone to developing ice crystals, especially if the container isn’t perfectly airtight


