Are you searching for a new go-to chicken dinner that is elegant enough for a special occasion, but quick and easy enough for a busy weeknight? This incredible, from-scratch Walnut-Crusted Chicken, served with a simple and delicious honey-mustard glaze, is that perfect meal. Tender, juicy chicken is coated in a savory, crunchy walnut crust, pan-seared to a beautiful golden brown, and then finished in the oven for a foolproof result every time.
This isn’t just a recipe; it’s a guide to creating a truly impressive, restaurant-quality dish in your own kitchen. We’ll show you the simple secrets to a crust that is unbelievably flavorful and crispy, and a chicken that is always perfectly moist and tender. This is a healthy, sophisticated, and completely satisfying meal that will become an instant family favorite.
Table of Contents
Table of Contents
Recipe Overview: A Restaurant-Quality Weeknight Meal
What makes this Walnut-Crusted Chicken so spectacular is its incredible combination of textures and its sophisticated, yet approachable, flavor profile. The secret to a perfect, super-crispy crust is the professional sear-then-bake method. We first pan-sear the crusted chicken to create a beautiful, golden-brown exterior, and then we finish it in the oven to ensure the chicken cooks through perfectly without burning the delicate walnut coating. Paired with a simple, two-ingredient honey-mustard glaze, it’s a fast, easy, and elegant meal that is sure to impress.
| Metric | Time / Level |
| Total Time | 45 minutes (plus marinating time) |
| Active Prep Time | 20 minutes |
| Difficulty Level | Easy |
| Servings | 4-6 |
The Essential Ingredients for This Delicious Chicken
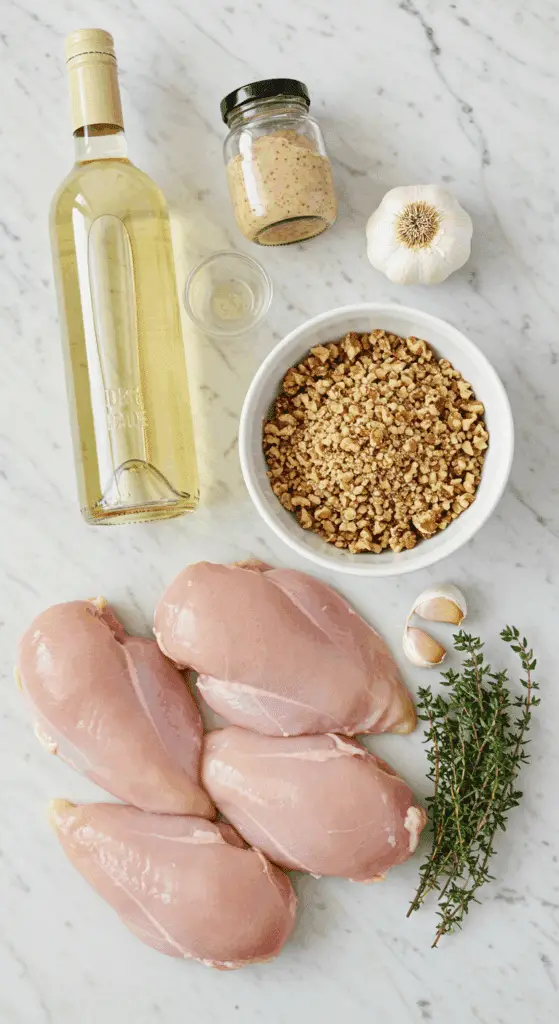
This recipe uses a handful of fresh, high-quality ingredients to create its signature savory, tangy, and nutty flavor.
- The Chicken & Marinade:
- The Chicken: This recipe works beautifully with either boneless, skinless chicken thighs (which are extra juicy and flavorful) or chicken breasts (which are leaner). If using breasts, it’s a great idea to pound them to an even thickness for perfect, even cooking.
- The Marinade: A simple but powerful marinade of extra-virgin olive oil, tangy Dijon mustard, dry white wine (or chicken broth), and fresh garlic not only infuses the chicken with incredible flavor but also helps to tenderize it.
- The Crispy Walnut Crust: A unique, healthy, and incredibly flavorful “breading.”
- Walnuts: The star of the crust! It is crucial to chop the walnuts very finely so that they create a uniform coating that will adhere well to the chicken and become wonderfully crisp.
- Flour: A little bit of all-purpose or whole wheat flour is mixed with the walnuts to help create a cohesive and crispy crust.
- The Easy Honey-Mustard Glaze: The perfect, tangy-sweet finish. A simple, two-ingredient sauce made from classic Dijon mustard and sweet, floral honey.

Step-by-Step to Perfect Walnut-Crusted Chicken
This delicious meal comes together in just a few simple stages. We’ve also included instructions for making this in an air fryer!
Step 1: Marinate the Chicken
Step 1: In a large bowl, whisk together the 1/3 cup of extra-virgin olive oil, the 1/4 cup of Dijon mustard, the 1/4 cup of dry white wine, the 3 minced garlic cloves, and the 1 teaspoon of dried thyme.
Step 2: Add the 1.5 pounds of boneless, skinless chicken to the marinade, turning to ensure each piece is thoroughly coated.
Step 3: Cover the bowl tightly and refrigerate for at least 4 hours, or up to 12 hours for an even deeper flavor.
Step 2: Create the Walnut Crust and Bread the Chicken
Step 1: In a shallow dish (a pie dish works perfectly for this), combine the 1 and 1/2 cups of very finely chopped walnuts, the 3/4 cup of flour, the 1 teaspoon of salt, and the 1/2 teaspoon of pepper.
Step 2: Remove one piece of the chicken from the marinade, allowing any excess marinade to drip off. Dip both sides of the chicken into the walnut mixture, pressing gently to make sure each side is generously and evenly coated. Place the crusted chicken on a clean plate and repeat with the remaining chicken.
Method 1: The Sear-Then-Bake Method (For a Perfect Crust)
Step 1: Preheat your oven to 425°F (218°C).
Step 2: Heat 1 tablespoon of olive oil in a large, oven-safe skillet over medium heat.
Step 3: Carefully add the crusted chicken to the hot skillet and sear for just 1 minute on each side. You are just looking to create a beautiful, golden-brown crust.
Step 4: Transfer the entire skillet to the preheated oven. Bake, covered loosely with aluminum foil, for 15 to 20 minutes, or until the chicken is fully cooked through.
Pro Tip: The only 100% foolproof way to check for doneness is with an instant-read thermometer. The chicken is perfectly and safely cooked when the internal temperature in the thickest part of the meat registers at least 165°F (74°C).
Method 2: The Air Fryer Method (For an Even Crispier, Healthier Version)
Step 1: Preheat your air fryer to 375°F (190°C).
Step 2: Lightly spray the air fryer basket with a nonstick cooking spray. Place the crusted chicken in a single layer in the air fryer basket. You will likely need to work in batches to avoid overcrowding.
Step 3: Air fry for 10-15 minutes, flipping the chicken halfway through, until the crust is golden brown and crispy and the chicken is cooked through.
Step 4: Whip Up the 2-Ingredient Honey-Mustard Glaze
While the chicken is cooking, simply whisk together the 3 tablespoons of Dijon mustard and the 1/3 cup of honey in a small bowl.
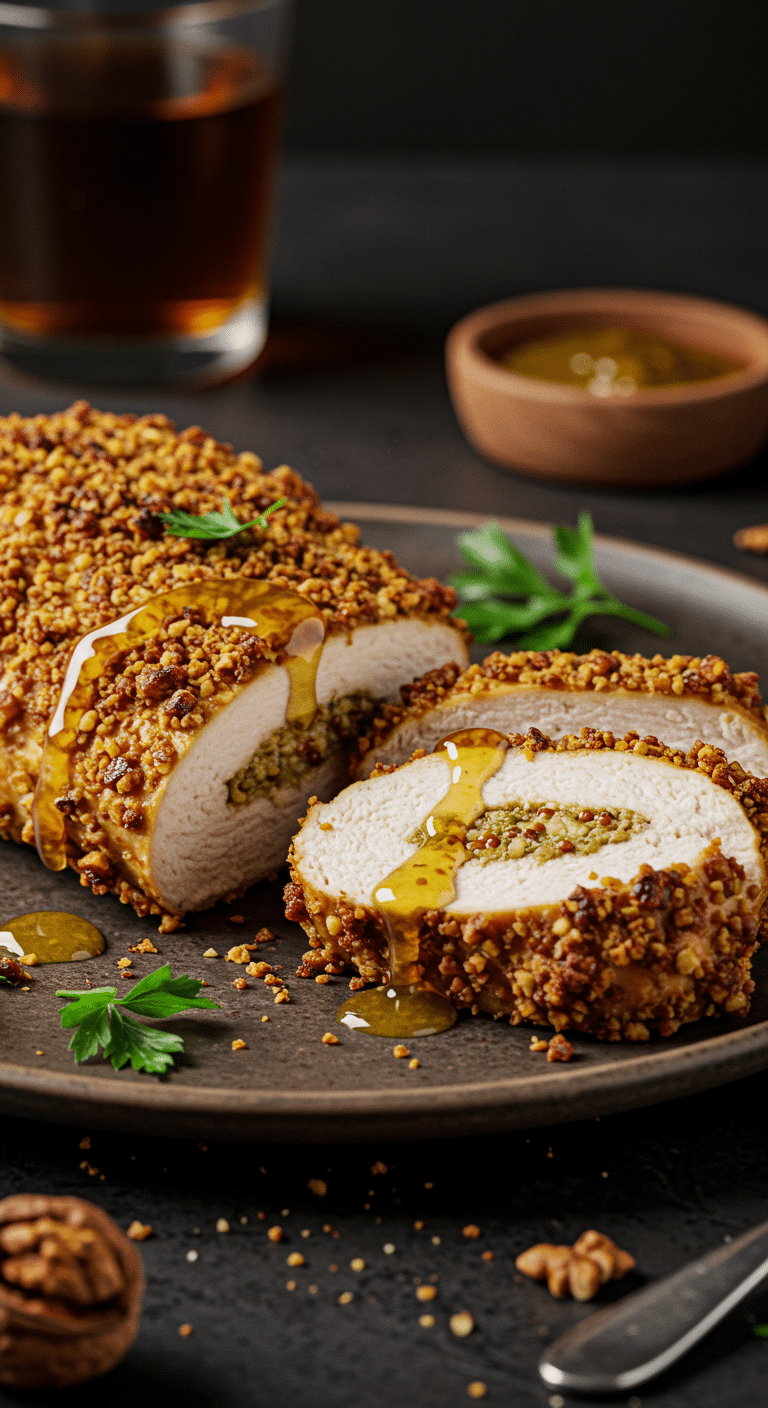
Serve the warm, crispy chicken with the honey-mustard glaze for drizzling or dipping. Garnish with fresh parsley, if desired.

he Best Crispy & Juicy Walnut-Crusted Chicken
A flavorful and textured recipe for walnut-crusted chicken, served with a simple honey mustard glaze. Boneless chicken is marinated for several hours in a savory mixture of olive oil, Dijon mustard, white wine, and garlic. The marinated chicken is then coated in a crunchy crust made from finely chopped walnuts and flour, pan-seared until golden, and then finished in the oven. The dish is served with a quick, two-ingredient honey mustard dipping sauce on the side.
- Prep Time: 15 minutes
- Cook Time: 22 minutes
- Total Time: 4 hours 40 minutes (includes marinating time)
- Yield: 4 servings
- Category: Main Course
- Method: Marinating, Searing, Baking
- Cuisine: American
Ingredients
- For the Chicken:
- 1/3 cup extra-virgin olive oil, plus 1 more Tablespoon for the pan
- 1/4 cup Dijon mustard
- 1/4 cup dry white wine (or chicken broth)
- 3 garlic cloves, minced
- 1 teaspoon dried thyme
- 1.5 pounds boneless, skinless chicken thighs or breasts
- 1 and 1/2 cups very finely chopped walnuts
- 3/4 cup all-purpose or whole wheat flour
- 1 teaspoon salt
- 1/2 teaspoon freshly ground black pepper
- Chopped fresh parsley, for garnish (optional)
- For the Honey Mustard Glaze:
- 3 Tablespoons Dijon mustard
- 1/3 cup honey
Instructions
- In a large bowl, whisk together 1/3 cup of olive oil, 1/4 cup of Dijon mustard, the white wine, garlic, and dried thyme to create the marinade.
- Add the chicken to the marinade, turning to coat. Cover tightly and refrigerate for at least 4 hours and up to 12 hours.
- In a shallow dish, combine the finely chopped walnuts, flour, salt, and pepper.
- Remove the chicken from the marinade, shake off any excess, and dip both sides of the chicken in the walnut mixture, pressing to ensure it is generously coated.
- Preheat the oven to 425°F.
- Heat 1 tablespoon of olive oil in a large, oven-safe skillet over medium heat. Add the chicken and sear for 1 minute on each side.
- Transfer the entire skillet to the oven. Bake, covered loosely with aluminum foil, for 15–20 minutes, or until the chicken is fully cooked through (to an internal temperature of at least 165°F).
- Make the Glaze: While the chicken bakes, whisk the 3 tablespoons of Dijon mustard and the honey together in a small bowl.
- Serve the warm chicken garnished with fresh parsley, with the honey mustard glaze on the side for dipping.
Notes
- Marinating the chicken for at least 4 hours is a crucial step that infuses the meat with flavor and helps to tenderize it.
- Using an oven-safe skillet allows you to sear the chicken on the stovetop and then transfer it directly to the oven to finish cooking in the same pan.
- Leftovers can be stored in the refrigerator for a few days and reheated.
What to Serve With Your Walnut-Crusted Chicken
This beautiful and versatile chicken is a fantastic centerpiece for a complete and healthy meal.
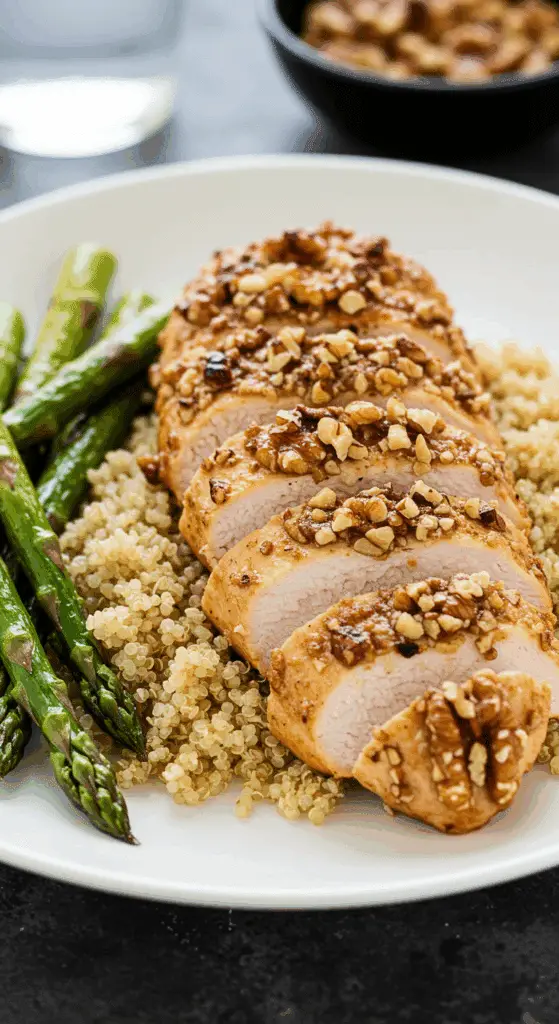
- Roasted Vegetables: Serve it alongside some simple, roasted asparagus, green beans, or broccoli.
- Creamy Starches: The tangy honey-mustard glaze is incredible when served with creamy mashed potatoes, rice pilaf, or a simple orzo pasta.
- A Simple Salad: For a lighter meal, pair it with a simple green salad with a lemon vinaigrette.
Storage and Make-Ahead Tips
- Make-Ahead: You can get a head start by preparing the marinade and letting the chicken marinate in the refrigerator up to 12 hours in advance. You can also prepare the walnut crust mixture and store it in an airtight container at room temperature.
- Storage: Store any leftovers in an airtight container in the refrigerator for up to 4 days.
- Reheating: The absolute best way to reheat the chicken and bring back its original crispiness is in an air fryer or a hot 400°F oven. Place it on a baking sheet and reheat for just 5-8 minutes, until it is hot and has crisped up again.
For more recipe follow my Pinterest account
Creative Recipe Variations
- Use a Different Nut: If you’re not a fan of walnuts, you can easily substitute them in the crust with an equal amount of finely chopped, toasted pecans, almonds, or even pistachios for a unique, delicious flavor.
- Add a Spicy Kick: For a delicious, spicy-sweet flavor, you can add 1/2 teaspoon of cayenne pepper or red pepper flakes to the walnut and flour mixture before you bread the chicken.
- Make it Gluten-Free: For an easy gluten-free version, simply substitute the all-purpose flour in the crust with your favorite gluten-free 1-to-1 baking blend.
Enjoy Your New Favorite Chicken Dinner!
You’ve just created a truly special skillet dinner that is a perfect harmony of savory, tangy, and nutty flavors. This Walnut-Crusted Chicken is a testament to the power of a simple, from-scratch meal to bring comfort and joy. It’s a rewarding and deeply satisfying recipe that is sure to become a new staple in your dinner rotation.
We hope you enjoy every last, perfect, and delicious bite!
If you enjoyed making this recipe, please leave a comment below or share it with a friend who loves an easy and impressive chicken dinner!
Frequently Asked Questions (FAQs)
Q1: What is the absolute best way to get the crust to stick to my chicken?
There are two main secrets. First, be sure to shake off any excess marinade before you dredge the chicken in the walnut mixture. If the chicken is too wet, the coating will become gummy and can slide off. Second, after you have coated the chicken, be sure to press the crust gently onto the surface of the chicken with your hands to help it adhere.
Q2: How do I keep my chicken breasts from being dry and tough?
The best way is to use chicken thighs, which are naturally juicier and more forgiving! If you are using chicken breasts, the two most important secrets are to pound them to an even thickness before you marinate them, and to use an instant-read thermometer to ensure you do not overcook them.
Q3: Can I make this chicken ahead of time?
While the chicken is at its absolute crispiest right after it is cooked, you can definitely make it ahead. The best method is to marinate the chicken up to 12 hours in advance, so all you have to do is the quick breading and cooking when you are ready to eat.
Q4: What kind of white wine is best for the marinade?
You want to use a dry, crisp white wine that you would enjoy drinking. A good quality Sauvignon Blanc, Pinot Grigio, or an unoaked Chardonnay would all be fantastic choices. If you prefer to cook without alcohol, you can simply substitute the wine with an equal amount of chicken broth.
Q5: What is the best way to finely chop the walnuts for the crust?
The easiest and fastest way to get a fine, even chop on the walnuts is to use a food processor. Simply pulse the walnuts a few times until they are the texture of a coarse meal. Be careful not to over-process them, or you will end up with walnut butter!


