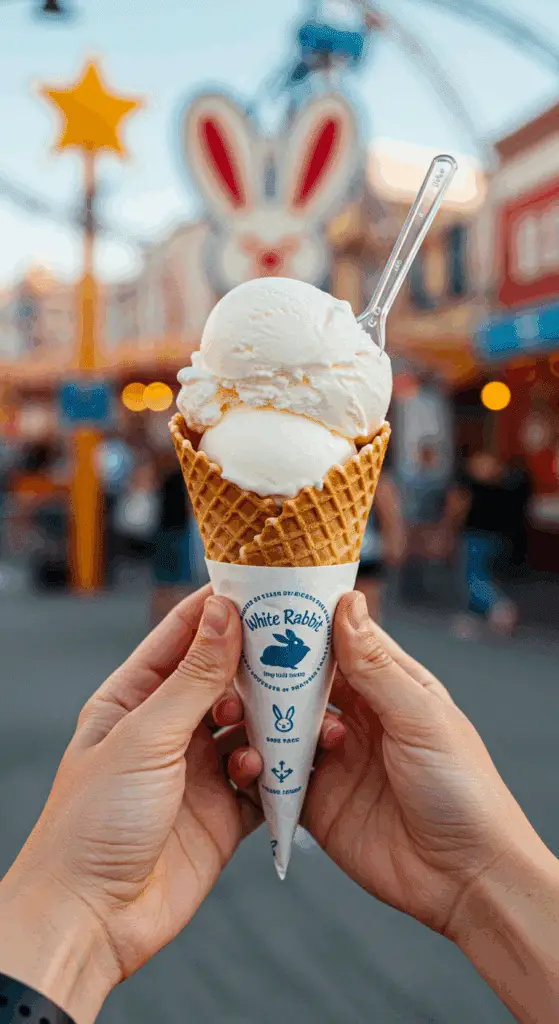
Remember that iconic, creamy, and chewy milk candy from your childhood, wrapped in the famous edible rice paper? What if you could take that unforgettable, nostalgic flavor and transform it into the creamiest, dreamiest, and most delicious homemade ice cream you’ve ever had? Get ready to be transported back in time with this incredible, viral recipe for Homemade No-Churn White Rabbit Ice Cream.
This isn’t just a recipe; it’s a taste of pure nostalgia in a scoop. We’ll show you how to use a handful of simple ingredients and the magic of a no-churn method to create a gourmet-quality ice cream that perfectly captures the unique, milky-sweet flavor of the beloved White Rabbit candy. It’s a fun, easy, and impressive dessert that is guaranteed to delight anyone who tries it.
Table of Contents
Table of Contents
Recipe Overview: Your Favorite Childhood Candy, Reimagined
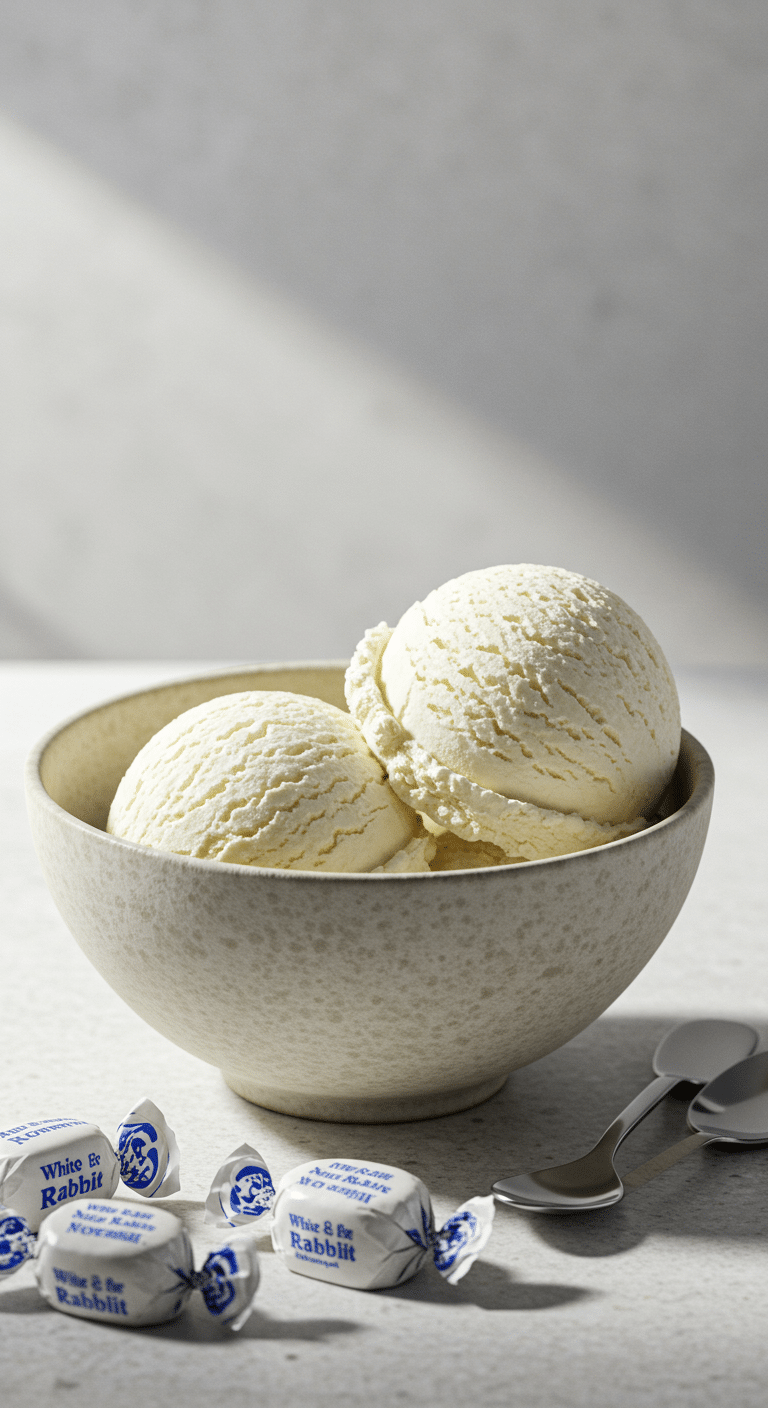
What makes this White Rabbit Ice Cream a viral sensation is its unique, beloved flavor and its incredibly simple, no-churn method. This recipe requires no ice cream maker and uses the melted candies themselves as the sweet, flavorful base. This is then folded into a fluffy, homemade whipped cream to create a frozen treat with an impossibly smooth, rich, and creamy texture. It’s the perfect, fun dessert project that yields a truly special and memorable result.
| Metric | Time / Level |
| Total Time | 6 hours 15 minutes (includes freezing) |
| Active Prep Time | 15 minutes |
| Difficulty Level | Easy |
| Servings | 8-10 |
The Essential Ingredients for This Nostalgic Treat
This recipe uses a few simple, powerhouse ingredients to perfectly replicate the iconic candy flavor in ice cream form.
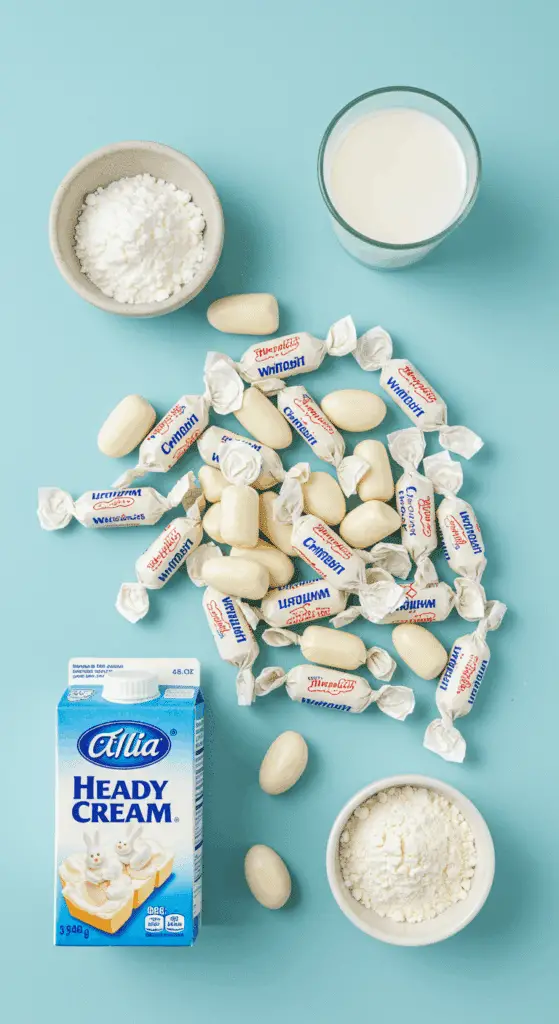
- White Rabbit Candy: This is the star of the show and the source of all the flavor!
- What is it?: White Rabbit is a world-famous brand of milk candy that originated in Shanghai, China. It’s known for its sweet, intensely milky and creamy flavor and its chewy texture. Part of its iconic charm is the thin, edible layer of rice paper that is wrapped directly around the candy itself.
- Where to Buy: You can find bags of White Rabbit candy at most Asian grocery stores and easily online from retailers like Amazon.
- The No-Churn Cream Base: This simple combination creates a foolproof, luxuriously creamy ice cream without an ice cream machine.
- Heavy Cream: It is crucial to use cold, full-fat heavy whipping cream. When whipped to stiff peaks, it incorporates air into the base, which is what gives the ice cream its light, scoopable texture.
- Milk & Milk Powder: We use a little bit of regular milk to help melt the candies into a smooth sauce. The addition of milk powder is a brilliant professional trick—it absorbs excess water and enhances the concentrated dairy flavor, making the ice cream even milkier and creamier, just like the candy!
- Vanilla Extract: A touch of pure vanilla extract beautifully rounds out the milky flavor and adds a lovely, warm depth to the ice cream.

Step-by-Step to Perfect White Rabbit Ice Cream
This recipe is wonderfully simple. The most important step is allowing the melted candy mixture to cool completely before combining it with the whipped cream.
Step 1: Create the White Rabbit Candy Base
First, unwrap your 40-50 pieces of White Rabbit candy. The thin, clear inner wrapper is edible rice paper—you can choose to leave this on for an even more authentic texture, or you can peel it off. Discard the outer, waxy paper wrapper.
In a small pot, combine the unwrapped candies and the 100g of milk. Place the pot over medium heat.
Cook, stirring occasionally, until the candies have completely melted into the milk and the mixture is smooth. This will take a few minutes. Alternatively, you can do this in the microwave in a microwave-safe bowl, heating in 30-second intervals and stirring in between until melted.
Remove the mixture from the heat and pour it into a small bowl to cool completely.
Crucial Pro Tip: This melted candy mixture MUST be at room temperature or cooler before you proceed to the next step. If you add a hot mixture to the whipped cream, it will instantly melt and deflate all the air, resulting in a dense, icy dessert.
Step 2: Whip the Creamy Foundation
While the White Rabbit mixture is cooling, you can whip the cream. In a large, chilled mixing bowl, add the 600g of cold heavy cream, the 1 tablespoon of milk powder, and the 1 teaspoon of vanilla extract.
Using an electric hand mixer or a stand mixer fitted with a whisk attachment, beat the cream on medium-high speed until it becomes thick and holds stiff peaks. This means that when you lift the beaters, the peak that forms will stand up straight and not curl over.
Step 3: Fold to Create the Ice Cream
Once your White Rabbit mixture is completely cool, slowly pour it into the bowl with the stiffly whipped cream.
Using a large rubber spatula, gently fold the two mixtures together until they are just combined and no white streaks remain. Be careful not to stir or beat the mixture, as you want to keep all the beautiful air you just whipped into the cream. The gentle folding motion is the key to a light and airy ice cream.
Step 4: Freeze to Perfection
Pour the finished ice cream mixture into a 9×5 inch loaf pan or another freezer-safe container. Smooth the top with your spatula.
Cover the container tightly. For the creamiest result with no ice crystals, press a piece of plastic wrap or parchment paper directly onto the surface of the ice cream before putting on the lid.
Place the container in the freezer and freeze for at least 6 hours, or preferably overnight, until the ice cream is completely firm and scoopable.
When you are ready to serve, let the ice cream sit out at room temperature for about 5 to 10 minutes to soften slightly. For perfect scoops, run your ice cream scooper under hot water and wipe it dry before each scoop.

The Best Viral No-Churn White Rabbit Ice Cream
A simple and nostalgic no-churn ice cream recipe inspired by the iconic ‘White Rabbit’ candy. The creamy flavor base is created by melting White Rabbit candies into milk. This sweet, milky mixture is then cooled completely and folded into a homemade whipped cream that has been stabilized with milk powder. The light and airy base is then frozen in a loaf pan until firm, creating a unique ice cream with the candy’s signature vanilla and milk taste.
- Prep Time: 20 minutes
- Cook Time: 5 minutes
- Total Time: 6 hours 55 minutes (includes cooling and freezing time)
- Yield: 8-10 servings
- Category: Dessert
- Method: No-Churn, Freezing
- Cuisine: Chinese-inspired
- Diet: Gluten Free
Ingredients
- 40-50 pieces White Rabbit candy
- 100 g (about ½ cup) milk
- 600 g (about 2 ½ cups) heavy cream
- 1 tablespoon milk powder
- 1 teaspoon vanilla extract
Instructions
- Unwrap the White Rabbit candies (including the edible rice paper layer).
- In a small pot over medium heat, or in a microwave-safe bowl, heat the candies and the milk, stirring occasionally, until the candies are completely melted and the mixture is smooth.
- Remove the mixture from the heat and let it cool completely to room temperature.
- In a large mixing bowl, combine the heavy cream, milk powder, and vanilla extract. Use an electric mixer to beat the mixture until it forms stiff peaks.
- Slowly pour the cooled, melted White Rabbit mixture into the whipped cream. Gently fold everything together with a spatula until no streaks remain.
- Pour the final mixture into a loaf pan or another freezer-safe container.
- Cover and freeze for at least 6 hours, or overnight, until solid.
- When ready to serve, let the ice cream sit at room temperature for about 10 minutes to soften slightly. Run an ice cream scoop under hot water before scooping.
Notes
- This is a no-churn recipe, so no ice cream maker is needed.
- It is crucial that the melted candy mixture is completely cooled before you fold it into the whipped cream to prevent the cream from melting and deflating.
- The edible rice paper on the White Rabbit candies can be melted directly into the milk along with the candy itself.
- Letting the ice cream soften for about 10 minutes at room temperature before serving will make it easier to scoop.
Storage and Make-Ahead Tips
This No-Churn White Rabbit Ice Cream is the perfect make-ahead dessert.
- Storage: Store the ice cream in a freezer-safe, airtight container in the coldest part of your freezer (usually the back).
- Preventing Freezer Burn: To keep your ice cream at its best, always press a piece of plastic wrap or parchment paper directly onto the surface of the ice cream before securing the lid.
- Longevity: Your homemade ice cream will have the best, creamiest texture within the first 1-2 weeks. It will still be delicious for up to a month, but may start to develop some small ice crystals over time.
For more recipe follow my Pinterest account
Creative Recipe Variations
This unique and delicious ice cream is a fantastic base for all sorts of fun and creative additions.
- White Rabbit “Blizzard” Style: For a delicious textural twist, you can gently fold in 1 cup of your favorite mix-ins at the very end. Crushed Oreo cookies, Biscoff cookies, or even brownie bites would be incredible.
- Add a Fruity Swirl: The milky flavor of White Rabbit is wonderful with fruit. After you have poured the ice cream base into your loaf pan, you can dollop a few spoonfuls of a thick strawberry or raspberry jam over the top and use a knife to gently swirl it through for a beautiful and delicious flavor combination.
- Make White Rabbit Ice Cream Bars: Pour the finished ice cream mixture into a parchment-lined 8×8-inch pan. Once it’s frozen solid, you can cut it into bars. For a truly decadent treat, you can dip the frozen bars in melted white chocolate mixed with a little coconut oil and then refreeze them on a parchment-lined tray.
Enjoy Your Deliciously Nostalgic Treat!
You’ve just created a truly special, gourmet-quality ice cream that is a fun, delicious, and nostalgic trip down memory lane. This Homemade No-Churn White Rabbit Ice Cream is a perfect harmony of creamy, milky, and sweet, and it’s a wonderful way to introduce a beloved classic candy to a new generation in a fun and exciting way.
We hope you love every last, cool and creamy spoonful!
If you enjoyed making this recipe, please leave a comment below or share it with a friend who loves White Rabbit candy!
Frequently Asked Questions (FAQs)
Q1: What is White Rabbit candy and where can I buy it?
White Rabbit is an iconic brand of milk candy from China that has been popular around the world for decades. It’s known for its sweet, creamy, milky flavor and its chewy texture. You can find it in the candy aisle of most Asian grocery stores and it is also widely available to order from online retailers.
Q2: Do I eat the clear, paper-like wrapper on the candy?
Yes! The thin, transparent inner wrapper on a White Rabbit candy is made from edible sticky rice paper. It’s completely tasteless and dissolves in your mouth. For this recipe, you can choose to include it when you melt the candies for an even more authentic experience, or you can peel it off if you prefer. Just be sure to remove the outer, waxy paper wrapper!
Q3: Why is my no-churn ice cream icy instead of creamy?
An icy texture is usually caused by one of two things. First, the whipped cream may have been under-whipped (it needs to be at stiff peaks to hold the maximum amount of air) or it may have been deflated by over-mixing when the candy mixture was added. Second, not covering the surface of the ice cream with plastic wrap can allow ice crystals to form on top. The high sugar and fat content in this recipe is designed to keep it creamy, so be sure to follow the steps closely.
Q4: Can I make this ice cream with a different kind of milk candy?
Yes, you can certainly experiment! This method would likely work well with other soft, milk-based chewy candies like caramels or even something like salt water taffy, though the melting time and final flavor would be different.
Q5: Why do you add extra milk powder to the recipe?
Milk powder is a secret ingredient used by many professional ice cream makers! It contains milk solids without the extra water that liquid milk has. Adding a tablespoon of it to the base absorbs any excess free-flowing water and makes the final ice cream even richer, smoother, and more intensely milky, which is perfect for replicating the flavor of the candy.


